

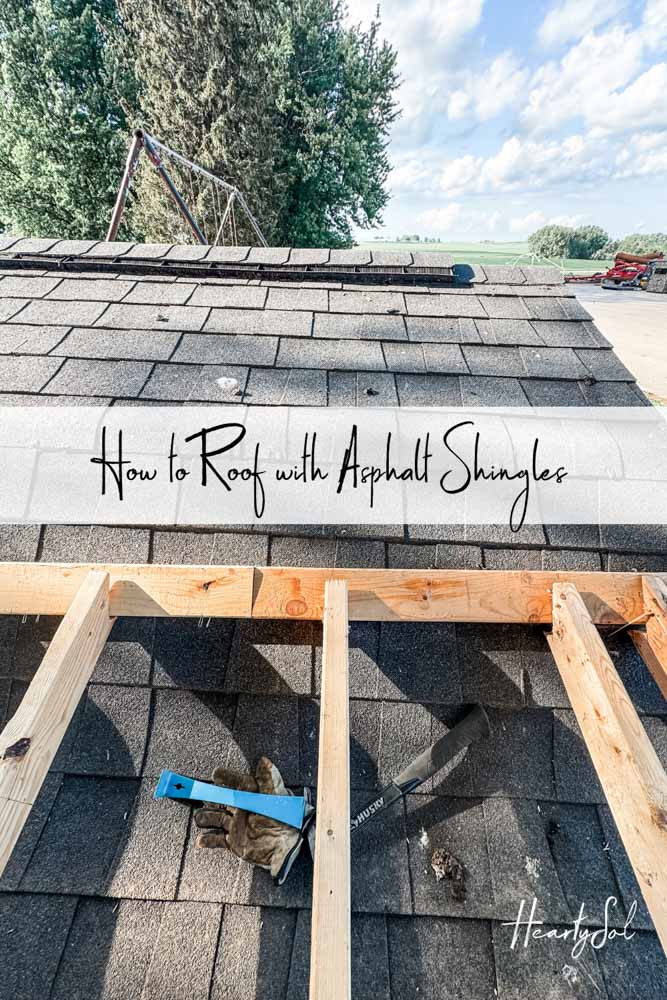
How to Roof with Asphalt Shingles: The Book System
When you’re building for animals, the roof is what makes a shelter a home. Dry geese, ducks, lambs, and guineas are healthy ones. And while asphalt shingles aren’t glamorous, they’re reliable — if you lay them right. Here’s how I learned to use the book system, the steady rhythm of cutting and laying shingles so the roof sheds water and stays strong.
The Crowning Touch
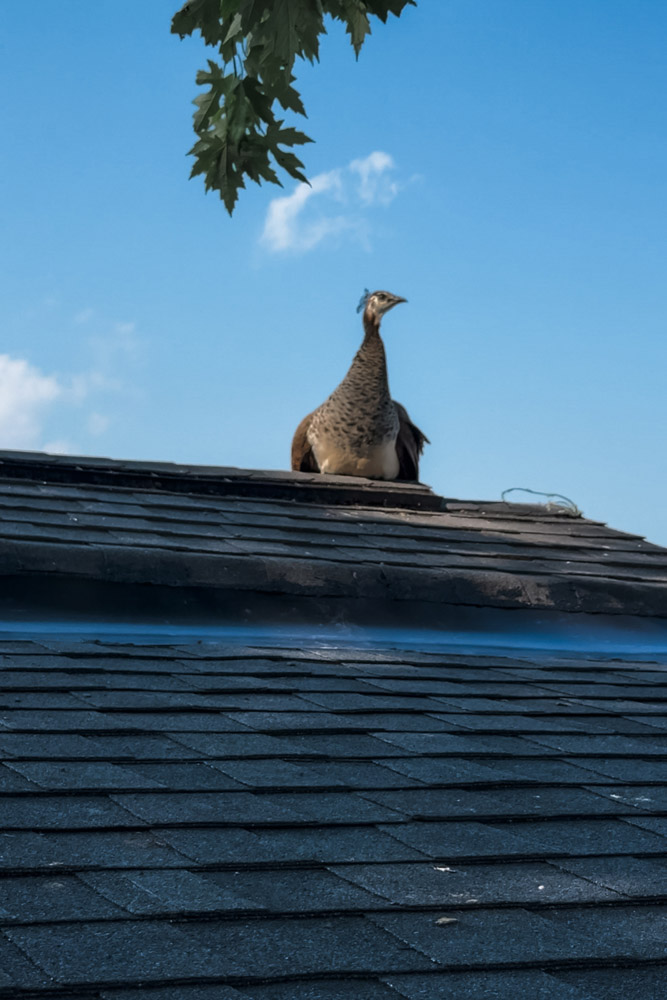
No true home is finished without a good layer of shingles, and our bird coop is no exception. Not only can Pete comfortably keep watch from the roof, but I can rest assured knowing the animals are shielded from most of our Minnesota weather whiplash.
When building off the side of our shed I wanted to make sure the animals had secure overhead protection which meant learning how to precisely place each row of shingles for some practical aesthetics.
The roofing part of this project had me super anxious. I’d never rooved a thing before, so I brought in a mentor who walked me through the process of properly laying asphalt roofing shingles and I learned so much!
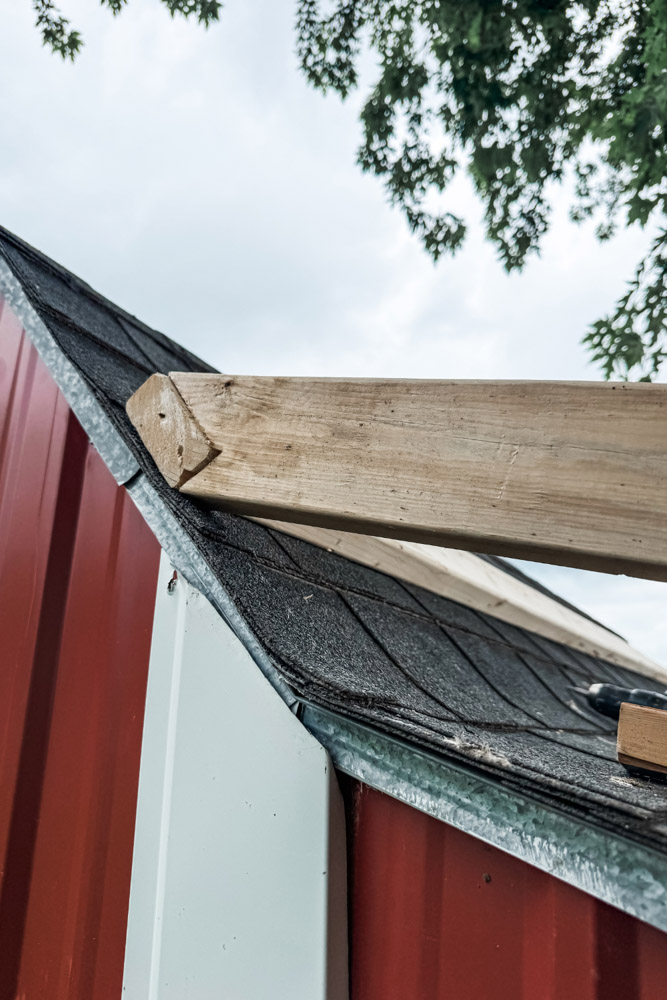
As you can see from the photo above, my current coop was not level anymore, as are older sheds, barns and buildings. So I had a couple options: Try to reposition my coop or retro-fitting my new building- while keeping the new addition, plumb and level. I decided on the later, which meant using a piece of aluminum flashing to meld the old and the new roof together.
- Materials You’ll Need
- Step-By-Step Instructions
- Tips and Tricks to think about
- Instruction Card
- Price Breakdown


Materials You’ll Need
- Asphalt shingles (3-tab works great)
- Roofing paper or underlayment
- 1 ¼” galvanized roofing nails
- Nail gun or hammer
- Utility knife
- Chalk line/ level
- Black Jack or roofing sealant
How to Shingle: Step-By-Step Instructions
Step 1: Underlayment
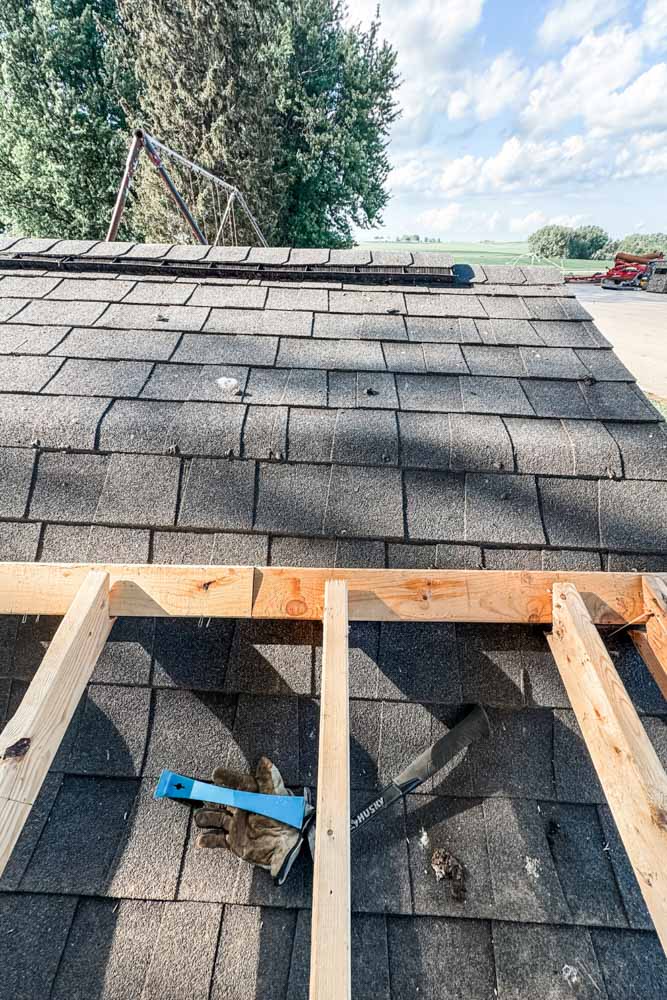
Roll roofing paper over the underlayment panel deck (I initially laid my wooden underlayment and paper vertically (see photo number 4, there) and I should have laid them horizontally- rookie mistake), overlapping the paper strips by a few inches. Smooth it flat. This is your dry, even foundation.


Step 2: Starter Course
Begin at the bottom edge. Some builders flip the first row of shingles upside-down so the tabs don’t align with the course above. Either way, make sure that first row hangs just over the edge- a smidge to guide water away. I made level lines on my roof paper, with a chalk line and level as I added rows of shingles.
Step 3: The Book System
This is where order matters. You’ll cut shingles in a stair-step pattern so no seams line up.
- First Course: Lay a full shingle.
- Second Course: Cut 6″ off the left end, then lay.
- Third Course: Cut 12″ off.
- Fourth Course: Cut 18″ off.
- Fifth Course: Cut 24″ off.
- Sixth Course: Start again with a full shingle directly above the first.
Think of it like flipping through a book: each row shifts over, one page at a time, until you’re back where you started. The result is seams that never stack, which means water never sneaks through.


Step 4: Nailing
Each shingle gets four nails, just above the tab cutouts. Keep nails straight, not angled. With a nail gun, set the pressure so the nails sit flush with the shingle, not sunk deep.
Step 5: Overlap & Trim
Expose about 5″ of each shingle. Stagger rows cleanly, trim at edges, and keep lines straight with a chalk snap.
Step 6: Seal the Work
Dab Black Jack over exposed nails, ridge caps, and seams. It takes a few extra minutes but buys years of protection.
A Few Tips and Tricks:
1. Slope / Pitch
- Even a slight slope (2/12 minimum) is enough to keep water moving off.
- If you live where snow piles up, aim for a steeper slope (4/12–6/12) so it slides off instead of crushing the roof.
2. Direction of Flow
- Think about where the water lands — avoid dumping rain right in front of the coop door or where chickens scratch.
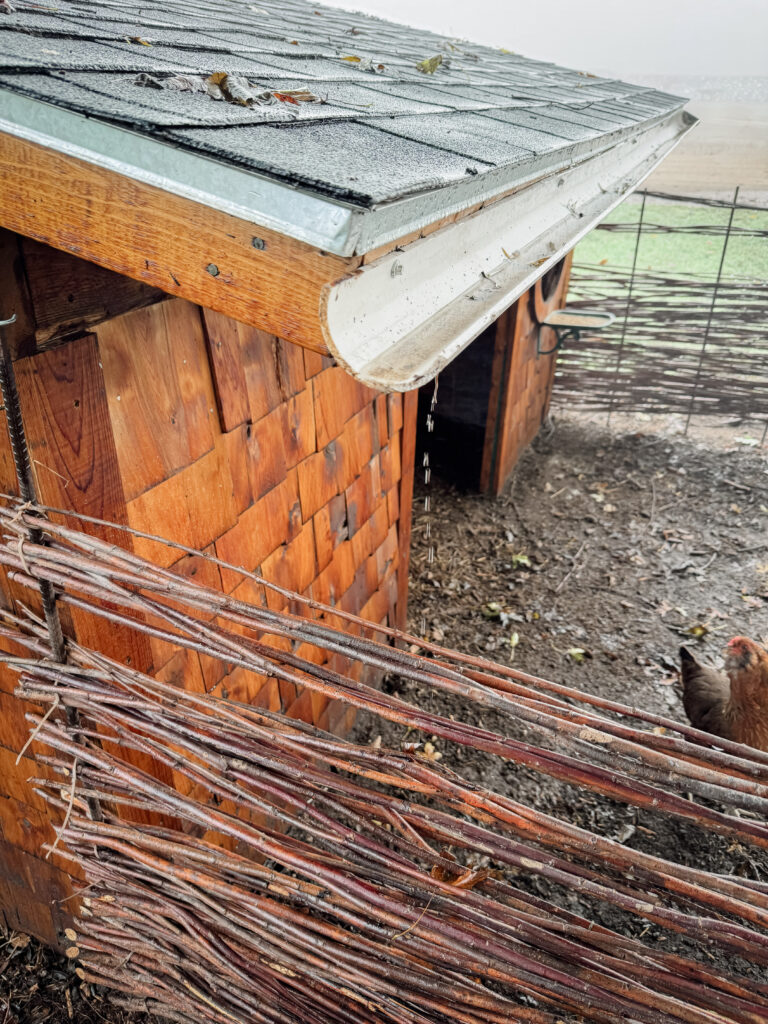
- If possible, slope the roof away from the run so you don’t get a muddy mess inside. But if you can’t, you can always do what we did: We used a 3″ PVC pipe, cut in 1/2 length-wise to create a gutter for the snow or rain to collect into a water pan for our animals, to avoid a wet run.
3. Overhangs
- A 6–12 inch overhang keeps rain from running down the walls and sneaking into cracks.
- Chickens like a dry entry, so extend the roof over the entry if you can.
4. Keep it straight
I can’t emphasize this enough. I got so excited about my new roofing abilites, that I almost forgot to check to make sure my shingles were straight and level. With every new row, chalk a straight line to keep you on track or you will have created something real fun, 😉 if you don’t.
Instruction Card
How to Roof with Asphalt Shingles
Equipment
- Nail gun or hammer
- Utility knife
- Chalk line
Ingredients
- Asphalt shingles 3-tab works great
- Roofing paper or underlayment
- 1 ¼ " galvanized roofing nails
- Black Jack or roofing sealant
Instructions
- Underlayment: Roll roofing paper over the deck, overlapping strips by a few inches. Smooth it flat. This is your dry, even foundation.
- Starter Course: Begin at the bottom edge. Some builders flip the first row of shingles upside-down so the tabs don’t align with the course above. Either way, make sure that first row hangs just over the edge to guide water away.
- The Book System: This is where order matters. You’ll cut shingles in a stair-step pattern so no seams line up.Think of it like flipping through a book: each row shifts over, one page at a time, until you’re back where you started. The result is seams that never stack, which means water never sneaks through.First Course: Lay a full shingle.Second Course: Cut 6" off the left end, then lay.Third Course: Cut 12" off.Fourth Course: Cut 18" off.Fifth Course: Cut 24" off.Sixth Course: Start again with a full shingle directly above the first.
- Nailing: Each shingle gets four nails, just above the tab cutouts. Keep nails straight, not angled. With a nail gun, set the pressure so the nails sit flush with the shingle, not sunk deep.
- Overlap & Trim: Expose about 5" of each shingle. Stagger rows cleanly, trim at edges, and keep lines straight with a chalk snap.
- Seal the Work: Dab Black Jack over exposed nails, ridge caps, and seams. It takes a few extra minutes but buys years of protection.
Notes
Price Breakdown
| Asphalt shingles | $42.47 per bundle (33.33 square feet) |
| Roofing paper or underlayment | $42.99 for 3 x 144 ft roll |
| Galvanized roofing nails | $7.98 per one pound box |
| Nail Gun or hammer | We use Bostitch, prices vary per supplier |
| Utility knife | $6.97 for one 6in knife |
| Chalk line | $10.99 for 100 ft chalk |
| Black Jack Roof Cement | $5.99 for 10 oz |
Pin for Later!
Final Thoughts
A roof doesn’t need to be fancy to be faithful. Cut steady, nail true, seal tight, and you’ll have a shelter that stands through storms and seasons — ready for whatever creatures show up next at the farm gate. Use #HeartySolBuilds for your next project, I want to see your new builds!
Continue Learning How I Built this Coop Addition:
More ways to enhance your home
- Our Top 5 Must-Have Bedroom Essentials for a Timeless Look
- Home Organization | 10 Ways to A Calmer Household
- Clothes Line Culture: the Art and Intention of Hanging Laundry

Affiliate Disclosure & Content Disclaimer
This post may contain affiliate links from a paid sponsor, Amazon or other program. When you use these links to make a purchase I earn a small commission at no extra cost to you. This allows me to continue creating the content that you love. The content in this article is created for information only and based on my research and/or opinion.
Emily T.


DAILY INSPIRATION ON THE GRAM @hearty.sol
it's hip to be square!
View comments
+ Leave a comment