How to Make a Cozy Winter Dress
Make A Winter Dress for the holidays or just every day. This tutorial will teach you how to make a dress in any size, using your child’s favorite dress!
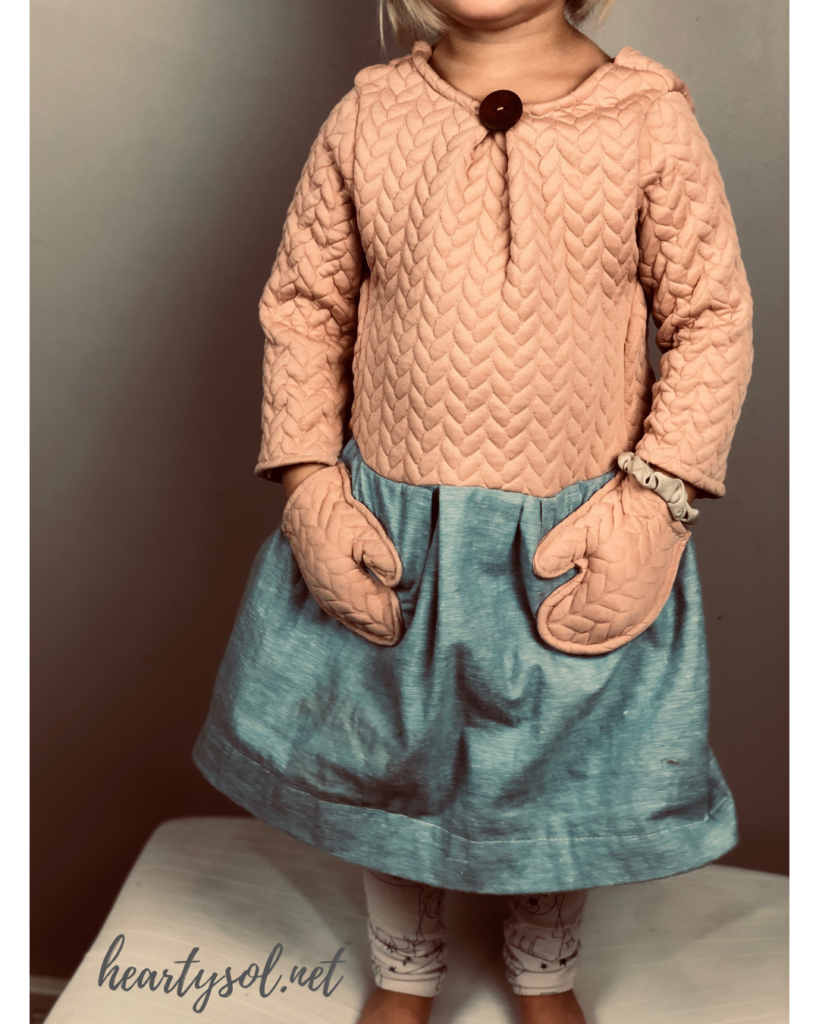
You might change your mind about the difficulty level of dressmaking after you watch this tutorial (it’s not hard)! Once you’ve mastered this technique you will be raiding the closet for your favorite tops, skirts, pants or what-have-you for things you can replicate!
Make it Handmade!
My kids love it when they get to have something made by my own hands. I guess I always thought they’d think it, dorky or old-fashioned, but I am gladly surprised to see how appreciative they are every time!
I tend to make skirts for the big girls, a dress for the littlest, and a matching bow tie for our little guy (stay tuned for that tutorial soon)- for each spring and winter-time. This way they have something new for the holidays and I always make sure that it fits in well with our family’s capsule wardrobe.
What’s a capsule wardrobe you ask?
A capsule wardrobe is a collection of a few essential items of clothing that don’t go out of fashion, such as skirts, pants, and coats, which can then be augmented with seasonal pieces.
This makes coordinating easy and I have no worries about what the kids will come out of their rooms looking like when I say, it’s time for Christmas church or what-not.
How do you make your own clothing using only what you have in your closet + your favorite fabric?
I use a highly technical process that’s called “copy the clothes you know fit you well”. Why reinvent the wheel, folks. Find the items that fit you and your child well and replicate them!
Lay your clothing, inside out on top of your fabric. Add 1/2″ for a seam allowance and start tracing. Now you might want to ere on the side of too big rather than too small because you can always trim away and decrease. Adding fabric is just another step you can avoid by trimming a little larger.
Drafting a Pattern 101
Step 1
Notice where all the seams are on your garment. This will tell you how many pieces you will need to cut out.
Step 2
Trace around each piece adding 1/2″ or so for your seam allowance and cut out.
Step 3
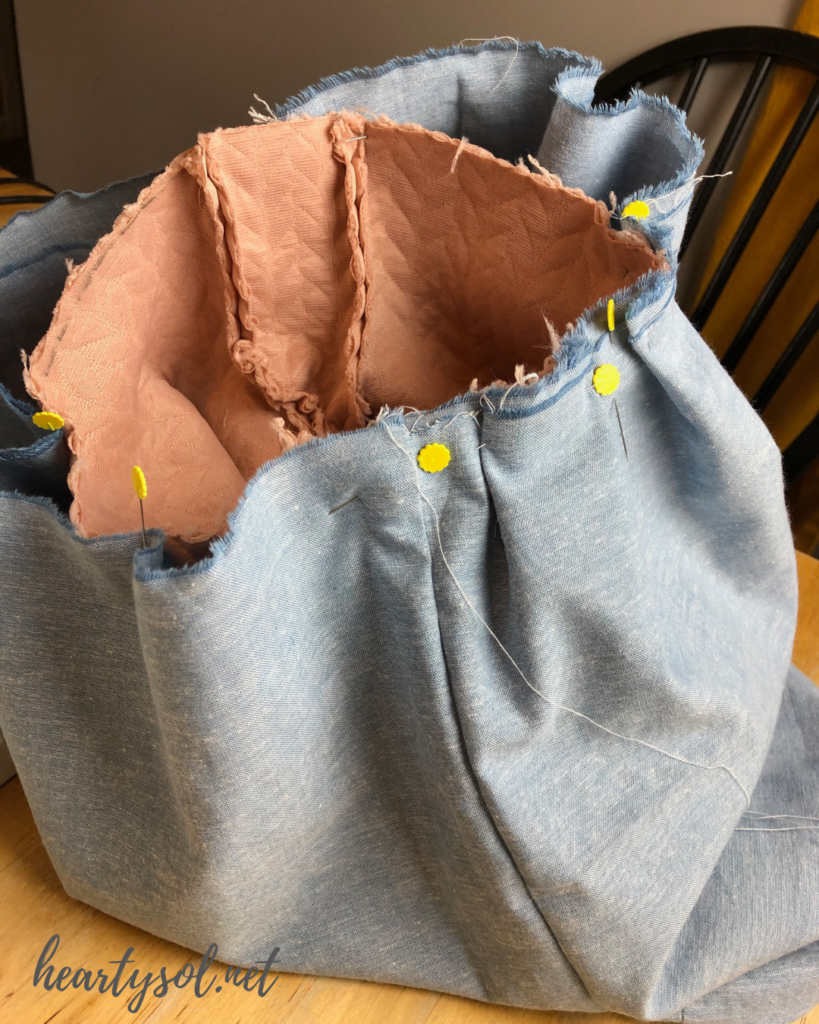
With right sides together sew where you noticed the seams on the favorite garment.
Step 4
Try on and hem or take-in if need be.
Step 5
Press and turn inside out.
Step 6
Put it on and give yourself a huge high five! You are damn amazing!
The Fabric:
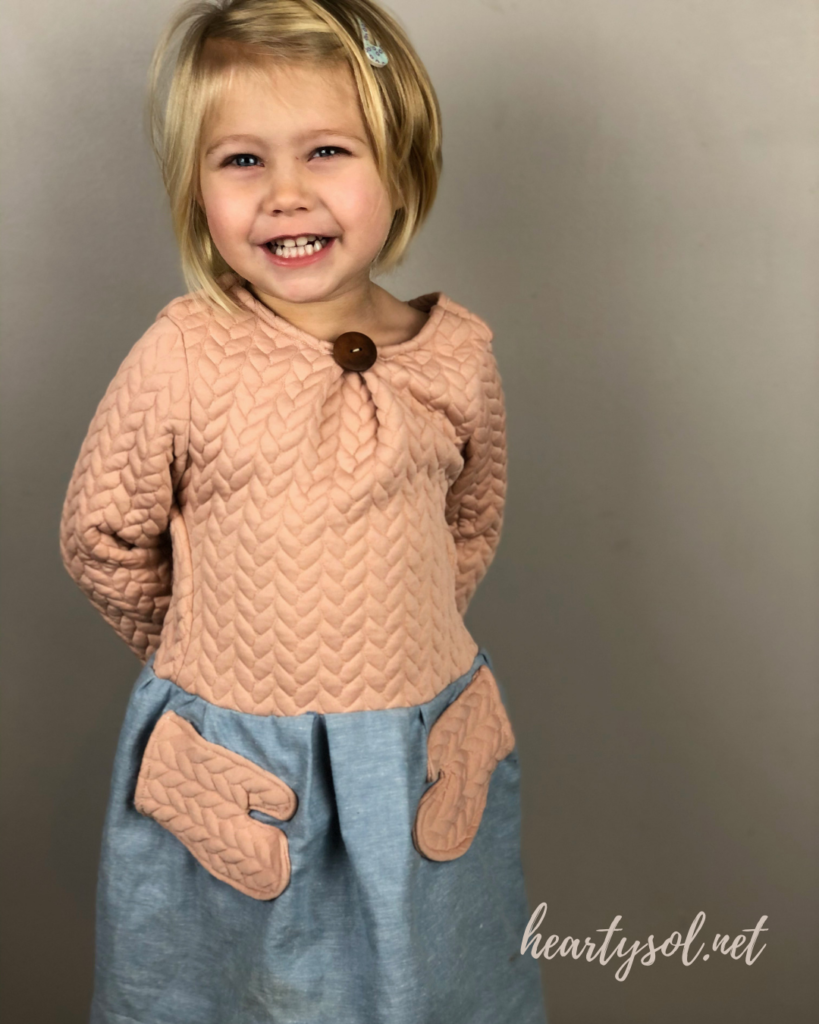
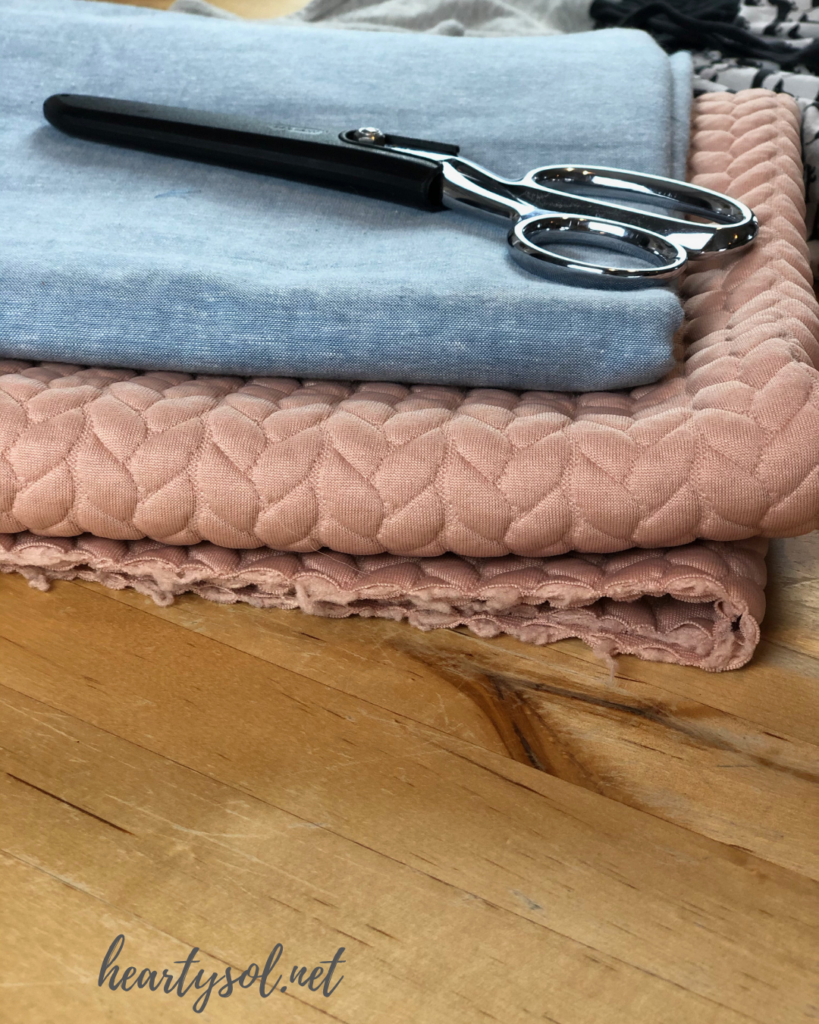
Before I forget, I know I am going to get asked where I got the fabric for the pink and denim chambray dress. See the links below!
https://www.hobbylobby.com/Fabric-Sewing/Seasonal-Fabrics/Fall-Apparel-Fabric/Blush-Quilted-Cable-Apparel-Fabric/p/80945562
This little Winter Dress
Itty bitty loves dresses and gets attached quickly to her favorites. Instead of trying to track down a similar dress in her current size I just find some comfortable fabric and hit it!
It seriously took me longer to set up all my video gear and lights than it did to make this dress. If I can do it, you can do it!
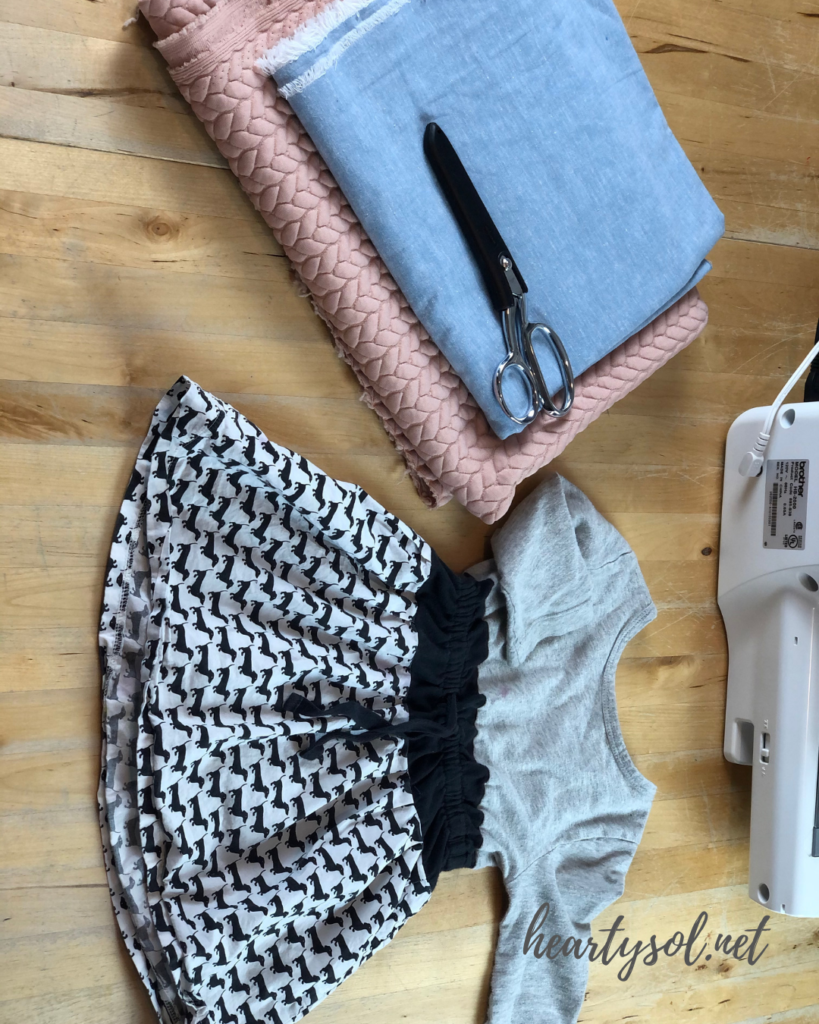
Cozy Winter Dress Tutorial Video
The finishing touches
My grandma had given me a blue ball jar of buttons for our wedding gift. I treasure that jar. Each button has a story and many times still have the thread attached telling me that she harvested each and every one of those buttons. Every time I sew something around here, one of Great-Grandma’s buttons adorns that item. Sometimes it’s in plain sight and sometimes I sew it into a pocket just for fun.
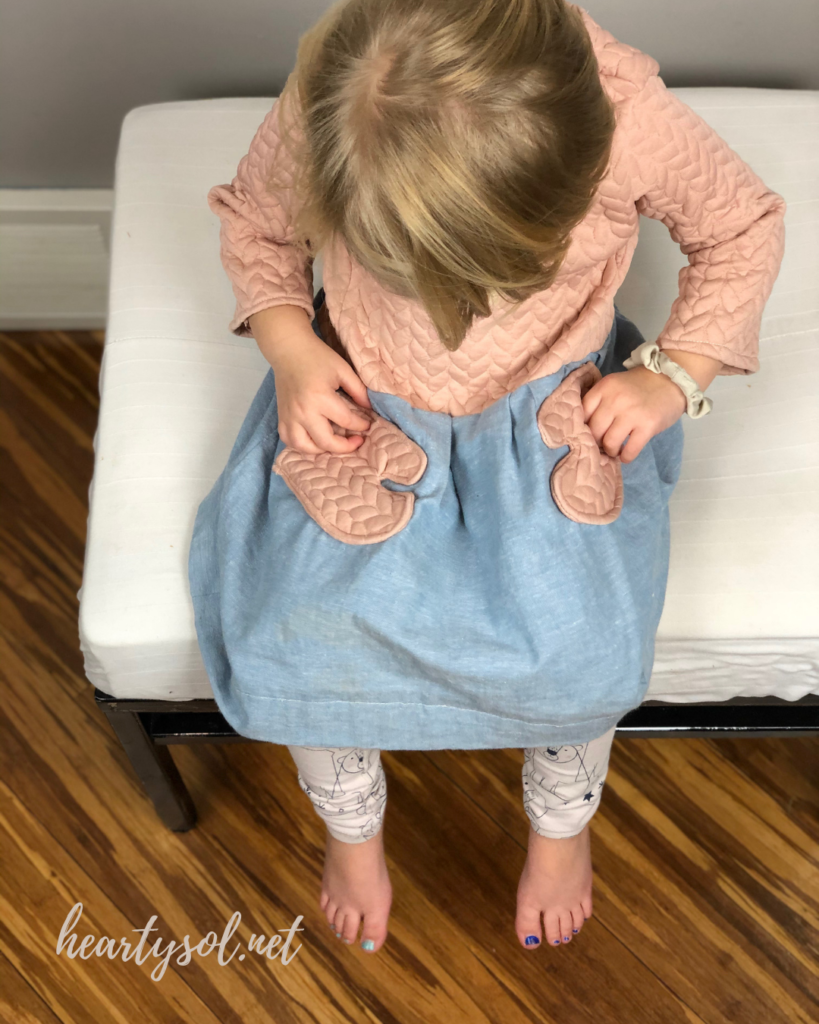
When I finished this little dress I knew it needed a Great-Grandma button and some pockets. Since this is a winter dress, I wanted the pockets to be mittens and the kind that can’t get lost very easily. 😉
How to make the mitten pockets for the Winter Dress
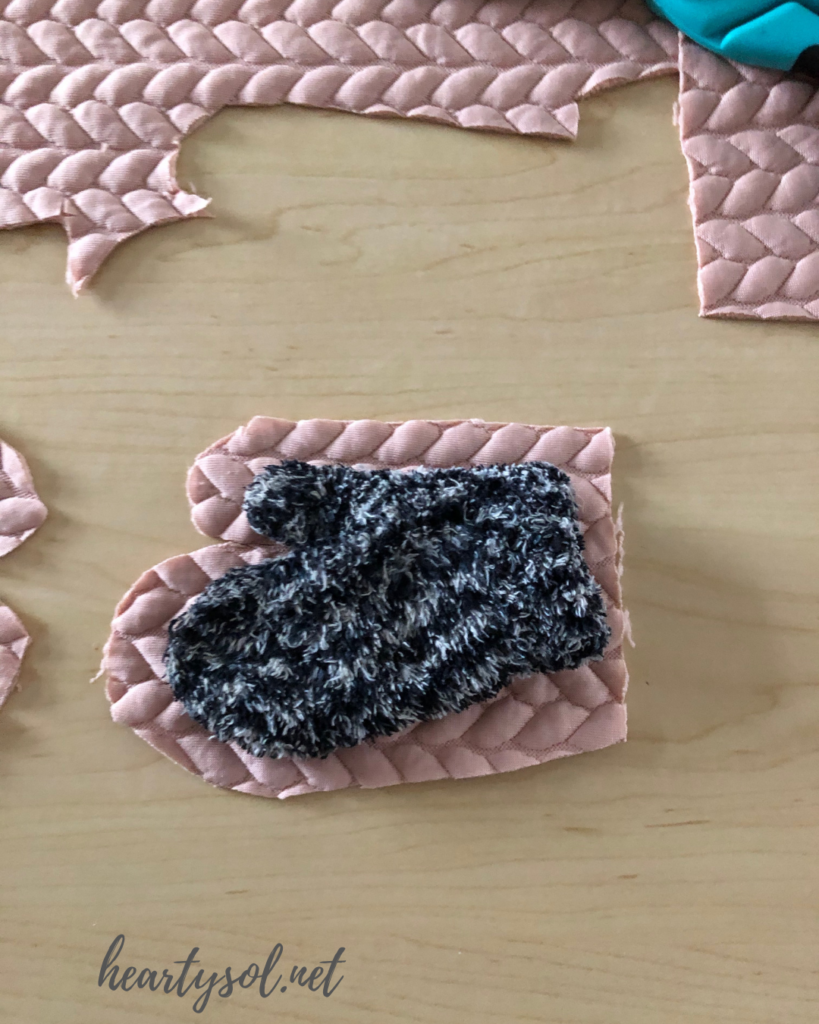
Find a mitten that fits the hand. Cut 2 pieces slightly larger than the mitten. With both layers of the fabric facing right side up. (See image below)
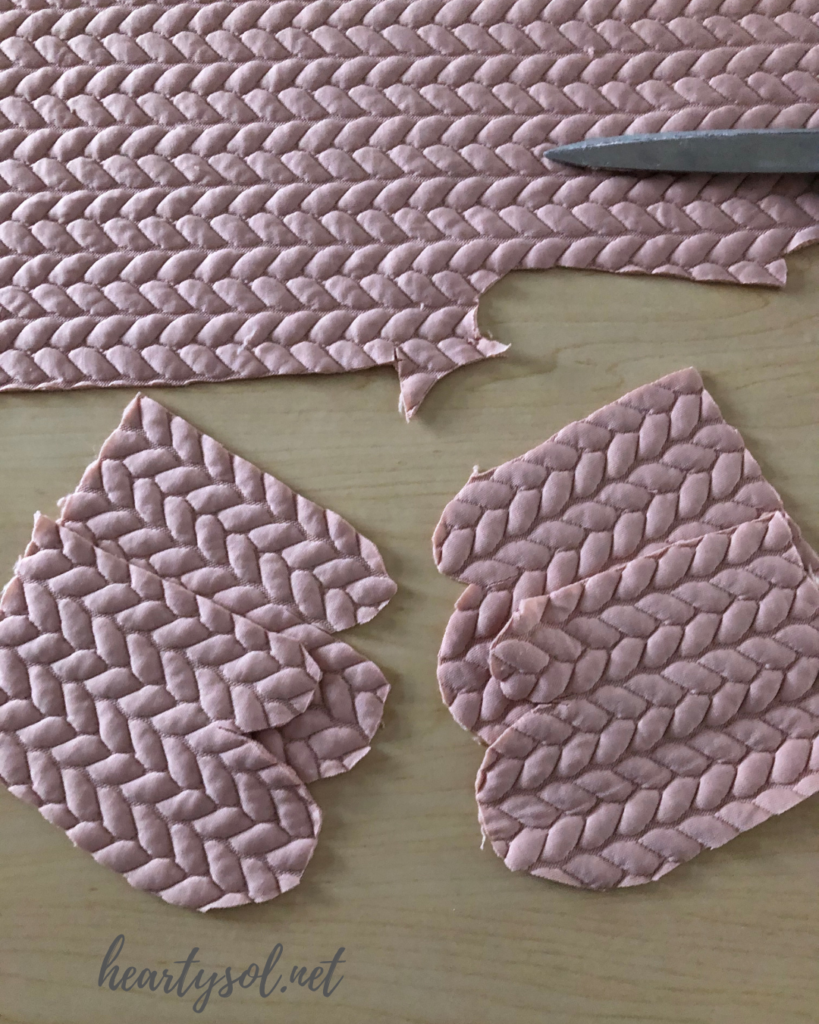
Next, finish the cuffs but rolling the seam over and sewing a straight stitch.
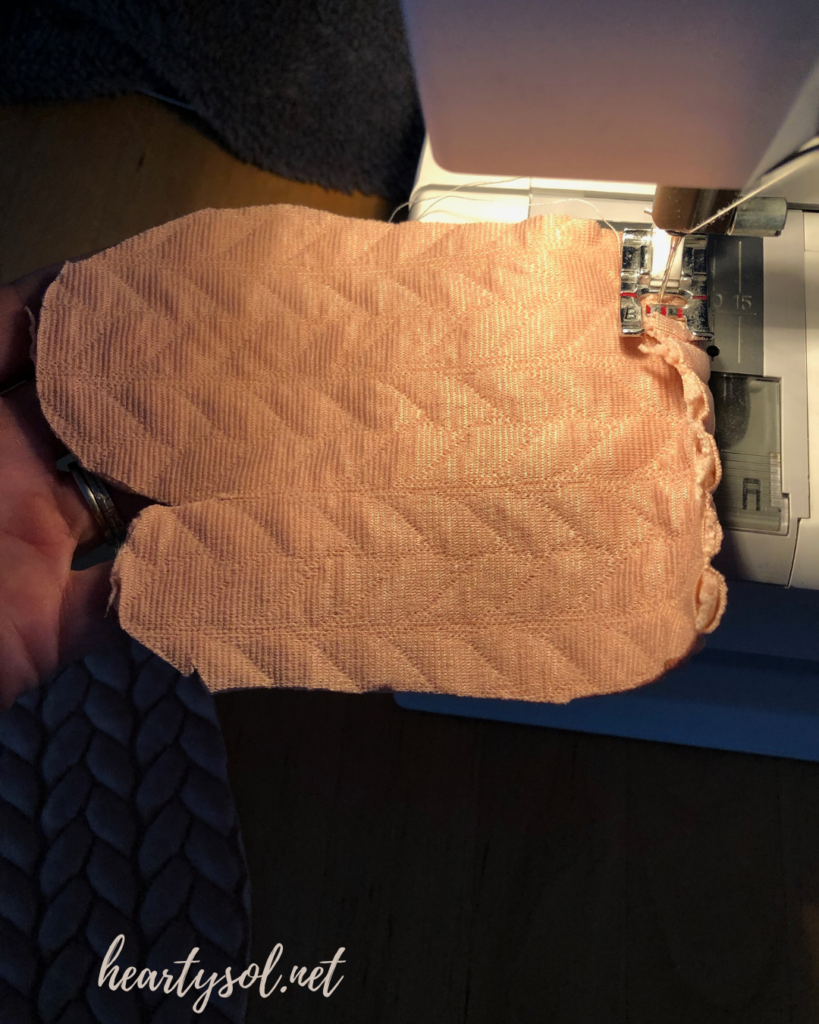
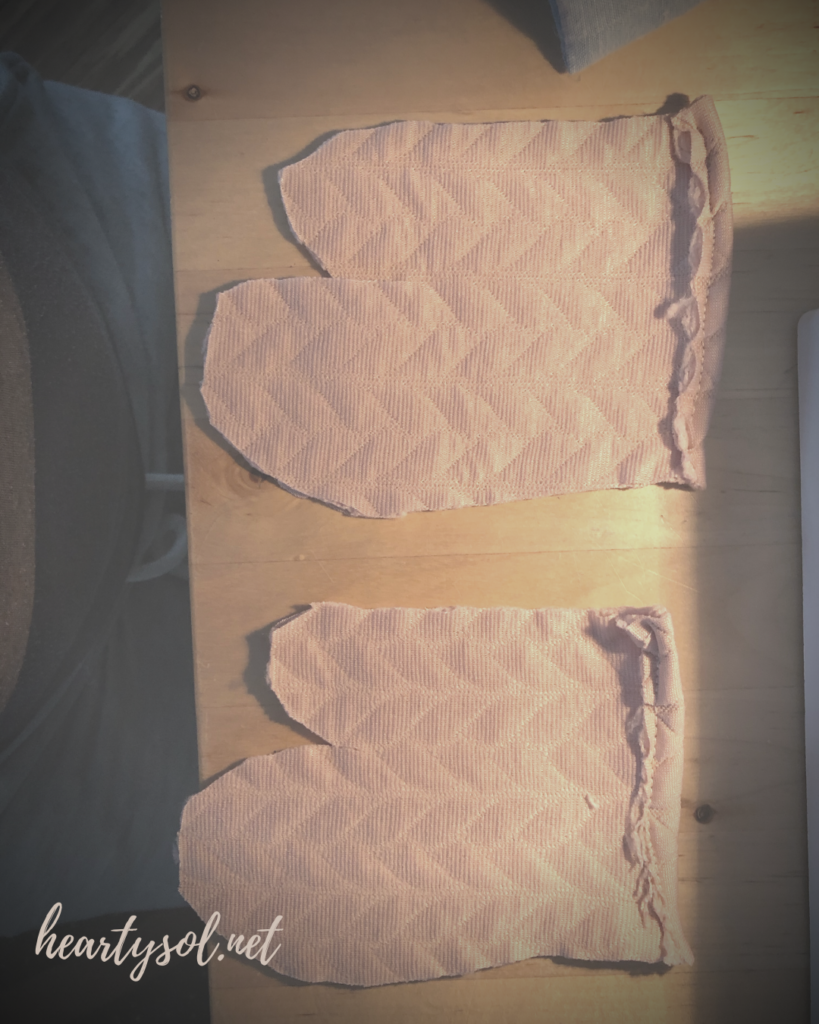
Sew around the mittens, all but the cuffs. With 1 right side facing the wrong side. (See photo above). This will allow you to see the right side of the fabric on the front of the pocket and on the inner linning too!
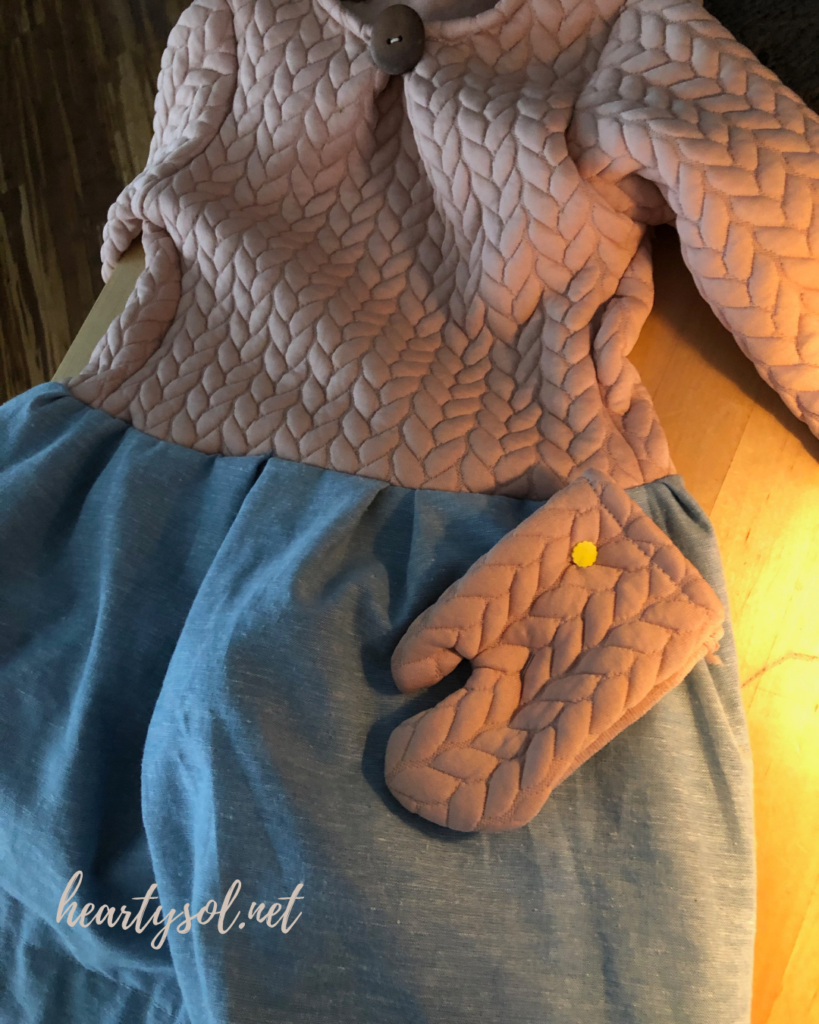
This mitten looks a little like a hot pad, at this point, but we are going to pin in place and sew carefully around the edge of the mitten, leaving the opening.
Once you have sewn around the mitten, go back and sew down just the cuff on the backside of the pocket. Don’t sew on the top of the cuff or you will close the pocket. (See photo below)
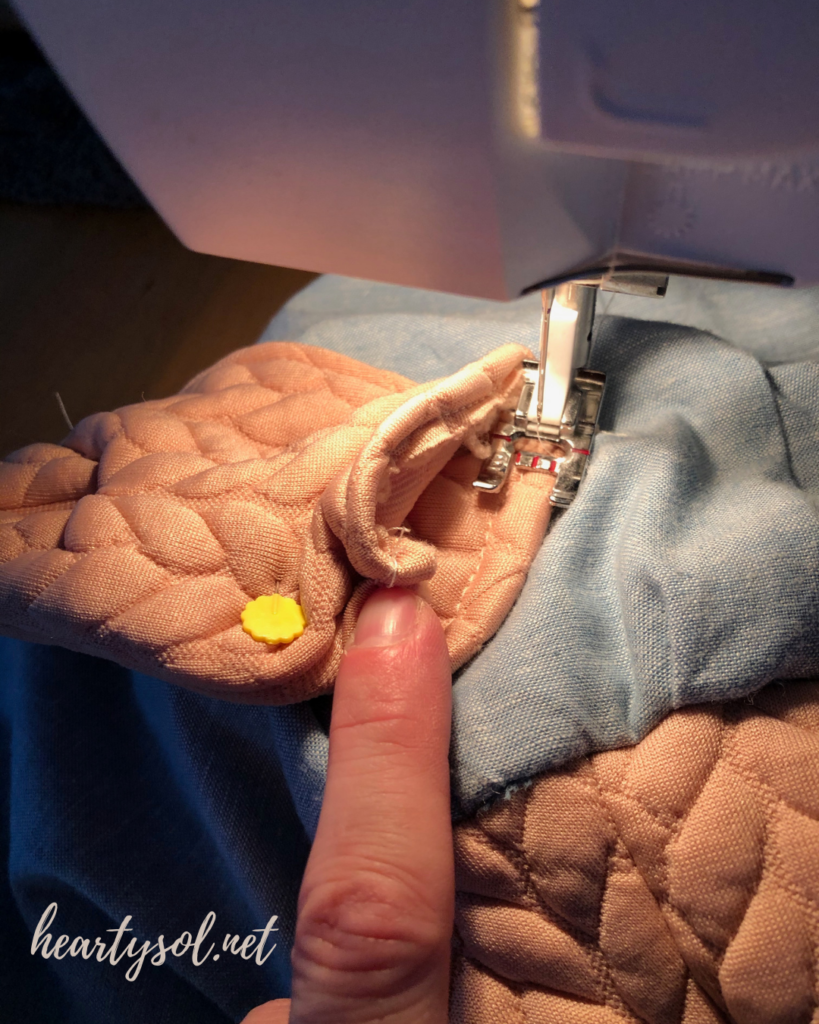
*Be sure to check under the skirt to be sure that the fabric is not bunched up after you have pinned in place before you sew.
Show me yours Winter Dress!
I can’t wait for you to show me your dress! Post your photos and comments below.
Click for More Sewing Tutorials
Cheers!

Affiliate Disclosure & Content Disclaimer
This post may contain affiliate links from a paid sponsor, Amazon or other program. When you use these links to make a purchase I earn a small commission at no extra cost to you. This allows me to continue creating the content that you love. The content in this article is created for information only and based on my research and/or opinion.
Emily T.
DAILY INSPIRATION ON THE GRAM @hearty.sol
it's hip to be square!
View comments
+ Leave a comment