

How to Create a Rustic Willow Fence (Step-by-Step)
There’s something deeply satisfying about crafting with what’s already growing around you. When our chickens needed a new fence, I didn’t run to the lumber yard. Instead, I looked to the willow patch on our farm. Willow branches are flexible, abundant, and when woven together, they create a beautiful, sturdy, and natural-looking fence that feels right at home on the land.
Why Willow?
I planted my first willow hedge two years ago and have been on a journey to figure out how to best utilize its abundant branches since. After experiencing an immersive willow basket class this past spring, I finished a trough on the side of our house, which allows the willow to soak, preparing it to be used when inspiration strikes. This summer, my inspiration was fueled towards a coop for our birds. For a bit of privacy and a lot of practicality, I used what I’ve learned about working with willow to weave a rustic fence around my newest project.
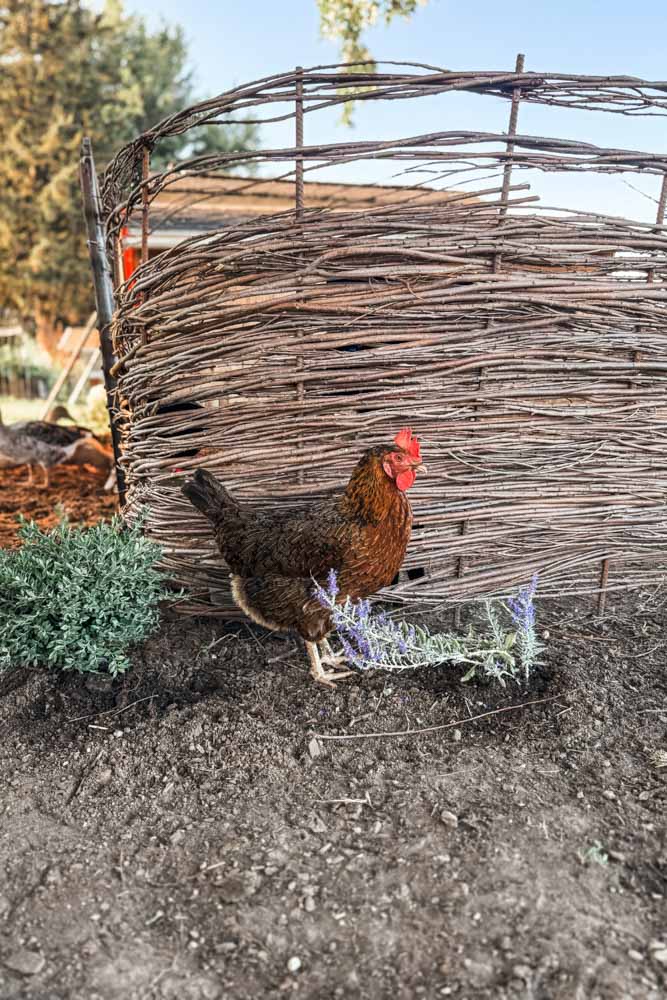
Our New Bird Coop now serves ducks, chickens, French Toulouse geese, and more feathered friends. Between the rounded hobbit door, asphalt shingles, and a natural linseed oil and pine tar finish, the willow fence was the perfect handcrafted touch to make our backyard feel like home.
Benefits of choosing Willow for your next project
- Abundant resource – Willows grow fast and often need trimming back anyway.
- Flexible and strong – The branches bend easily without breaking.
- Beautifully rustic – No paint or stain required. The natural tones of the bark add charm.
- Eco-friendly – No treated lumber, plastic, or wire mesh. Just wood, hands, and time.
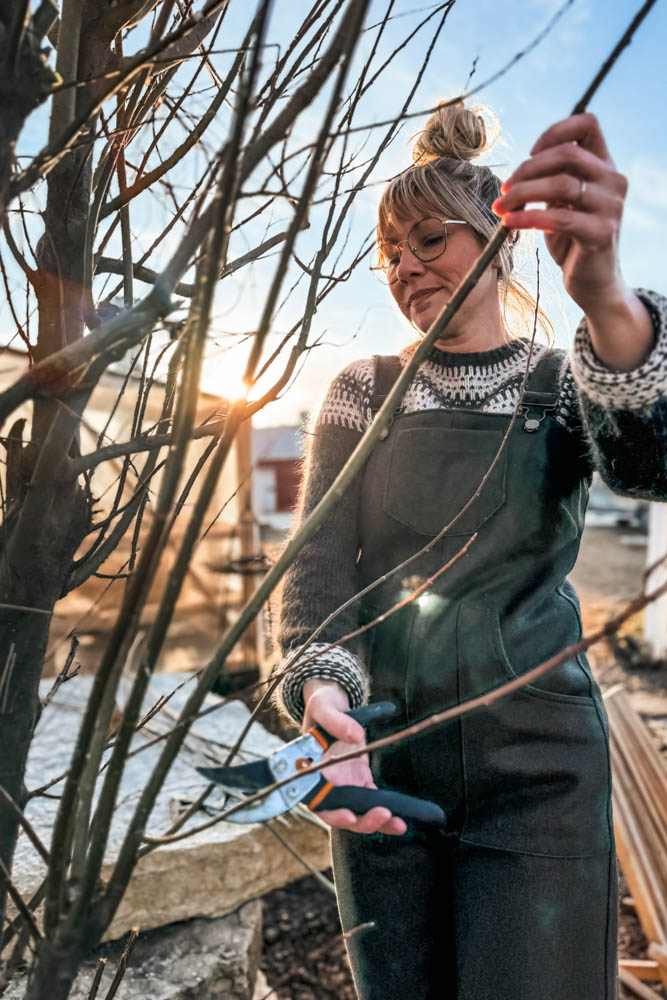
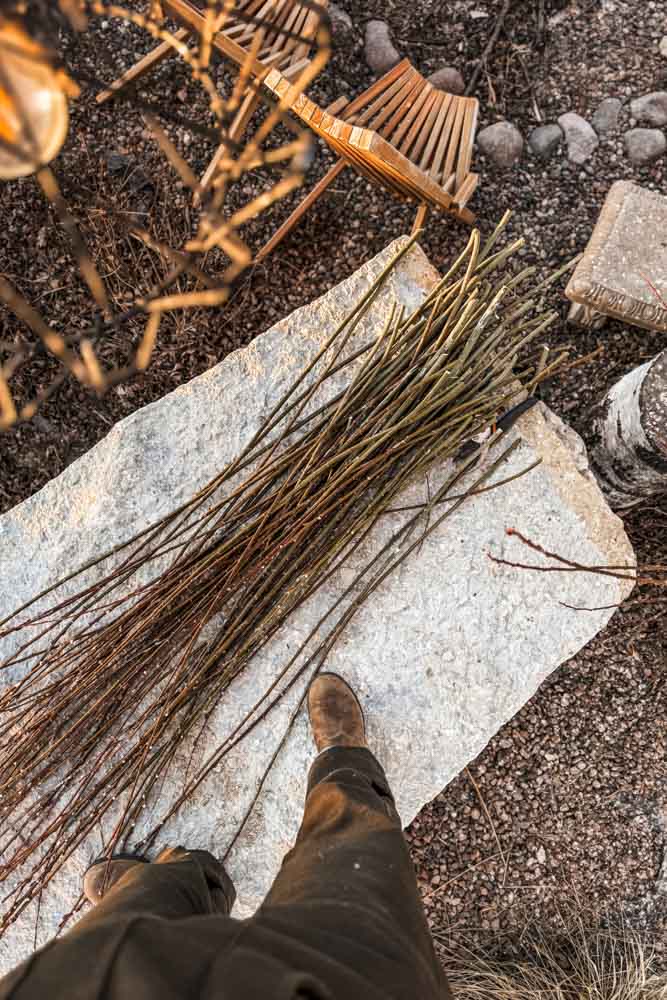
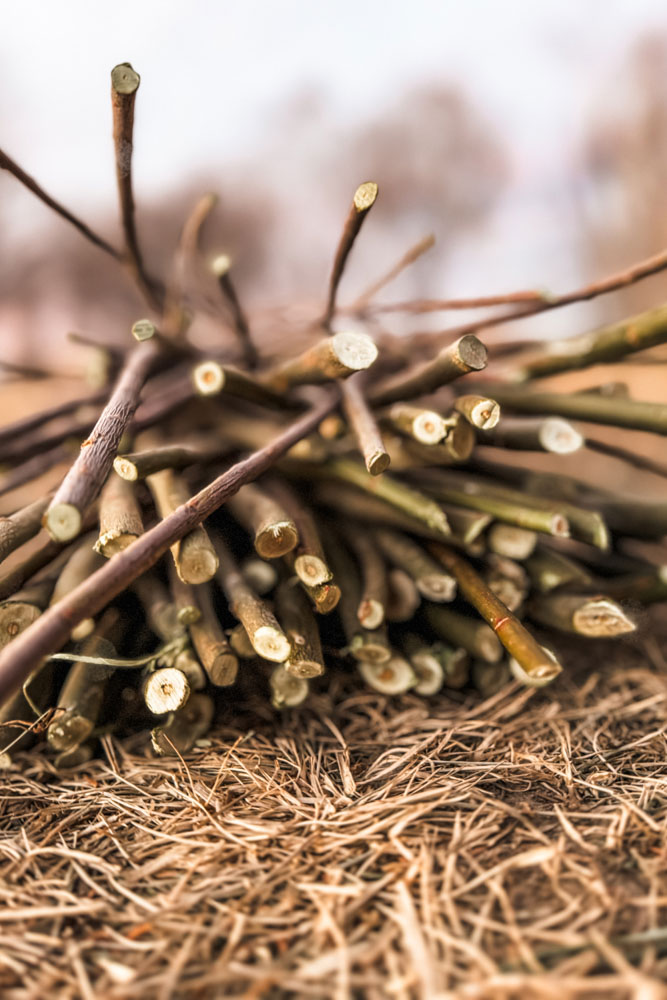
Gathering the Willow
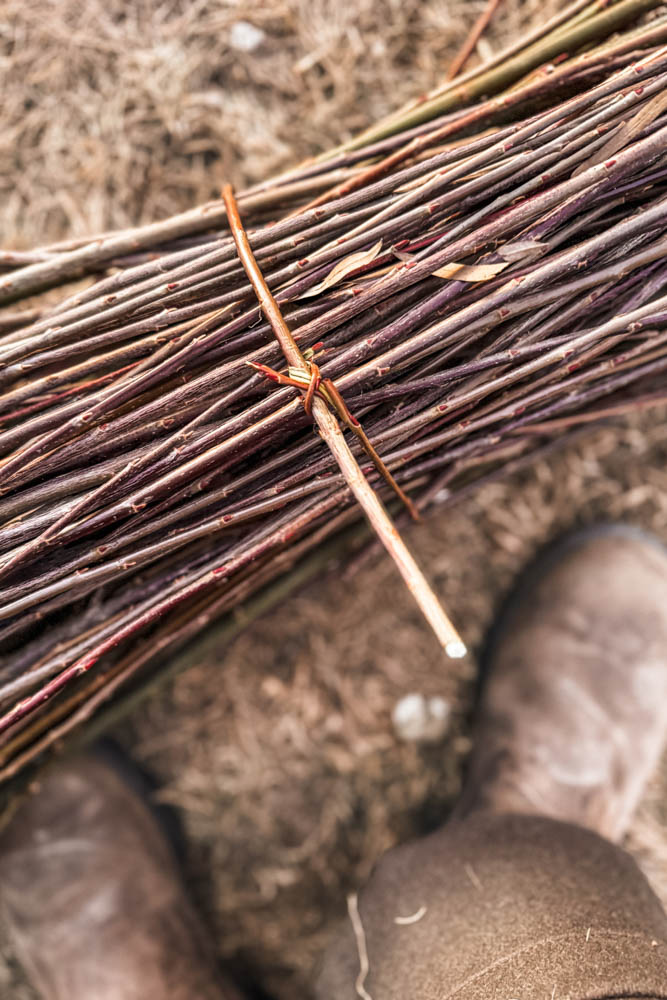
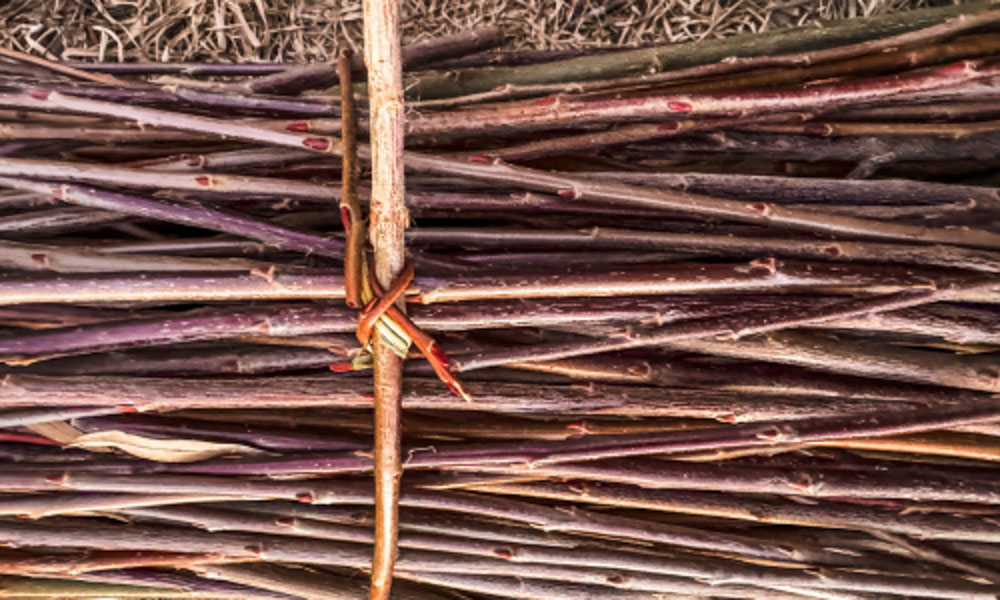
Early spring or late fall is the best time to cut willow branches, when the sap isn’t running strong. I harvested these long, straight shoots about as thick as a thumb and cut them down to manageable lengths in early spring. The longer and straighter the branch, the easier it is to weave.
Tip: Keep the freshly cut willow damp until you’re ready to use it. Dry branches can snap, but supple ones bend and twist like rope.
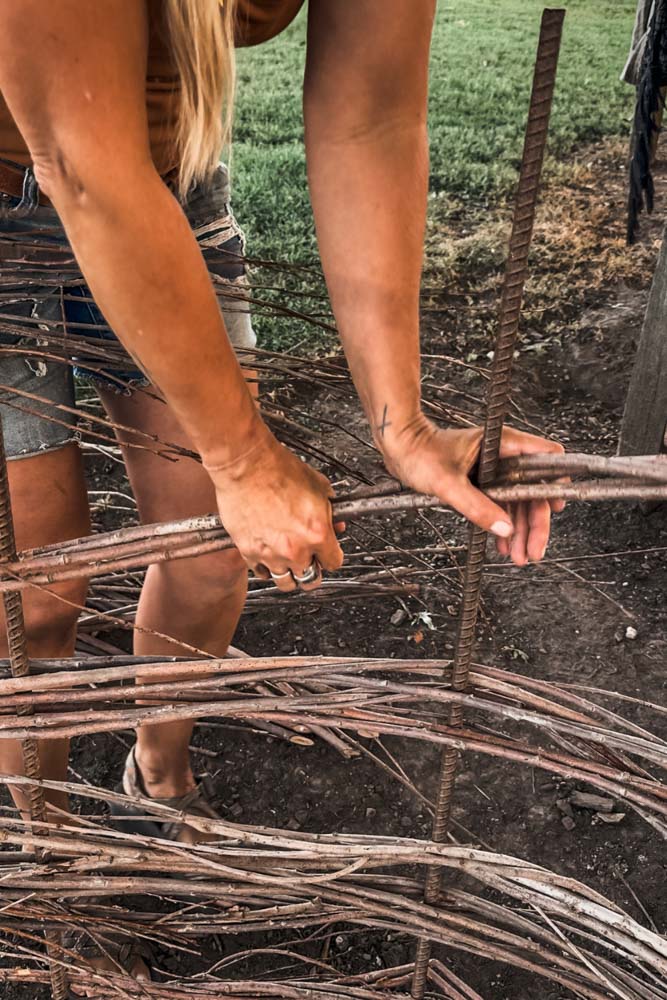
Setting the Fence Posts
Since this fence was for the chicken coop, I needed it to be practical as well as pretty. I set sturdier posts using pieces of re-rod (you can use either willow trunks or leftover fence posts) into the ground around the coop perimeter. These verticals act as the backbone of the fence.
Spacing is key — too far apart and the weave sags, too close and you’ll be weaving forever. I set mine about 18 inches apart.
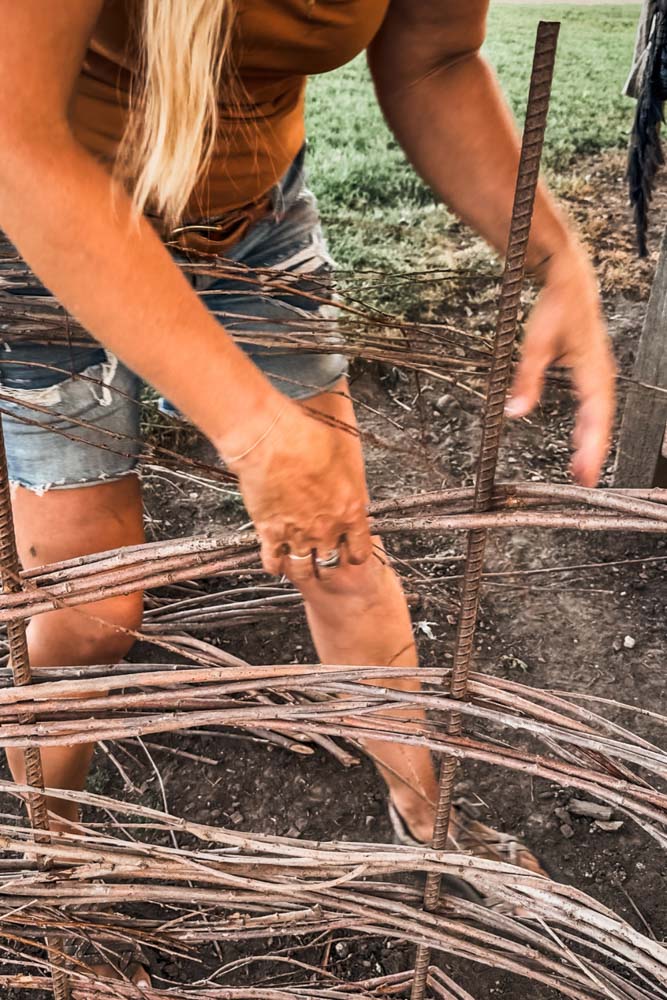
Weaving the Willow
This is the fun part. Starting near the ground, first I created a wood block barrier so the willow wasn’t actually touching the ground, to help maintain it longer. Then, I wove 2 willow branches horizontally, weaving them in and out of the upright posts. Each new set of branches, started on the opposite side of my posts and overlapped the last one, so there weren’t gaps.
The natural curves of the willow gave the fence a handmade feel. Some sections are tighter, some looser — but that’s the beauty of it. This isn’t factory-made fencing, it’s living craft.
Finishing Touches
After weaving up to the height I wanted, I trimmed the ends and tucked them into the weave so nothing stuck out. Over time, the willow will dry into place and the whole fence tightens.
If you want a longer-lasting fence, you can even stick some of the willow cuttings directly in the ground and let them re-root — your fence becomes a living hedge- this will go in a different area of our yard in another project. 😉
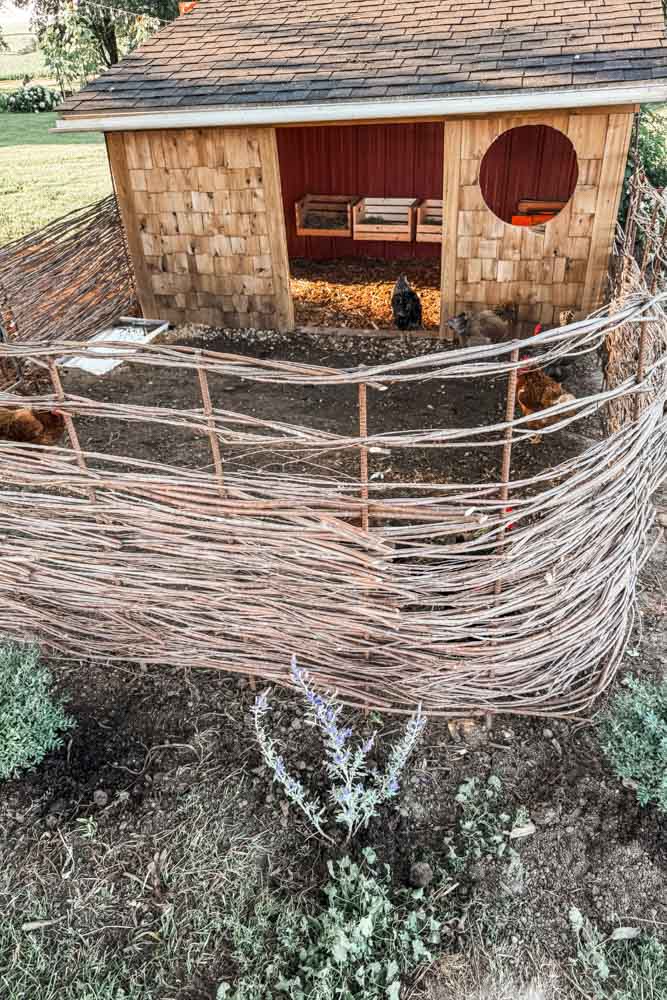
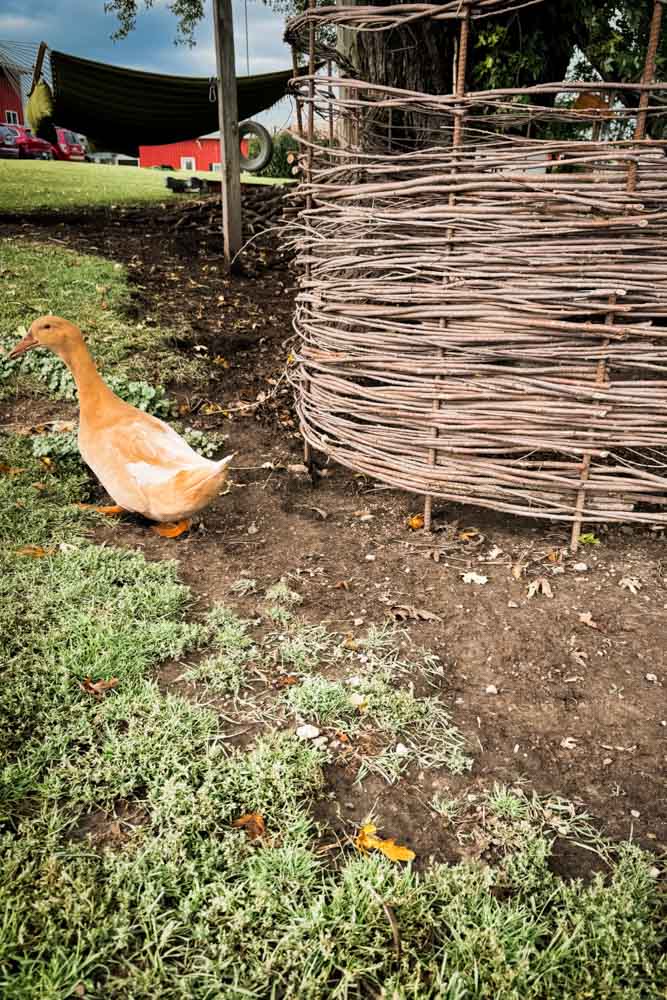
How It’s Holding Up
I did affix some of the edges with some brown zip ties to secure the sticks, but the chickens don’t escape if I don’t want them to. The coop looks charmingly rustic, and I feel proud every time I walk past the fence knowing it came straight from our land. It’s a reminder that with a little creativity, the farm provides what we need.
More About the Coop Addition Build:
How I Constructed our Wild Willow Fence
How We Preserved our Coop’s Cedar Siding
Full Coop Addition Reveal- with Sources!
Pin For Later!

More Projects
Making a wreath with Willow and Dried Florals
10 creative ways to Repurpose Sheets

Affiliate Disclosure & Content Disclaimer
This post may contain affiliate links from a paid sponsor, Amazon or other program. When you use these links to make a purchase I earn a small commission at no extra cost to you. This allows me to continue creating the content that you love. The content in this article is created for information only and based on my research and/or opinion.
Emily T.


DAILY INSPIRATION ON THE GRAM @hearty.sol
it's hip to be square!
View comments
+ Leave a comment