

How to Create Stylish Bi-Fold Closet Doors for Less
Bi-fold closet doors are a great way to save space, but store-bought upgrade options can be super expensive and personally uninspiring. If you’re looking for something budget-friendly, updated, and stylish, I’ve got you! Let’s make some custom bi-fold doors!
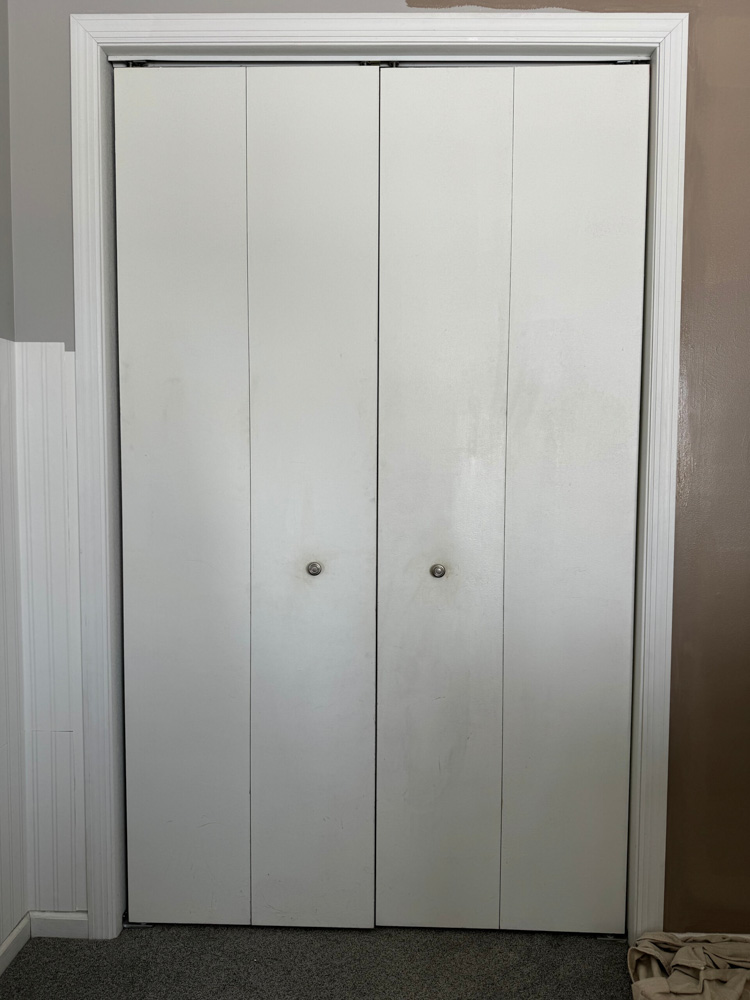
But First, the Before!
This winter I have been on a home improvement kick when it comes to our kid’s spaces – wallpaper, lighting fixtures, closet repainting, you name it! This was one of the larger projects for their room and, as with everything I do, I made sure that this project would improve the functionality just as much as the aesthetic.
Admittedly, the original doors aren’t in terrible shape, but I was going to redo this side of the kids room anyway, so I want to level things up a bit. Also, the white color of the original doors was just asking for a weekly cleaning and some TLC!
Get Started on Your Bi-Fold Closet Doors
Materials Needed
Here’s what you’ll need for this project:
- Half-round trim – $20-$30
- Knobs or handles – $5-$25
- Caulk – $5
- Paint or stain (optional) – $5-$10
- Bi-fold door track (if needed) – the door I was redoing, didn’t need a new track.
Tools Needed
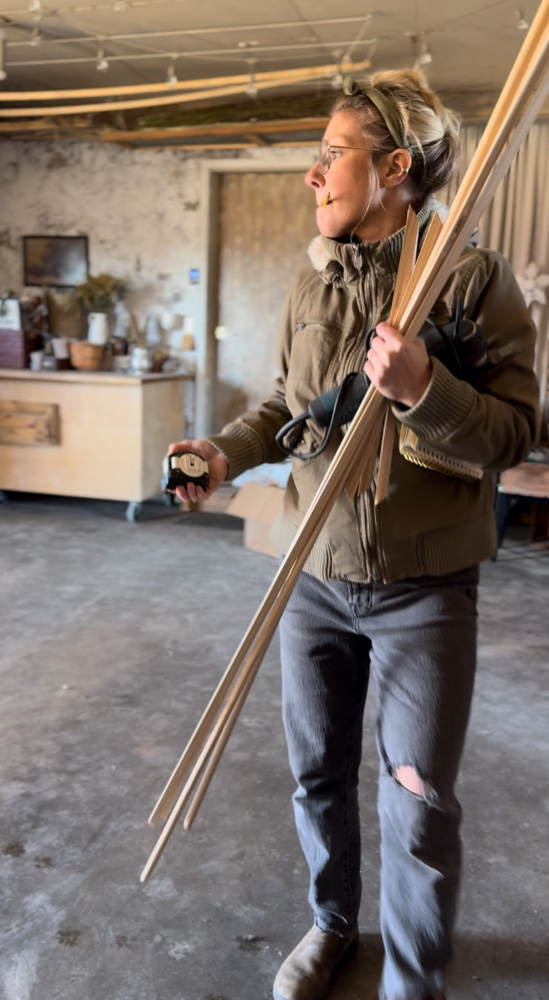
- (6) 8′ Half Round Trim pieces
- Miter Saw (or hand-held saw)
- Nail Gun/ Brad Nails (I recently updated to this cordless Milwaukee Nailer and LOVE it!)
- A Drill and Drill Bit if relocating the knobs, like I did.
- Caulk/ Nail hole Filler
- Multi-Tool to cut trim pieces where the door separates
- Painter’s Tape
- Level
- Measuring Tape
- Pencil

There are many advantages to having Bi-fold closet doors which is why going into this project, I wanted to keep the bi-fold functionality. Having the doors close in on themselves allows for full access to everything in the closets and doesn’t limit any space in the room. They also are a step closer to that barn door look which we love in our household (hence our past projects like our barn-door-inspired baby gate!).

Step-by-Step Instructions
1. Measure & Plan Your Design
- Measure the width and height of your closet opening.
- If repurposing old doors, clean and prep them for the update.
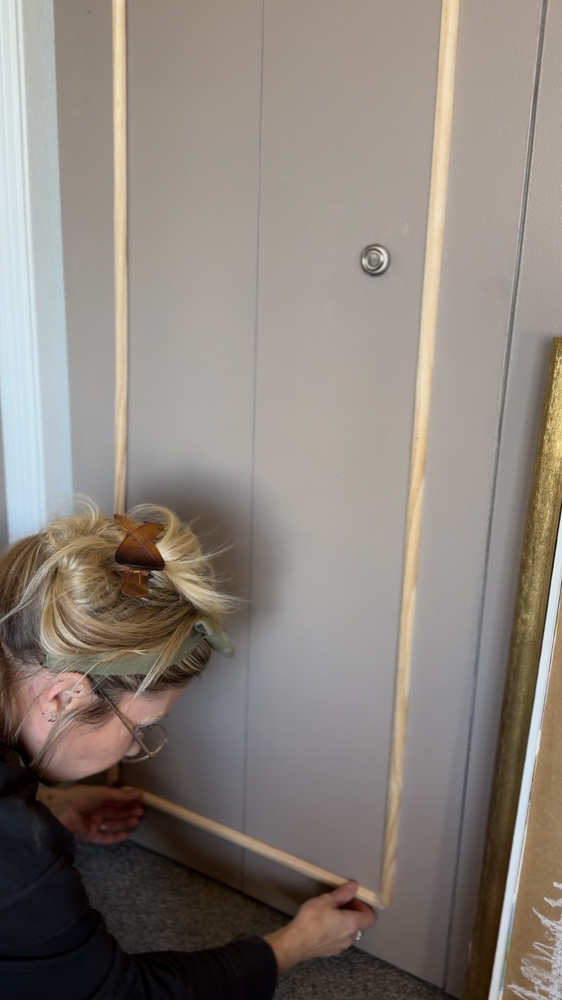
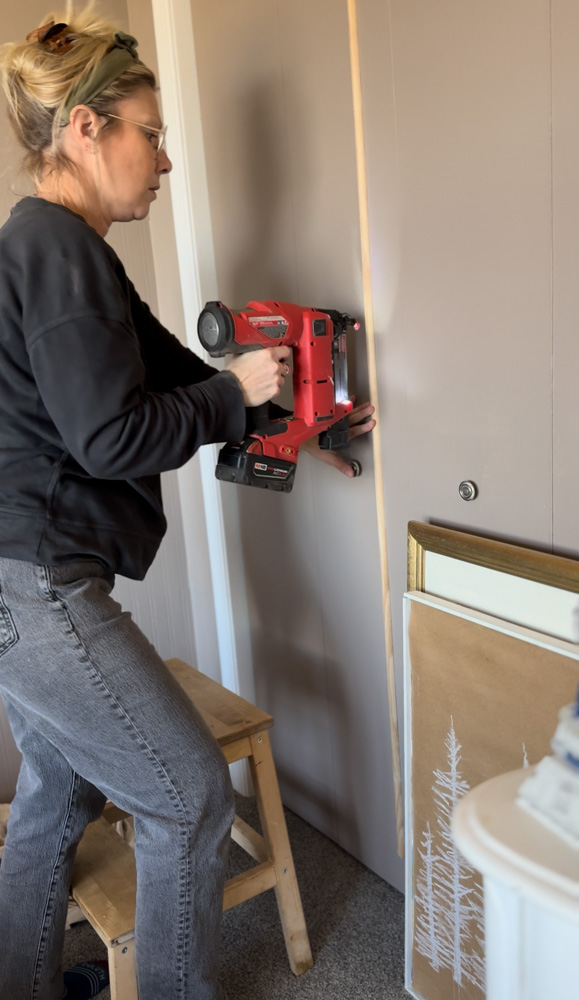
2. Attach the Half-Round Trim
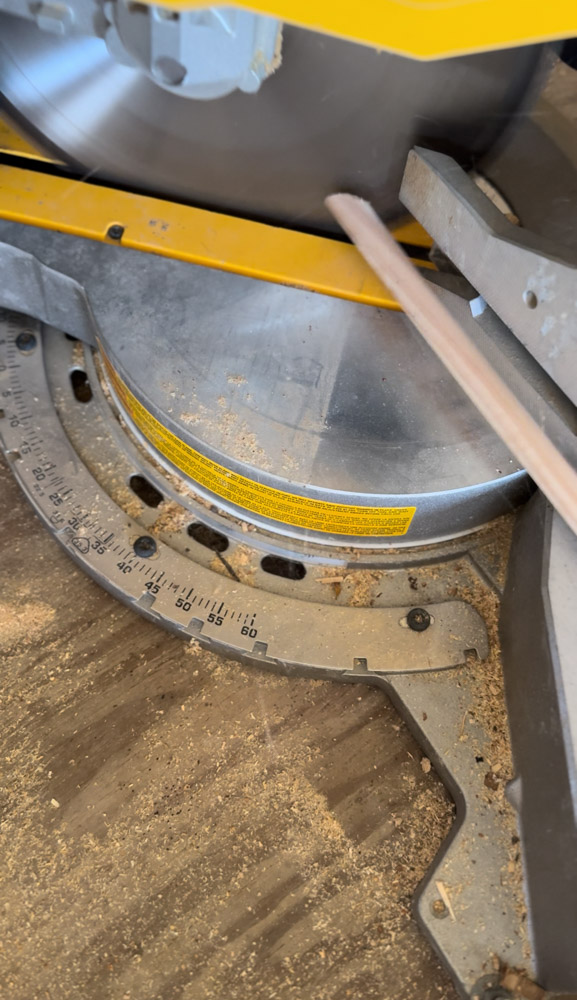
- Plan your trim placement (3″-5″ away from the edge looks nice) and miter cut your pieces at a 45° angle.
- Use an 18-gauge nailer to secure the half-round trim in your desired design.
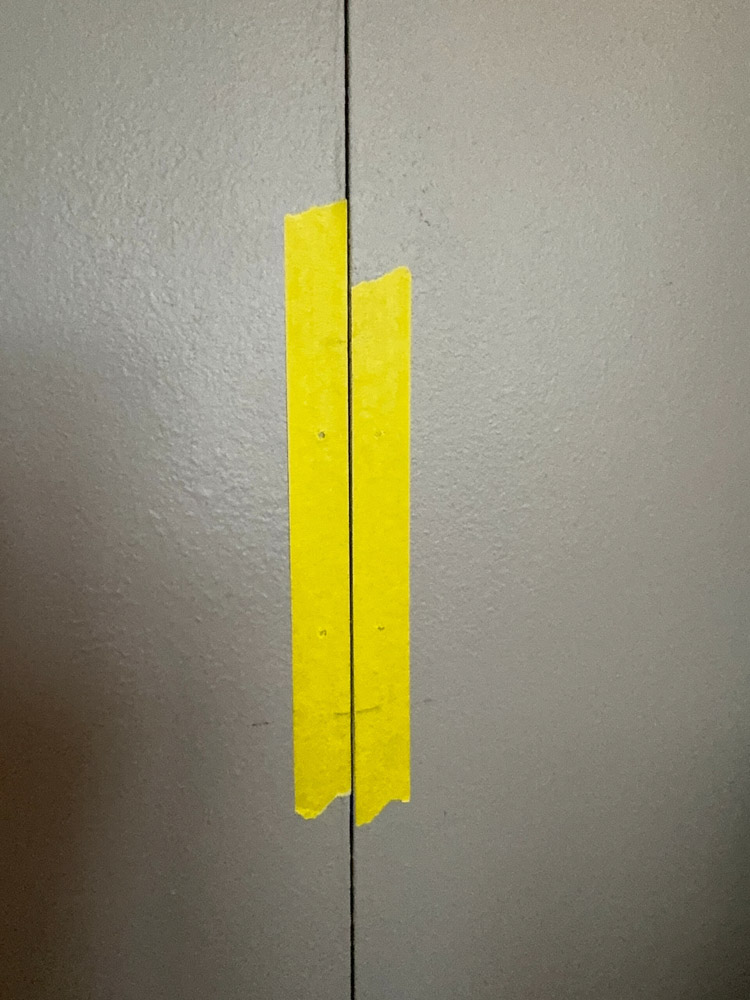
- If you are using the same design pattern I am, you will need to cut a slice in the trim where the doors separate (to allow the doors to open) or simply cut them in half before nailing them to the door.
- Caulk seams and fill in the nail holes for a seamless look.
3. Paint or Stain
- Apply paint or stain to match your space.
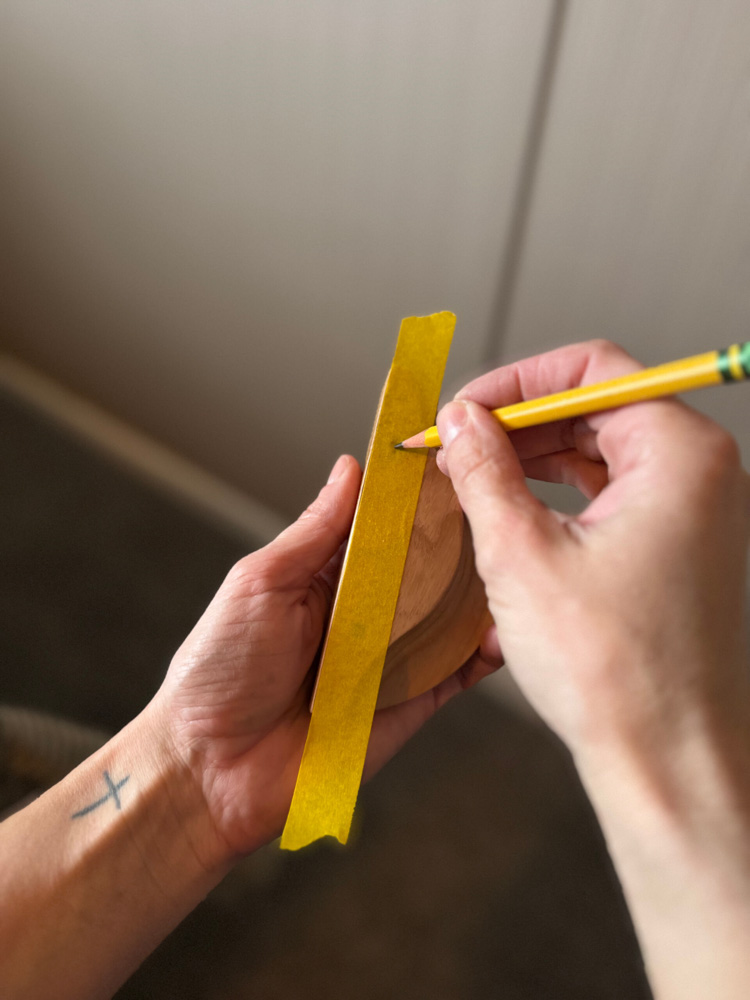
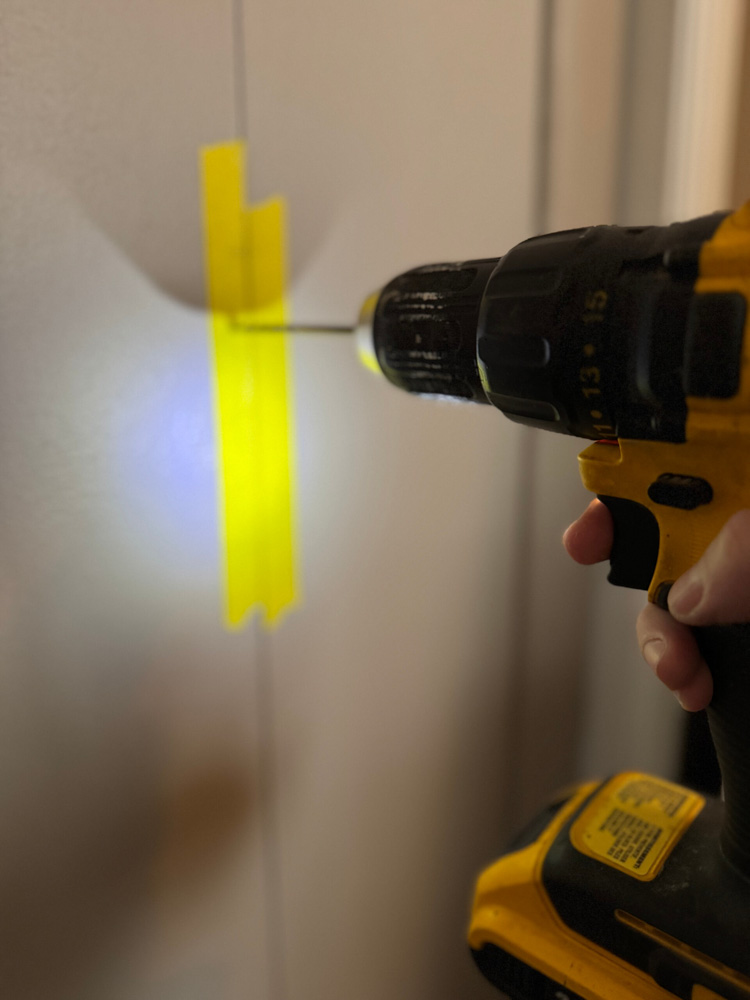
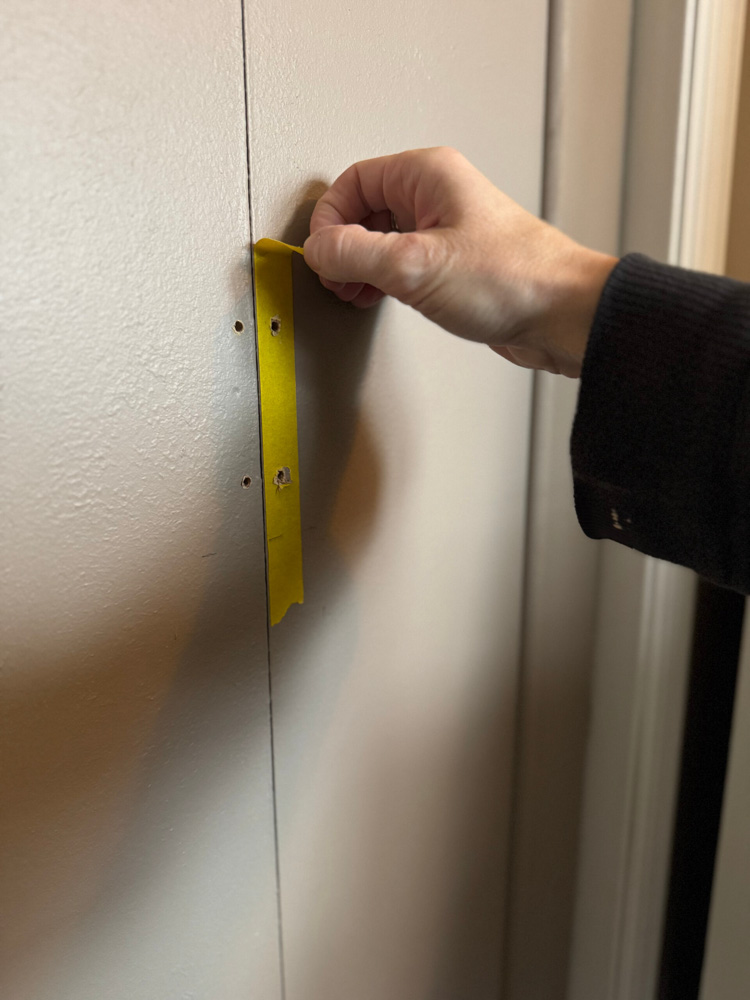
4. Add Handles & Final Touches
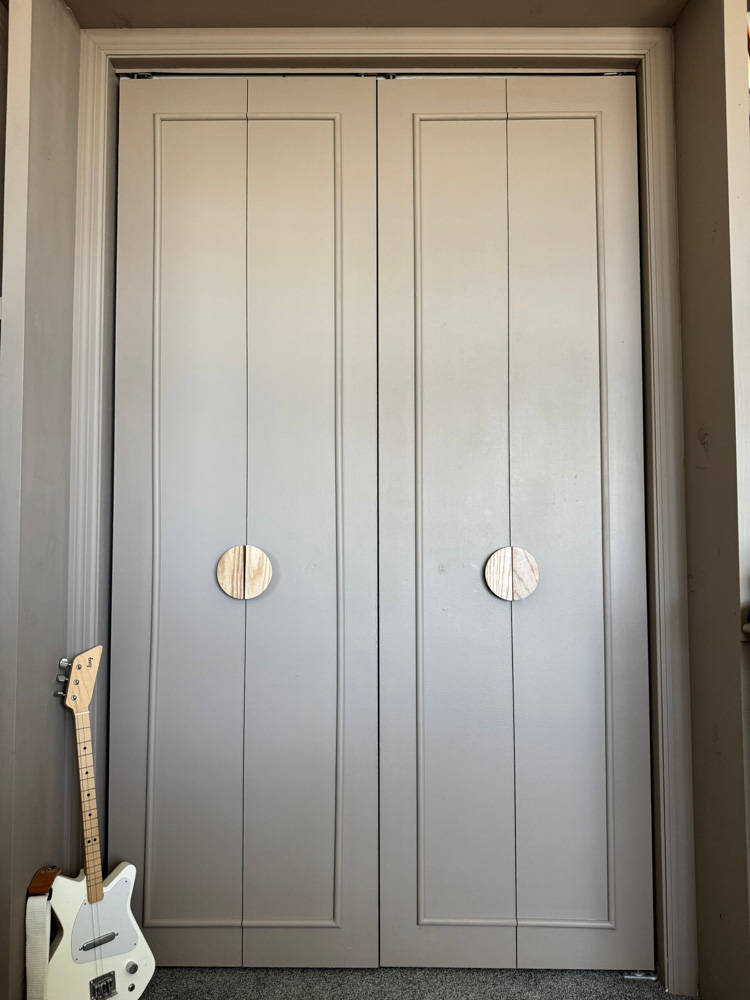
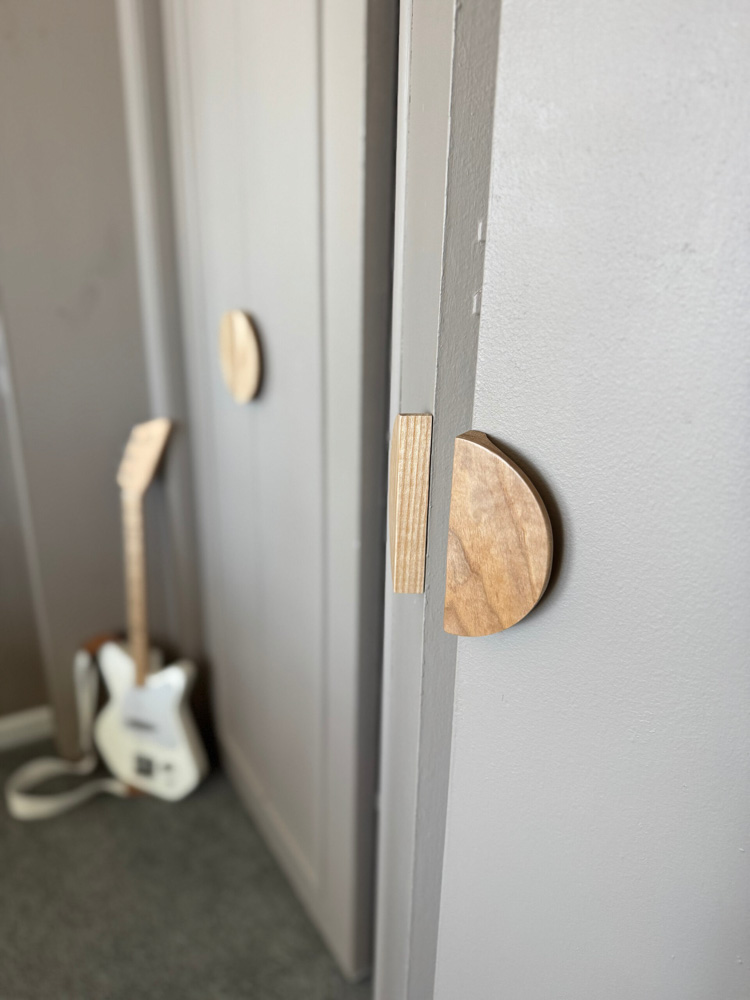
- Attach knobs or handles for an easy grip. I decided to go with these Oversized Wood Round Door Handles – I LOVE the way they look and I think they steal the show!
- Aligning the new drill holes is a lot easier if you use some painter’s tape to transfer the holes from the knob to the closet door. This can be kinda tricky so my advice is to go slow and make sure your holes are lined up before you drill. I removed the old knobs, so I had to fill that hole. I used the same caulk I used to fill in the seams and gaps of the trim, then used a bit of nail filler to smooth it out before painting over it.
- Make sure everything is aligned properly for smooth operation.
Questions about these DIY Closet Doors
How much time does this project take?
This closet bi-fold door update took me about an hour, once I had all my tools around.
Style Inspirations?
Classic! The answer for our house is always classic and evergreen. Trends are too hard to keep up with and if I’m going to put my time and money into something, I’ll be darned if I even think I MIGHT get bored with it in a year’s time.
What paint color?
I’ve been using Pittsburgh Paint – Early Gray MEN7115-4
What are the best handles for bi-fold closet doors?
- Circular: I’ll say it again just how much I love the circular handles! The larger size provides a great accent for the door and makes it easier to pull open.
- Bar Pull: Place vertically or horizontally. This will get you closer to the barn door style and makes the handle more of a statement like our wooden ones.
- Round Knobs: These worked great for us before and are a great neutral style.
- Flush Pull: These lay flat against the door and give a more modern, sleek look.

Final Thoughts
And that’s it! In just a few simple steps, you’ve created custom bi-fold closet doors for under $50—all without the high price tag of store-bought versions. Whether you go for a sleek modern style or a rustic farmhouse vibe, this DIY project is an affordable way to elevate your home.
This little closet project was one of about eight things I did to update this room. I’m planning on posting about the Built-In Shelf that I built around this closet soon, too! In case you missed it’s reveal- check it out!
Would you try this project? Let me know in the comments!
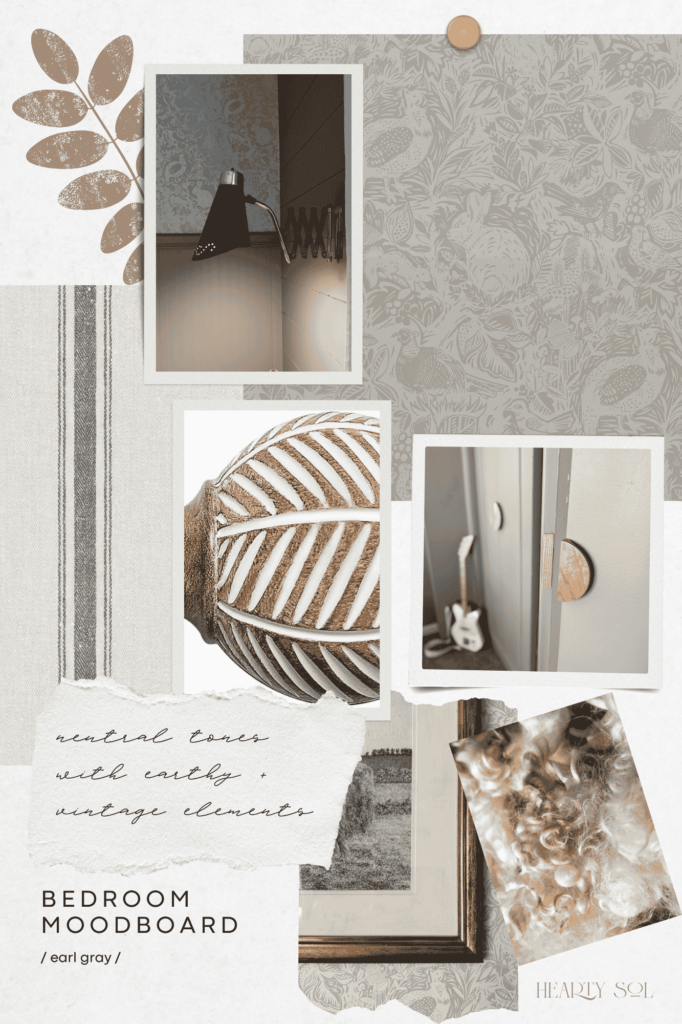
Pin for Later
Home Essentials I’ve Been Loving for This Room Update
Stripped Peel-and-Stick Wallpaper
Cream Terrene Wall Peel-and-Stick Paper
Rechargeable Wireless Light Bulbs with Timer
Our Favorite Cotton Linens and Bedding Quilts

Affiliate Disclosure & Content Disclaimer
This post may contain affiliate links from a paid sponsor, Amazon or other program. When you use these links to make a purchase I earn a small commission at no extra cost to you. This allows me to continue creating the content that you love. The content in this article is created for information only and based on my research and/or opinion.
Emily T.


DAILY INSPIRATION ON THE GRAM @hearty.sol
it's hip to be square!
View comments
+ Leave a comment