

How to Make a Barn Door Inspired Baby Gate
Fitting in with our home aesthetic, we wanted our baby gate to coordinate with our other barn doors in our home. Follow along to learn how to make your own DIY Barn Door Baby Gate!
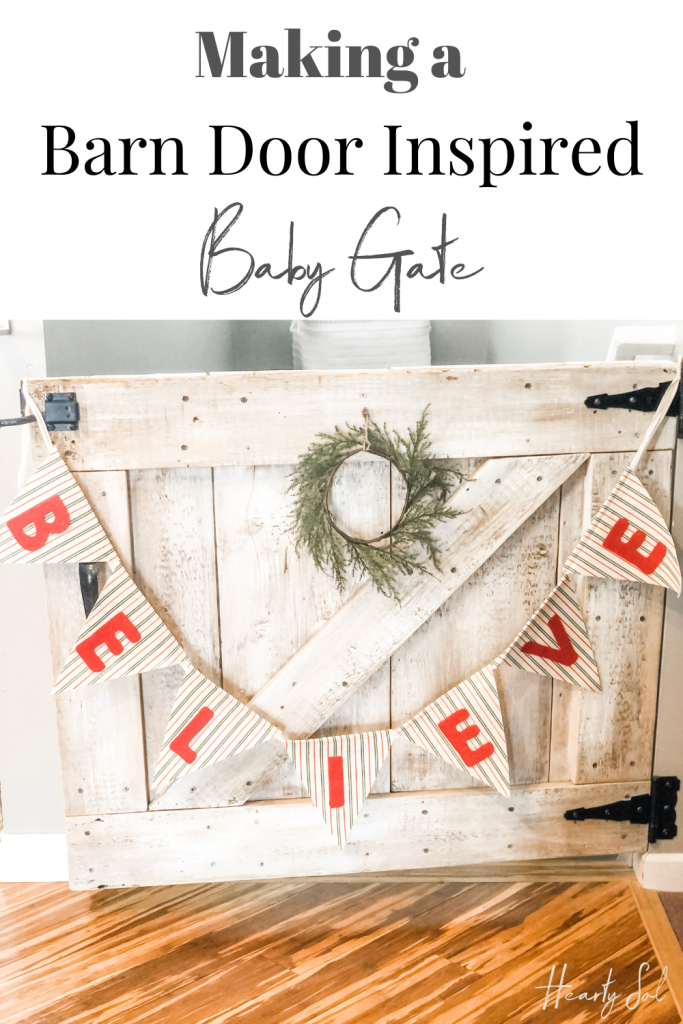
After our previous baby gate gave-way and sent our 1-year-old down a flight of stairs, we knew we had to make a change. To turn this unsafe area into a safe one, we decided on a farmhouse inspired wooden baby gate that would match the barn door entrance we already have in our laundry room. This wooden gate has provided a secure solution for the top of our stairs – a baby safe stair gate and an extra touch to our farm aesthetic!
This DIY baby gate now sits off of our living room at the top of our stairs going down to the basement level of our house. This wooden baby gate has been such a nice touch to our home and is one of those DIY projects that just keeps on giving! This safety and security makes this creative baby gate a must in baby gate plans!
In my spring house tour post, you may notice a cool barn wood gate at the top of our staircase :). If you missed the tour, find it here!
Building your DIY Barn Door Baby Gate
Barn Boards

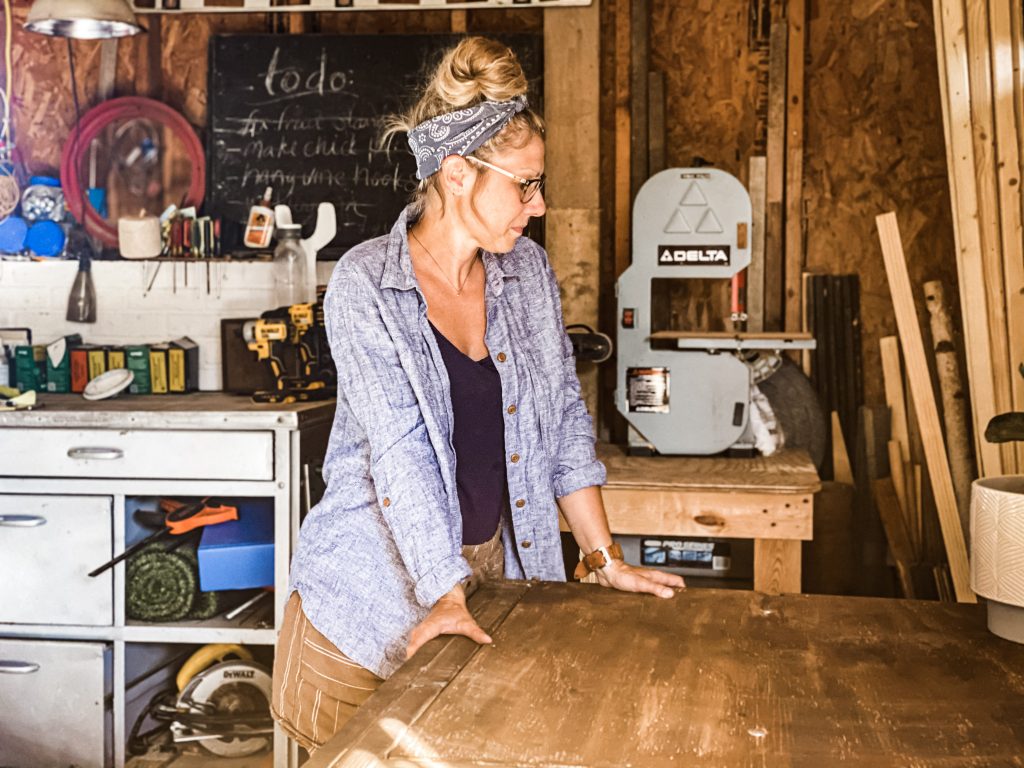
Our 100-year-old barn had just come down and we luckily had old worn-out 1×5’s on hand. But really there are so many ways to make new boards look rustic, you wouldn’t need to have authentic 100-year-old barn boards on hand. You could purchase any kind of 1×5 board and distress.
I did love that our old boards had some real character ingrained in them- like knots and big holes (Which again, you can replicate on new boards if you want to get creative). I decided to use these different characteristics in interesting ways, that you’ll see in the final project.
Sanding
Since our boards had evidence of barn-life on them and our children would be around this a lot, I decided to do a good sanding job on them. To finish the job, I blew out the deep crevices with an air hose.
Whitewashing
Our larger laundry room door was also white-washed so I wanted to replicate this theme. In order to white-wash this wood, I lightly painted the wood with white paint, then brushed some water over the top. I scrubbed it so that the water and paint blended and used a dry cloth to combine. There was no real method or exact coats of paint used – it was just about adding paint or water according to how translucent I wanted it to be.

Tools used to assemble your Barn Door Baby Gate
- Chop Saw
- Screw Gun
- Construction Glue
- Gate Kit
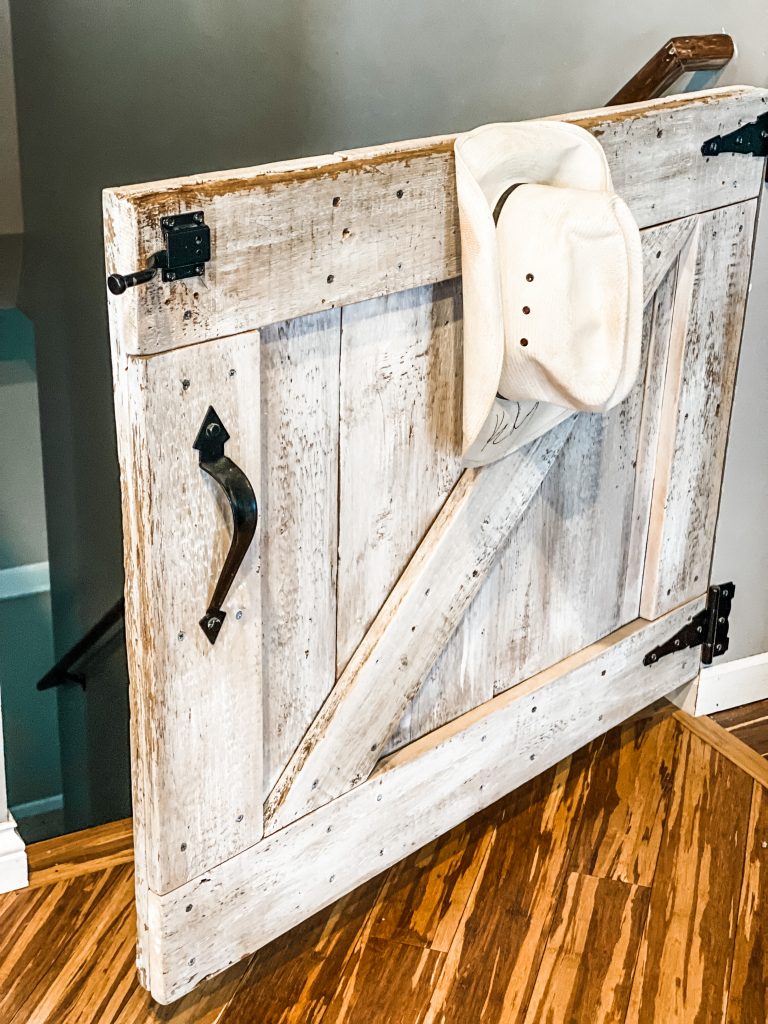
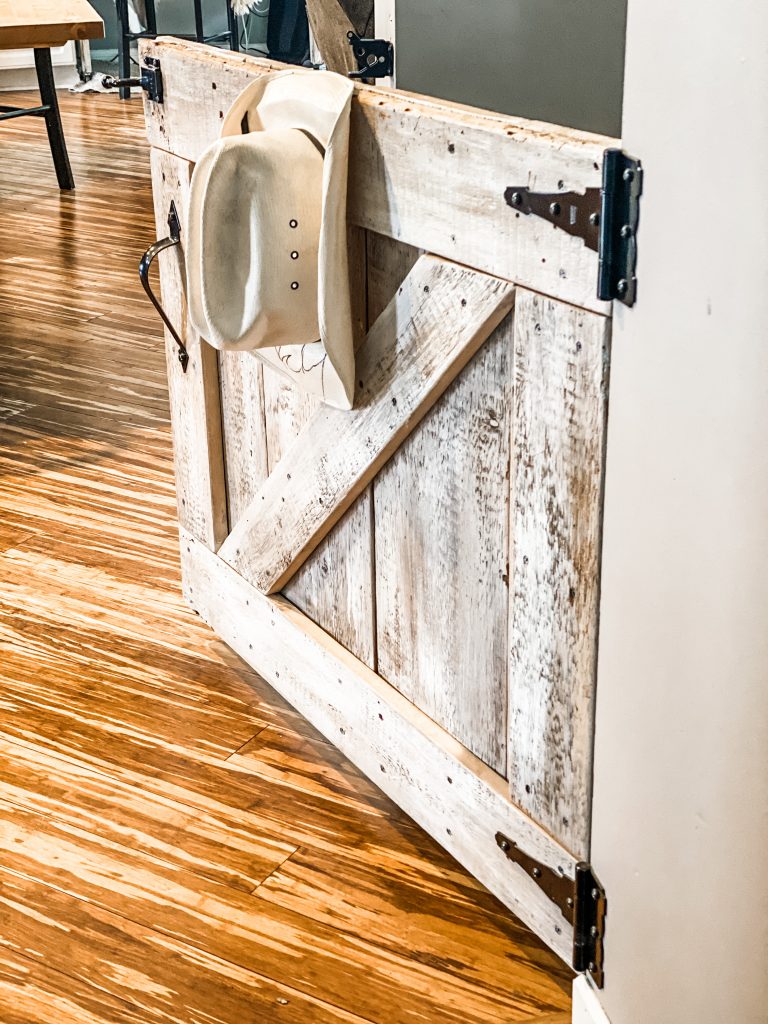
- We used an outdoor gate kit like this one . This kit includes a gate latch, heavy duty hinges, and a gate handle. Gate Kits can be found at Home Depot, True Value, and other local hardware stores, however, we found success just by ordering ours on Amazon! I wanted to make sure that we screwed the hinges into some studs as we knew this gate could see use with 4 kids. We really like that we can open this gate all the way up the the wall, so we have plenty of space to move furniture up and down the stairs without having to remove the gate from the wall (unlike many plastic baby gates).
Steps to assemble your Barn Door Baby Gate
- First, I laid all of the wooden boards on cardboard and cut them out accordingly. We played around with the design a bit before settling on this one.
- Placing the boards came next: I vertically placed 4 – 1×10 boards for the back. Then 1- 1×5 on top and the bottom. 1- 1×5 on the sides, then 1- 1×5 going across.
- Pre-Drill: With 1″ wide- old boards, I knew enough to pre-drill everything going in. Then we tacked everything together with 1.25″ screws.
- Touch ups: after assembling the wooden gate, I did end up painting over the screws with a little white paint so they wouldn’t stick out as much.
We love the little peaky hole in the gate. The kids think they’re being super sneaky when they peak out from the bottom side of the gate!
Decorate your Barn Door Baby Gate
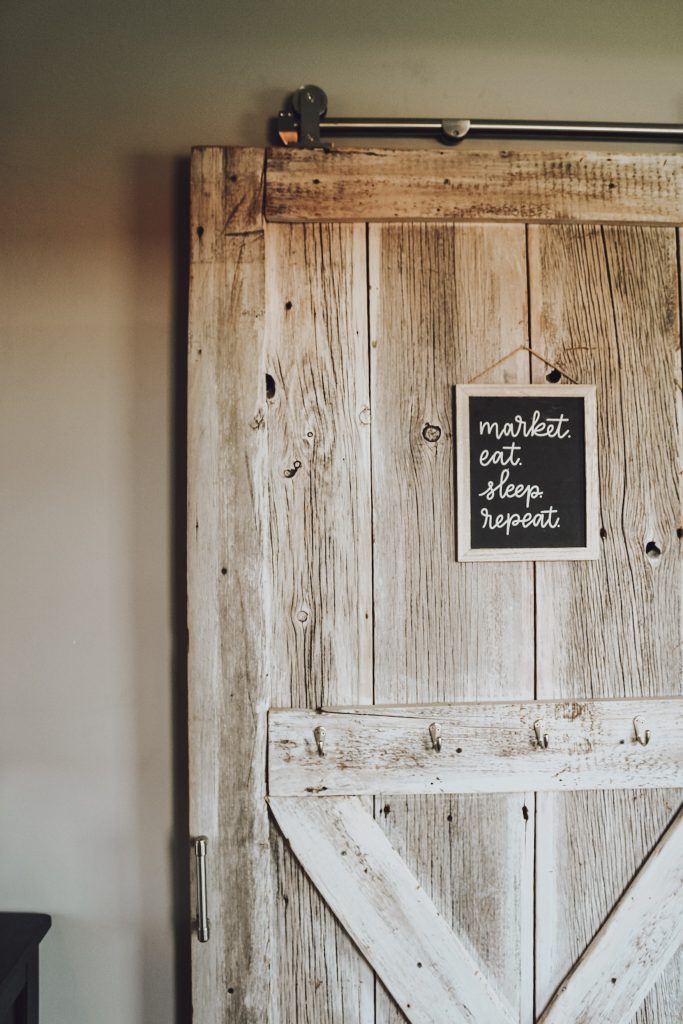
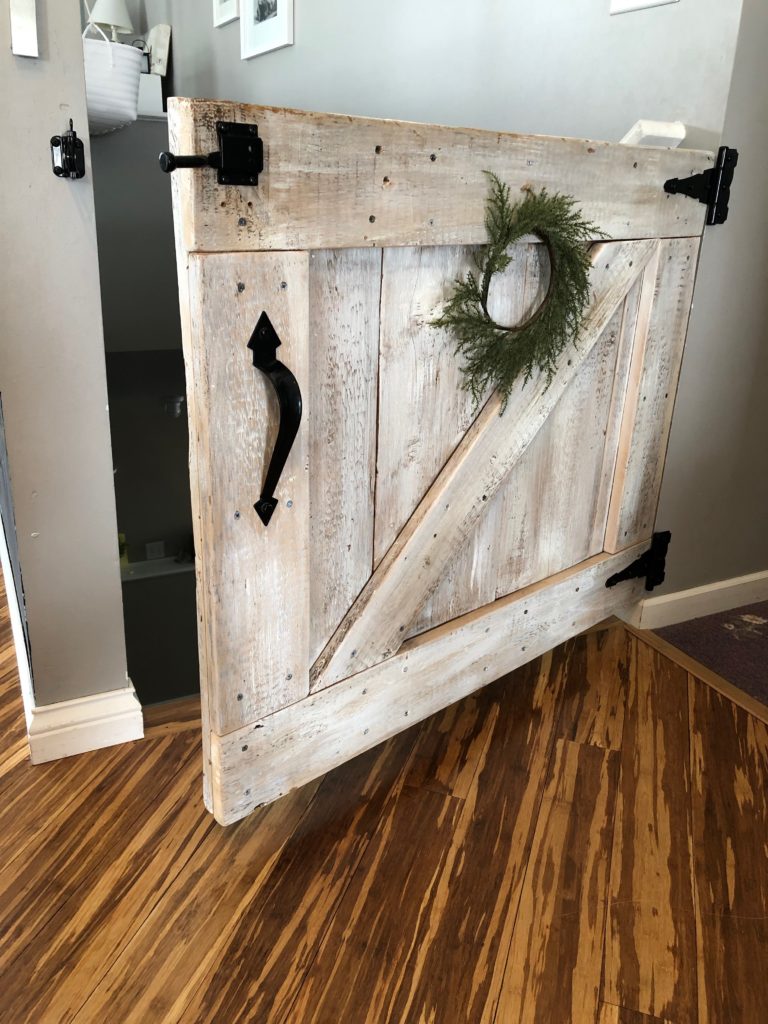
I love that, because this is wood I can add a little nail our little baby gate becomes a seasonal background for wreaths, cowboy hats or bells. There’s no doubt – the finished product is just plain cute! Pro Tip: bells double also-known-as a ‘I know who got out of bed early’ alert :).
Why You’ll love this Build
- I love a simple, great diy project that I can build in less than an hour and makes such a huge impact on the safety and aesthetic of our home.
- To make this look authentic to actual barn wood you can use reclaimed wood or distress brand new lumber. You can truly use any kind of wood: trim pieces, trim board, craft boards, pieces of scrap wood, you name it!
- This wood baby gate has made our home a safe place for kiddos to run free! Since our kids no longer actually need safety from the stairs, we have thought about taking it down, but we just love how this little baby gate looks in our door frame. Plus, we have an occasional niece or nephew who stops by for a visit.
- This farmhouse baby gate can be placed anywhere in your house and in any door openings: a cute entrance of a child’s bedroom, at the top of the stairs, or at the bottom of the stairs! It can also double as a pet gate / diy dog gate!

Have you made this Barn Door inspired Baby Gate?
Show me how yours turned out in the comments below! I’d love to hear how your experience went!
Pin this Project for Later
Other Hearty Building Project
Murphy Bed | Making Farmhouse Guest Quarters
Flipping Work Bench Plans + Instructions – Free Plans
Simple Little Desk Tutorial– Free Plans
Check out these other Hearty Sol Blogs!

Affiliate Disclosure & Content Disclaimer
This post may contain affiliate links from a paid sponsor, Amazon or other program. When you use these links to make a purchase I earn a small commission at no extra cost to you. This allows me to continue creating the content that you love. The content in this article is created for information only and based on my research and/or opinion.
Emily T.


DAILY INSPIRATION ON THE GRAM @hearty.sol
it's hip to be square!
View comments
+ Leave a comment