

How to keep an Easier Sourdough Starter | Dry Starter Recipe
Maintaining a traditional wet sourdough starter can sometimes feel like a daily commitment. A Dry Sourdough Starter offers more convenient, low-maintenance alternative while still providing the same delicious and tangy results!
I converted my sourdough starter to a dry or stiff starter several years ago. In the winter time I will increase the hydration ratio, making several loaves of sourdough a week. Taking it out of the fridge to feed it once a week. Once things get busy here on the farm, I will convert it back to a dry starter, with (lower hydration ratio) and store it in it’s little jar in the fridge where it will keep for months.
A stiff or dry sourdough starter is like a ‘sourdough concentrate’ of sorts and is a great option for bakers just starting out, or for people who are seeking easier starter handling, maintenance and smaller storage option. This starter also means less flour, no discard and much more consistent bread.
If you currently keep a wet (high maintenance), messy sourdough starter, I hope you’re excited!
Why Wet-Starters can be Problematic
In the beginning, it seems we all start out with at good wet starter, but then realize how consumed we’ve become to feeding it in the morning, then again at night, again the next morning, than again at night, watch it overflow out of the jar, make something with it, feed it some more and repeat!
I mean when the sourdough schedule worked around my nursing baby schedule it was fine. But that’s about all I got done in a day-feed all the things. Then somedays I would forget to feed the sourdough all day and there went all my hard work to get a good strong starter going. I knew there had to be a better way!
Hang on to your socks, I’m about to knock them off!
An Easier Sourdough Starter
Just because we are creating super nutritious breads, doesn’t mean things have to be complicated! While most wet starters are kept at a 1:1 flour/water ratio, I’m convinced my 2:1 flour/water ratio is way easier to keep and care for. When I’m ready to bake with my starter, I only need to use about a tablespoon’s worth of starter, instead of an entire cup of the wet stuff. Then I feed it a 1:1 ratio of water/flour to bring it back to life for a few hours before baking time.
In addition to using less flour, this sourdough starter takes up so much less room in your fridge! I like to think of it as my ‘sourdough concentrate’.
What is a Stiff/Dry Sourdough Starter?
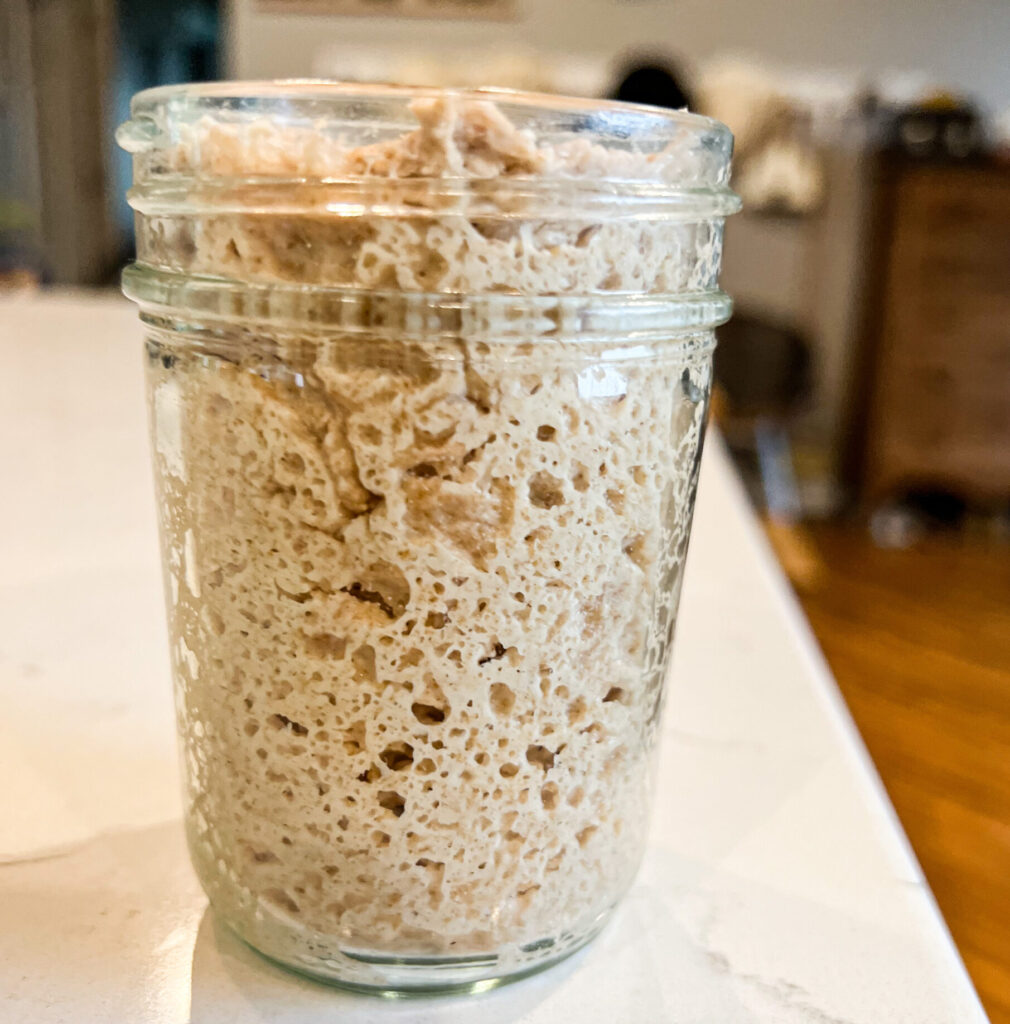
A stiff or dry sourdough starter has a lower hydration level, resulting in a firm and less sticky texture compared to wet starters. It typically resembles a dough-like consistency, making it easier to work with and maintain.

How to Create and Maintain a ‘Sourdough Concentrate’
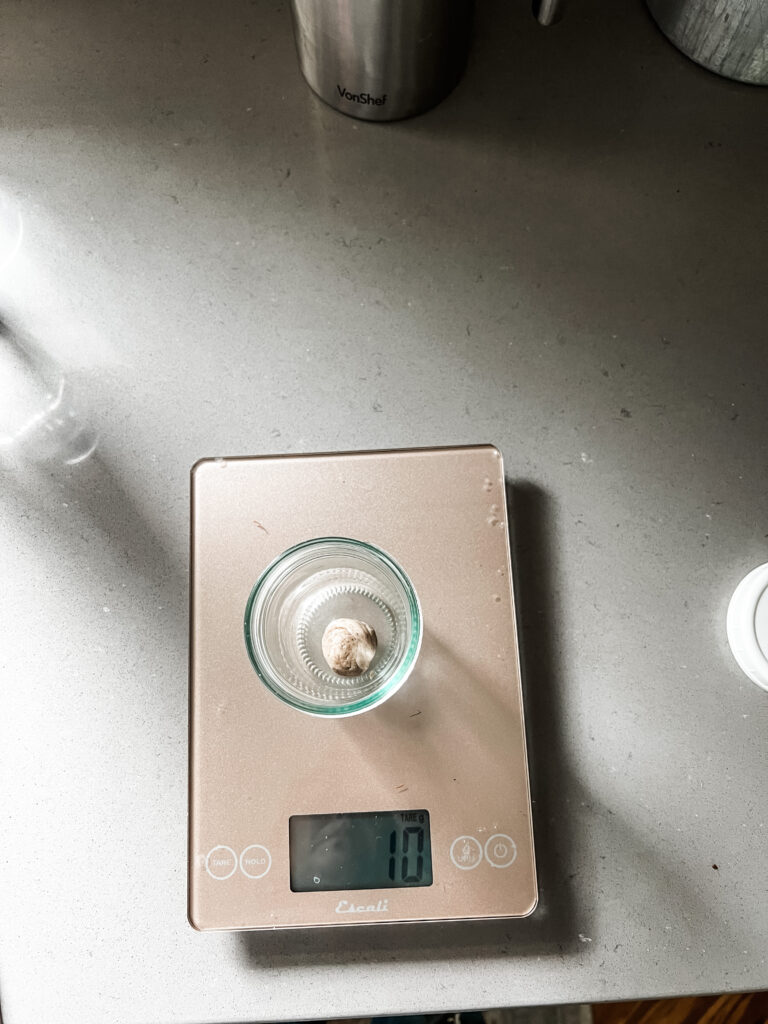
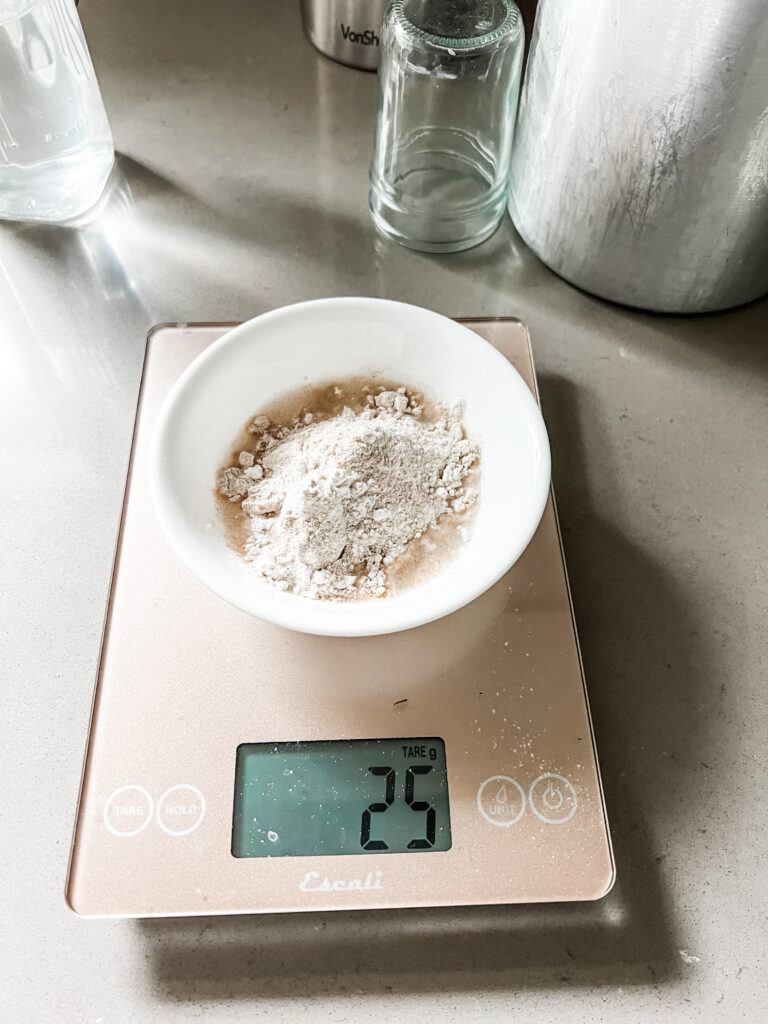
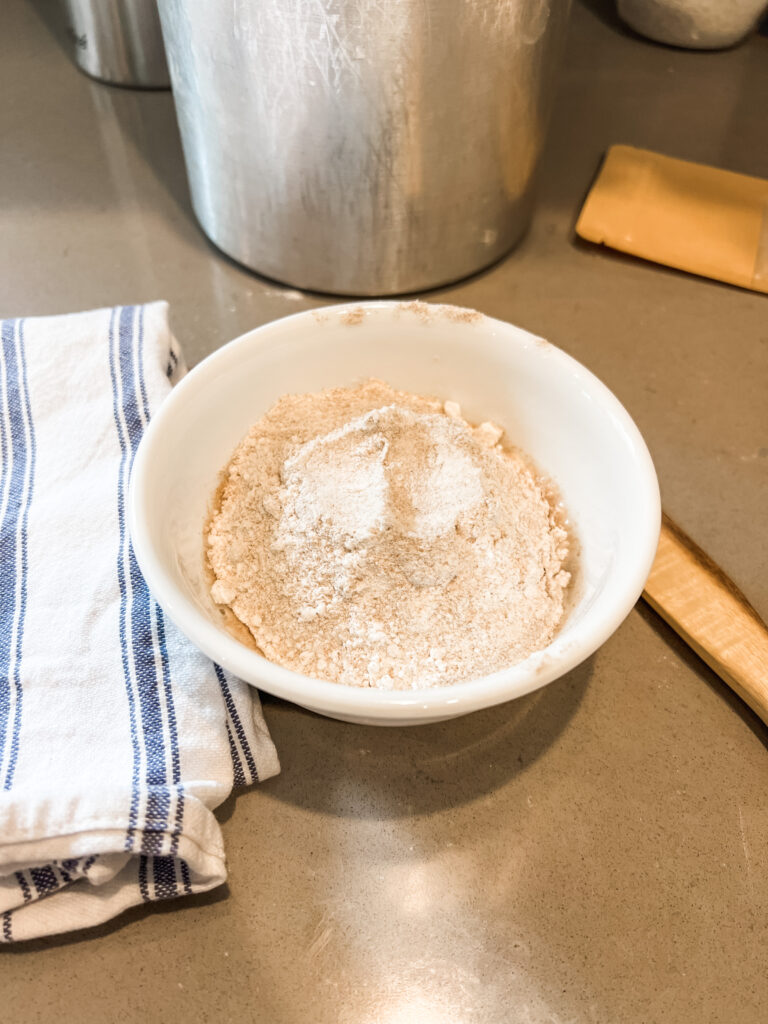
Step 1: Feed 1 tablespoon (30 grams) of sourdough starter with about 2/3 cup of flour (100 grams) of flour and 1/3 cup (50 grams) of filtered water. I use my kitchen scale for this part.
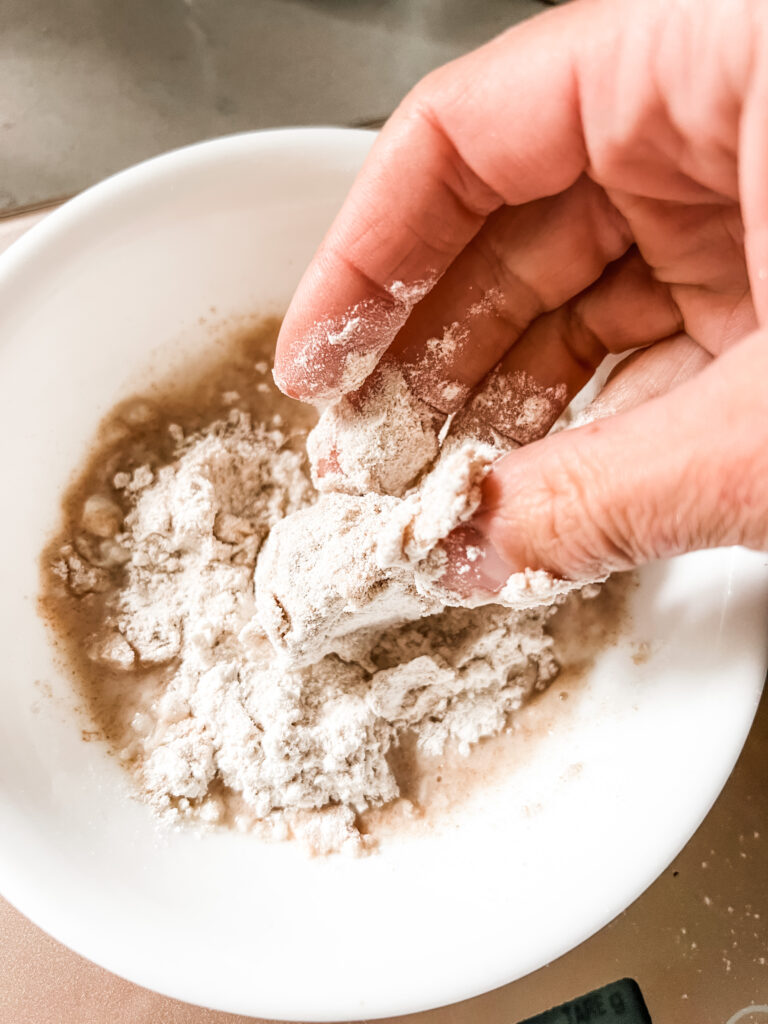
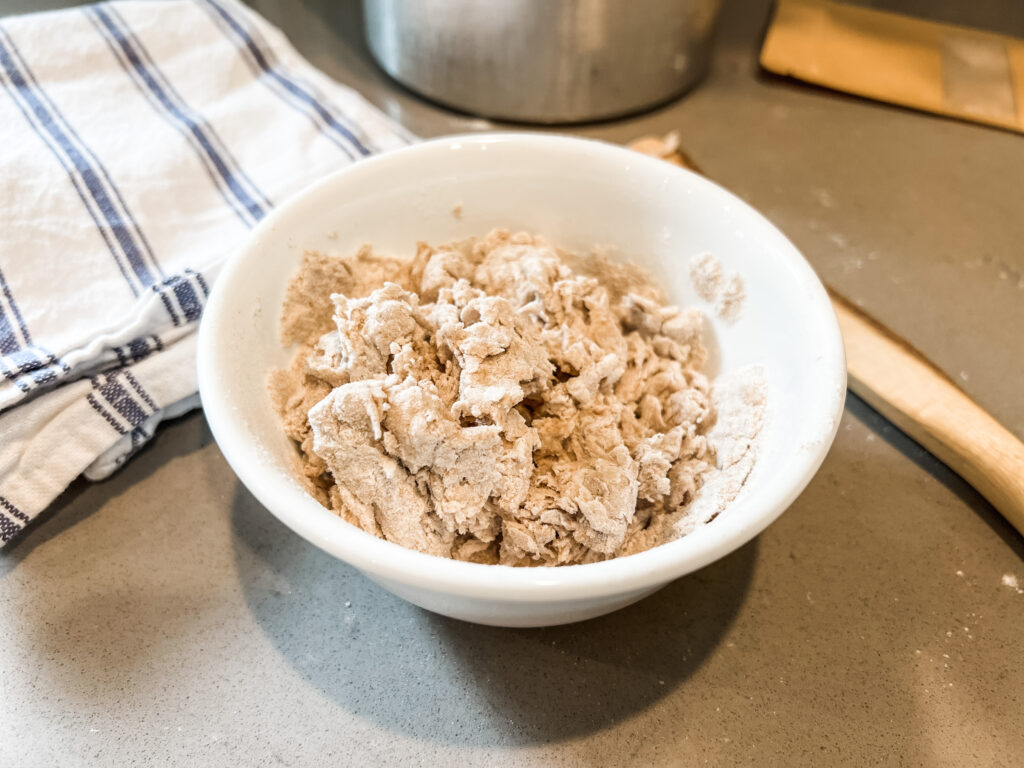
Step 2: Mix with wooden spoon until well combined, ensuring all the flour is hydrated and no dry pockets remain.
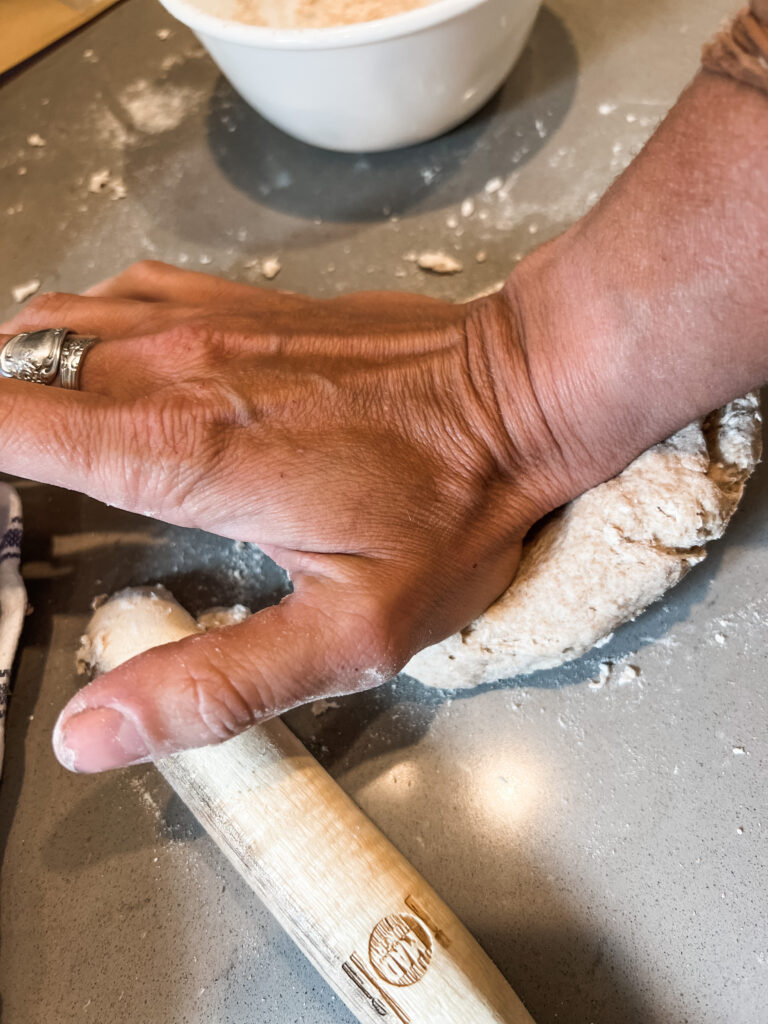
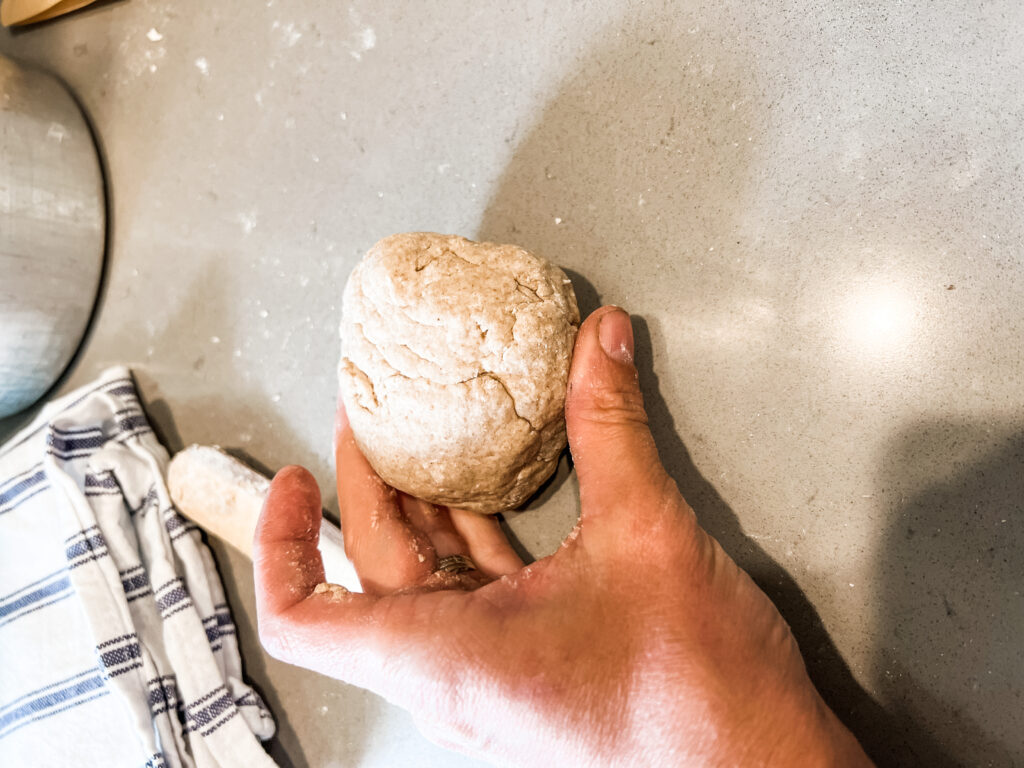
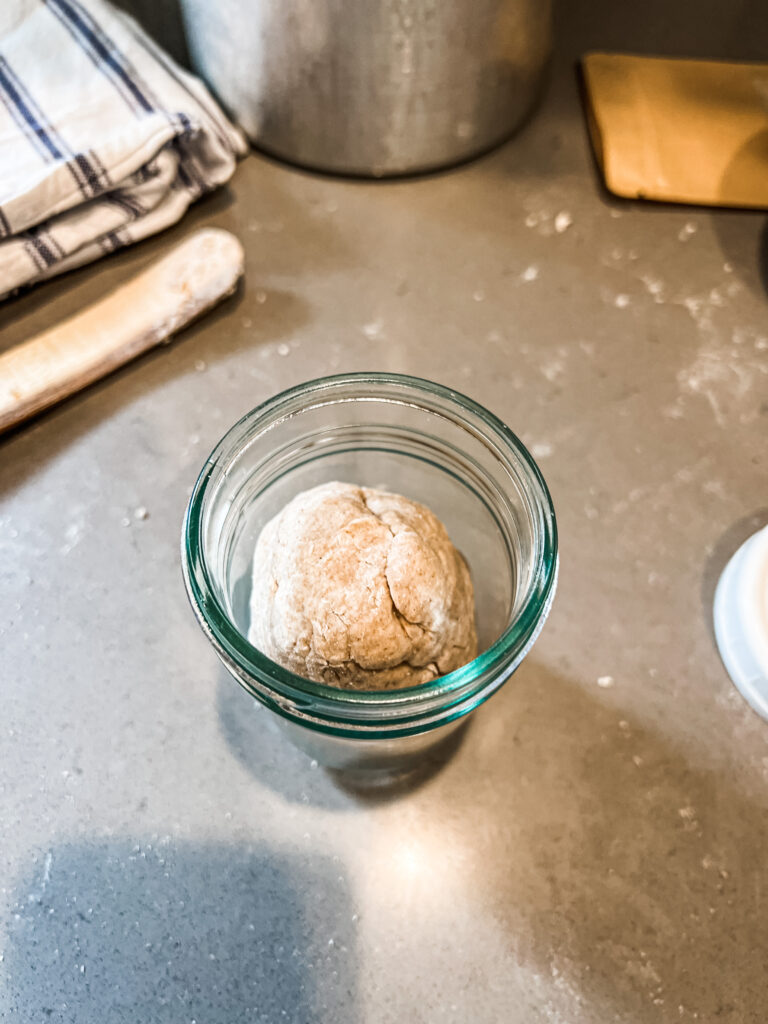
Step 3: Knead the mixture into a sticky PlayDo ball on a floured surface.
Step 4: Return the dough to the jar and cover it with a lid, leaving a small opening for airflow.
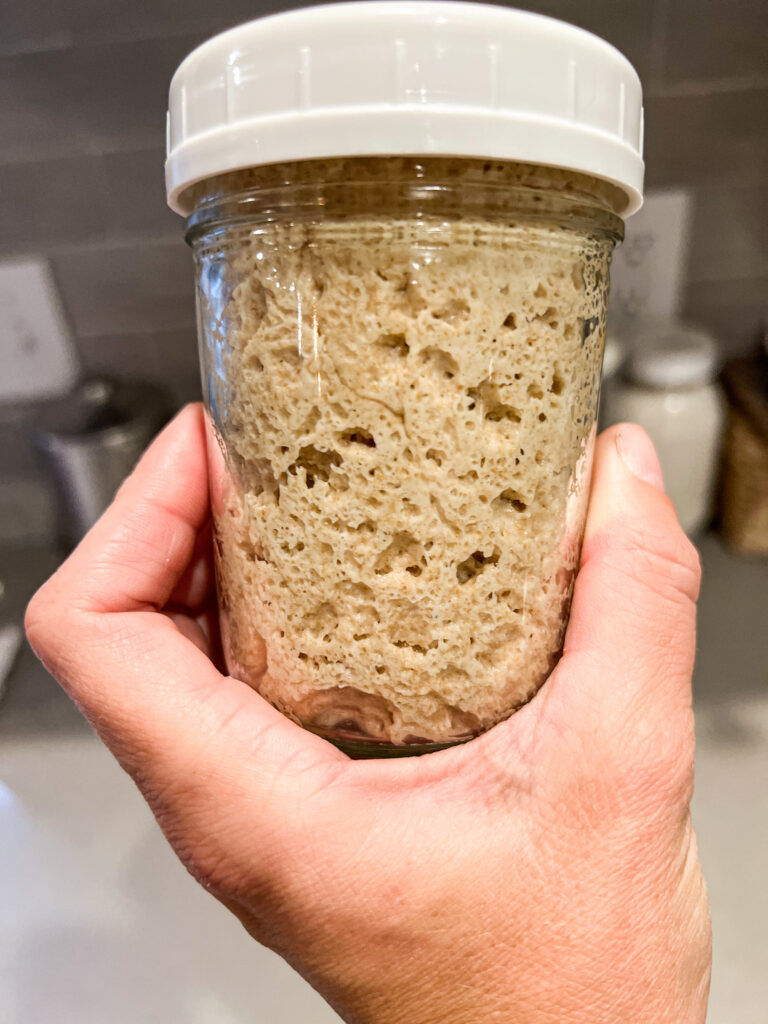
Step 5: Place the jar or pyrex container with a lid in a warm spot (around 70°F to 75°F or 21°C to 24°C) and allow it to ferment for 24 hours. Note: it will NOT bubble up like your traditional wet-starters. BAM, you just made a simpler, easier Sourdough Starter!
Step 6: Either use it to bake with at this point, or it can be placed in the refrigerator until you’re ready to bake with it! Just remember to always save at least 1 tablespoon to feed and replenish your sourdough concentrate.
Step 7: Feed it the same ratio of 1 tablespoon (30 grams) of sourdough starter with about 2/3 cup of flour (100 grams) of flour and 1/3 cup (50 grams) of filtered water- every week or so.
Baking with Stiff/Dry Sourdough Starter
When I’m ready to bake with my sourdough concentrate, I remove it from the fridge. Scoop out 1 tablespoon (30 grams) of dry-starter adding it to a bowl.
To that, I add 1 cup (130 grams) of filtered water.
Stir with wooden spoon to combine.
Add 1 cup (120 grams) of flour (white, wheat or einkorn) and combine.
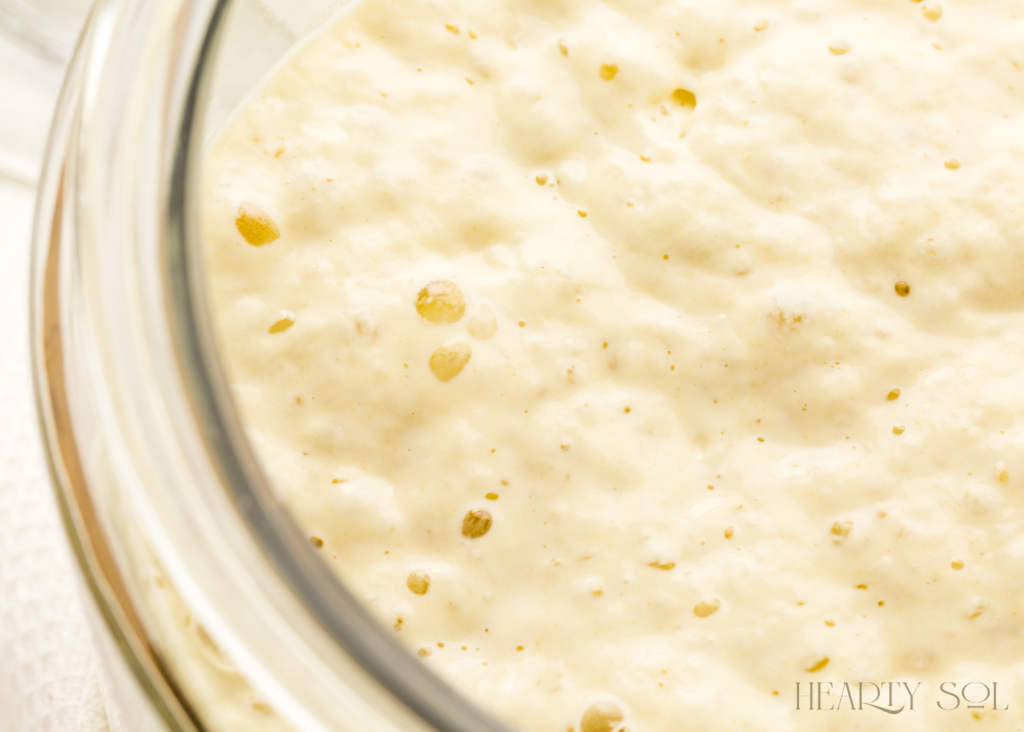
This consistency should be like cake frosting.
Cover the bowl with lid or plastic wrap (I use a shower cap) and set in a warm location in your kitchen for a few hours- 12 hours. After about 8 hours it will start to lose it’s spring.
This is called your Lavain (pre-ferment). This is what you’ll make before you bake anything. For example if your sourdough bread recipe calls for 1 cup of sourdough starter, you will use 1 cup of this levain.
What will you bake next?
Grab my FREE Sourdough Recipe Ebook HERE to find all my go-to sourdough recipes all in one place! Making this preferment (flour, water, and yeast) allows you to make a ton of great recipes!
How to Convert your Wet Starter to a Dry Sourdough Starter
- Start with an Active Starter – If you already have a wet starter, use it as the base.
- Reduce Hydration – Mix 1 part starter with 2 parts flour (by weight) until a stiff dough forms.
- Let It Rest – Allow the dough to ferment at room temperature for 4-6 hours.
- Store It Dry – You can break into small pieces and let dry completely, or keep it as a stiff dough in an airtight container in the fridge.
Why You’ll Love Keeping a Dry Sourdough Starter
Resilient and Travel-Friendly – Great for bakers who don’t bake every day or who want to take their starter on the go. I took ours to a cabin last summer to bake with!
Less Maintenance – Unlike a wet starter that requires frequent feeding, a dry starter can go weeks or even months without attention.
Easy to Store – A dry starter takes up minimal space and can be kept at room temperature or in the freezer for long-term storage.
Less Waste – No need for daily discards; simply refresh when needed.
What’s the Real Difference Between a Wet and Dry Starter?
Wet Starter
- Hydration: 100% (equal parts water and flour by weight)
- Consistency: Like pancake batter
- Feeding Schedule: Requires frequent feedings (every 12-24 hours)
- Activation: Ready to use in 4-6 hours after feeding
- Storage: Refrigerated or at room temperature with regular maintenance
Dry Starter
- Hydration: about 50% (half the amount of water compared to flour by weight)
- Consistency: A stiff, dough-like texture
- Feeding Schedule: Can be left unfed for weeks or even months (this works out perfectly for our busy summer not-in-the-kitchen-lifestyle!)
- Activation: Requires rehydration and feeding over 24-48 hours before baking
Questions People are asking about making a Dry Sourdough Starter
A dry starter can last several months at room temperature and years if frozen properly.
Absolutely! Simply rehydrate the dry starer, feed it with equal parts flour, water and let it ferment until bubbly.
Not significantly. Once fully revived, it performs just like a wet starter, maintaining the complex flavors of traditional sourdough.
You may need an extra feeding cycle to achieve full activity before using it in high-hydration doughs.
More Sourdough Posts
Making your First Sourdough Loaf
How to Make Whole Wheat Sourdough Sandwich Bread
Making the Perfect Milled-Grain Sourdough Loaf
Keeping a dry sourdough starter is an excellent way to enjoy sourdough baking with less hassle. Whether you’re an avid baker, need to keep your starter on hold during a busy season or just want an easy backup, this method ensures you always have a healthy starter ready when you need it.
Pin this for later!


Affiliate Disclosure & Content Disclaimer
This post may contain affiliate links from a paid sponsor, Amazon or other program. When you use these links to make a purchase I earn a small commission at no extra cost to you. This allows me to continue creating the content that you love. The content in this article is created for information only and based on my research and/or opinion.
Emily T.


DAILY INSPIRATION ON THE GRAM @hearty.sol
it's hip to be square!
View comments
+ Leave a comment