

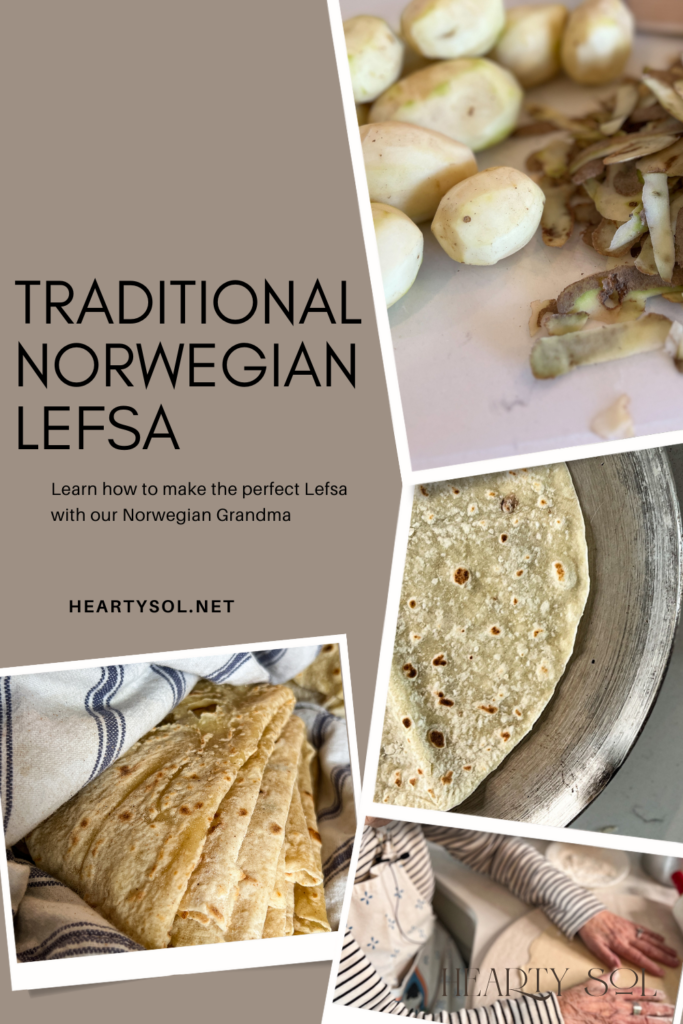
How to Make Authentic Norwegian Lefsa
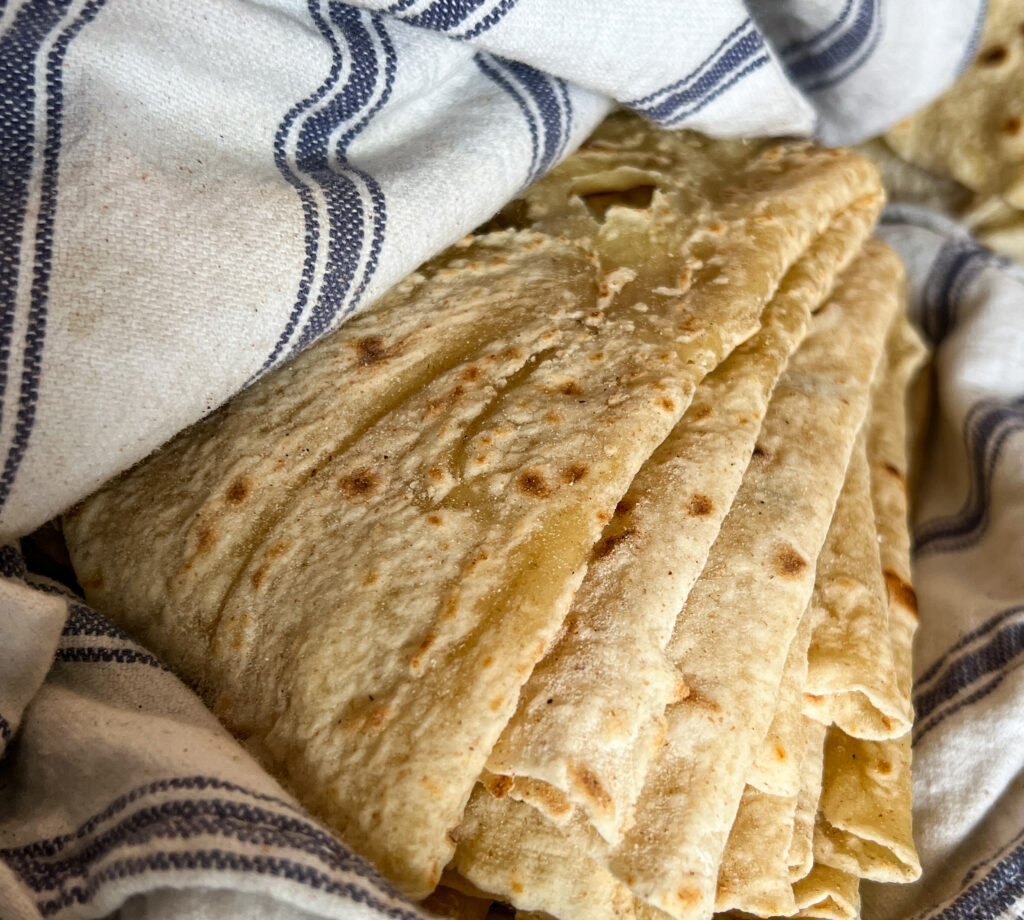
There’s something pretty special about the aroma of a freshly made batch of lefsa wafting through the kitchen- a scent that transports you to a cozy kitchen filled with laughter and cherished family memories.
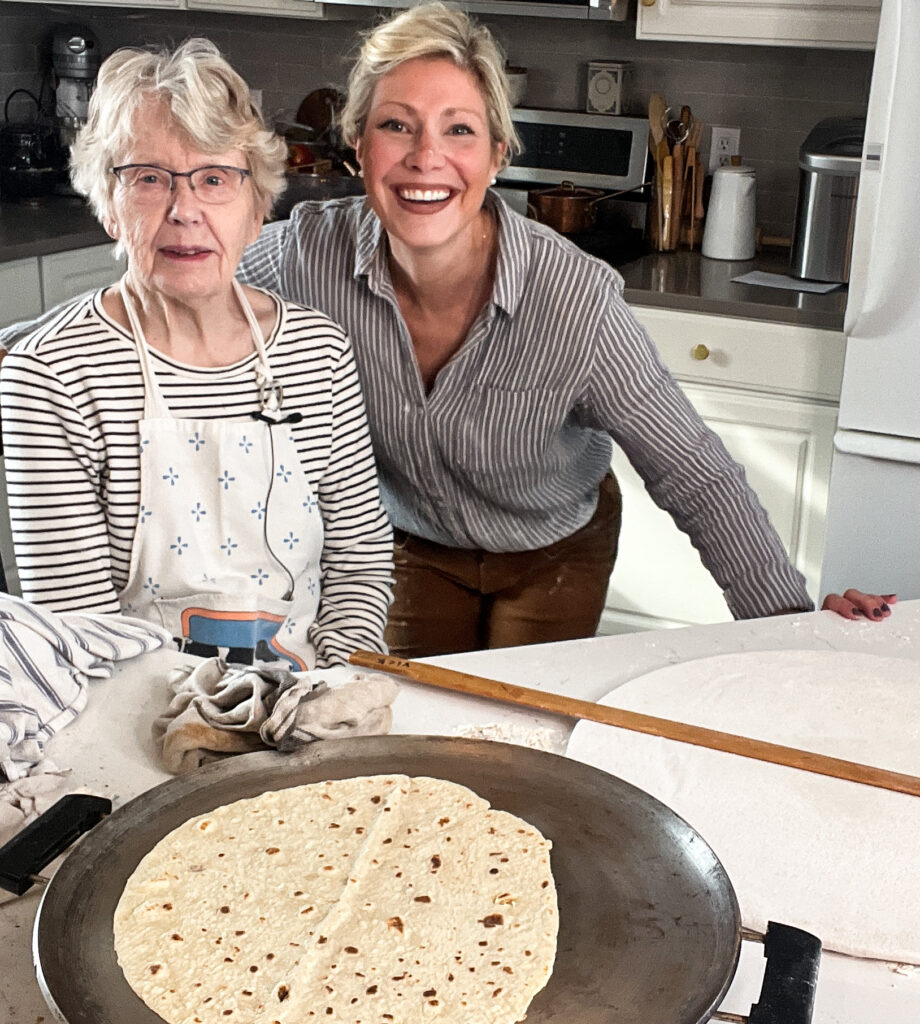
Unwrapping Family Traditions: Authentic Norwegian Potato Flat Bread with Grandma
Join us in the kitchen as we share the delightful times we treasured making lefsa with the guiding hands of our Norwegian grandma. Let’s roll up our sleeves and dive into this time-honored culinary tradition.
Both of my husband’s grandma’s married Norwegians and one even spent most of her life making Norwegian Potato Lefsa in a local bakery. With Ole and Lena jokes-a-plenty lefsa always adorned the Thanksgiving and Christmas buffets.
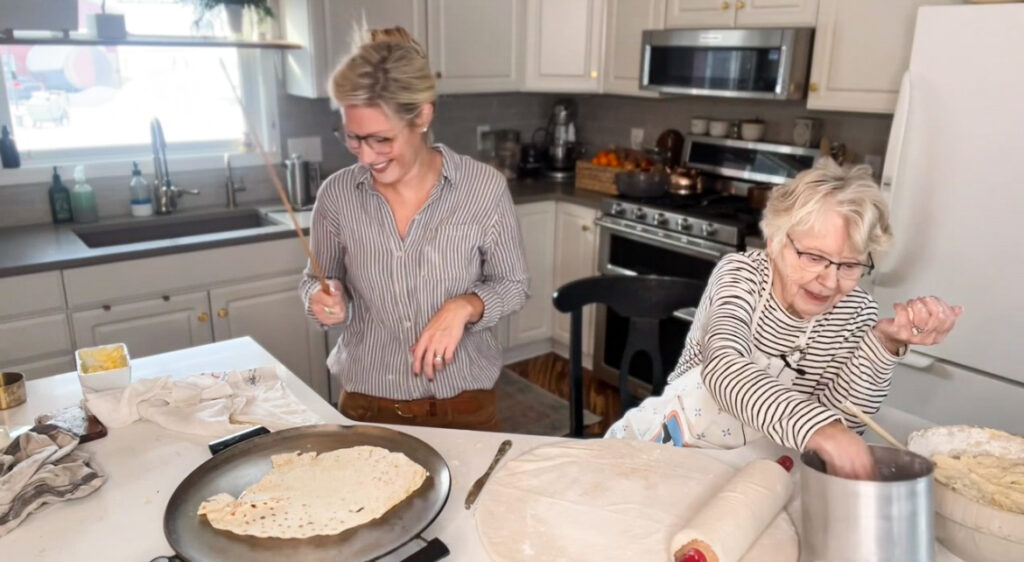
When I first married into my Norwegian family, all the women gathered for a day of baking at grandma’s house. Everyone had a role and I was just starting to take it all in. We all wore aprons which would end up covered in flour. Now it’s the kids’ turn with Grandma to learn and to get the chance to bake with her in our kitchen!
- A family tradition
- Essentials to make Authentic Lefsa
- Needed Equipment
- Printable Recipe Card
- FAQ’s
- Tips
- More Nostalgic Recipes
The Essence of Traditional Norwegian Flatbread-Making
Before we start, it’s important to note that Lefsa is not just another flatbread. The origins of lefsa can be traced to rural Norway, where resourceful cooks utilized simple, staple ingredients to create a versatile and delicious flatbread. Traditionally, lefsa was crafted during the colder months, serving as a practical solution to preserve the harvest of potatoes through the winter. Its humble beginnings in farmhouse kitchens laid the foundation for a culinary legacy that has withstood the test of time.
Grandma remembers how their family would gather together. The process of peeling, boiling, and mashing potatoes became a shared experience, often accompanied by laughter, storytelling, jokes about Ole and Lena, and the passing down of age-old family recipes. The art of lefsa-making wasn’t just about nourishing the body but also about nurturing familial bonds and preserving cultural identity.


To learn lefsa making is simply a Norwegian rite of passage, with each generation inheriting the techniques and stories passed down by their ancestors. The cultural significance of lefsa extends beyond its culinary appeal; it serves as a tangible link to Norway’s rich heritage, connecting the present with the traditions of the past.
Gathering the Essentials to make Lefsa
You might say to yourself, just how many essentials does it take to make this traditional flatbread?
Starting in on this journey to create authentic Norwegian lefsa requires a mindful selection of ingredients and tools. Luckily for us, Grandma’s tools are still available to use. The same ones passed down from her mother and grandmother. Here’s a comprehensive list of essentials to ensure your lefsa-making experience stays true to its roots


Potatoes:
Opt for starchy potatoes like White Russet Potatoes or Yukon Gold, known for their fluffy texture when mashed.
- Aim for a balance between moisture and starch content to create a pliable dough.
Flour:
- Combine all-purpose flour with potato flour to achieve the right consistency and flavor.
- Some traditional recipes may use barley flour for a unique touch.
Fat:
- Unsalted butter is a staple ingredient, contributing to the richness and flavor of the lefsa.
- Some recipes may incorporate lard or vegetable shortening for a slightly different texture.
Dairy:
- Whole milk or cream adds creaminess to the dough.
- Sour cream is a traditional addition, lending a subtle tang to the lefsa.
Salt:
- Enhances the overall flavor of the lefsa. Use a high-quality sea salt for authenticity.


Equipment Needed
- Potato Ricer or Masher: Essential for achieving a smooth and lump-free mashed potato base.
- Rolling Pin: Opt for a long, thin rolling pin to create thin and even lefsa layers.
- Lefse Griddle or Large, Flat Pan: Ideally, a griddle specifically designed for lefsa, or a large, flat pan with even heat distribution.
- Lefse Stick or Turner: A long, thin stick for flipping and transferring lefsa without tearing. This doubles as grandma’s attention-getting swatter for the person who is in charge of watching the dough bubble on the griddle! Must not get distracted!
- Cloth-covered Board: A large wooden board covered with a clean cloth provides the ideal surface for rolling out the lefsa.

- Cloth Towels: Keep a stack of clean, damp cloth towels for covering the rolled-out dough to prevent drying.
- Traditional Patterned Rolling Pin (Optional): For those who wish to add a decorative pattern to their lefsa.
- Traditional Lefsa Cone (Optional): A cone-shaped tool for effortlessly rolling and transferring lefsa layers.
- Time and Patience: An authentic lefsa experience involves taking the time to enjoy the process and savoring the moments shared with family or friends.


Printable Recipe Card
Traditional Norwegian Lefsa
Ingredients
- 6 Cups White Russet Mashed Potatoes
- 2 Sticks Margerine
- 3 tbsp Sugar
- 3 tbsp Milk
- 3 tbsp Cream
- 1 tsp Sea Salt
- 3 Cups Flour
Instructions
- Prepare the Potatoes:Boil the peeled and cubed potatoes until fork-tender. Drain the potatoes and let them cool slightly. Pass the potatoes through a potato ricer or mash them until smooth and lump-free. Allow to cool over night.
- Create the Dough:The next day, In a large mixing bowl, combine the mashed potatoes, softened butter, whole milk, cream, and sea salt. Mix well.
- Incorporate the Flours:Gradually add the all-purpose flour and potato flour to the potato mixture, stirring continuously until a soft dough forms.
- Knead the Dough:Transfer the dough to a well-floured surface and knead gently until the mixture becomes smooth and elastic. Add more flour if necessary to prevent sticking.
- Divide the Dough:Divide the dough into golf ball-sized portions.
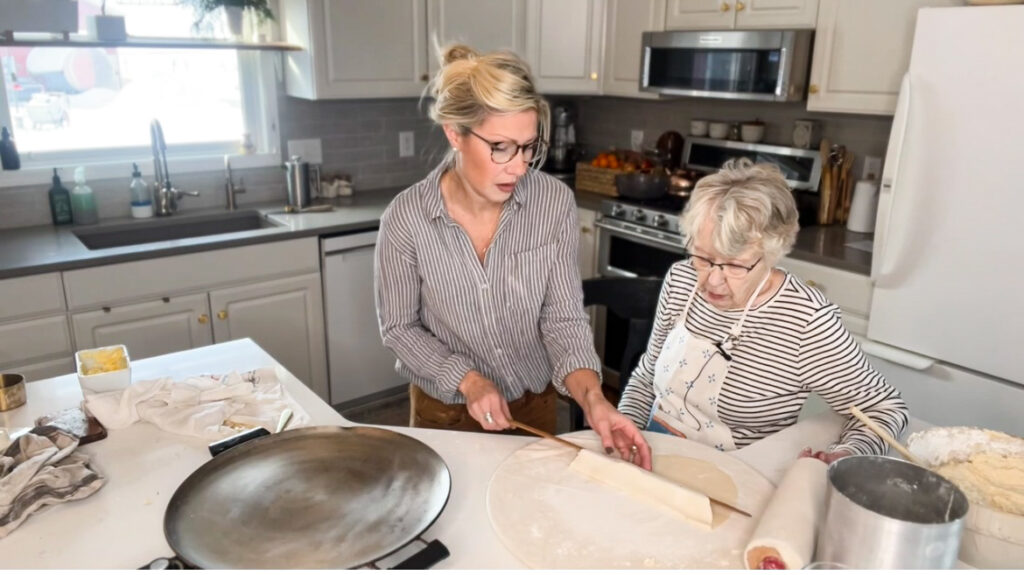
- Rolling Out the Lefsa:On a cloth-covered board generously dusted with flour, roll out each ball of dough into a thin, round circle. Aim for a thickness similar to a tortilla.
- Cooking the Lefsa:Preheat a lefse griddle or a large, flat pan over medium heat. Carefully transfer the rolled-out dough to the griddle and cook each side until light golden brown spots appear. This usually takes about 1-2 minutes per side.
- Stack and Cover:Once cooked, stack the lefsa on a plate and cover them with a clean, damp cloth to keep them soft and pliable. Fold into quarters for easier storage.
- Repeat:Continue the process until all the dough balls are rolled out and cooked.
- Serve or Store:Serve the lefsa warm with your favorite toppings or fillings. Traditional options include butter and sugar, cinnamon, or even savory choices like smoked salmon and cream cheese. To store, cool the lefsa completely and layer them with parchment paper before storing in an airtight container. Refrigerate for short-term storage or freeze for longer preservation.
Notes
Questions about Lefsa-Making
How should I eat Lefsa?
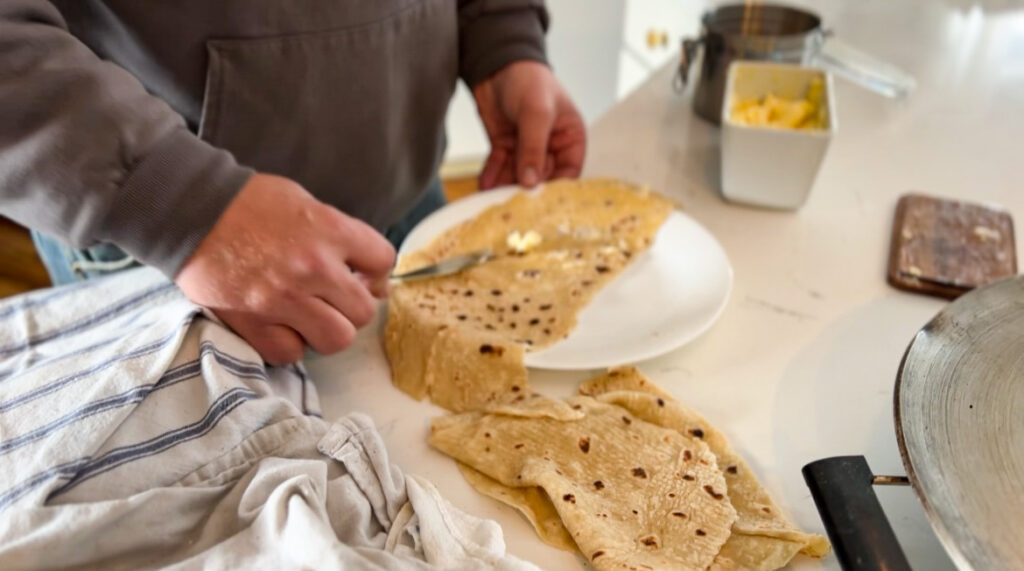
I could never really decide whether it belonged more on the dessert end or near the rolls, but I guess it was always just buttered and rolled up ready for whichever the individual was interested in at the time.
My husband practically came out eating lefsa with butter and brown sugar. But he could honestly eat it rolled up and warm straight off the griddle. The kids love it warmed with a bit of sugar and cinnamon and I love eating it with a more savory style. Adding cream cheese and smoked salmon with a side of my grandma’s sweet bread and butter pickles, is my favorite!
Can I freeze Lefsa?
Absolutely! Grandma recommends layering them with parchment paper and freezing in airtight bags for up to three months.
Help! My Lefsa is too dry. What went wrong?
Likely a flour-to-potato ratio issue. Adjust by adding a bit more mashed potatoes or a touch of water to the dough.
How do I roll out the Lefsa dough without tearing it?
Lefsa making takes patience, so take it slow and make sure to flour your rolling pin!
Tips for Making Traditional Lefsa
- Potato Selection: Grandma always said, “Choose floury potatoes for a fluffy lefsa!”
- Flour Consistency: Achieving the right balance between all-purpose and potato flours.
- Rolling Technique: Grandma’s signature wrist action for achieving that perfect thinness.
- Cooking Equipment: The importance of a well-seasoned griddle and the right temperature and an attentive flipper to avoid getting wet-towel-swatted by grandma!
- Keep it Moist: Cover your lefsa with a damp cloth to maintain moisture during the rolling process.
Pin this for later!
Closing Thoughts
Remember that the true magic lies not just in the delicious end result but in the shared moments, laughter, and stories that accompany this cherished tradition. So, gather your loved ones, channel your inner Norwegian grandma, and let the lefsa-making legacy live on!
More Nostalgic Recipes
Grandma’s Bread and Butter Pickles

Affiliate Disclosure & Content Disclaimer
This post may contain affiliate links from a paid sponsor, Amazon or other program. When you use these links to make a purchase I earn a small commission at no extra cost to you. This allows me to continue creating the content that you love. The content in this article is created for information only and based on my research and/or opinion.
Emily T.


DAILY INSPIRATION ON THE GRAM @hearty.sol
it's hip to be square!
View comments
+ Leave a comment