

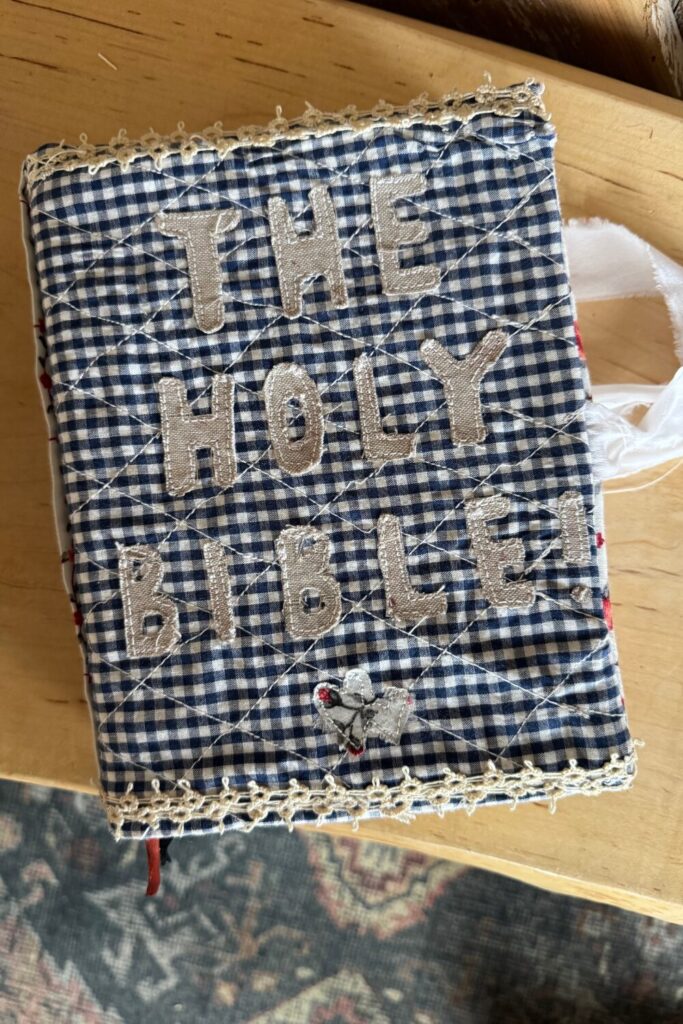
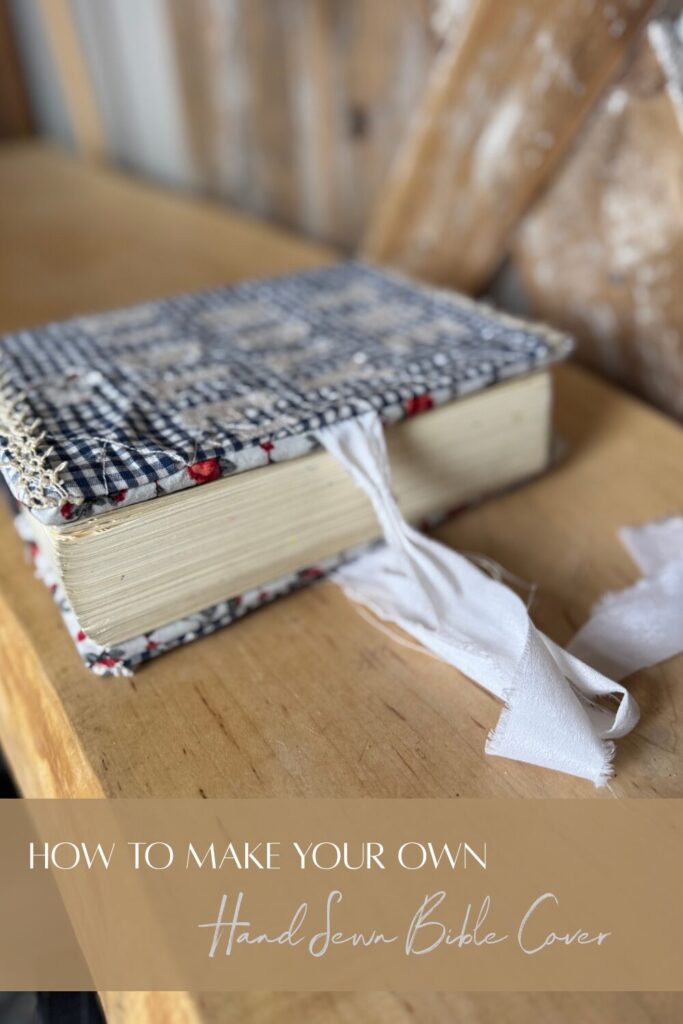
How to Sew a Simple, Beautiful Bible Cover (That Will Last for Years)
There are some things we use every day that deserve a little care. A Bible is one of them.

“The goal isn’t to have a Bible collection on your shelf, but a collection of the Bible stored up in yourself.” – Wendy Speake
It gets set on kitchen tables, tucked into bags, carried to church, read on porches, and opened in quiet early mornings. Over time, the corners wear, the cover bends, and the pages soften from use. I’ve always loved that look — but I also love protecting something that means this much.
This is a simple sewing project you can finish in an afternoon. No zipper. No fuss. Just sturdy fabric, thoughtful design, and something made by your own hands that will be used for years.
This also makes a deeply meaningful gift.
Why a Hand-Sewn Bible Cover Is Worth Making
A handmade Bible cover is one of those projects that doesn’t take long, doesn’t cost much, but quietly becomes something you use every day.
It protects something meaningful.
It softens with time.
It carries the marks of use.
And every time you pick it up, you remember:
I made this.
I want to make this, but I’m new to sewing. What can I do?
It’s so rewarding to be able to handcraft what you are envisioning – check out my sewing blogs (here) and equip yourself with the knowledge of sewing basics! Once you learn, you can translate these skills to other projects: water bottle holders, pillow cases, and more!
Simple Sewing Series Lesson #1
A Thoughtful Gift Idea
This makes a beautiful gift for:
- Baptism
- First Communion
- Confirmation
- Graduation
- Wedding
- Mother’s Day
- Easter
- Christmas
Especially when made with sturdy, honest fabric that will last.
What You’ll Need to Make a Personalized Bible Cover
- Outer fabric (canvas, denim, linen, or quilted cotton)
- Lining fabric (cotton or linen)
- Lightweight interfacing or Fusible Fleece (optional but recommended)
- Sewing machine
- Iron
- Pins or clips
- Ruler
- Scissors or rotary cutter
- Your Bible
- This Fabric Bible Cover PDF guide
Heavier fabrics like canvas, denim, or linen age beautifully and feel appropriate for something handled daily.
Step 1: Measure Your Bible
- Height – from top to bottom when closed
- Width – open flat from one edge to the other
- Depth/Spine Thickness – measure the thickness of the Bible
Then calculate the fabric panel size:
- Height of main panel = Bible height + 2″
- Width of main panel = Bible width + 2″
Add the measurements of the height, width and depth of your pdf guide.
Step 2: Cut Your Fabric
Cut:
- Cut these pieces:
- Main outer and lining panel: your calculated width × height
- Two cover flap pieces: same height as main panel × about 5″ wide (these become the inside pockets that the Bible covers slide into)
- Handles (optional): strips about 14″ long × 5″ wide if you want carry handles
- Fusible fleece/interfacing: same size as outer panel if you’re adding structure
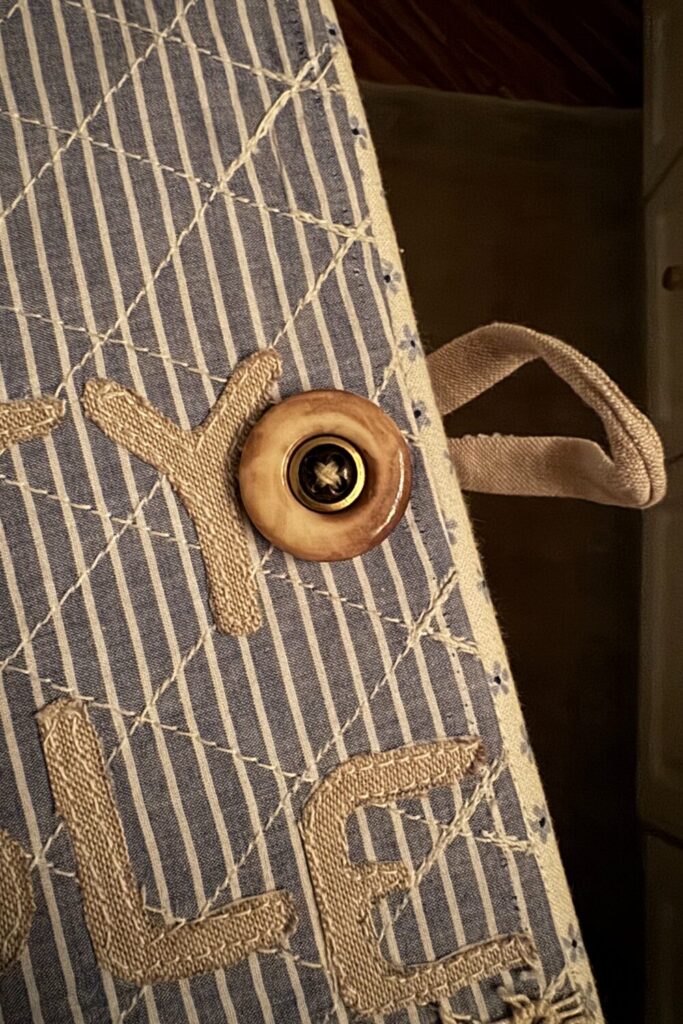
- Button loop: (Depth x 2 + 2.75″) x 1.5″ or you could choose ribbon to keep the Bible closed.
Step 3: Quilt the Panels (optional)
If you want quilting:
- Layer your outer fabric right side up
- Place batting or fusible fleece on top
- Quilt lines or patterns as desired
- Trim batting to match outer fabric size after quilting
Step 4: Prepare the Flaps
- Fold each flap piece in half lengthwise (wrong sides together)
- Press with your iron
- Topstitch the finished folded edge if you want a crisp look
These will slip over the front and back covers of your Bible later.
Step 5: Assemble the Cover
Lay the outer panel right side up.
Place the flap pieces on top, with the folded edges facing inward toward the center.
Add optional features before layering the lining:
- Handles: Position the raw ends along the long edges of the outer panel, tucked inside between the outer fabric and where the lining will go. The loops should point inward so they get caught in the seam.
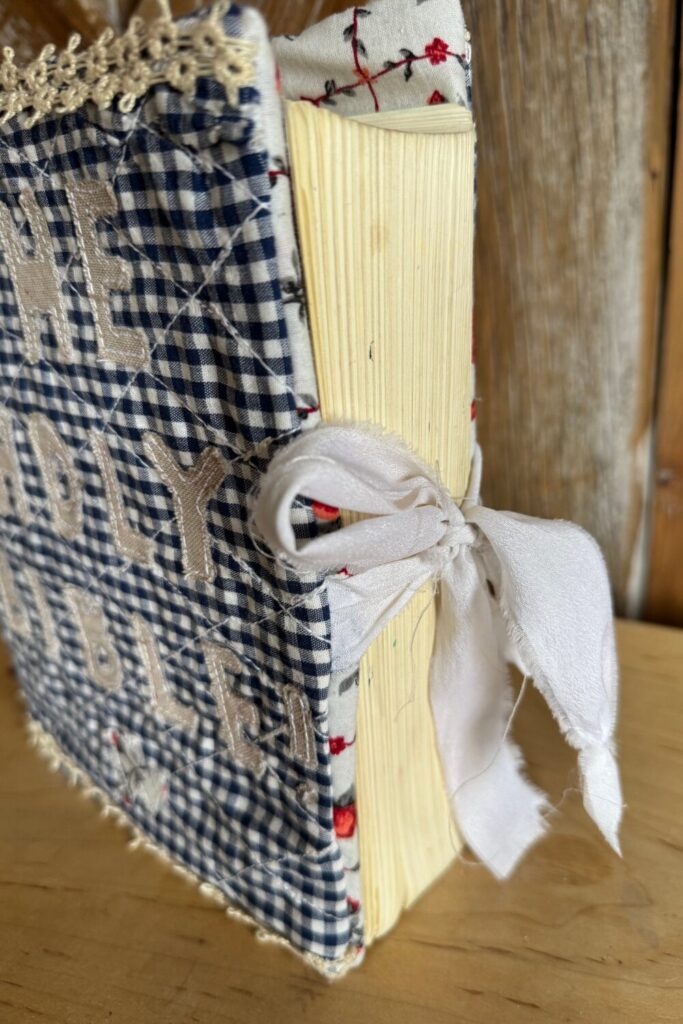
- Ribbon tie: Place the ribbon where you want it to emerge from the cover, also tucked inside and pointing inward.
- Button loop: Place the loop at the edge of the cover where you want it to exit (usually the front edge). Make sure it is oriented so that when the cover is turned right side out, the loop sits outside for the button to close the book.
Place the lining piece right side down on top. This creates a fabric “sandwich” with the flaps and any optional features tucked inside.
Pin or clip all layers together carefully, making sure handles, ribbon, and button loop stay in position.
Sew around the entire rectangle using a ¼″–⅜″ seam allowance, leaving a 3–4″ opening along the bottom edge for turning.
Step 6: Turn and Press
Turn the whole piece right side out through the opening.
Use a pencil or chopstick to gently push out the corners.
Press everything flat with an iron.
Tuck in the raw edges of the opening and press.
Topstitch all the way around the edge to:
- Close the opening
- Strengthen the seams
- Give it a finished, sturdy look
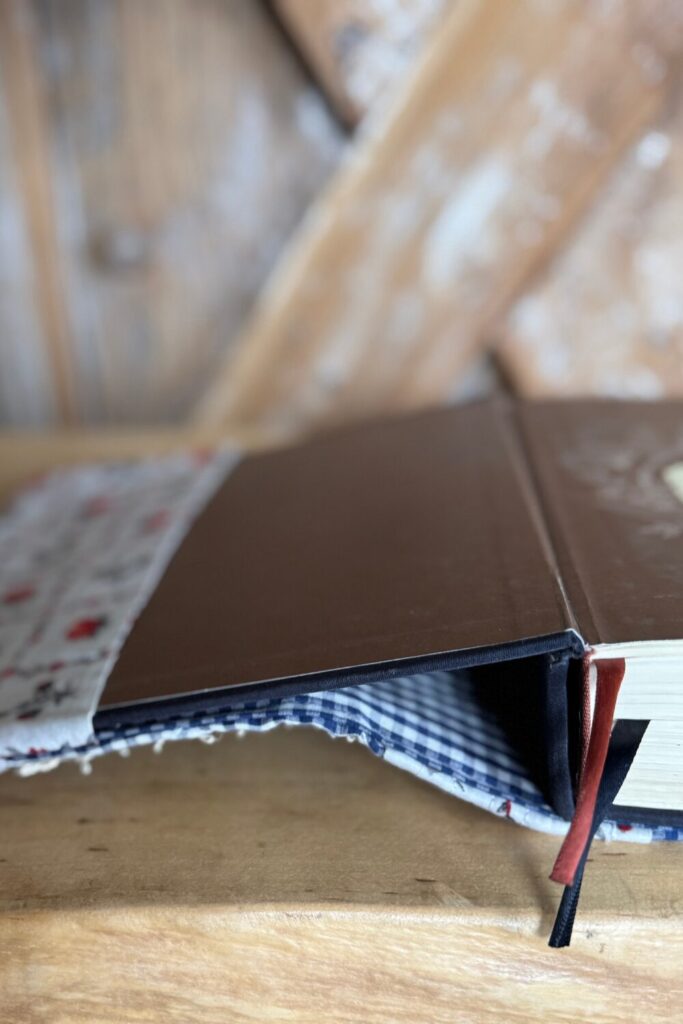
Step 7: Slide Your Bible In
Slip the front and back covers into the flaps.
That’s it.
No zipper. No hardware. Just fabric and care.
Optional Additions
Whether you are gifting this to a loved one, a Bible study friend, or want to protect your own Bible with something carefully crafted there are so many meaningful ways to customize this Bible cover.
You can add:
- A ribbon bookmark sewn into the top seam
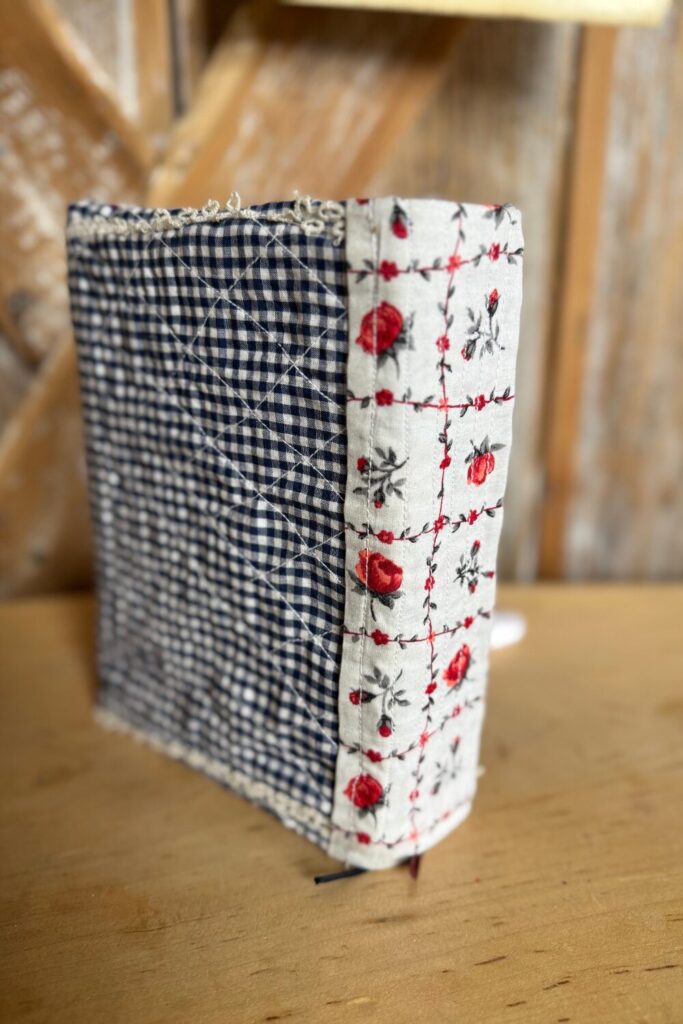
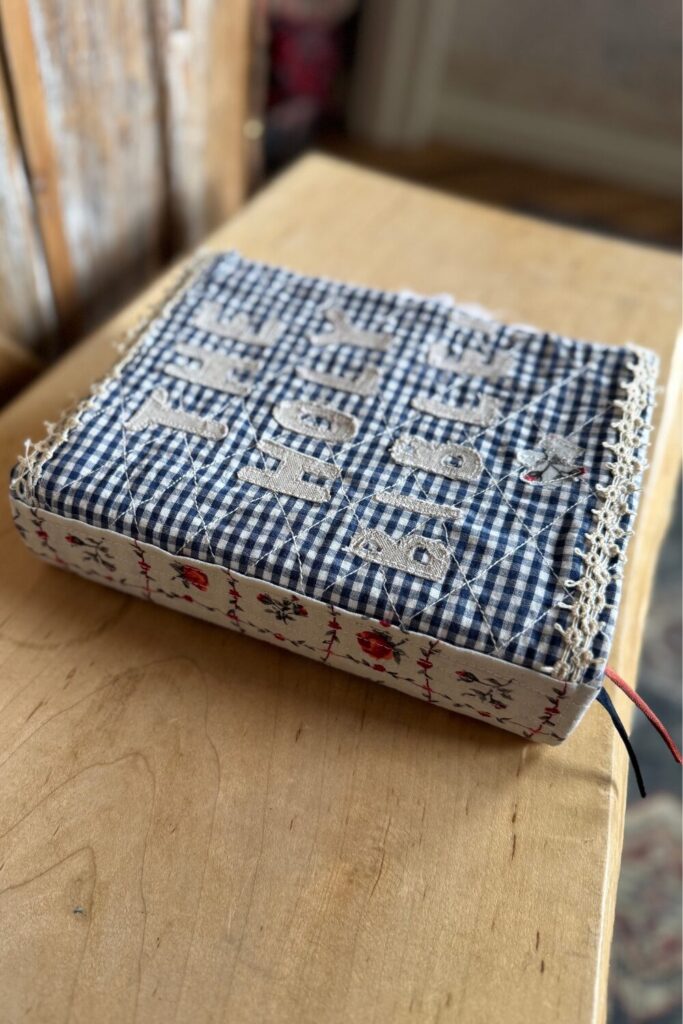
- We opted to create a coordinating binding strip of fabric over-top of the outer panel.
- A small pocket on the inside for notes or on the outside for a pen
- Buttons, lace or tatting – our tatting came from my great grandma 😉
- Hand embroidery or a stamped leather tag on the front
- Quilting lines through the whole cover for extra durability
- Iron on letters, words, or designs
But honestly — simple is beautiful here.
Answering your Questions about How to Sew a Custom Bible Cover
Nightstand, bookshelf, on your desk, or in the living room – anywhere your bible can stay out of moisture but is still easily accessible
Absolutely, just measure accordingly as the thickness will be different.
Hand sewing a Bible cover takes a few hours if you want to finish it right away. Sometimes though, I like letting projects like this span a few days so I can come back to it when I need to sit, letting creativity take over for a moment
There really is no right or wrong here so let’s break it down
– Canvas: Think tote bag texture, canvas fabric is known for its high-quality strength and durability
– Denim: Smooth and classy, denim provides a gentle yet reliable coverage that moves with you and your Bible
– Linen: Sustainable, light, and breathable, linen is a good choice if you want to customize your Bible cover or layer fabrics
– Quilted cotton: A good choice for those of you who love bolder designs – you can find many unique quilted prints!
Both can be attached directly to your fabric to add shape and stability. This will add extra protection to your Bible and can make the sewing process run more smoothly. Make sure to iron it to the inside of your fabric!
Printable PDF Instructions
Print out the instructions and have them on hand at all times! Click here for my printable pdf!
Pin for Later
Closing Thoughts
There’s something special about covering what we hold sacred with something made by our own hands.
If you make one, I’d love to see it. Tag me so I can admire your handywork!
More from our Handcrafted Home
Bedroom Essentials for a Timeless Look

Affiliate Disclosure & Content Disclaimer
This post may contain affiliate links from a paid sponsor, Amazon or other program. When you use these links to make a purchase I earn a small commission at no extra cost to you. This allows me to continue creating the content that you love. The content in this article is created for information only and based on my research and/or opinion.
Emily T.


DAILY INSPIRATION ON THE GRAM @hearty.sol
it's hip to be square!
View comments
+ Leave a comment