

DIY Flower and Herb Drying Rack to Organize your Harvest
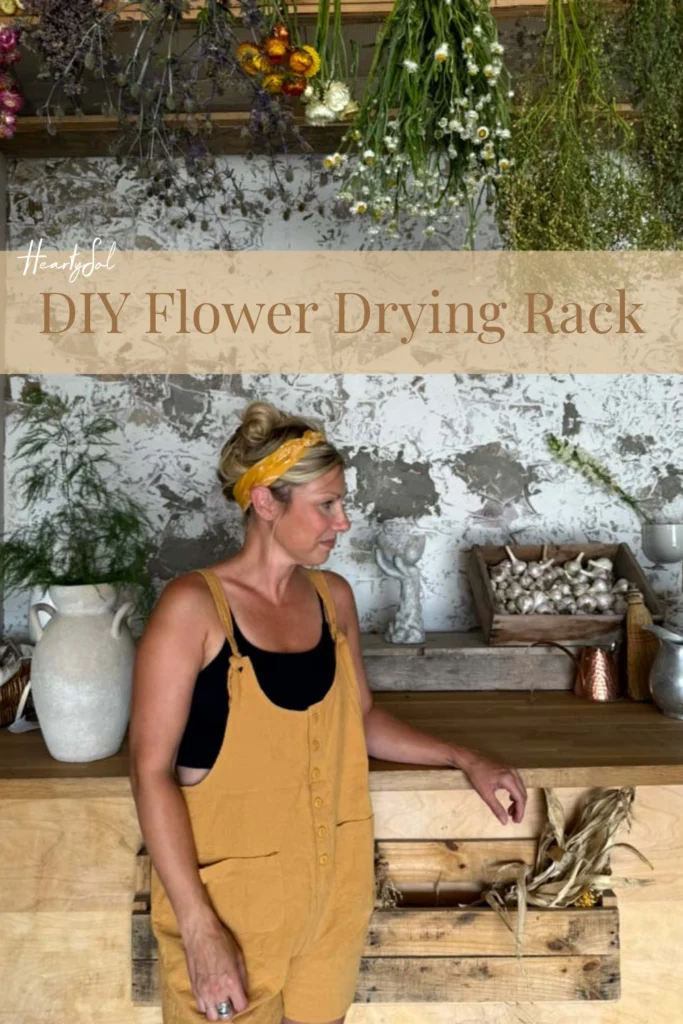
Walk into our home during harvest season and you’ll find bundles of flowers and herbs air drying overhead.
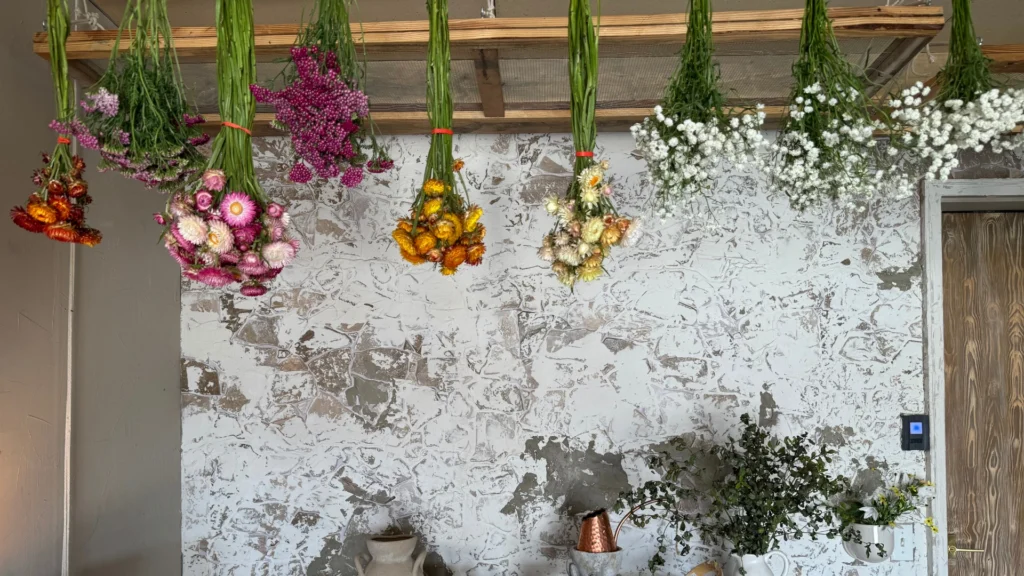
There are a lot of things I love about growing flowers and herbs.
There are also a lot of things I don’t love about growing flowers and herbs.
Like figuring out where in the world to put all of them once you’ve cut enough to fill every basket, bucket, counter and spare corner of the house.
For years, I had flowers hanging from every possible place. Bundles here. Herbs there. A few stems tied to a nail. Something inevitably draped over a chair. Hanging in what has now become our Hidden Household Pantry.
It worked.
It just wasn’t particularly organized.
And when you’re growing enough flowers and herbs to actually dry them in quantity, you need a place to hang things that doesn’t involve turning your kitchen into a botanical crime scene.
So I built a drying rack in the garage.
It is one of those projects that looks much more complicated than it actually is. There is no fancy woodworking, no complicated drying system and no expensive equipment.
Just rope, eye hooks, wooden dowels, some old screens and a little bit of ceiling space.
And honestly, I wish I’d built it years ago.
- Why Dry Flowers and Herbs in the Garage?
- Materials to Set Up your DIY Flower Drying Rack
- Step-By-Step Instructions
- Making Natural Confetti
- Tips Based on My Experience
- FAQ’s
- Flowers and Herbs to Dry
- Why I Love this Drying Rack
- Wrapping up Gardening Season
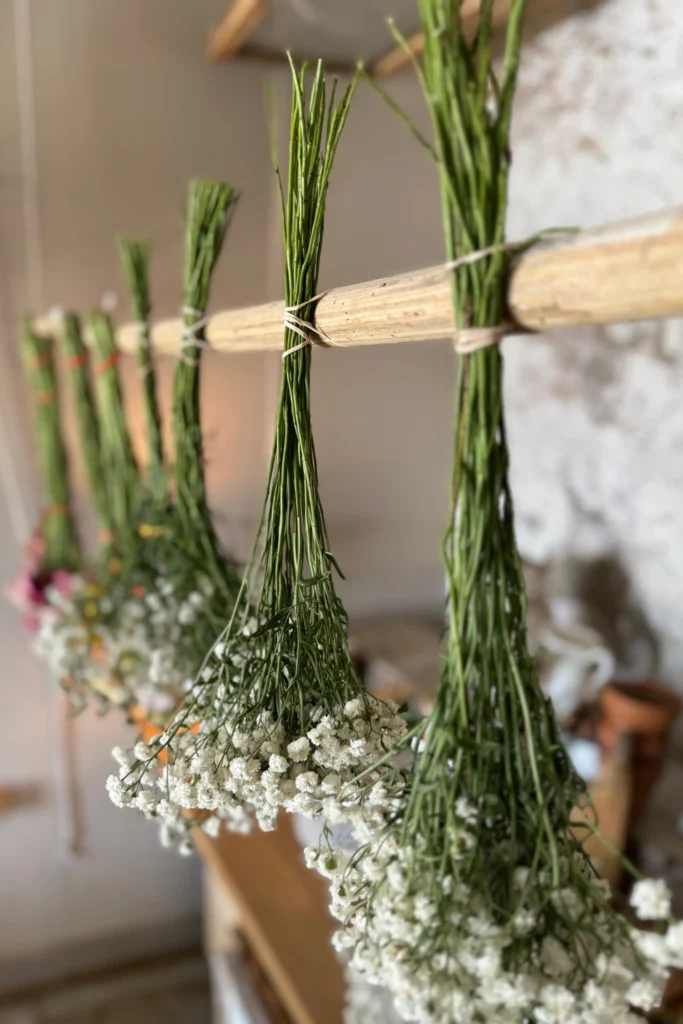
Why Dry Flowers and Herbs in the Garage?
The garage turned out to be the perfect spot.
It’s out of the way, I have plenty of vertical space, and I don’t have to worry about covering every available surface in the house with drying flowers.
The rack also lets everything hang in one place, where I can see what I’ve harvested and keep the bundles separated while they dry.
And perhaps my favorite part?
When the season is over, I can simply get the rack out of the way.
The whole thing hangs from the ceiling, so I’m not giving up valuable wall or floor space.
What You’ll Need to Set Up your Own Herb and Flower Drying Rack
This is a pretty simple flower drying rack with a short (and inexpensive) list of materials
- Thick-gauge rope
- Large eye hooks for mounting into the ceiling
- 1½-inch wooden dowels or long, sturdy branches
- Smaller eye hooks for the dowels
- Old window screens or other sturdy screens
- Small eye hooks for the corners of the screens
- Drill
- Stud finder
- Measuring tape
That’s really about it.
I originally used a thick-gauge cotton rope because I liked the look of it and had it on hand.
It works.
But if I were building this again, I’d use nylon rope.
A garage can be a pretty tough environment with changes in temperature and moisture, and nylon won’t rot the way natural-fiber rope eventually can. If you’re building this as a permanent setup, I’d spend the few extra dollars on nylon and call it done.
Step 1: Find Your Ceiling Studs
This is the part where you don’t want to take shortcuts.
I used a stud finder to locate the ceiling joists and marked their locations.
Then I installed the large eye hooks directly into the studs.
Don’t hang a rack full of freshly cut flowers and herbs from drywall anchors and hope for the best.
Those bundles get surprisingly heavy.
I spaced my ceiling hooks so that the dowels would have plenty of room between them and the ceiling, while still making good use of the available space.
Think of it less like building a shelf and more like building a little hanging garden overhead.
Step 2: Choose Your Drying Bars
For the horizontal drying bars, I used 1½-inch wooden dowels.
You can cut these to whatever length makes sense for your space. I wanted mine long enough to hold a good number of bundles without becoming unwieldy.
There’s something wonderfully uncomplicated about a wooden dowel.
No cabinetry. No finishing. No fuss.
Just a stick doing exactly what you need it to do.
But you don’t have to use dowels.
Go Rustic With Branches for a Different Type of Drying Rack
If you want your drying rack to feel a little more rustic—and a little less like you went to the hardware store—you could absolutely use long, straight branches or limbs instead.
In fact, I think that could be beautiful.
Look for sturdy branches that are relatively straight and thick enough to carry the weight of your drying bundles. Apple, maple, birch, or whatever you happen to have growing nearby could work beautifully.
There is something especially satisfying about building a garden project with something that came from the garden—or at least from the farm.
The wooden dowels make the rack clean and simple.
The branches make it feel like it belongs there.
And I’m always in favor of using what you already have before buying something new.
Step 3: Add the Smaller Eye Hooks
I installed smaller eye hooks into the ends of each dowel.
These are what allow the rope to pass through and suspend the dowel from the ceiling.
You want the eye hooks positioned so the dowel hangs evenly.
I found it easiest to drill a small pilot hole first and then screw the eye hooks in by hand.
If you’re using branches, you can do the same thing—just choose sturdy sections and drill carefully so you don’t split the wood.
Step 4: Thread the Rope
This is where the whole thing starts to come together.
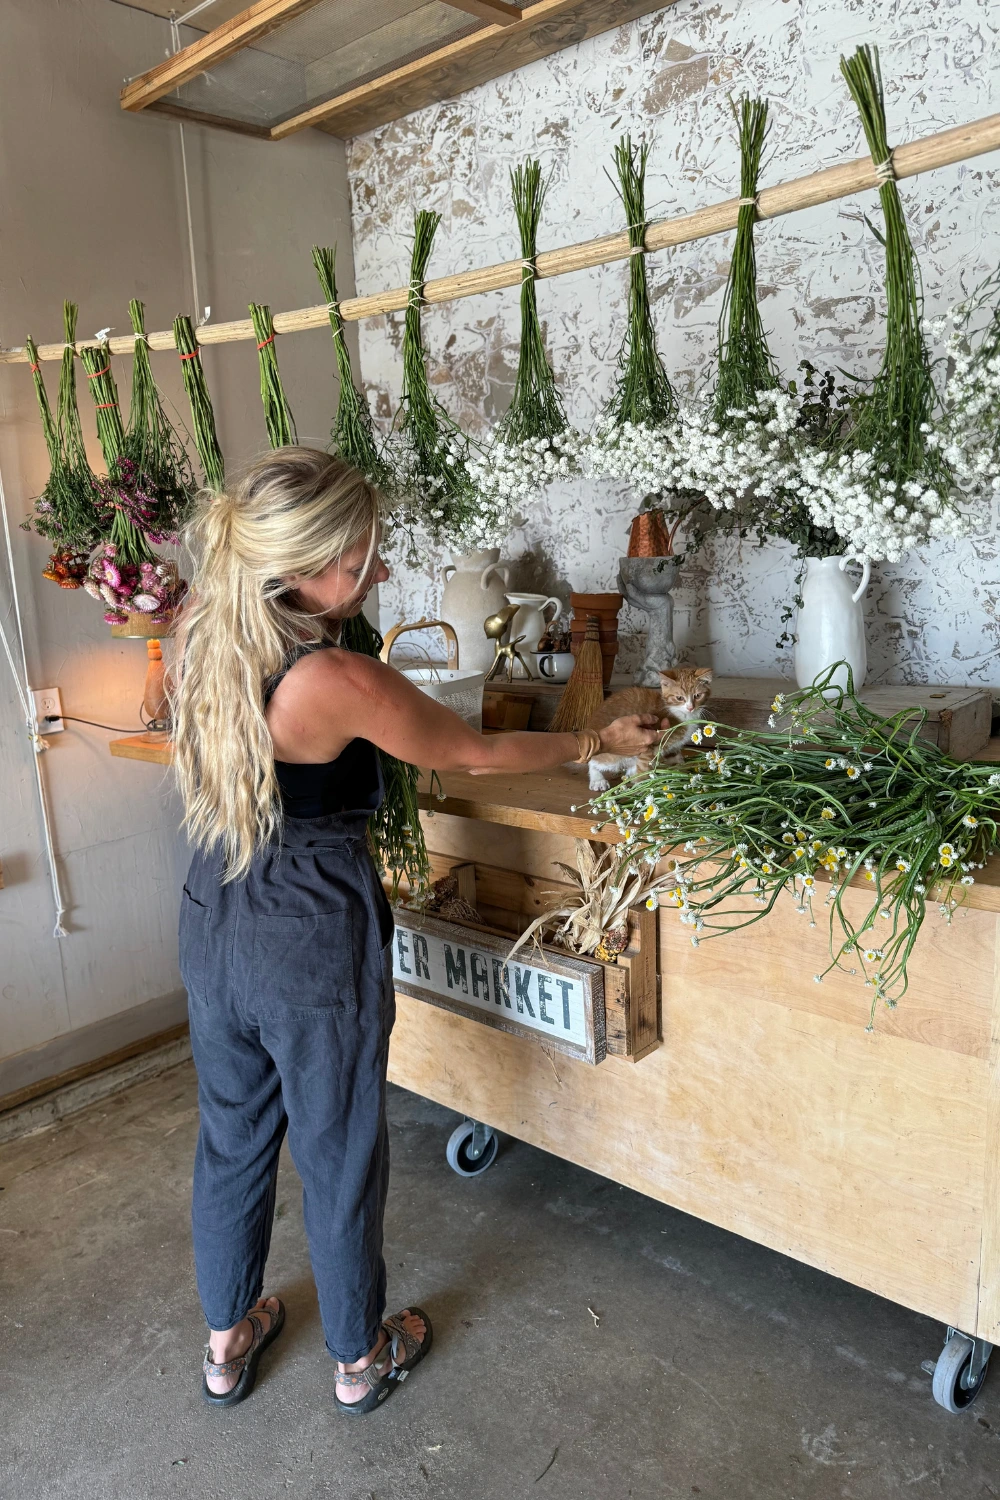
I ran the rope from the large eye hooks mounted in the ceiling, through the smaller eye hooks on the dowels, creating a suspended series of drying bars.
The beauty of using rope is that the whole rack has a little flexibility to it.
I can adjust the height of the dowels, move things around and make room for whatever the garden is throwing at me that particular week.
And there is always something.
One week it’s herbs.
The next week it’s flowers.
Then suddenly I’ve harvested enough yarrow to furnish a small apothecary.
Step 5: Add the Flat Drying Screens
The hanging dowels are wonderful for bundles, but I also wanted a place to dry things flat.
This is where the old screens came in.
I had some old screens that were no longer being used, and instead of getting rid of them, I turned them into flat drying trays.
I mounted a small eye hook into each corner of the screen.
Then I threaded rope through the four corners and attached it to the overhead system so I could raise and lower the screen with the rope.
It’s basically a giant hanging drying tray.
And it has been incredibly useful.
Flat screens are especially handy for flowers, herbs, seed heads and anything that doesn’t lend itself to being tied into a bundle.
They also give you a nice surface for spreading things out in a single layer so air can move around them.
And because the whole thing can be lifted toward the ceiling when I’m not using it, I’m not sacrificing precious garage space.
And Then There Are the Peonies
One of my favorite uses for the screens has nothing to do with herbs.
When my peonies are past their prime, I pull the petals apart and let them dry on the screens.
Once they’re completely dry, I have natural, biodegradable confetti.
It’s such a simple little thing, but I love it.
Instead of throwing those beautiful petals into the compost pile and calling it the end of the season, I get to save them for gatherings, celebrations and all sorts of little moments throughout the year.
There is something pretty wonderful about being able to say, “Oh, the confetti? I grew it.”
The garden just keeps giving.
Step 6: Hang Everything Up
Once the rack was installed, I started filling it.
I use it for all sorts of things:
- Herbs
- Flowers
- Seed heads
- Garlic and other small harvests
- Bundles of plants I’m saving for later projects
- Peony petals for natural confetti
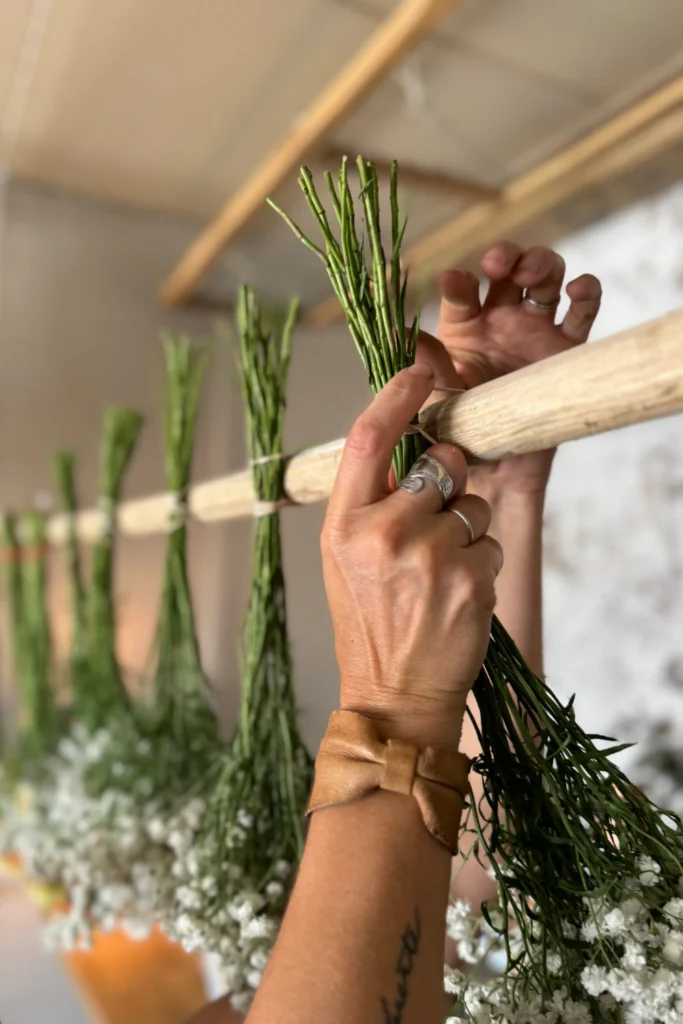
I usually tie flowers and herbs into small bundles and hang them upside down from the drying bars.
Small bundles dry more evenly than giant handfuls, and leaving some space between them allows air to circulate.
For things that need to dry flat, I use the screens.
And this is where the rack really earns its keep.
Instead of having drying herbs scattered around the house, everything has a home.
A Few Things I’ve Learned
- Give yourself more room than you think you’ll need.
If you garden, you know this already. Whatever amount of drying space you think is plenty will eventually not be enough.
Build bigger.
2. Don’t pack the bundles too tightly.
Airflow matters. Give everything a little breathing room so the plants can dry properly instead of holding moisture against one another.
3. Mount into the studs.
This is worth repeating. A ceiling-mounted drying rack is only as good as what it’s attached to.
4. Use nylon rope if you’re building it for the long haul.
My cotton rope looks lovely, and it has worked well for me, but nylon will be more practical in a garage where humidity and temperature change throughout the year.
5. Use what you have.
That’s one of my favorite things about this project.
You can make it with hardware-store dowels and rope, or you can wander around the farm looking for the perfect branches.
You can use old screens instead of buying specialized drying trays.
It doesn’t need to match.
It doesn’t need to be fancy.
It just needs to work.
Questions about Making your Own Floral Drying Rack
Drying flowers and herbs lets you enjoy what you grew long after the garden is finished. Dried flowers can be used for arrangements, wreaths, crafts and natural confetti, while dried herbs can be saved for cooking, teas and other projects.
Most flowers take 1–3 weeks to fully dry, depending on the flower, humidity and airflow. Smaller flowers and herbs may dry faster, while larger, moisture-filled blooms take longer.
Properly dried and stored flowers can last a year or more and some can last for several years. Keep them somewhere dry and out of direct sunlight to help preserve their color and shape.
Gather herbs into small bundles and hang them upside down in a dry, dark, well-ventilated space. You can also spread smaller leaves and herbs in a single layer on a drying screen. Most herbs are ready when the leaves feel crisp and crumble easily between your fingers.
Look at the cool, dry spaces in your house for what they could be.
Our garage holds tables and chairs for gatherings, our cats find rest here, and in winter it’s my staging space for greenery and my winter shop. Honestly, it acts as more of a utility space than a place to hold our vehicles which made it the perfect space to dry my flowers and herbs.
The pulley system was born out of wanting to keep the floor space – not just a standing drying rack but a functional build that worked no matter what our garage was holding.
I bring the rack down to heigh level and then use rubber bands to tie bundles to my dowel
Choosing Which Flowers and Herbs to Dry
Herbs:
At the end of each season I’ll strip the dry herbs – the dried bits maintain their benefits and make their way into our soups and teas all winter long
- Thyme
- Oregano
- Yarrow
Flowers:
Not all flowers can be dried – look for sturdy flowers with firmer petals. These will dry without wilting in structure.
- Strawflower
- Baby’s breath
- Statice
Are types that I find dry the best


The Best Part of This Drying Rack
I think the best projects are the ones that quietly make your life easier.
This is one of those.
It doesn’t require electricity.
It doesn’t take up floor space.
It doesn’t need a complicated pulley system or a fancy piece of equipment.
It just hangs there, waiting for the next armful of flowers.
Sometimes the best solution really is just a stick hanging from the ceiling.
And sometimes that stick doesn’t even have to come from the hardware store.
And there is something pretty satisfying about walking into the garage at the end of summer and seeing all those bundles hanging overhead.
The garden is still working, even after you’ve pulled the flowers from the ground.
They’re becoming something else now.
Dried flowers for winter arrangements.
Herbs for the kitchen.
Seed heads for next year’s garden.
Peony petals for a party six months from now.
Little pieces of summer tucked away for later.
And all it took was a few eye hooks, some rope, a handful of wooden dowels—or a few good branches from the farm—and some old screens that had already lived a life.
Pin for Later!
Wrapping up Gardening Season
- How to Harvest and Store Dahlia Tubers
- Preparing Willow to Weave
- Gathering Season: 7 Practical Ways to Ready your Home for the Cold Months

Affiliate Disclosure & Content Disclaimer
This post may contain affiliate links from a paid sponsor, Amazon or other program. When you use these links to make a purchase I earn a small commission at no extra cost to you. This allows me to continue creating the content that you love. The content in this article is created for information only and based on my research and/or opinion.
Emily T.



DAILY INSPIRATION ON THE GRAM @hearty.sol
it's hip to be square!
View comments
+ Leave a comment