

How to Quickly Install Drip Irrigation for your Raised Beds
I’ve had my share of dried out pots and non-thriving plants in my raised beds. This year was the year everything received lovely drip irrigation!

What is Drip Irrigation?
Drip Irrigation (also called trickle irrigation) is a process of watering plants and in my opinion, is one of the best practices for home gardeners. In this process, water drips onto the plants out of emitter tubes at a slow, controlled rate with low pressure. We use this drip system in our raised garden beds which, due to them being in a garden frame above the ground, have a tougher time getting and maintaining nutrients and moisture. This Drip Irrigation system is a complete solution for raised beds that dry out quickly and saves us from having to take time out of our day to water them. Drip lines work for both flower and vegetable gardens!
When it comes to Drip Irrigation, the load of the work is done upfront, generally once, and then you are set. You do not by any means have to be a seasoned gardener to complete this – after gardening for years I still found this process to be a bit overwhelming and confusing at first, but stick with it! We even took a long weekend away and I wasn’t worried one bit about having someone come out to water the gardens. That, itself, made the entire process of installing the drip irrigation all worth it!
Why use Raised Garden Beds?
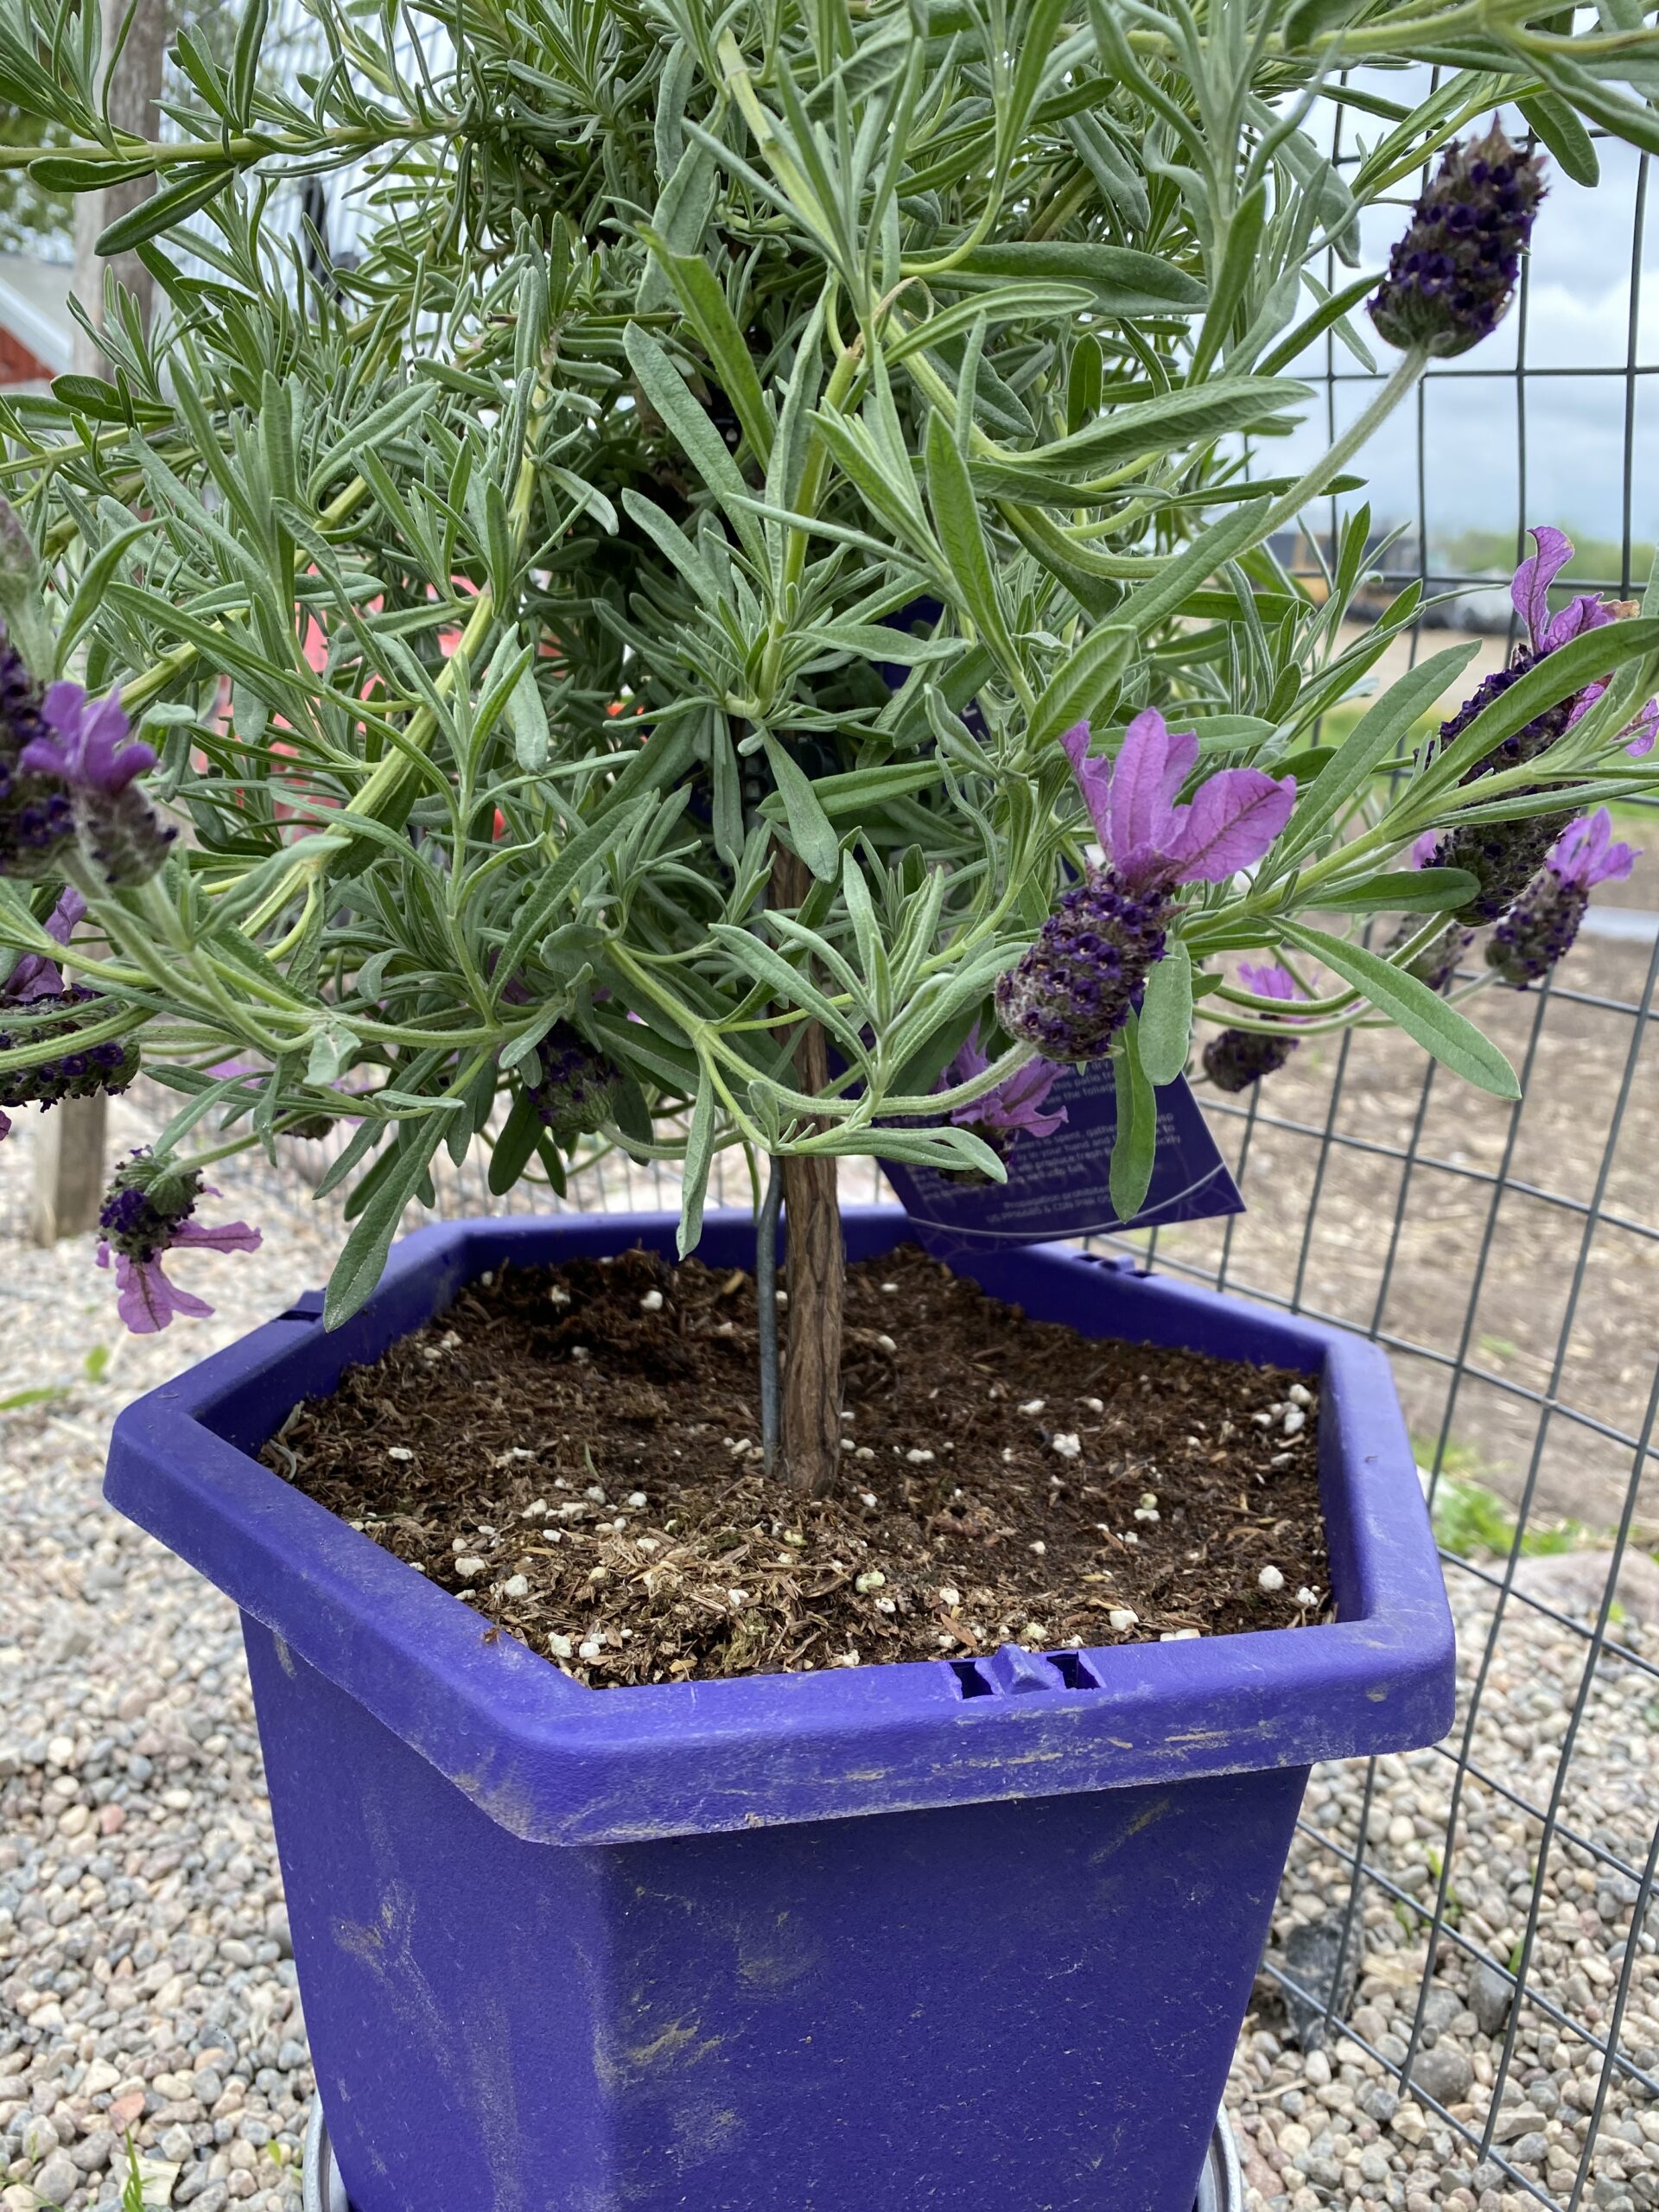
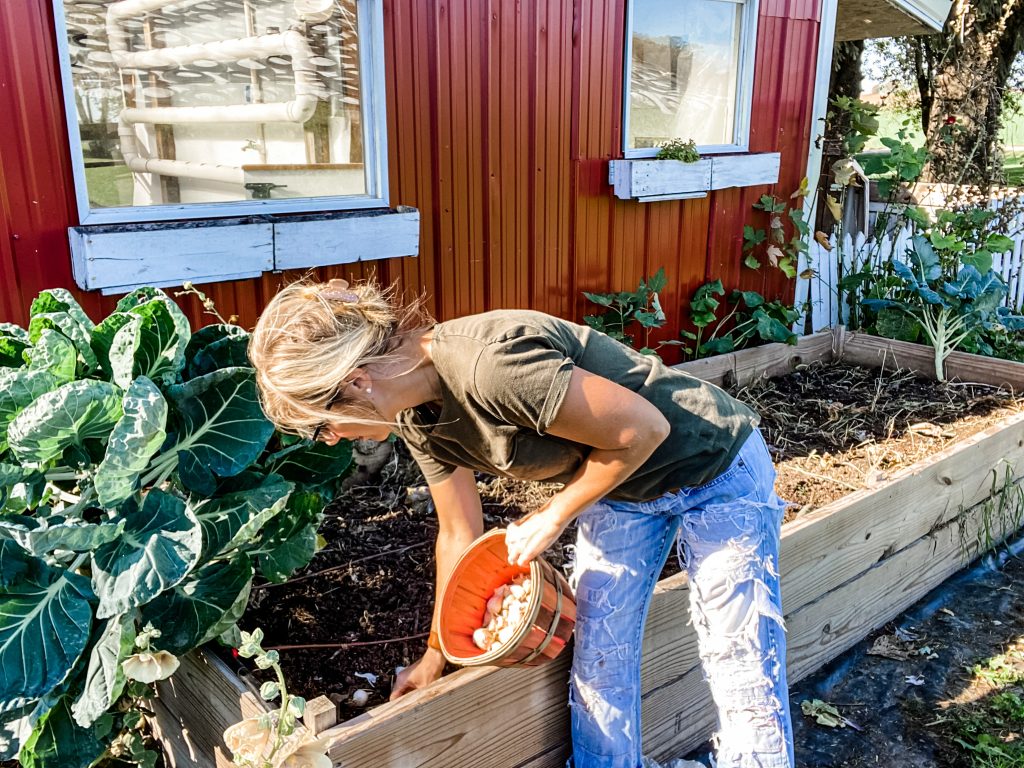
We use our raised garden beds to grow a variety of plants such as cucumbers, beans, luffa gords, etc. Raised Garden Beds ensure that the soil can stay safe and in place while the plants are growing. Being raised from the ground means they are safe from getting damaged or stepped on by the multiple people and animals we have here on our farm. A raised bed garden also allows us to use our space more efficiently and pack vegetables, etc. into the beds. A plant we found that works great for growing in raised beds is garlic! You can check out our Guide to Growing Garlic here and our Garlic Scape Compound Butter Recipe here.
Steps to set up your Drip Irrigation
Read below for how to set up drip irrigation for raised beds. All of this information for this drip watering system is talked about and described in detail in the Youtube video below as well!
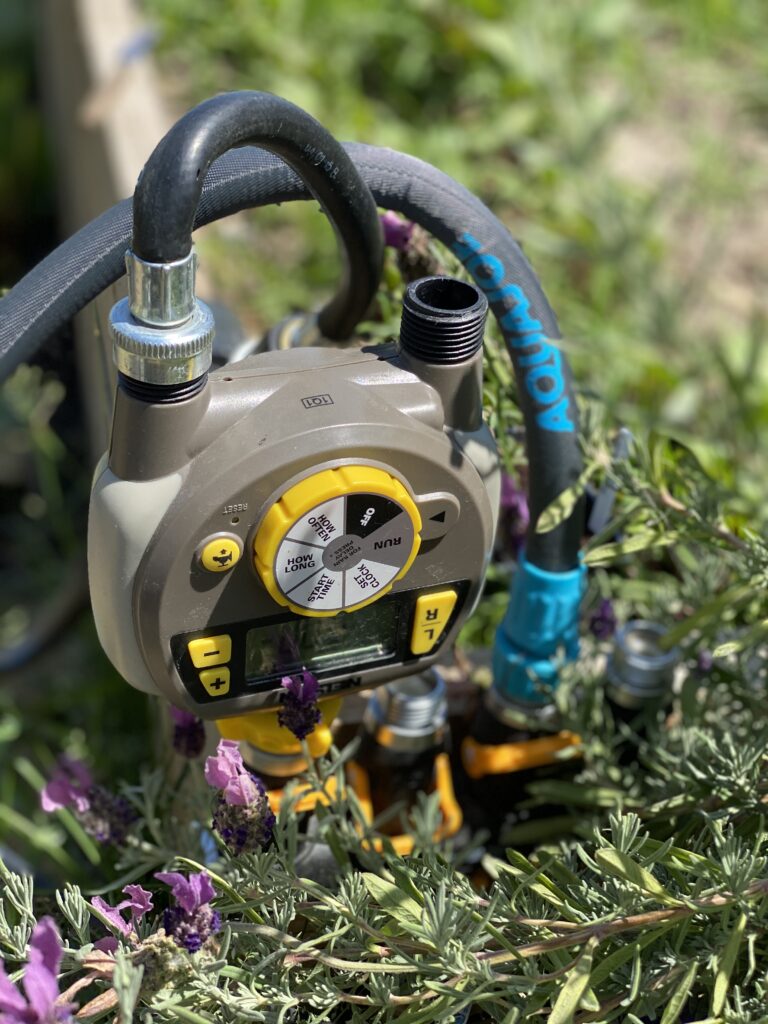
Water Monitor and Water Pressure Set Up
The first step to set up your Drip Irrigation system is to buy a water monitor. I attached this to our 4 spigot adaptor on the side of our raised garden bed. It is attached to a water line from our house which is our main water source for this process. A water monitor will help you gauge how much water you are giving your plants (we water the plants for about an hour in the mornings). I bought one that had two zones on it. This one is similar to mine.
PSI reducer
I ordered a 15 PSI pressure reducer from Nolts in Iowa. This is a special place ran by some nice Amish folks, so don’t be thinking that you will order this online. It was refreshing to call someone up on the ol’ telephone and order. The advantage is, that they carry a wide selection of greenhouse products for a very reasonable price! PSI stands for pounds per square inch. Simply put, you need to reduce the water pressure coming from your original hose spigot so the pressure doesn’t blow your ends off of your lines – this will be your pressure regulator.
Filter
You will also want a filter. Just go ahead and ask the friendly guy on the other end of the line when you call Nolts. 😉
Keeping sediment out and away from your drip irrigation tubing is really important. This will save you from clogs, leaks, and other problems that sediment could cause.
1/2″ black irrigation tube
To begin setting up your drip irrigation, I started with a simple roll of 1/2″ black irrigation tubing. Don’t get confused by the fun colored water line you might see in the plumbing area. I had to ask and they directed me to the yard outside of the store for the correct, unperforated tubing.
With the tubing, you will cut it to be the same width as one of your raised beds. For me, this was about 4ft. This will be your main line for the water supply in the bed irrigation system. *Tip: sometimes these tubes are bent and harder to cut – to straighten them out just curl it over your leg.

Emitter Tubing
This emitter tubing act as tiny little soaker hoses and you can find it at your local Menards. I bought 50 feet of this drip tubing and was able to use it in all three of my raised beds. You will want to space your 1/4″ emitter tubing out every 12″ in your raised beds (since the width of mine was 4 feet I had 3 lines in each bed). Cut a hole every 12″ in your black irrigation tubing and the emitter tubing will connect to your 1/2″ irrigation tubing using emitter drippers. String the emitter lines down to the other end of the raised bed and cut accordingly. I used landscape staples to keep the emitter tubing in place.
You will also want some end caps / end plugs for the ends of your drip emitters to keep bugs and dirt out. I used these. In the end, they went on the easiest.

Fittings
To connect the drip line together, I just grabbed a bunch of different barbed T’s and elbow fittings. You can find these on Amazon, or do what I did and stand in the Menards irrigation section for a really long time until you find what you need! I didn’t really have a plan at first with these so I kept some on hand for other projects and returned some I didn’t need. I also purchased a holder to help put the barbed T’s and elbow fittings – this will save your fingers!
*Tip – if you make a mistake or need to detach the tubes (which I definitely did) a handheld propane torch was really helpful in taking them apart. You can also dip it in hot water.
Keeping the tubing in place
By using drip irrigation, you are directing the water where to go. I used some landscape staples and some c clamp staples (found those in the plumbing area of Menards) to hold all of my irrigation tubing and 1/4″ emitter tubing right where I wanted it.
Do yourself another favor and add a few 1/2″ hose clamps to the list. I did have to go back and add some 1/2″ hose clamps to some of the ends and where the connections were, due to leaks, but not just too many. These worked nicely. They are much easier than trying to find the right socket fitting for your drill, to fit the metal kind on.

Installing Drip Irrigation for Raised Beds: The Video
Questions people are asking about Drip Irrigation
Raised beds don’t have the same moisture advantage that the ground does and tend to dry out much quicker. Drip irrigation allows the soil to stay moist and your seeds to get all of the nutrients they need!
Because we have our drip irrigation for small raised beds, I bought everything separately. However, if you are looking to do this for a larger layout, you can buy kits on Amazon. I have also seen kits online at Lowes.


Affiliate Disclosure & Content Disclaimer
This post may contain affiliate links from a paid sponsor, Amazon or other program. When you use these links to make a purchase I earn a small commission at no extra cost to you. This allows me to continue creating the content that you love. The content in this article is created for information only and based on my research and/or opinion.
Emily T.
Leave a Reply


DAILY INSPIRATION ON THE GRAM @hearty.sol
it's hip to be square!
I really like what you guys tend to be up too. This sort of clever work and coverage!
Keep up the wonderful works guys I’ve you guys to my personal blogroll.