

How to make a Flipping Workbench | Video Tutorial & Plans
Our garage is small and I needed a workbench that could double as a permanent space for my larger tools and nice big working space.
As with most things that get to take up space here, this workbench needed to be versatile, double functioning and efficient in space.
(This post may contain affiliate links which means I make a small commission at no extra cost to you.)
I always loved the idea of having trap doors, secret hiding spaces and moving libraries in my home. This workbench is a vision of that, but with a bit more of a practical approach.
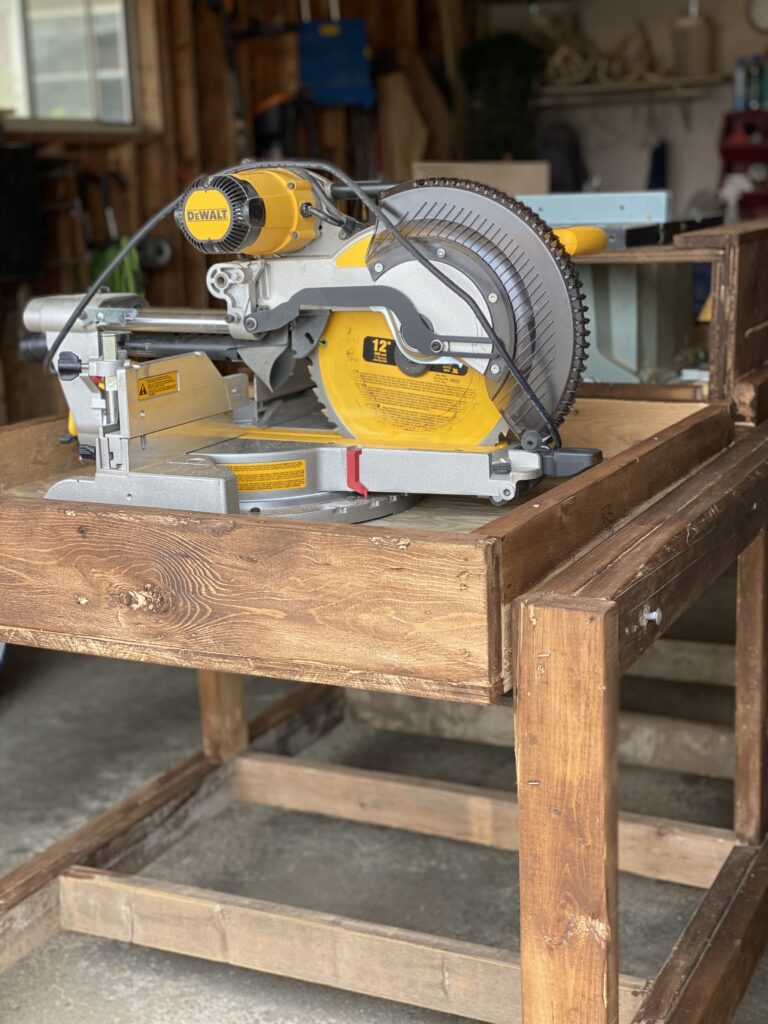
My grandpa had given me his small table saw and a band saw and I had purchased a brand new DeWalt Miter Saw. I love having these tools at my finger tips, but there is such limited space in our garage that I had stored away some of the less-used tools to try to save room.
Then I would end up hauling them up to the garage for a couple of projects, then back to storage again. It was a pain!
Grab the FREE Building Plans + Cut List Here!
Wood working and the smell of sawdust gets me inspired and I want to be able to make use of the tools I have. I had to come up with away to store the large tools AND have a large working space AT the same time. This was going to be a feat!
Challenge accepted, of course it was really only me challenging myself, but I digress.

I made this double-ended flip-top workbench out of reclaimed lumber. There were a few nails and staples on my boards, but for the most part it was free for the taking and leftover from other farm projects.
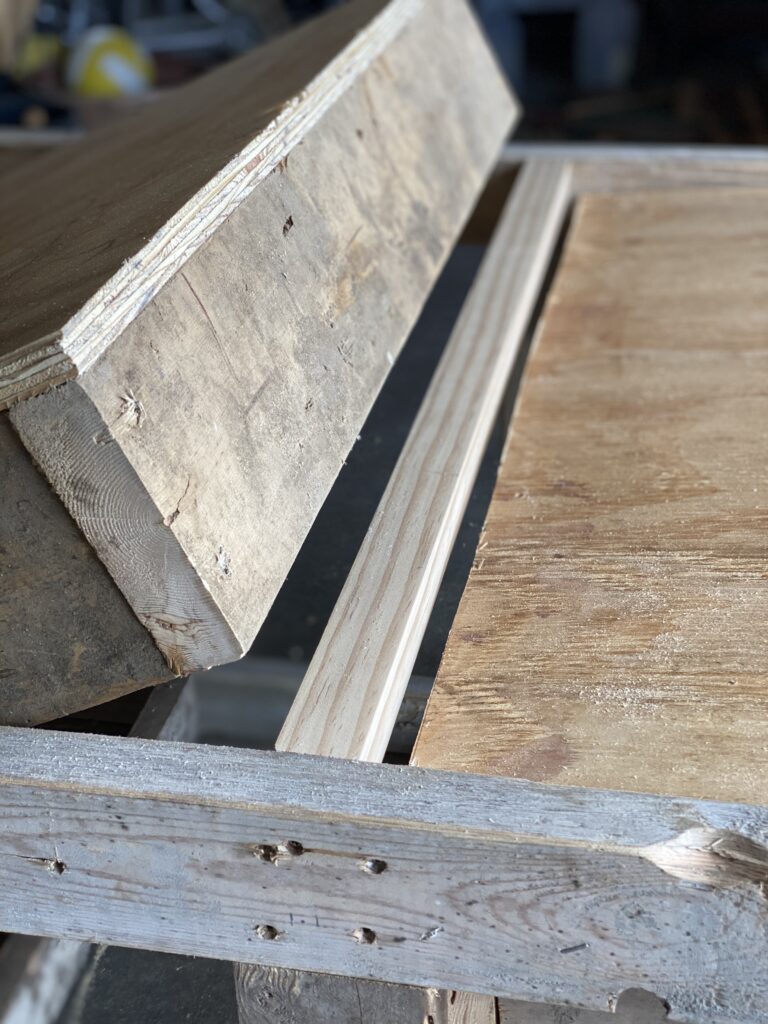
Most of the workbench project is made up of 2x4s and 3/4″ plywood.

TOOLS AND MATERIALS YOU WILL NEED:
2x4s
3/4″ Plywood- (2) 4×8 pieces
Paint or stain (this is my favorite)
Screws (1 1/2″, 2″ and 3″) I like the star screws the best.
Bolts (8) 5/8″ x 5″
Castors These puppies are my favorite! I practically buy castors in bulk. Everything should have locking castors on it, in my opinion. It really does make life so much easier!
Dowel Rods (2) 1 1/8″ x 48″ long
Grab the FREE Building Plans + Cut List Here!

Building Instructions:
The Base
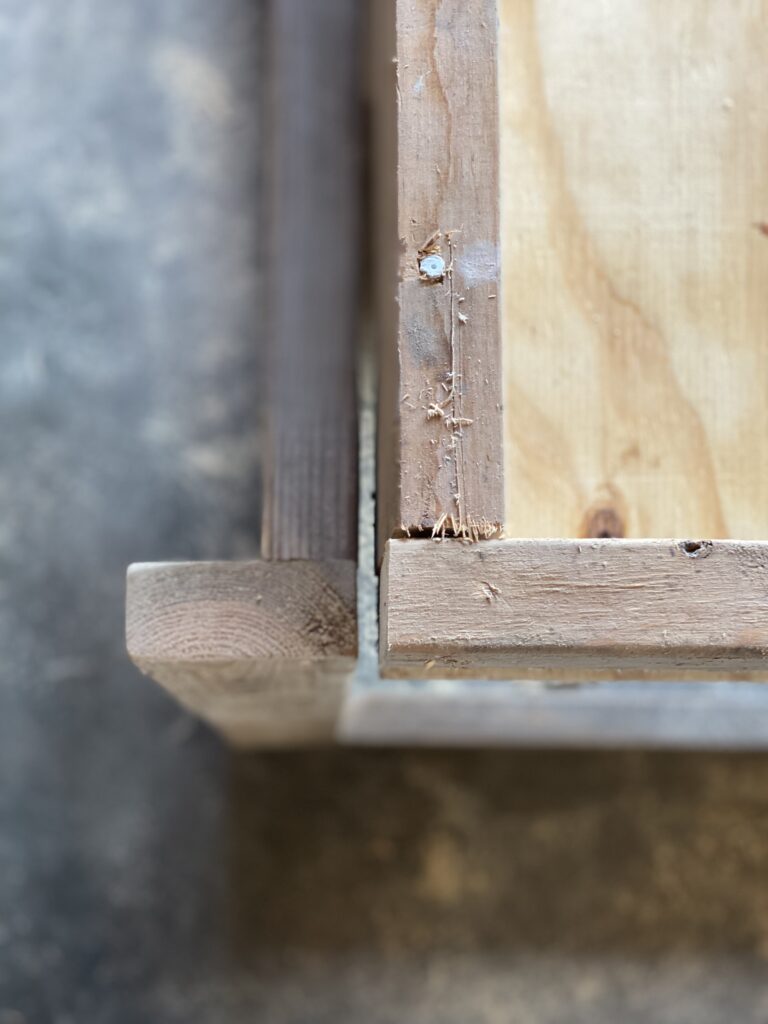
First, I created a base out of 2×4’s. I knew that I would be adding 3/4″ plywood to the top and 3″ casters to the bottom, so the legs on my base were 28″ long. I used my Kreg K4 Pocket Hole Jig to create pocket holes for outside 2 base pieces- they were 36 1/4″ long. (Man, I love how this hole jig makes my creations look so professional!)
Then I place 3 more braces in, starting with the center and working toward the outside two. They were also 36 1/4″ long.
I found the center of tops on and drilled a 1 1/8″ hole where my dowel rods would go on each side.
The Top
Next I built both of the flip top portions. I cut the end pieces at 36″ long and the inside
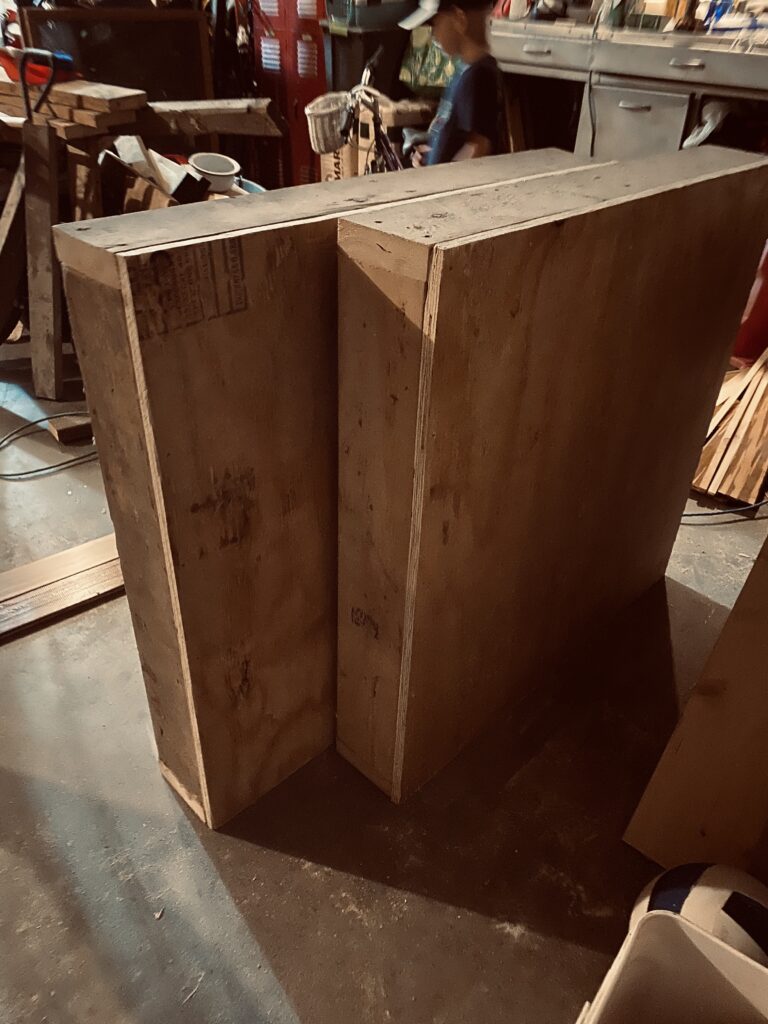
I found the centers of each of these and also drilled a 1 1/8″ hole for the dowel to go through.
Then, I measured, cut the 3/4″ plywood and screwed on the tops to one side of the flip-tops.
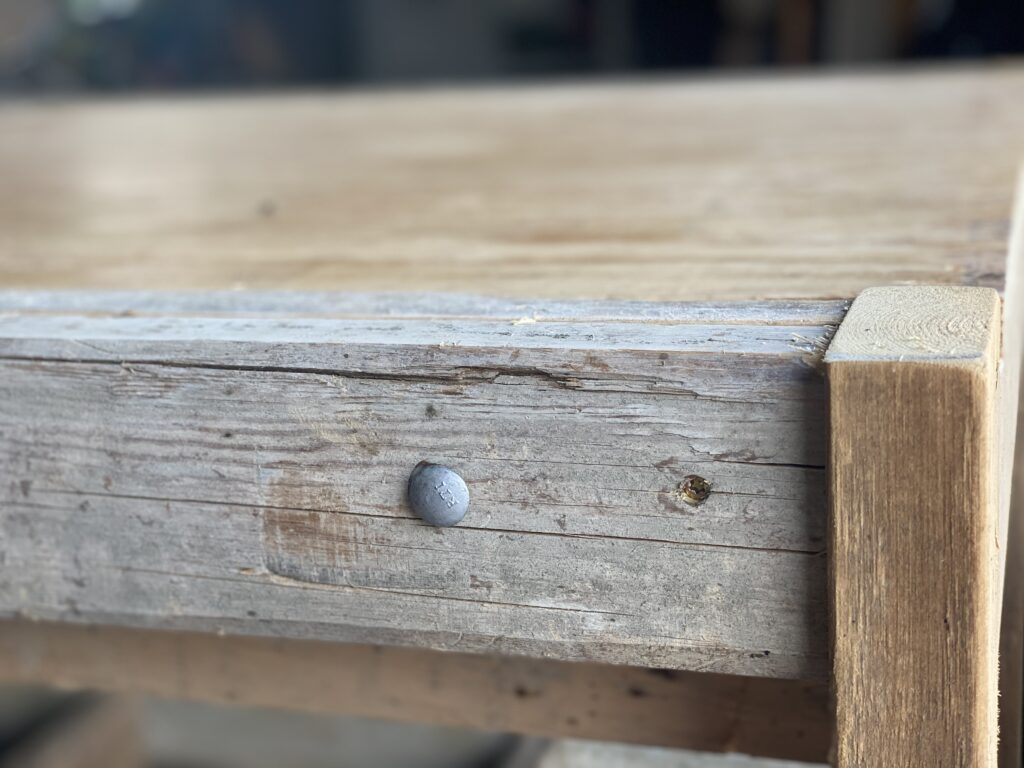
At this point, I placed the dowel through the flip top and attached it to my workbench base. Making sure the surface was level, I then used a screw to secure the flip-top level, so I could work on drilling holes in for my bolts to go in-on each side of the flip-top. I drilled 4 holes per flip-top for a total of 8 holes.
Next, I use these 5x 5/8″ bolts to secure the flip-top. Using a 1/2″ drill bit, I drilled 4 holes (2 on each side) through the outside then into the flip-top and added my 5″ bolts to secure in place. This will make my work surfaces nice and sturdy.
Before I added my tools, I flipped the workbench over on its side and added the casters using 3″ screws.

Adding the tools
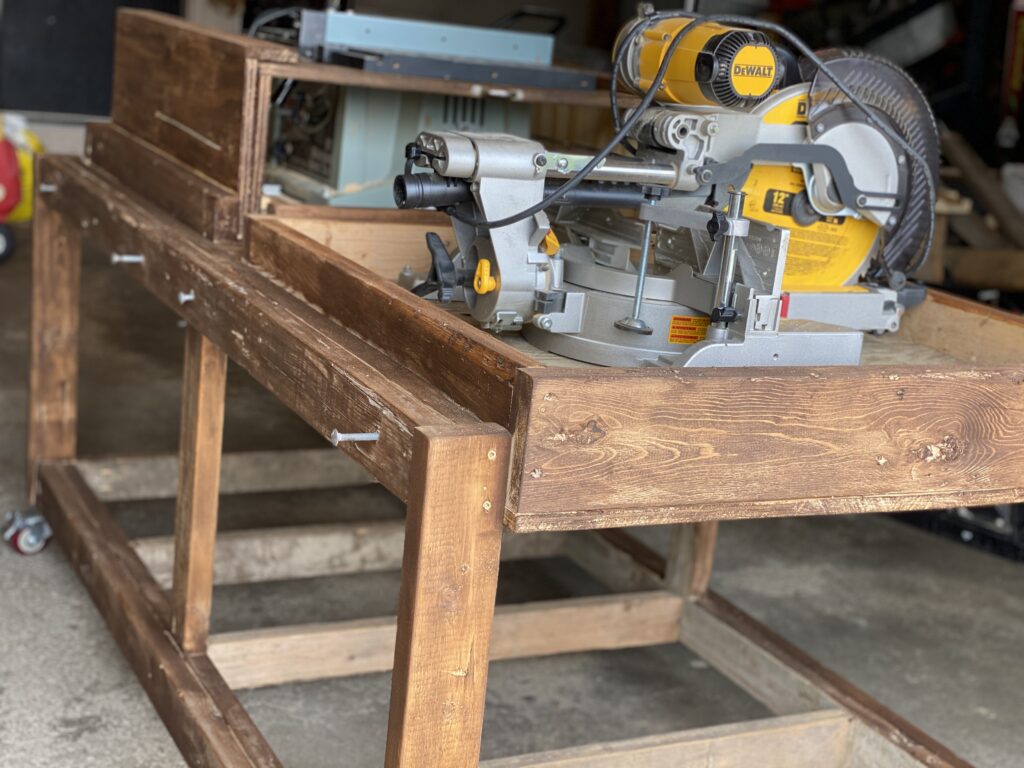
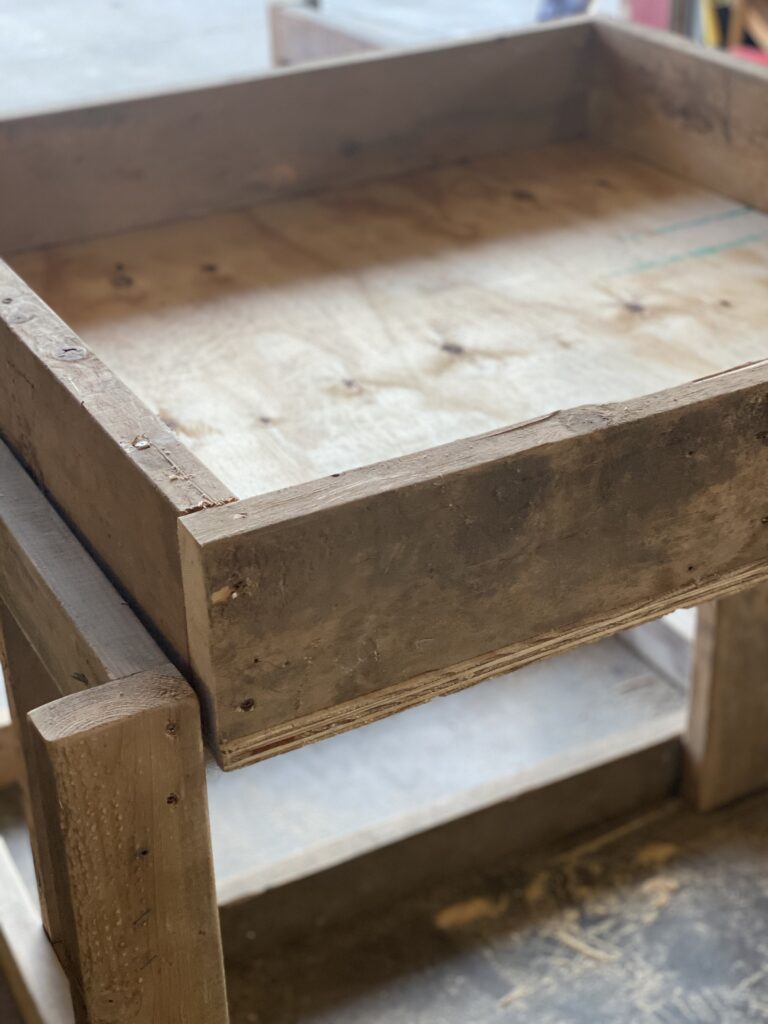
Next, I measured the inside of my flip-top box and added another piece of 3/4″ plywood. I used 1″ spacers on the outside corners made out of 2×4’s and then attached my plywood using screws, that went into the spacers. Then I hoisted my miter saw up on to the sunken platform and using attached it with 5/8″ carriage bolts, washers, and nuts.
I did the same thing with my table saw end.
Painting or Staining:
Since I used scrap lumber, somethings looked more used than others, so I decided to stain the entire thing to look a bit more cohesive. I love my Dark Walnut Stain from Varathane (I keep several on hand, just in case) and pre-stain conditioner for this! The pre-stain conditioner is a serious game-changer. You know how sometimes you’ll get dark splotchy areas, where the wood soaks in quicker? This pre-stain conditioner prevents that and smoothes the stain onto the wood much nicer than without it!
A few tips:
Know which side you want your tools, (the right side or the left side). For me, I knew I would use my miter saw more and would want it on the left, so that I would have board support on the right when the table saw was put away and the tabletop was exposed. I played around with how and where I wanted my tools before I attached them.
I also knew that I wanted my table saw to be adjustable and swivel from one direction to the other to adjust for the support I needed. So I used 4 latch bolts instead of carriage bolts to attach my table saw.
Optional:
You could also mount another 2 sets of stationary tools on the table-side portion if you didn’t need or want the flat surface.
This was a super fun build, and I am really enjoying flipping my miter saw around!
Added Bonus, when you are done making a mess on your saw or other large tools, flipping it over back to a flat table space, removes all the sawdust!
Then I use my leaf blower to tidy from there. 🙂 Leaf blowing my garage is my favorite! It’s even more satisfying than vacuuming!
And there you have it, folks: the best double-ended, flip-top workbench!

Enjoy Other Hearty Builds:
JOIN OUR HEARTY LIVING COMMUNITY!
Hearty recipes, farm living fun
and handmade projects straight to your inbox.

Hello, I’m Emily. I’m so glad you’re here! Join me and my family as we find beauty in our everyday life on the farm, hearty recipes and a handmade home. Find more about me and our story here.
DELICIOUS RECIPES FROM HEARTY SOL
Making Banana Bread and Banana Bars
Our Family’s favorite Hot Cocoa Mix
Honey, Lemon, Ginger Tea and the Benefits
How to make your own Mozzarella Cheese

Affiliate Disclosure & Content Disclaimer
This post may contain affiliate links from a paid sponsor, Amazon or other program. When you use these links to make a purchase I earn a small commission at no extra cost to you. This allows me to continue creating the content that you love. The content in this article is created for information only and based on my research and/or opinion.
Emily T.
Leave a Reply


DAILY INSPIRATION ON THE GRAM @hearty.sol
it's hip to be square!
[…] Previous Post: « Making a Flipping Workbench | Video Tutorial & Plans […]