How to make your own Savory Mozzarella Cheese
Learn how to make your very own fresh Mozzarella Cheese right in your own kitchen!
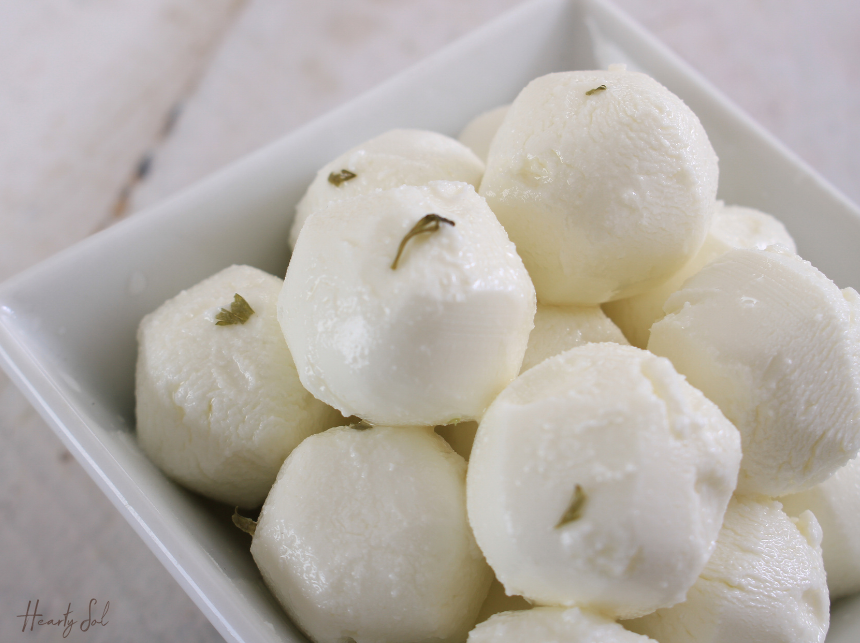
Fresh Bread + Fresh Homemade Cheese
Is there really anything better than a fresh loaf of Crusty French Bread with a few slices of homemade Mozzarella cheese on top? Never tried it, well, it’s worth trying, at least once in your life.
This recipe is a bit a kin to making your own bread. It takes a bit of time and slower time of year to really enjoy it, but I highly recommend knowing how to making your own cheese. This Mozzarella Cheese recipe is one to print off, give it a try and say you’ve made your own fresh Mozzarella!
The outcome of this homemade mozzarella cheese recipe is so delicious and perfectly savory! You’ll want to make it for everyone you know! Cheese making can be easier than you think – even on the first try!
(This post may contain affiliate links which means I make a small commission at no extra cost to you.)
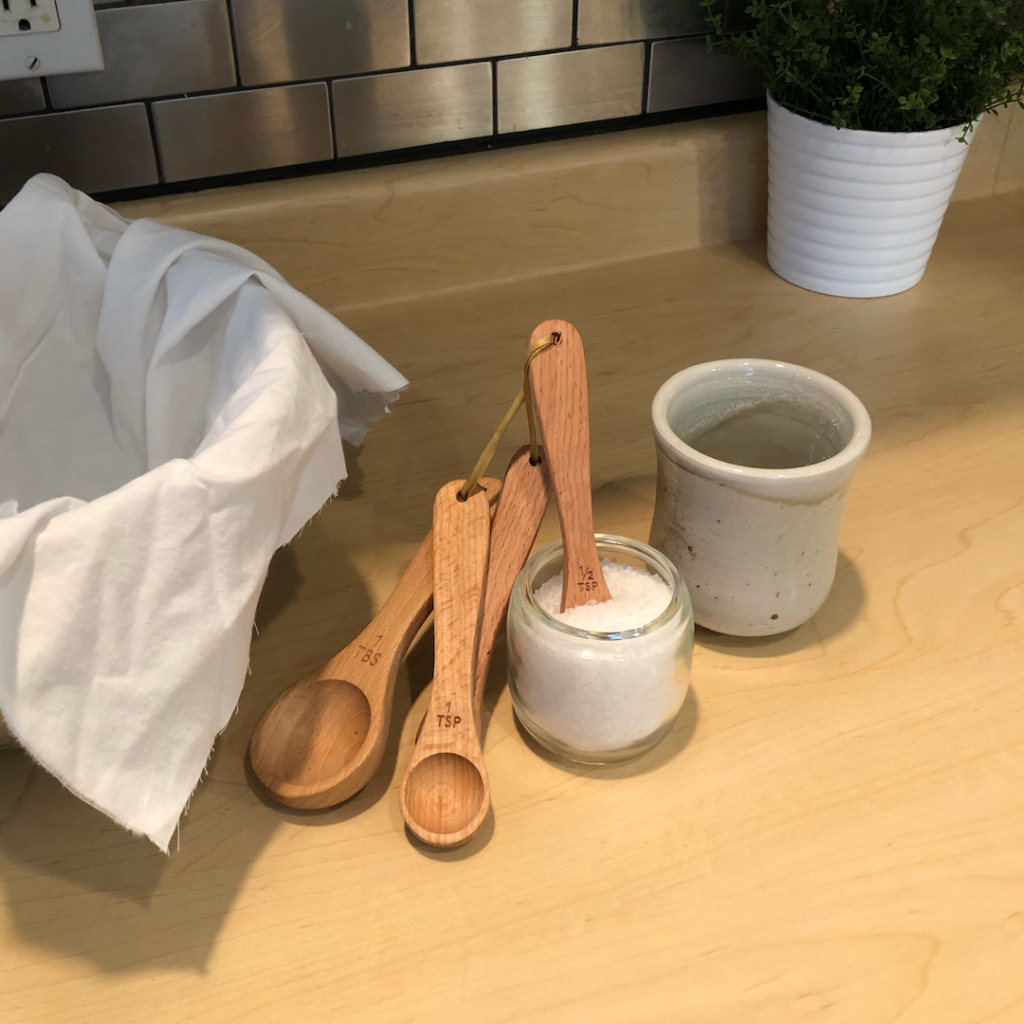
What you need to make Mozzarella Cheese Balls!
- 1/4 tablet of Rennet– dissolved into 1/4 cup of warm water
- 1.5 teaspoons of Citric Acid
- 1 gallon of whole milk or raw milk which ever you have access to
- Thermometer, I use this one because it has a magnet that I attach right to my stove and don’t have to burn my hands while it’s reading.
- Stainless steel pot, strainer, and slotted spoon Cheesecloth
*Faith that with a little practice, you, too, can partake in cheesemaking and make your own mozzarella cheese!
The Process of making your own Homemade Cheese:
FIRST things FIRST- clean your working space (counter, sink, hands, pots, utensils really, really well. Plus, make sure to have paper towels on hand)
Get your thermometer ready to work!
Fill your stainless steel pot with your 1 gallon of milk
Dissolve 1/4 of the rennet tablet into 1/4 cup of warm water and stir.
Put on a burner at medium-low, so to slowly increase the temperature of the milk to 91-95 degrees Fahrenheit.
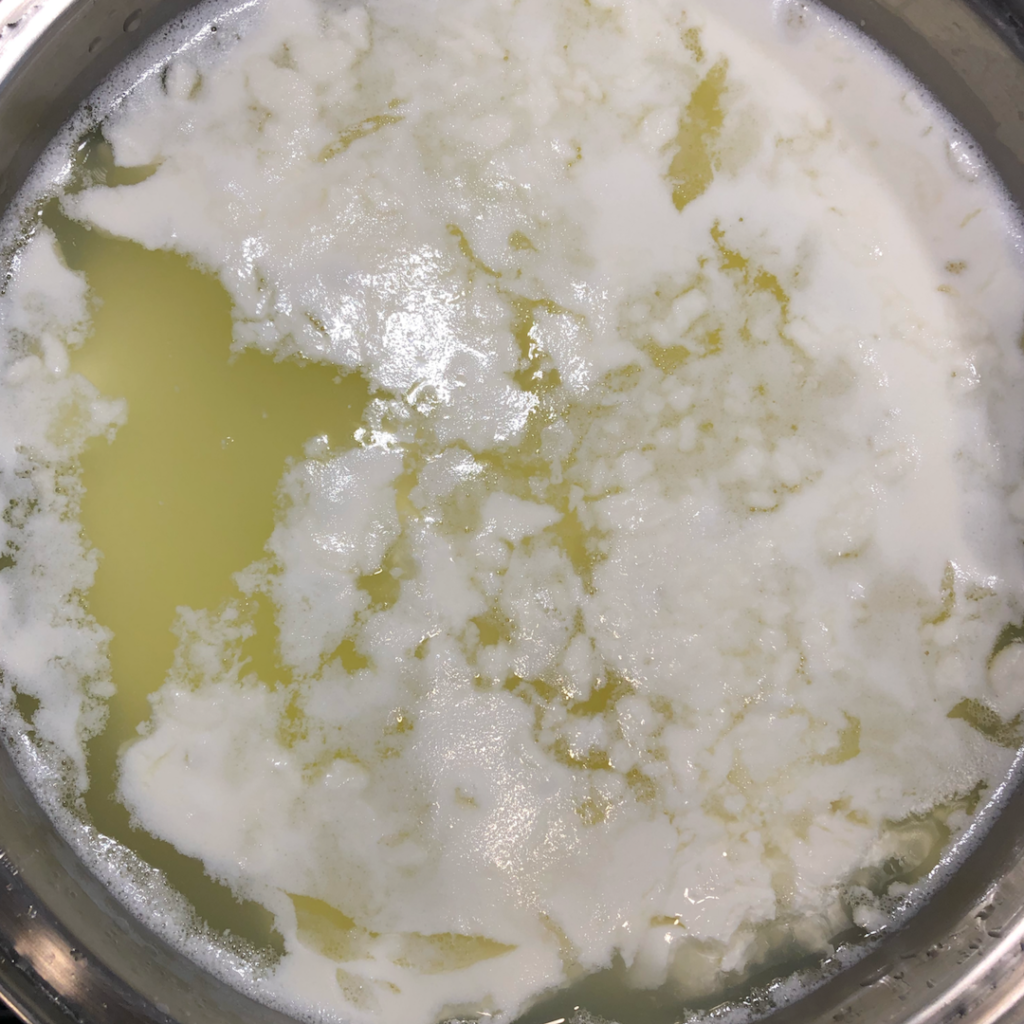
Once the milk has reached this temperature, add in your 1.5 teaspoons of citric acid. Stir slowly for about 30 sec.- 1 min. You will notice the milk start to curdle and that’s exactly what you want to see.
Remove the pot from heat and slowly stir in the dissolved rennet mixture (the rennet and water). Making sure to reach the bottom of the pot – for about 30 sec. to 1 min.
Place the lid on the pot and set your timer for 25 minutes.
While you wait, heat up 1 cup of water and 1/2 cup of sea salt on the stove. Bring to a boil, dissolve the salt and then cool down in the fridge. This will be for cheese brine for later.
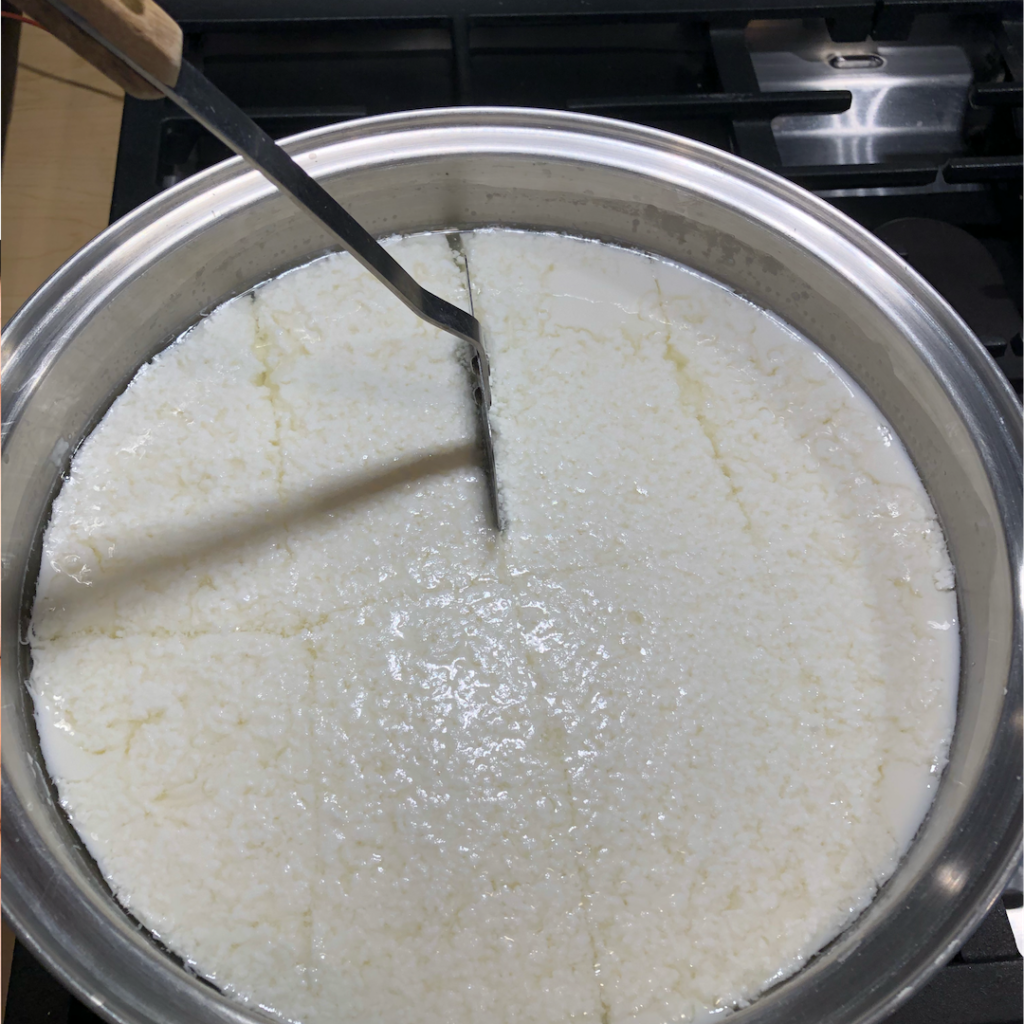
After 25 minutes, remove the lid and you should see 2 things: the watery hot whey and the forming curd. (You know like Little Miss Muffet) ;)?
Take a clean butter knife and slice the curds into squares. This grid-like pattern just makes the curds easier to remove.
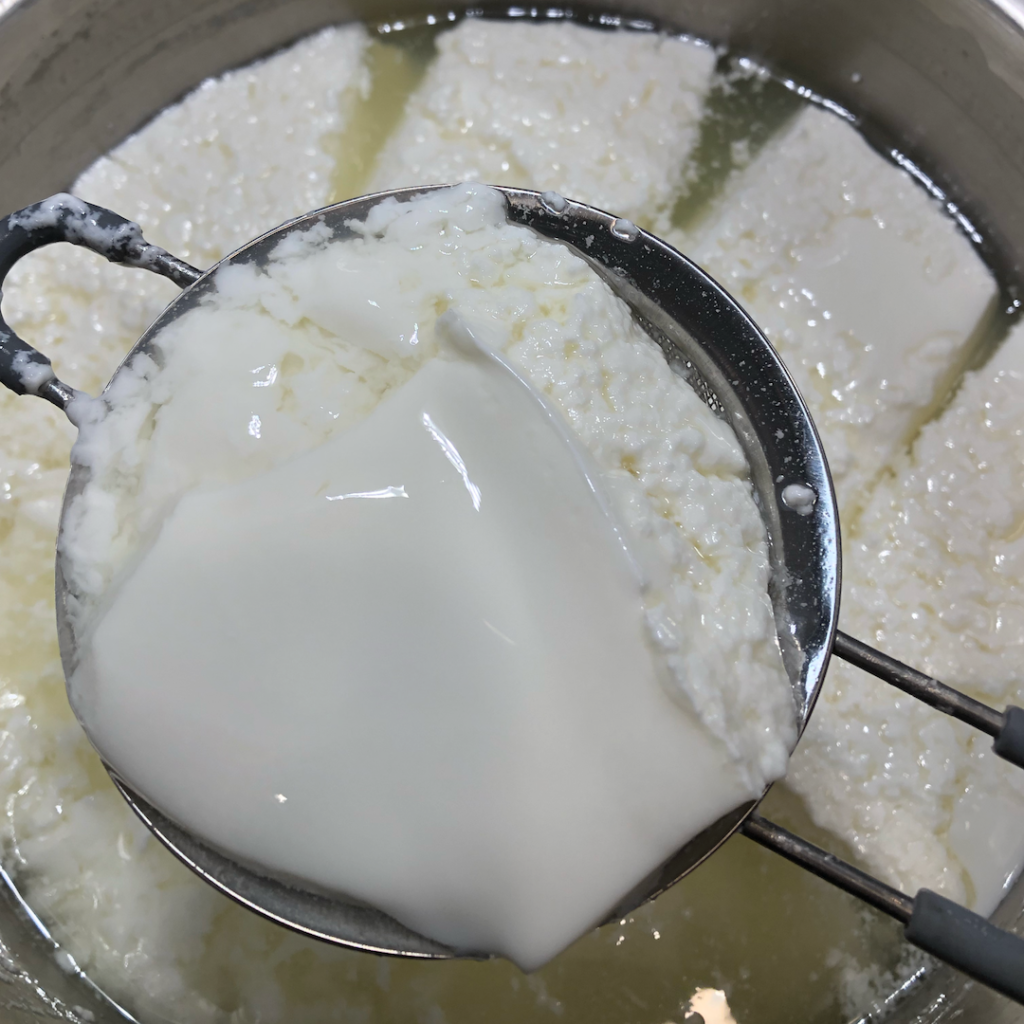
Prepare your stainless steel strainer by placing it inside a bowl and covering it with cheesecloth.
Use your slotted spoon to scoop the curds into your strainer, covered in cheesecloth. Try to drain as much of the whey out before placing it in the strainer.
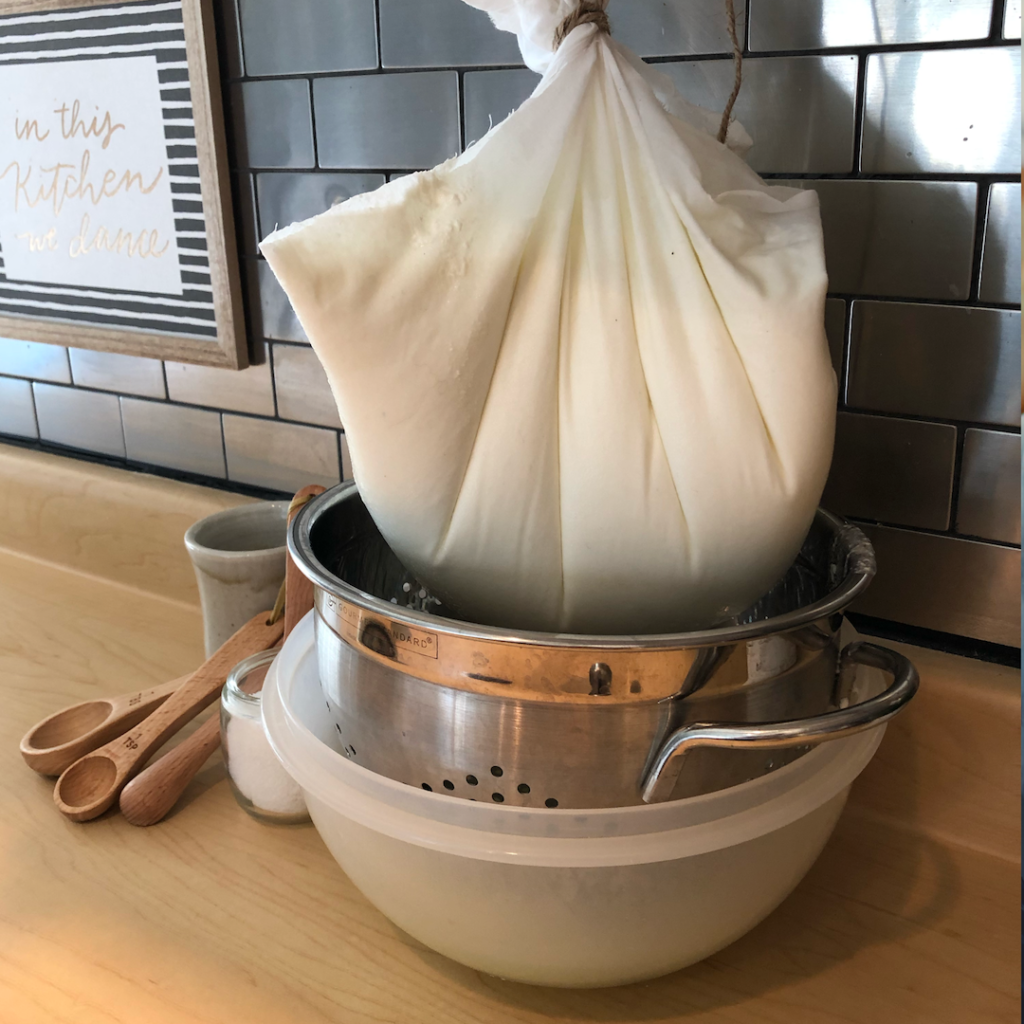
Tie up the cheesecloth hang up (using a cupboard handle or knob) so the whey can seep out for about 30 -45 minutes. I use our banana hook that’s up underneath our cupboard to hang my cheese cloth ball on.
After the whey is pretty drained out, remove the cheese from the cloth into a bowl. Gently breaking it up so it looks like cottage cheese.
Two Ways to Make Mozzarella Cheese at Home
I’m not a huge fan of the microwave if I can help it, but using the microwave to get the cheese hot is an option.
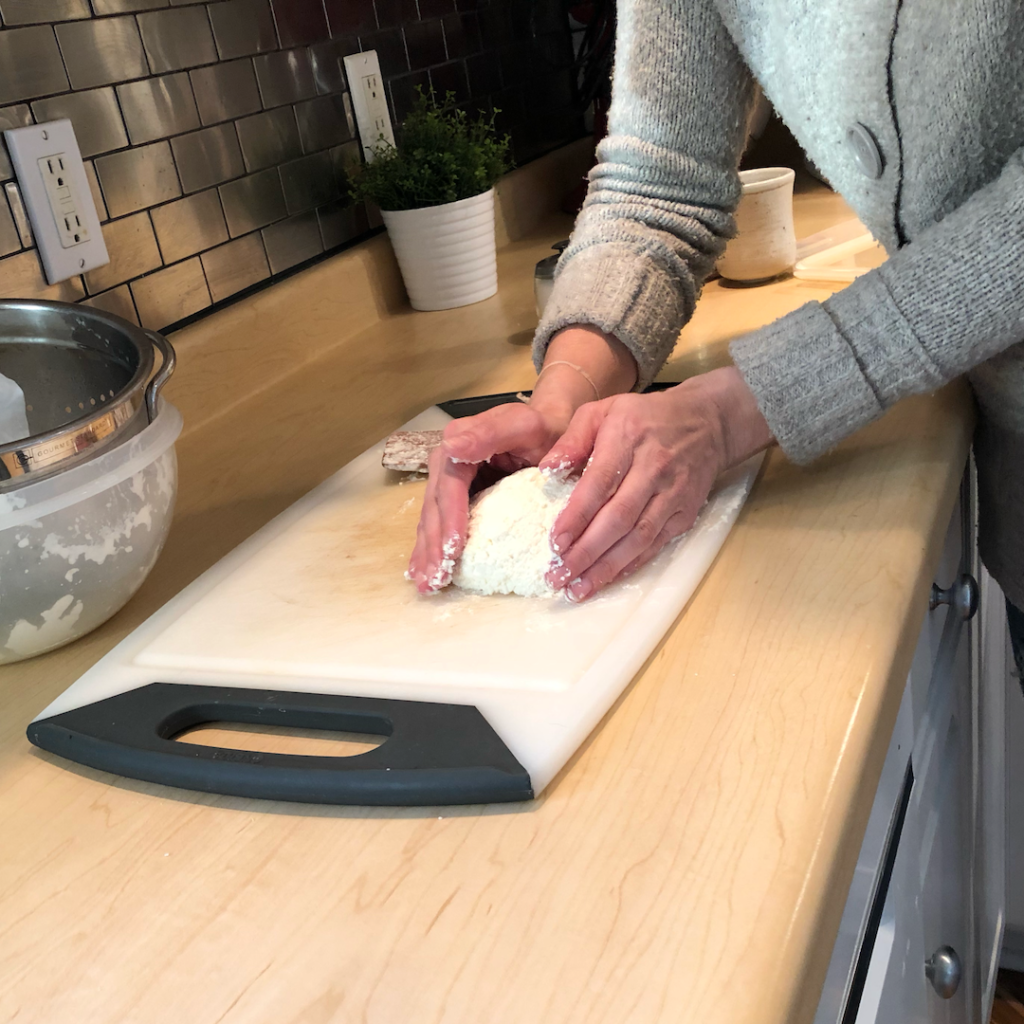
Boiling Water Method: Boil up 1 quart of hot water to 170 degrees F and pour it around the edges of the cheese to heat it up, 1 cup at a time. Mixing and stretching with your hands or a clean wooden spoon. Kneading like bread. Pour out the access water and add more hot water to keep melting down the cheese until it is smooth and shiny. This technique of stretching can be seen here! You may be tough, but it’s going to get hot for your hands, so some folks like to use these thermo gloves.
Microwave method: Heat the cheese for 1 minute in a microwave safe bowl. You want to melt the cheese down a bit, so we can start to pull and stretch it. Once out from the microwave, stretch and pull with your hands (like your kids do with their slime) or use a clean wooden spoon to work with. Microwave for 35 sec again, stretch, pull and smoothen. Repeat until you’ve found the right consistency (shiny and smooth)
Shaping your homemade Mozzarella cheese!
For the classic look of a smooth mozzarella ball, you can mold the cheese into large balls or smaller balls. You can also make a loaf or strings. Once you shape the cheese, place it in the cool water+salt mixture that you made while you were waiting for the milk to curdle back in step #7. You can add a bit of ice to cool this water down if it is still room temp- we want it cool.
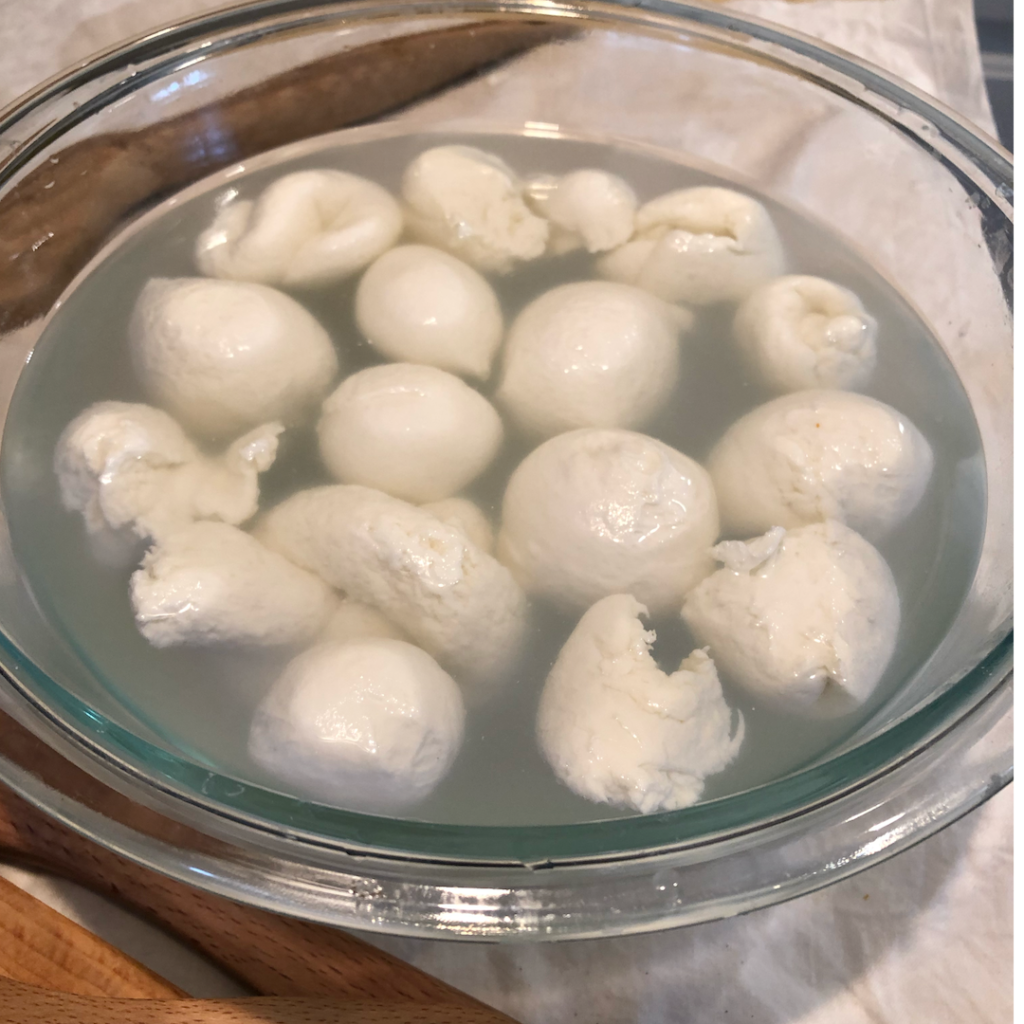

To store, pour a cup of brine water in a ziplock bag or an airtight container with the cheese to keep it from spoiling. Your new mozzarella is good in the fridge for up to 1 week. You’ll know if the cheese has gone bad if it smells like rotten milk. Toss it to your chickens. 😉
Off I go to smoke my new mozzarella cheese! Enjoy your fresh cheese!
The printable Recipe for Homemade Mozzarella Cheese
Homemade Mozzarella Cheese
Equipment
- Thermometer
- Stainless Steel Pot
- Strainer
- Slotted Spoon
- Cheese Cloth
Ingredients
- 1/4 tablet Rennet (dissolved into 1/4 C. warm water)
- 1.5 tsp Citric Acid
- 1 gal. Whole or Raw Milk
Instructions
- Fill your stainless steel pot with your 1 gallon of milk
- Dissolve 1/4 of the rennet tablet into 1/4 cup of warm water and stir.
- Put on a burner at medium-low, so to slowly increase the temperature of the milk to 91-95 degrees Fahrenheit.
- Once the milk has reached this temperature, add in your 1.5 teaspoons of citric acid. Stir slowly for about 30 sec.- 1 min. You will notice the milk start to curdle and that's exactly what you want to see.
- Remove the pot from heat and slowly stir in the dissolved rennet mixture (the rennet and water). Making sure to reach the bottom of the pot – for about 30 sec. to 1 min.
- Place the lid on the pot and set your timer for 25 minutes.
- While you wait, heat up 1 cup of water and 1/2 cup of sea salt on the stove. Bring to a boil, dissolve the salt and then cool down in the fridge. This will be for cheese brine for later.
- After 25 minutes, remove the lid and you should see 2 things: the watery hot whey and the forming curd. (You know like Little Miss Muffet) ;)?
- Take a clean butter knife and slice the curds into squares. This grid-like pattern just makes the curds easier to remove.
- Prepare your stainless steel strainer by placing it inside a bowl and covering it with cheesecloth.
- Use your slotted spoon to scoop the curds into your strainer, covered in cheesecloth. Try to drain as much of the whey out before placing it in the strainer.
- Tie up the cheesecloth hang up (using a cupboard handle or knob) so the whey can seep out for about 30 -45 minutes. I use our banana hook that's up underneath our cupboard to hang my cheese cloth ball on.
- After the whey is pretty drained out, remove the cheese from the cloth into a bowl. Gently breaking it up so it looks like cottage cheese.
Balling up your Fresh Mozzarella Cheese
- Boil up 1 quart of hot water to 170 degrees F and pour it around the edges of the cheese to heat it up, 1 cup at a time.
- Mixing and stretching with your hands or a clean wooden spoon. Kneading like bread. Pour out the access water and add more hot water to keep melting down the cheese until it is smooth and shiny.
- This technique of stretching can be seen here! You may be tough, but it's going to get hot for your hands, so some folks like to use these thermo gloves.
- For the classic look of a smooth mozzarella ball, you can mold the cheese into large balls or smaller balls. You can also make a loaf or strings.
- Once you shape the cheese, place it in the cool water+salt mixture that you made while you were waiting for the milk to curdle back in step #7.
- You can add a bit of ice to cool this water down if it is still room temp- we want it cool.
- To store, pour a cup of brine water in a ziplock bag or an airtight container with the cheese to keep it from spoiling. Your new mozzarella is good in the fridge for up to 1 week. You'll know if the cheese has gone bad if it smells like rotten milk. Toss it to your chickens. 😉
Notes

Marinated Mozzarella Cheese
- 3/4 Cup Extra Virgin Olive Oil
- 2 Cloves Minced Garlic
- 1 Tablespoon fresh Basil finely chopped
- 1 Tablespoon fresh Thyme finely chopped
- 1 Tablespoon fresh Oregano finely chopped
- 1/2 teaspoon red pepper flakes to taste
- 1/4 teaspoon sea salt to taste
- Drained mozzarella balls
Mix together the olive oil, garlic, herbs and salt and pepper flakes, add your fresh Mozzarella Balls and stir to fully coat. Allow to marinate for an hour or longer. The longer they marinate, the better the flavors will be incorporated. Store in the refrigerator in an airtight container for up to 5 days.

Questions People are asking about Making your own Cheese
Making your own cheese at home is like making your own bread at home. It does take a bit more time, then it does to run to the store. But the taste is untouchable! There are no preservatives and you know exactly which ingredients are going into making your cheese.
Almost any kind of milk can be used. We just prefer whole milk, ourselves. Pasteurized milk is also fine to use, but make sure that it is not ultra hight temperature (UHT) pasteurized. The proteins in the UHT milk have lost their ability to set into curds.
If you have a health food store near buy, they will likely carry rennet. If not, you can also find rennet online.
Helpful Tips!
- Lemon juice can be used as a substitute for citric acid. (One tablespoon of bottled lemon juice is equivalent to 1/4 teaspoon citric acid)
- You will be working with high temperatures for most of this process. Be aware of yourself and others around you to avoid getting burnt
- Liquid rennet can be used as a substitute for rennet tablets. (1 teaspoon liquid rennet (20 drops) equals 1 rennet tablet)
- This delicious cheese can be used in many recipes such as Homemade Egg Strata, a caprese salad or cheese curds!
- You can also add in salt (kosher salt, for example) when stretching the cheese to make it extra salty
- You can use the excess whey (liquid whey) in place of water in recipes such as breads, pancakes, waffles, and even soup!
Pin this Cheesy Post for Later!

- A House Gets Tired in February — Here’s How I Help Refresh Ours
- How to Make a Chicken Pot Pie That Tastes Like Dinner, Not a Shortcut
- The Quiet Home Reset: 7 Small Winter Shifts that Make Your Home Feel Better
- 18 Practical Sauna Accessories We Actually Love (And Why They Matter)
- A Year (or More) of Wellness — and the Simple Micro-Habits I’m Carrying Into 2026

Affiliate Disclosure & Content Disclaimer
This post may contain affiliate links from a paid sponsor, Amazon or other program. When you use these links to make a purchase I earn a small commission at no extra cost to you. This allows me to continue creating the content that you love. The content in this article is created for information only and based on my research and/or opinion.
Emily T.
DAILY INSPIRATION ON THE GRAM @hearty.sol
it's hip to be square!

View comments
+ Leave a comment