Making your First Sourdough Loaf: A Beginners Recipe
Sourdough bread has captured the hearts of home bakers for its rich flavor, chewy texture, and beautiful crust. If you’re new to sourdough, the idea of making your first loaf might feel intimidating. But fear not—let’s walk through the process step-by-step, breaking down technical terms and answering common questions to ensure your first loaf is a success.
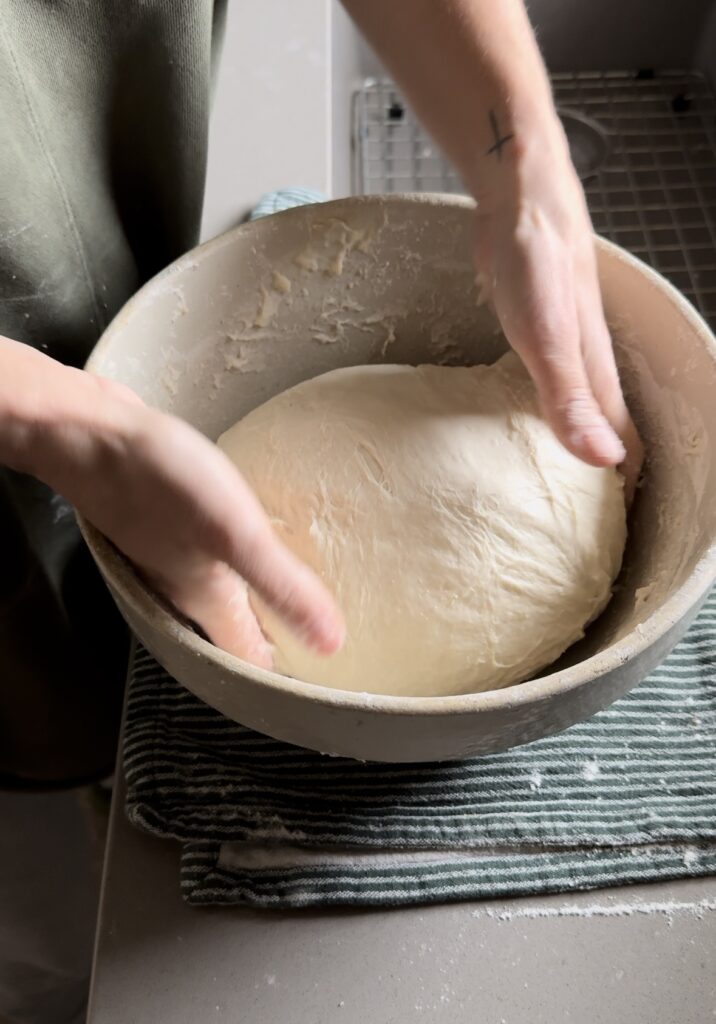
A Delicious and Rewarding Kitchen Experiment!
When I started making sourdough nearly 12 years ago, I experimented and messed up on repeat until I finally understood what it meant to have a sourdough starter. I made my starter, watched it bubble, then experimented tons before coming up with the perfect first-time sourdough recipe. Having access to this preferment (flour, yeast, and water) has allowed me to experiment with so many different recipes! I didn’t have a kitchen scale at first, (that came a few years later), so I like to include the cup as well as the gram measurements in my recipes too.
Hildie (our starter) was born, then worked hard to make us our favorite pancakes, pizza crusts, bagels, English muffins, pretzel bites, cinnamon rolls, and weekly breads. Grab my FREE Sourdough Recipe E-Book Here.
- Ingredients
- Tools you’ll need
- Step-by-Step Instructions
- Breaking down the technical terms
- FAQs
- Timeline to have your Sourdough done by dinner time!
- Printable Recipe Card
What is Sourdough Bread?
Sourdough is a type of bread made with a naturally fermented starter instead of commercial yeast. This starter, a mix of flour and water teeming with wild yeast and beneficial bacteria, acts as the leavening agent that makes your bread rise. The result? A loaf with complex flavors and a hint of tang. As for the popularity of this specific type of bread, the flavor speaks for itself – basic enough to go with any dish yet unique enough to be crowd-pleasing and craveable!
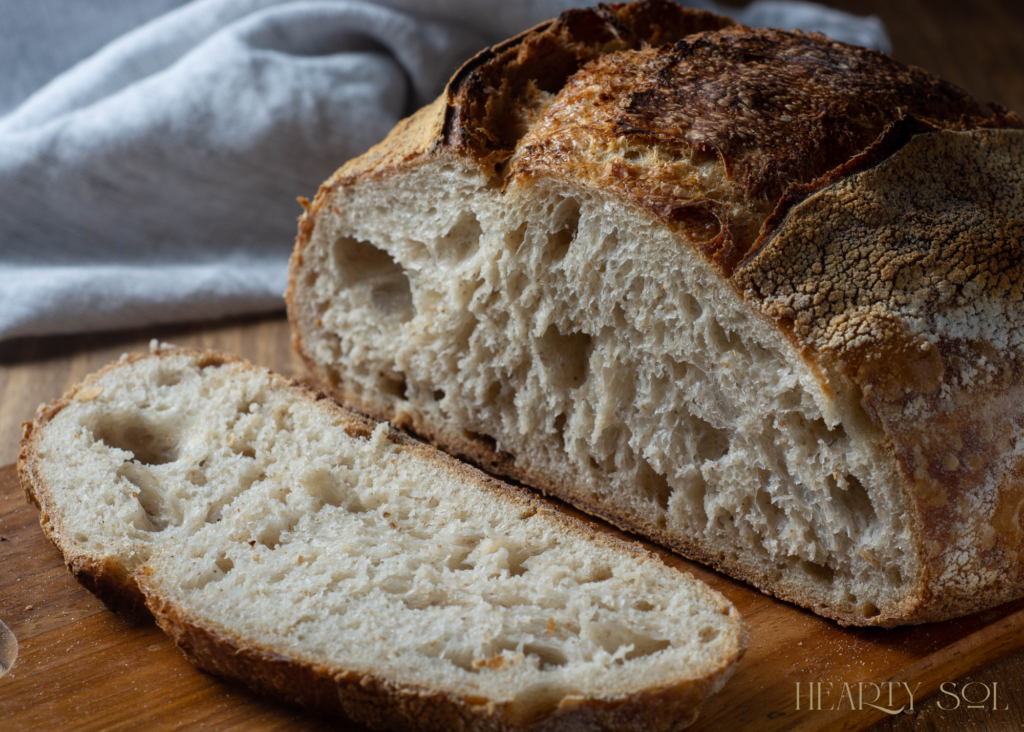
Grab your Beginner’s Sourdough Loaf Printable Timeline here!
The Beginner’s Sourdough Recipe
This recipe makes one loaf of sourdough and is a great introduction to making your first loaf.
Ingredients:
- 475 grams all-purpose flour (3 1/2 cups)
- 100 grams starter, active and bubbly (1/2 cup)
- 325 grams water (1 1/3 cups)
- 10 grams salt (2 teaspoons)
What’s with the Grams?
Kitchen scales and measuring your ingredients for sourdough bread making makes you a ‘Pro-Level’ Sourdough Bread maker. Weighing ingredients is a professional technique that gives you control over your sourdough baking, leading to more predictable and successful bakes! It’s not necessary. In fact I didn’t have a kitchen scale until about 5 years ago. Until I had found that precision and sourdough go hand in hand. Measuring ingredients by weight ensures precise ratios, which is essential for the proper fermentation and structure of sourdough. For example, 1 cup of flour can vary in weight depending on how it’s scooped, but 120 grams of flour is always 120 grams.
We know that our ancestors were likely not weighing their ingredients but more likely tossing handfuls in and mixing with their hearts. Their methods were often guided by intuition, experience, and observation rather than precise measurements. Techniques and “recipes” were often passed down from generation to generation, preserving methods specific to local climates, flours, and baking environments. Also, baking was a process deeply tied to the rhythms of their lives. If the dough was too wet, they added flour. If it was too dry, they added water. They adapted to the quirks of their environment and resources naturally.
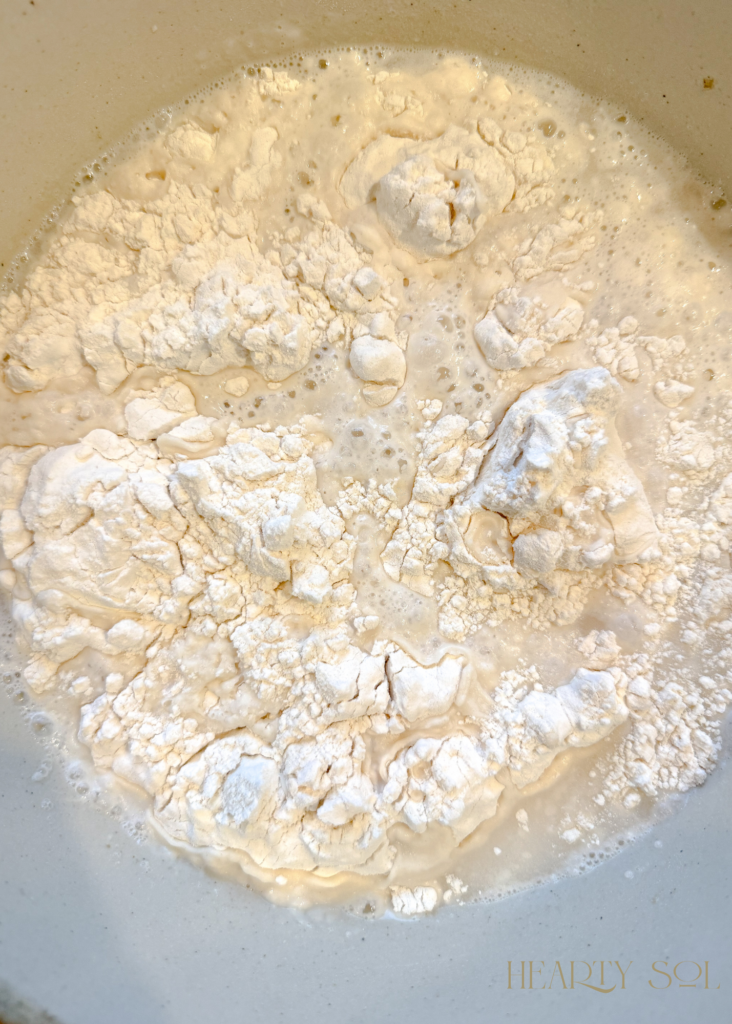
Tools You’ll Need:
- Large mixing bowl
- Kitchen scale (not required but, highly recommended for accuracy)
- Bench scraper
- Proofing basket or bowl
- Dutch oven or baking stone
- Clean kitchen towel
Step-by-Step Instructions:
1. Prepare Your Starter
Two words: Plan Ahead! This is true for every step of making sourdough, especially the starter, which takes about 5 days to make. Learn how to make your starter here or you can grab some of mine here.
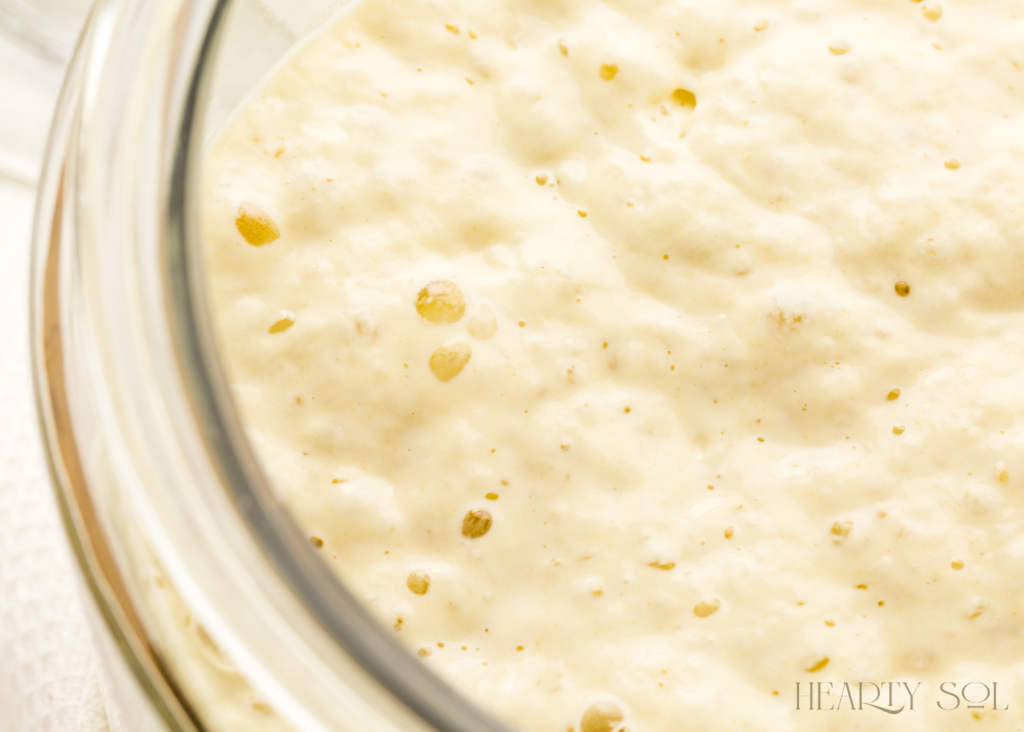
Make sure your starter is active and bubbly. If it’s been sitting in the fridge, feed it 8-12 hours before starting. Active means it has doubled in size and looks frothy.
2. Mix the Dough
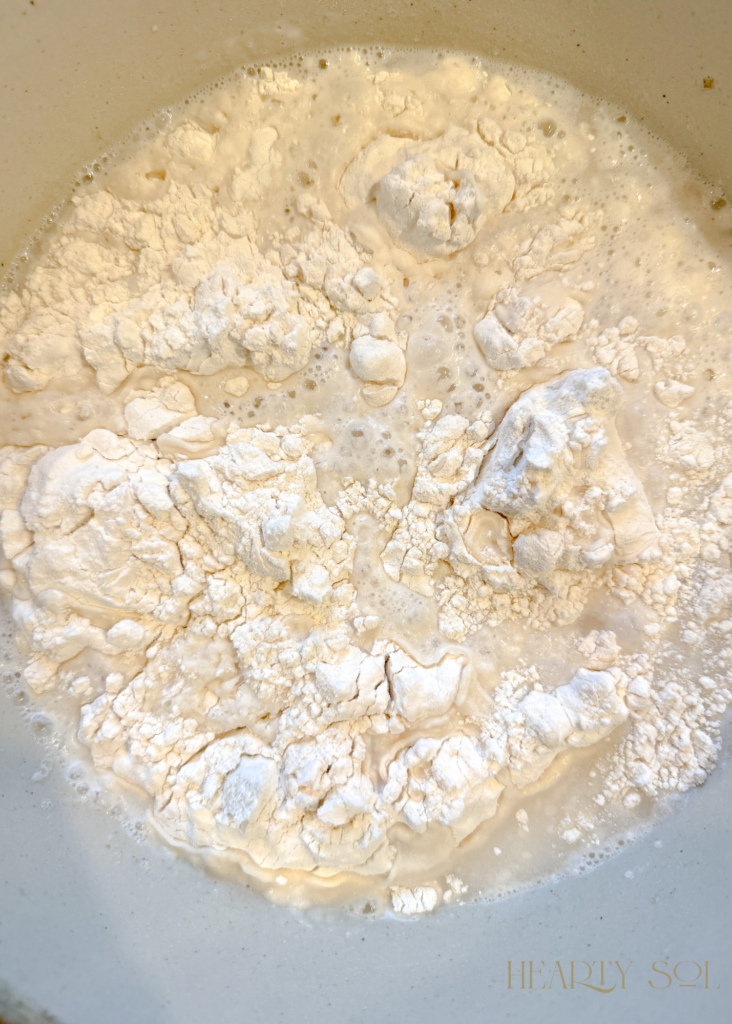
In a large bowl, combine the starter and water. Stir to dissolve the starter. Add the flour and salt, and mix until no dry flour remains. The dough will look rough and sticky. Cover and let it rest for 30 minutes. This rest period is called autolyse, and it helps hydrate the flour and start gluten development.
3. Stretch and Fold
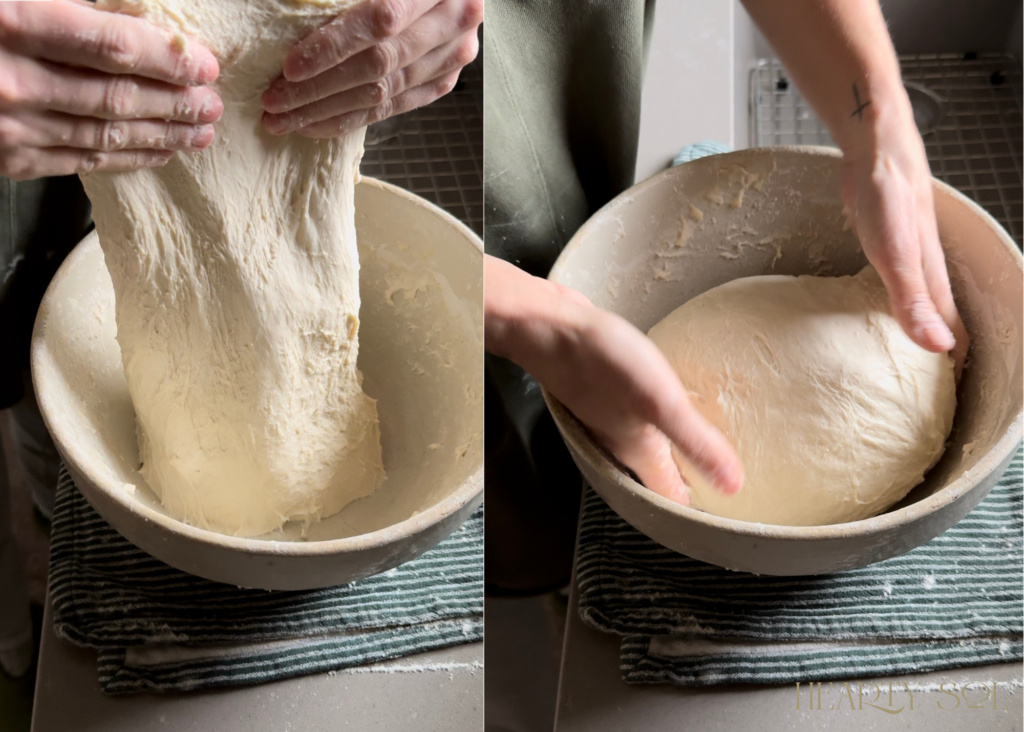
Instead of traditional kneading, sourdough dough benefits from gentle stretch and fold techniques. Grab one side of the dough, stretch it upward, and fold it over itself. Rotate the bowl and repeat this process with all sides of the dough 3-4 times. Perform this every 30 minutes for the next 2 hours.
4. Bulk Fermentation
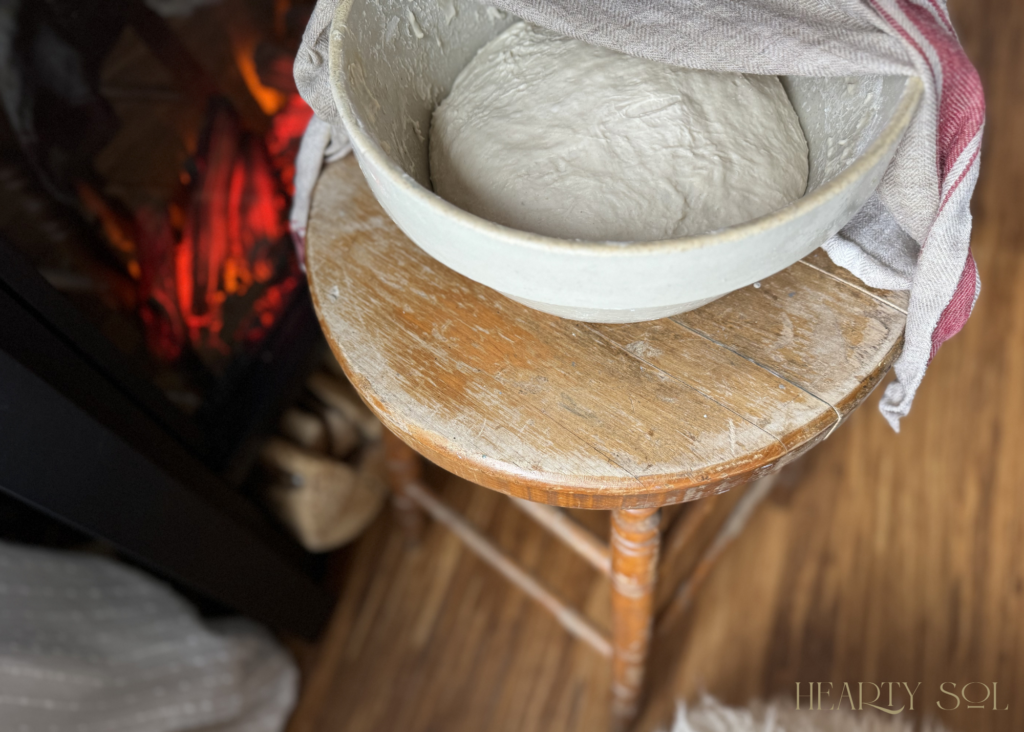
Cover the bowl and let the dough rise at room temperature. During this bulk fermentation, the dough doubles in size as the starter works its magic. This takes 4-6 hours, depending on the temperature of your kitchen.
5. Shape the Dough
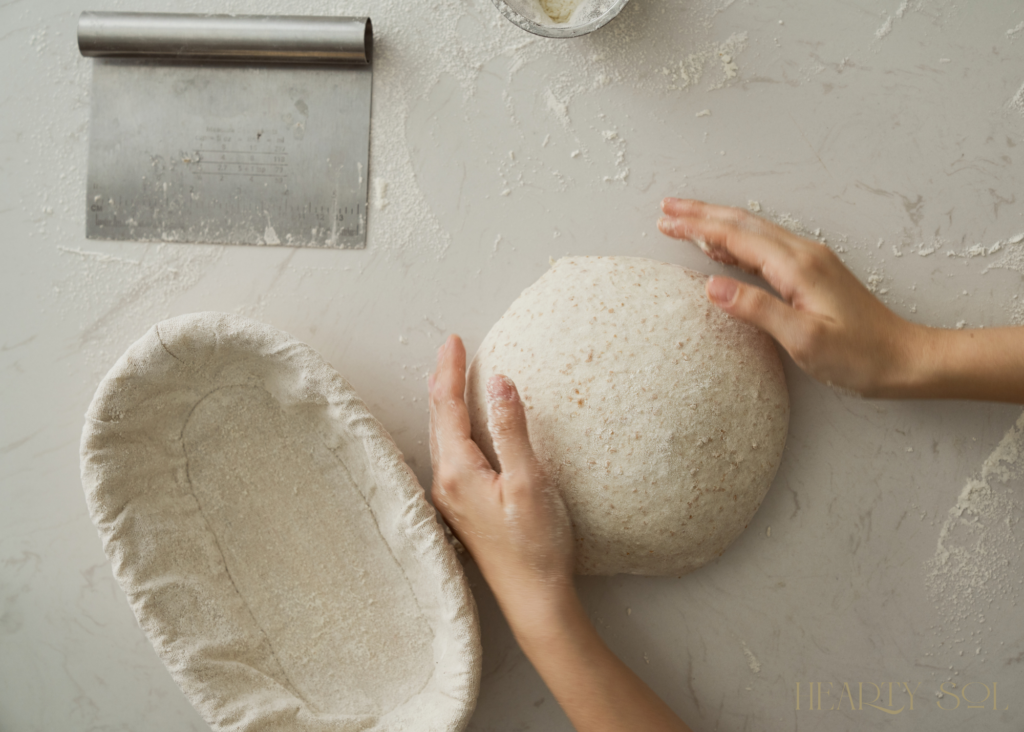
Once the dough has doubled, turn it out onto a floured surface. Gently shape it into a round or oval loaf, depending on your baking vessel. Place the shaped dough into a proofing basket (pictured above) or a bowl lined with a floured towel.
6. Final Proof
Cover the dough and let it rise for another 1.5-2 hours at room temperature. Alternatively, refrigerate it overnight for a slower fermentation and enhanced flavor.
7. Preheat the Oven
Place your Dutch oven or baking stone in the oven and preheat to 450°F (230°C) for at least 30 minutes before baking.
8. Lame Your Bread
Before baking, use a lame (a sharp razor blade or knife) to score the top of your dough. Scoring allows the bread to expand properly during baking and creates beautiful patterns on the crust. Hold the lame at a slight angle and make quick, confident cuts about ¼-inch deep.
9. Bake Your Loaf
Carefully transfer the dough to the preheated Dutch oven. Bake with the lid on for 20 minutes, then remove the lid and bake for an additional 15-20 minutes until the crust is golden brown. Let the loaf cool on a wire rack before slicing.
Technical Terms Simplified
- Active Starter: A bubbly, frothy mixture of flour and water that’s ready to make bread rise. Making an active sourdough starter is the first step in the process!
- Autolyse: A resting period where flour and water are mixed and allowed to sit, jumpstarting gluten formation.
- Stretch and Fold: A gentle method to develop gluten without kneading.
- Bulk Fermentation: The first rise where the dough develops flavor and structure.
- Final Proof: The second rise after shaping, just before baking.
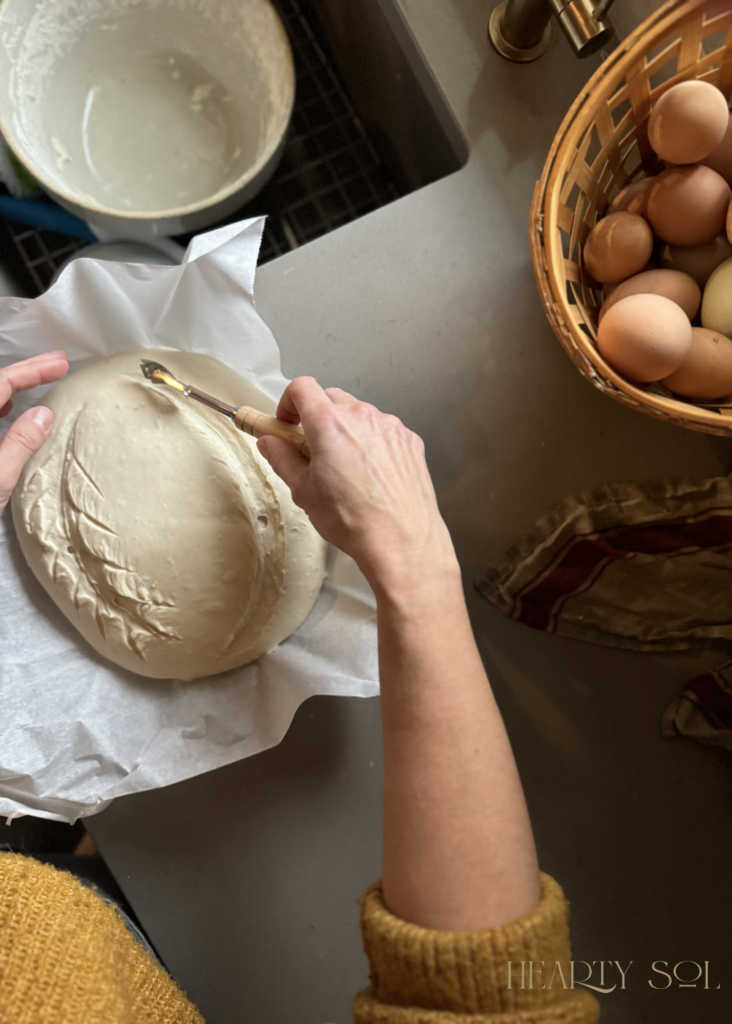
- Lame: A tool used to score the top of the dough before baking, ensuring proper expansion and creating decorative patterns.
FAQs for First-Time Sourdough Bakers
Your starter is ready when it has doubled in size, looks bubbly, and has a slight tangy smell. To test the strength of your starter, try the float test: drop a spoonful into water – if it floats, it’s ready.
Yes, sourdough dough is wetter and stickier than regular bread dough. Use floured hands and surfaces to manage it, but avoid adding too much extra flour, as this can make it dense.
Cold temperatures can slow down fermentation. You can:
*Place dough in a warm spot, like near a sunny window, fireplace or in an oven with the light on.
*Allow for extra fermentation time as needed.
Yes, but the overnight proof develops more flavor. If you’re short on time, let the dough rise at room temperature for 1.5-2 hours and bake immediately.
Dense bread can be the result of underproofing (not enough rise time) or using a weak starter. Make sure your starter is active and bubbly before beginning.
Store your loaf at room temperature in a paper bag or wrapped in a clean kitchen towel. Avoid plastic, which can make the crust soggy. Sourdough freezes well if wrapped tightly in foil or plastic wrap.
Bakers Timeline for Dinner-Service:
All in a day’s work! If you choose to skip the overnight proof, follow the timeline below to have your sourdough fresh, hot, and ready to be served by dinner time!
6:00 AM: Feed Your Starter
- Ensure your starter is active and bubbly. Feed it the night before if necessary or early this morning. Allow 4-6 hours for it to double and become frothy.
10:00 AM: Mix the Dough
- Combine 100g active starter, 325g water, 475g flour, and 10g salt in a bowl. Mix until no dry flour remains. Cover and let it rest for 30 minutes (autolyse).
10:30 AM to 12:30 PM: Stretch and Fold
- Perform 4 sets of stretch and folds every 30 minutes (e.g., at 10:30, 11:00, 11:30, and 12:00). Cover the dough between folds.
12:30 PM: Bulk Fermentation
- Let the dough rise at room temperature until it doubles in size. This typically takes 4-6 hours depending on the temperature.
4:30 PM: Shape the Dough
- Turn the dough onto a floured surface and shape it into a loaf. Place it in a proofing basket or a bowl lined with a floured towel.
5:00 PM: Final Proof
- Let the shaped dough proof at room temperature for 30-45 minutes while preheating the oven.
5:15 PM: Preheat Oven
- Preheat your oven with a Dutch oven inside to 450°F (230°C) for at least 30 minutes.
5:45 PM: Lame and Bake
- Score the top of your dough with a lame, transfer it to the preheated Dutch oven, and bake:
- 20 minutes with the lid on.
- 15-20 minutes with the lid off for a golden crust.
6:15 PM: Cool and Serve
- Let the bread cool on a wire rack for 15-20 minutes before slicing and serving fresh for supper.
(Adjust the fermentation time based on your kitchen’s temperature. Cooler environments may require longer bulk fermentation or proofing times.)
Making your first sourdough loaf is a rewarding process. Remember, each loaf teaches you something new about timing, temperature, and technique. Don’t be afraid to experiment and learn from the results. With patience and practice, you’ll soon be baking sourdough bread that’s better than anything you can buy!
Happy baking!
Printable Recipe Card
Beginners Sourdough Recipe
Equipment
- 1 Large Mixing Bowl
- Kitchen Scale (highly recommended for accuracy)
- Bench scraper
- Proofing basket or bowl
- Dutch oven or baking stone
- Clean kitchen towel
Ingredients
- 475 grams All-Purpose Flour (3 1/2 cups)
- 100 grams Starter active and bubbly (1/2 cups)
- 325 grams Water (1 1/3 cups)
- 10 grams Salt (2 tsp)
Instructions
- Prepare your Starter: Make sure your starter is active and bubbly. If it’s been sitting in the fridge, feed it 8-12 hours before starting. Active means it has doubled in size and looks frothy.
- Mix the Dough: In a large bowl, combine the starter and water. Stir to dissolve the starter. Add the flour and salt, and mix until no dry flour remains. The dough will look rough and sticky. Cover and let it rest for 30 minutes. This rest period is called autolyse and it helps hydrate the flour and start gluten development.
- Stretch and Fold: Instead of traditional kneading, sourdough dough benefits from gentle stretch and fold techniques. Grab one side of the dough, stretch it upward, and fold it over itself. Rotate the bowl and repeat this process with all sides of the dough 3-4 times. Perform this every 30 minutes for the next 2 hours.
- Bulk Fermentation: Cover the bowl and let the dough rise at room temperature. During this bulk fermentation, the dough doubles in size as the starter works its magic. This takes 4-6 hours, depending on the temperature of your kitchen.
- Shape the Dough: Once the dough has doubled, turn it out onto a floured surface. Gently shape it into a round or oval loaf, depending on your baking vessel. Place the shaped dough into a proofing basket (pictured above) or a bowl lined with a floured towel.
- Final Proof: Cover the dough and let it rise for another 1.5-2 hours at room temperature. Alternatively, refrigerate it overnight for a slower fermentation and enhanced flavor.
- Preheat the Oven: Place your Dutch oven or baking stone in the oven and preheat to 450°F (230°C) for at least 30 minutes before baking.
- Lame Your Bread: Before baking, use a lame (a sharp razor blade or knife) to score the top of your dough. Scoring allows the bread to expand properly during baking and creates beautiful patterns on the crust. Hold the lame at a slight angle and make quick, confident cuts about ¼-inch deep.
- Bake Your Loaf: Carefully transfer the dough to the preheated Dutch oven. Bake with the lid on for 20 minutes, then remove the lid and bake for an additional 15-20 minutes until the crust is golden brown. Let the loaf cool on a wire rack before slicing.
Notes
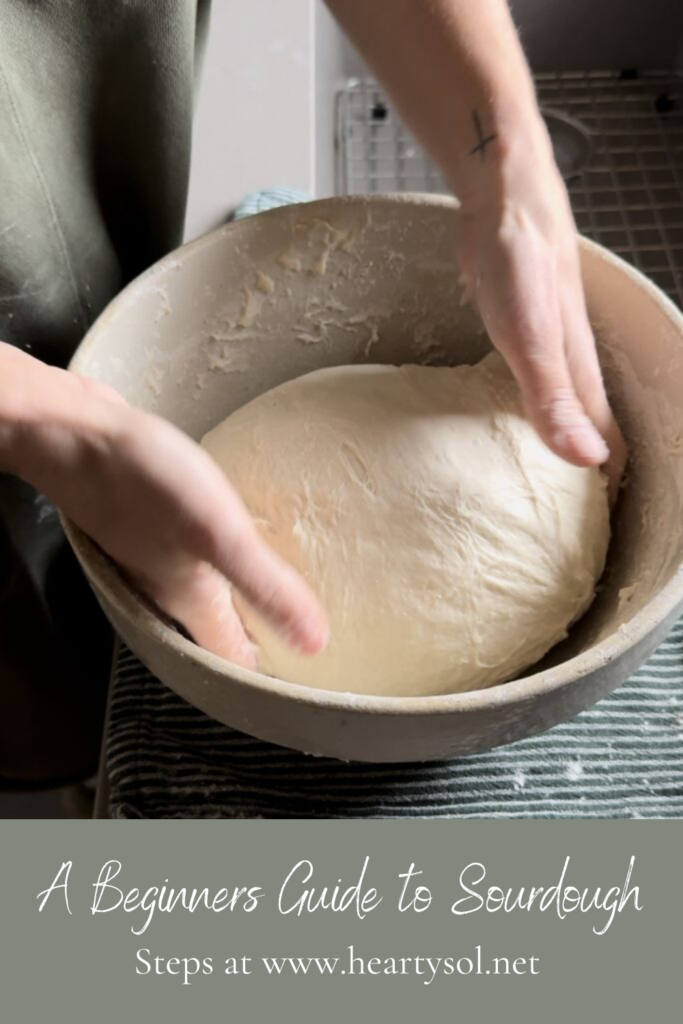
Pin this for later!
Other Bread Recipes:

Affiliate Disclosure & Content Disclaimer
This post may contain affiliate links from a paid sponsor, Amazon or other program. When you use these links to make a purchase I earn a small commission at no extra cost to you. This allows me to continue creating the content that you love. The content in this article is created for information only and based on my research and/or opinion.
Emily T.
DAILY INSPIRATION ON THE GRAM @hearty.sol
it's hip to be square!

View comments
+ Leave a comment