Hawaiian Hot Dog Buns: A Uniquely Sweet Sourdough Recipe
Use this Hawaiian Hot Dog Bun recipe for buns, rolls, and bread!
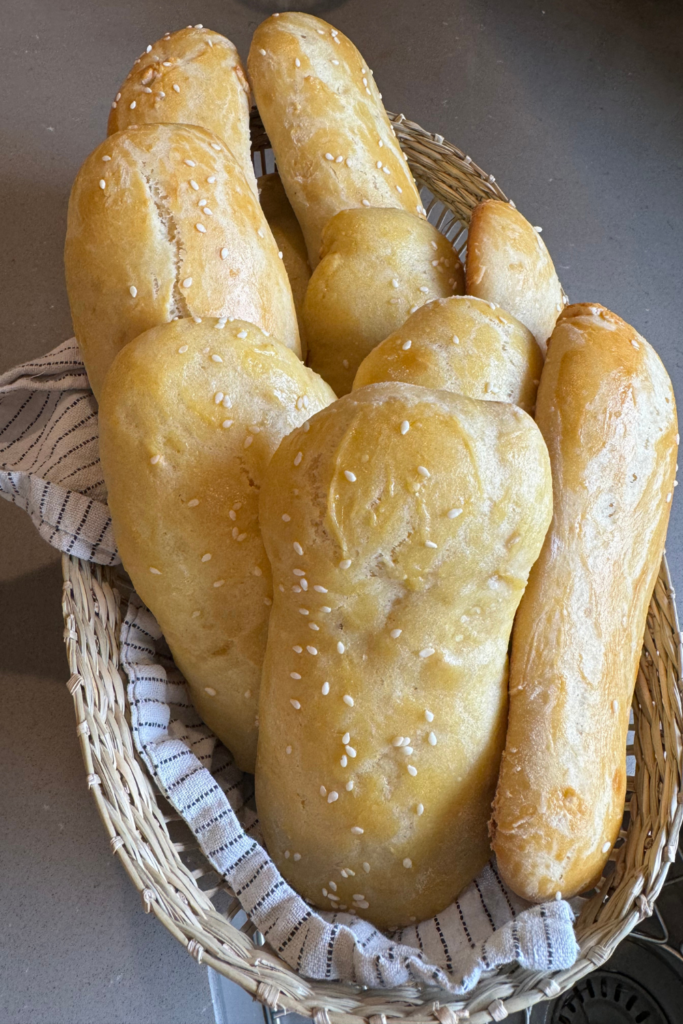
A Sweet and Savory addition to your Meals!
This recipe makes for a sweet twist to your regular hot dog buns! We love sourdough recipes in our home and like to switch things up with this Hawaiian bread recipe which takes our sandwiches and hot dogs up a notch. They also make tasty dinner rolls!
The unique taste of pineapple juice mixed with the chewy sourdough is a great addition to your summer recipe rotation! This is a dump, mix, rise-overnight-and-go, kinda recipe. Making this sweet dough quick and so yummy!
Why incorporate Sourdough into Hawaiian buns?
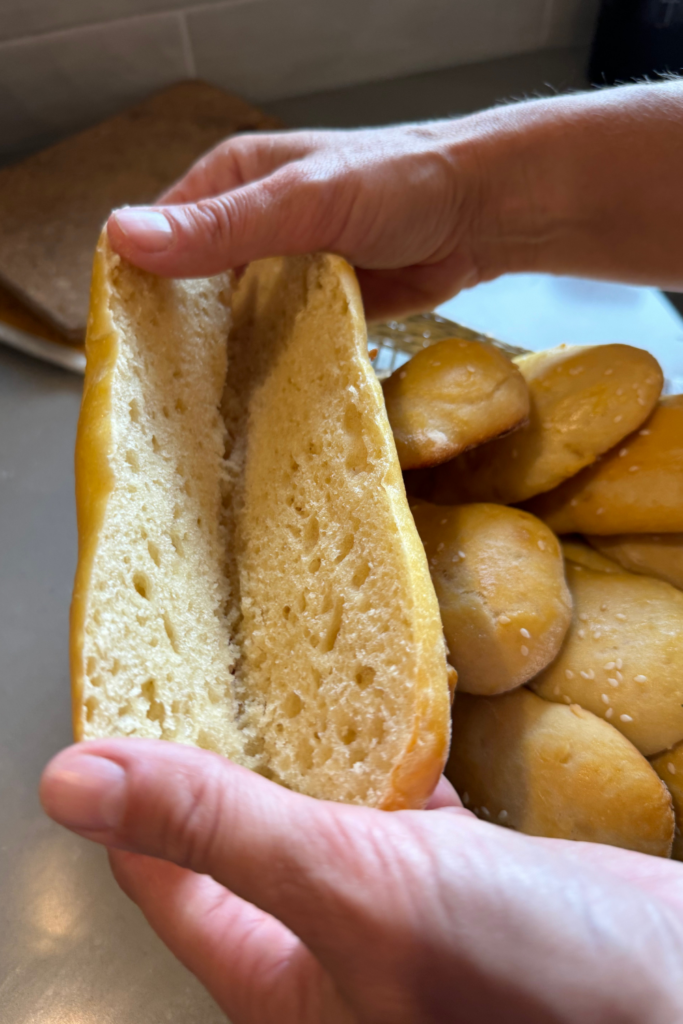
Sourdoughs’ unique texture and flavor is something we like to add to our baking when we can. It not only makes for high quality bread, but is also known for it’s “health benefits” in terms of being easier to digest. Plus, no additional yeast or bread flour is needed to make a sourdough starter – the starting ingredients are just water and flour. Overall, we prefer this way of bread making.
Follow our 5-day process here: Sourdough Starter or you can purchase some of my 14-year-old sourdough starter, here. Having this preferment (flour, yeast, and water) on hand has opened the door to so many recipes!
If you’re new to sourdough and just don’t know where to start, get inspired here with my Free Sourdough Recipe Book!
Check out our other sourdough blogs:
Making Hawaiian Sourdough Buns
Prep Time: 20 minutes
Total Time: 12 hours (give or take)
Equipment:
- Stand Mixer
Ingredients
Rolls:
- 1 cup Pineapple Juice
- 1/2 cup Milk
- 1/2 cup Sugar
- 1/2 cup Sourdough Starter
- 1/4 cup Unsalted Butter (softened)
- 1 tsp Vanilla
- 1 large Egg
- 2 tsp Salt
- 5.5 cups All Purpose Flour
- Optional: Sesame Seeds to sprinkle on top
Egg Wash:
- 1 large Egg Yolk
- 2 tsp Water
Steps
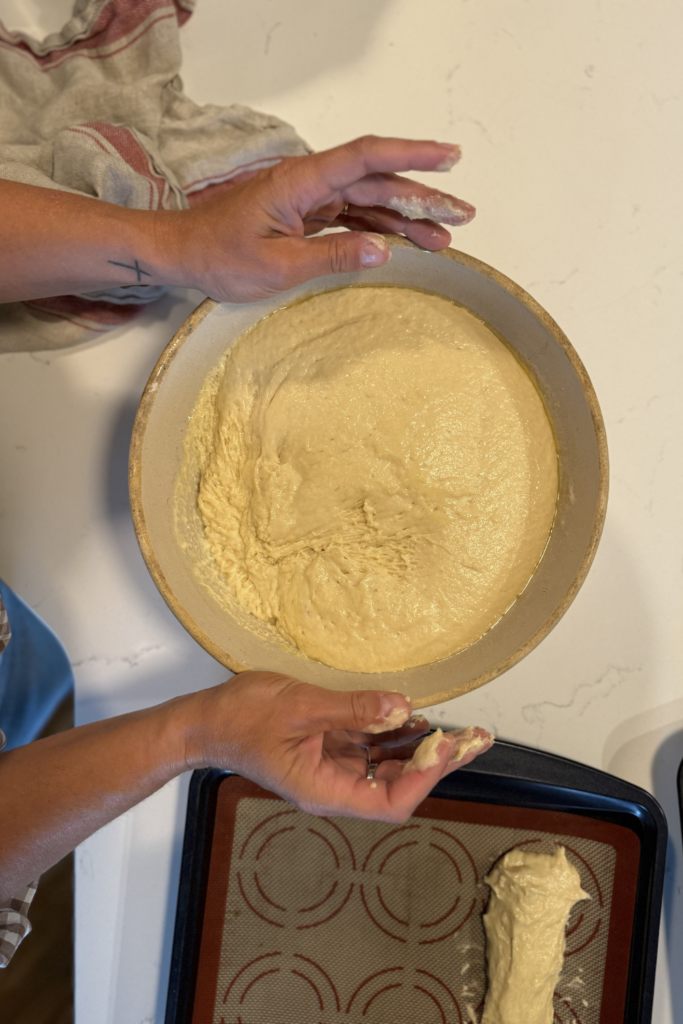
#1: Add all ingredients except egg wash to stand mixer
#2: Knead until smooth (10-15 mins)
#3: Place dough in greased bowl and cover with plastic wrap or tight lid. Allow to rise overnight, for a first rise (8-12 hours)
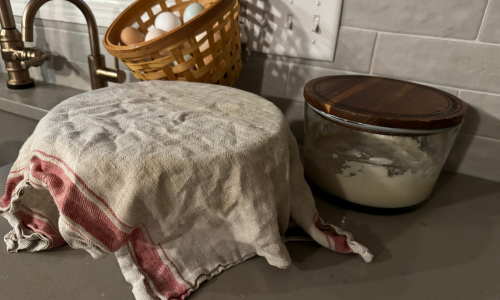
#4: Divide into 18 even rolls and place into greased 9×13 pan
#5: Cover with a towel for a second rise and allow to double in size (1-3 hours)
#6: Once doubled, add egg wash and brush over dough
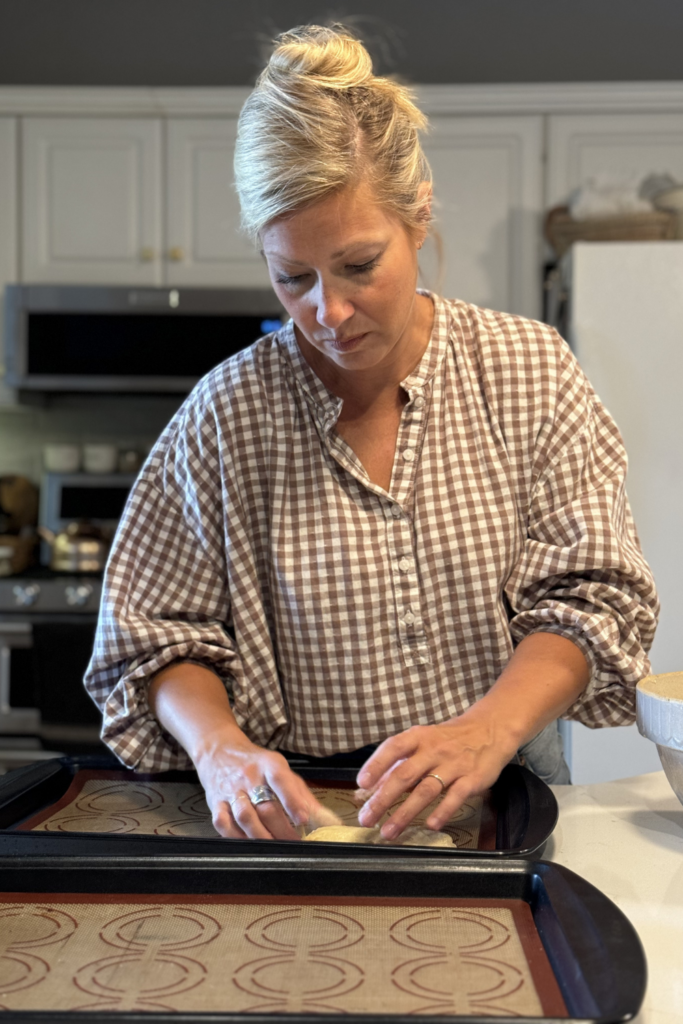
#7: Bake for 20 – 25 minutes at 375 until golden
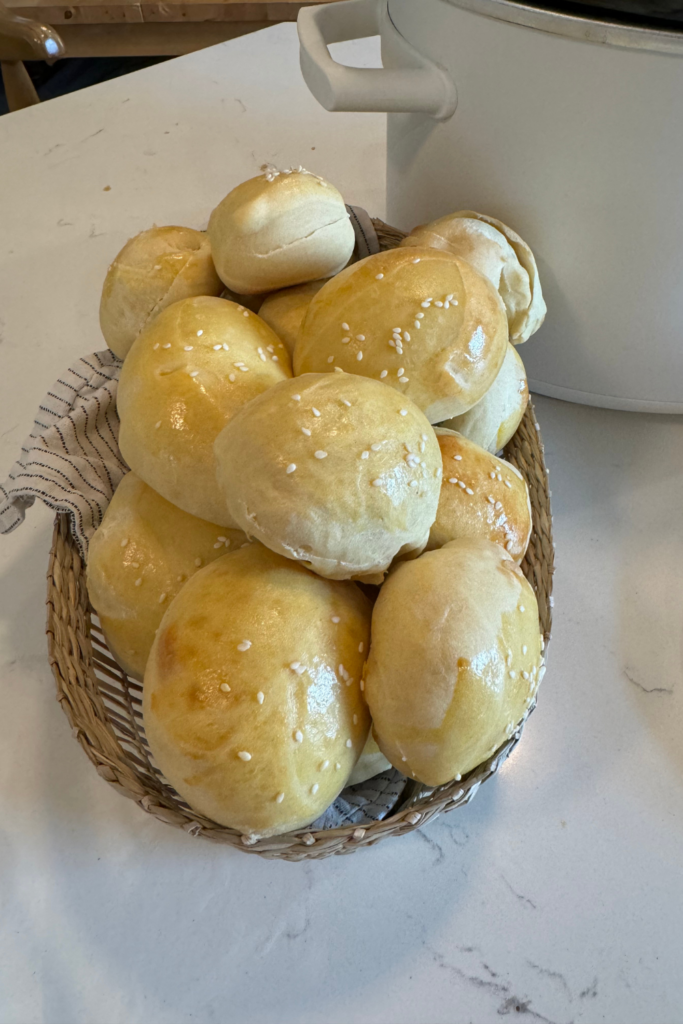
#8: Cool and enjoy your Hawaiian Hot Dog Bun!
Questions People are asking about Hawaiian Hot Dog Buns
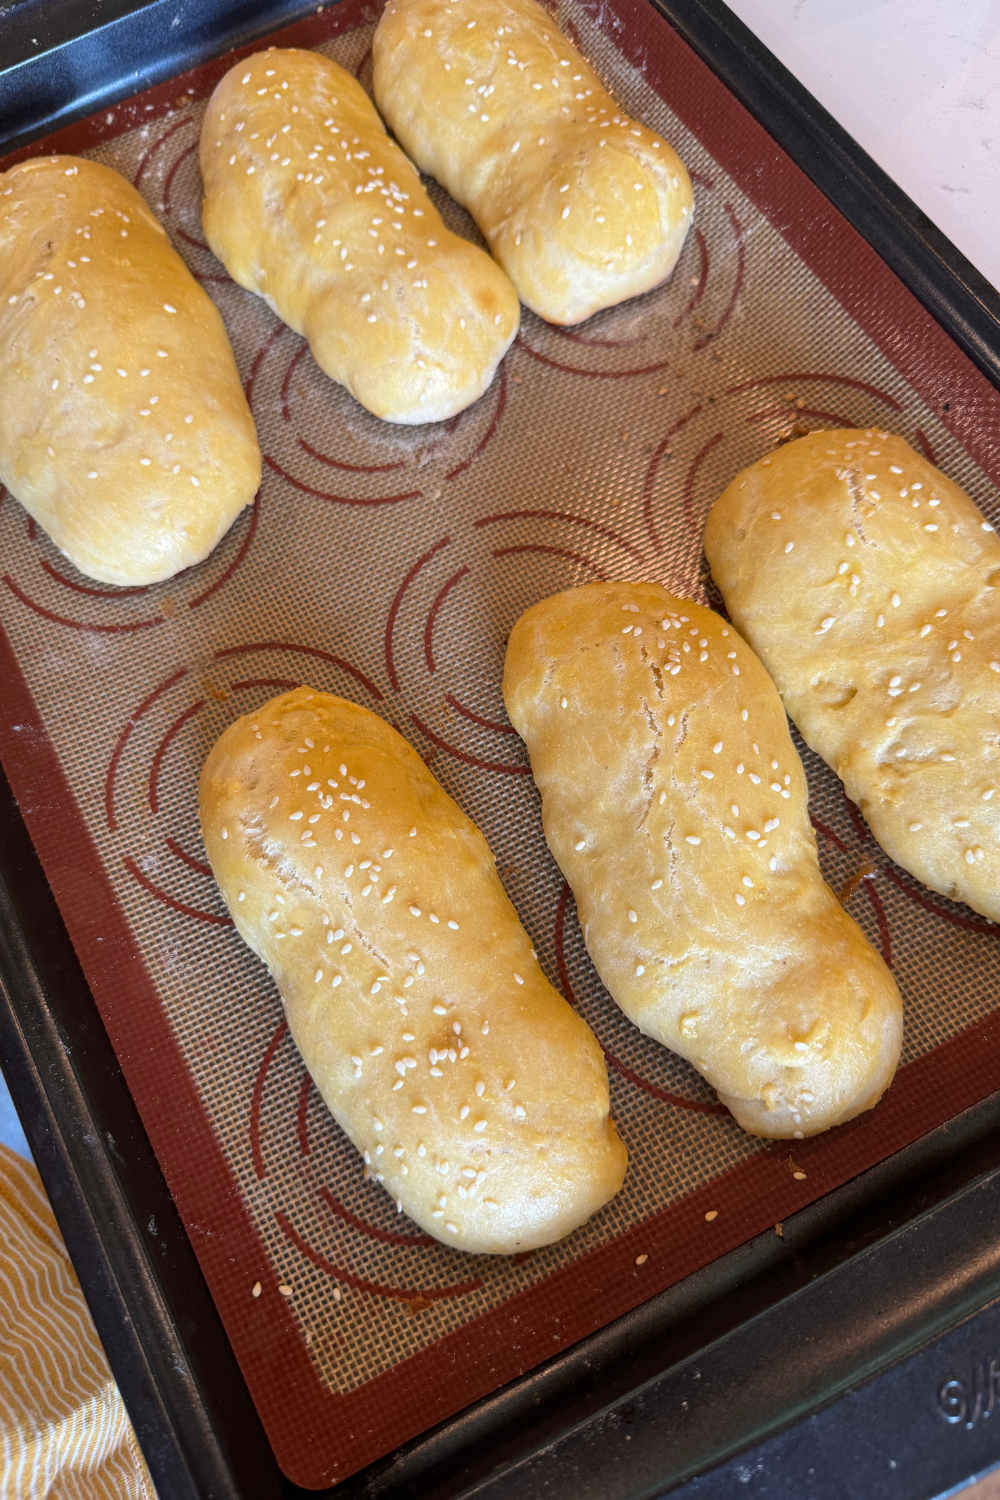
The taste outweighs the aesthetics in this recipe 🙂 As long as the dough is thick enough to cut in half and long enough to lay a hot dog in, you are good to go! Same thing goes for making hamburger buns.
Yes, you can freeze the dough at different stages in the process
1. Freeze the dough after it rises completely – you can either shape the dough and then freeze it or just keep it in a large mixing bowl. Make sure the seal on the dough is completely airtight when you do this.
2. You can choose to just freeze the buns after baking them. Like freezing a loaf of bread, take them out to thaw/warm up when you are ready to eat them.
The dough also can stay in the fridge if you are making the recipe only a day or two before baking.
Simply switch out your baking dish – place your dough into a bread pan and bake for about the same time (20 – 25 minutes).
Printable Recipe Card
Hawaiian Hot Dog Buns
Equipment
- 1 Stand Mixer
Ingredients
- 1 cup Pineapple Juice
- 1/2 cup Milk
- 1/2 cup Sugar
- 1/2 cup Sourdough Starter
- 1/4 cup Unsalted Butter softened
- 1 tsp Vanilla
- 1 large Egg
- 2 tsp Salt
- 5.5 cups All Purpose Flour
- Sesame Seeds optional – to sprinkle on top
Instructions
- Add all ingredients except egg wash to stand mixer
- Knead until smooth (10-15 mins)
- Place dough in greased bowl and cover with plastic wrap or tight lid. Allow to rise overnight (8-12 hours)
- Divide into 18 even rolls and place into greased 9×13 pan
- Cover with a towel and allow to double in size (1-3 hours)
- Once doubled, add egg wash and brush over dough
- Bake for 20 – 25 minutes at 375 until golden
- Cool and enjoy!
Notes
Pin this for later!


Affiliate Disclosure & Content Disclaimer
This post may contain affiliate links from a paid sponsor, Amazon or other program. When you use these links to make a purchase I earn a small commission at no extra cost to you. This allows me to continue creating the content that you love. The content in this article is created for information only and based on my research and/or opinion.
Emily T.
DAILY INSPIRATION ON THE GRAM @hearty.sol
it's hip to be square!
View comments
+ Leave a comment