

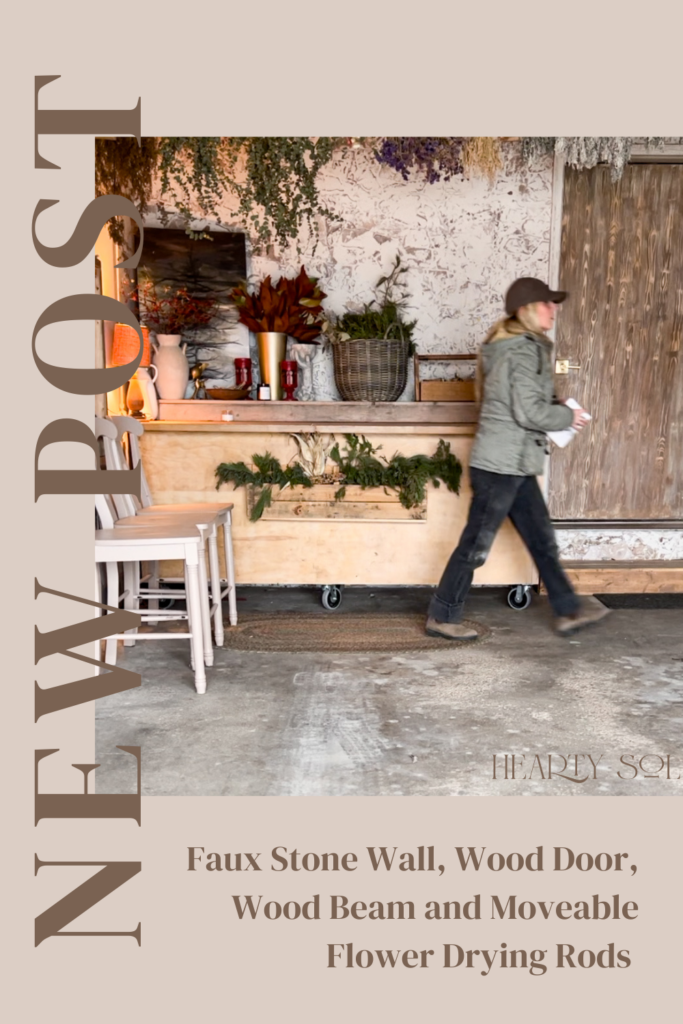
How to Create a Faux Stone Wall on a Budget
After we insulated our garage and I finally had some real walls to play with, this little corner is my new favorite spot!
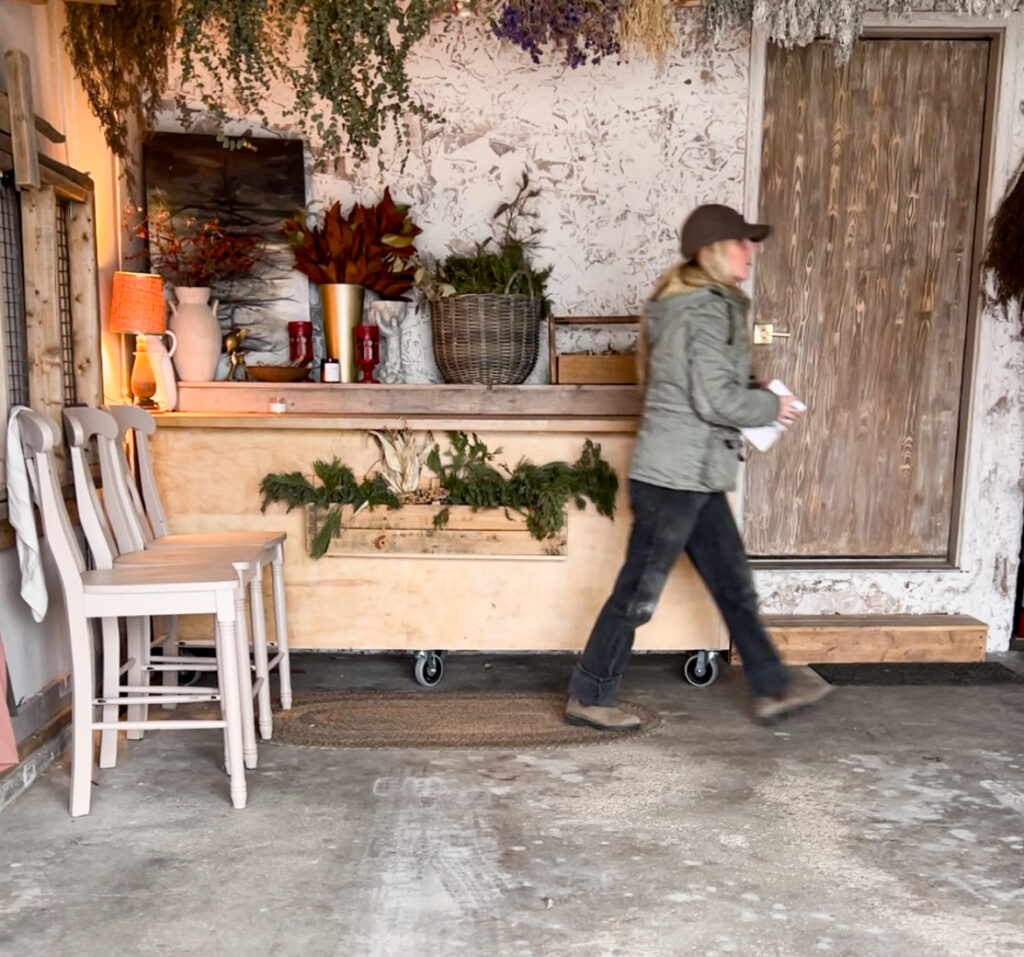
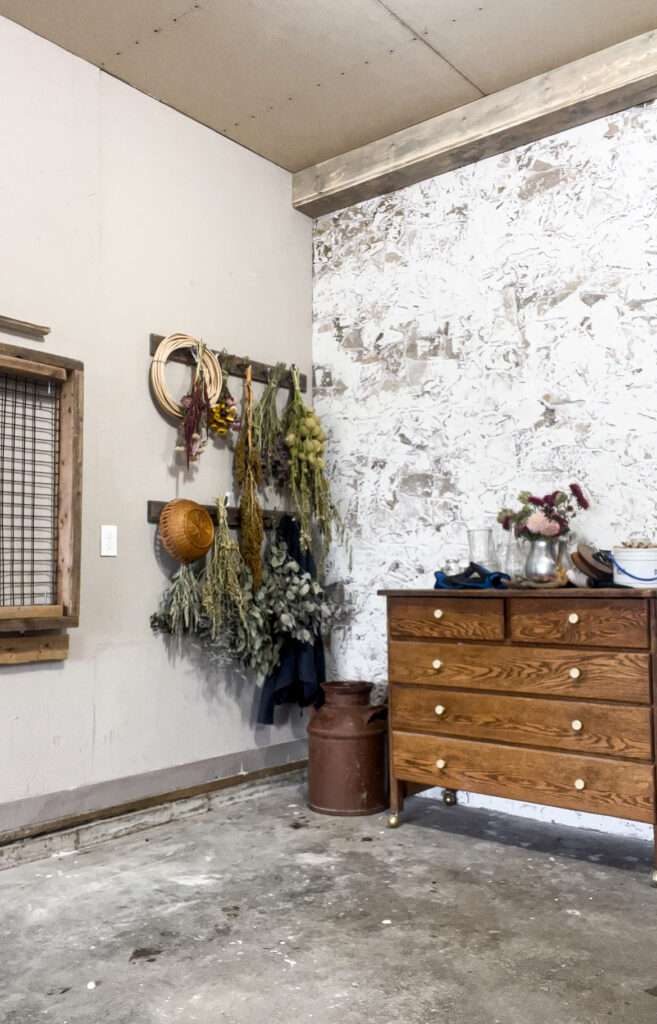
A Garage with a Faux Stone Wall
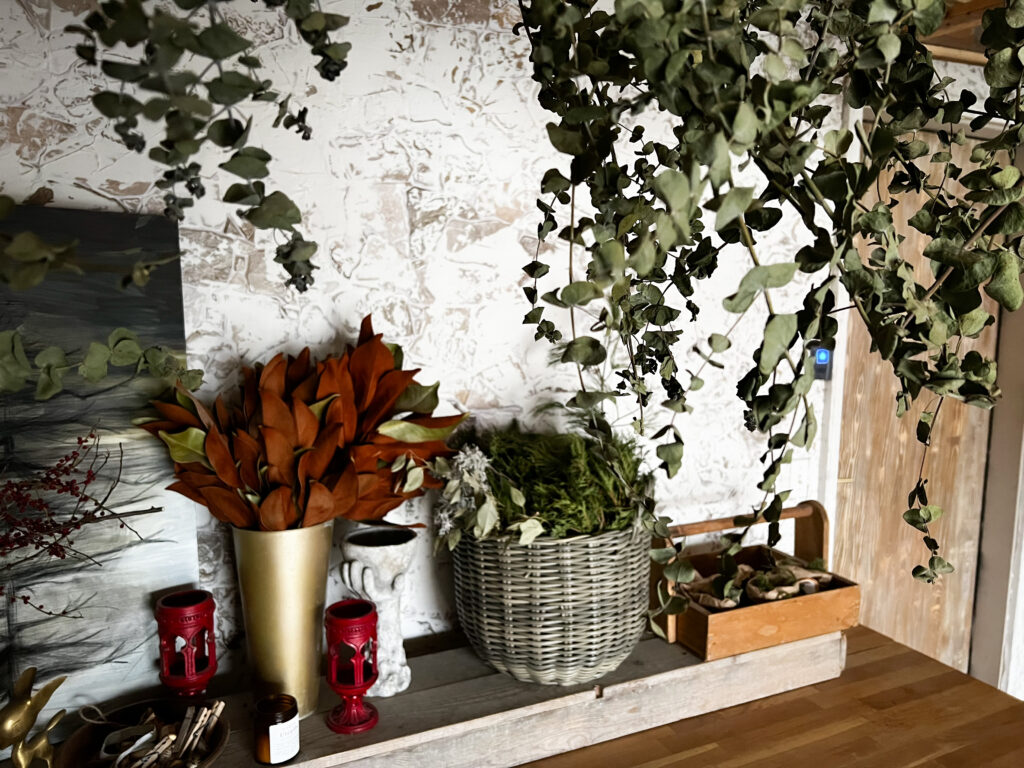
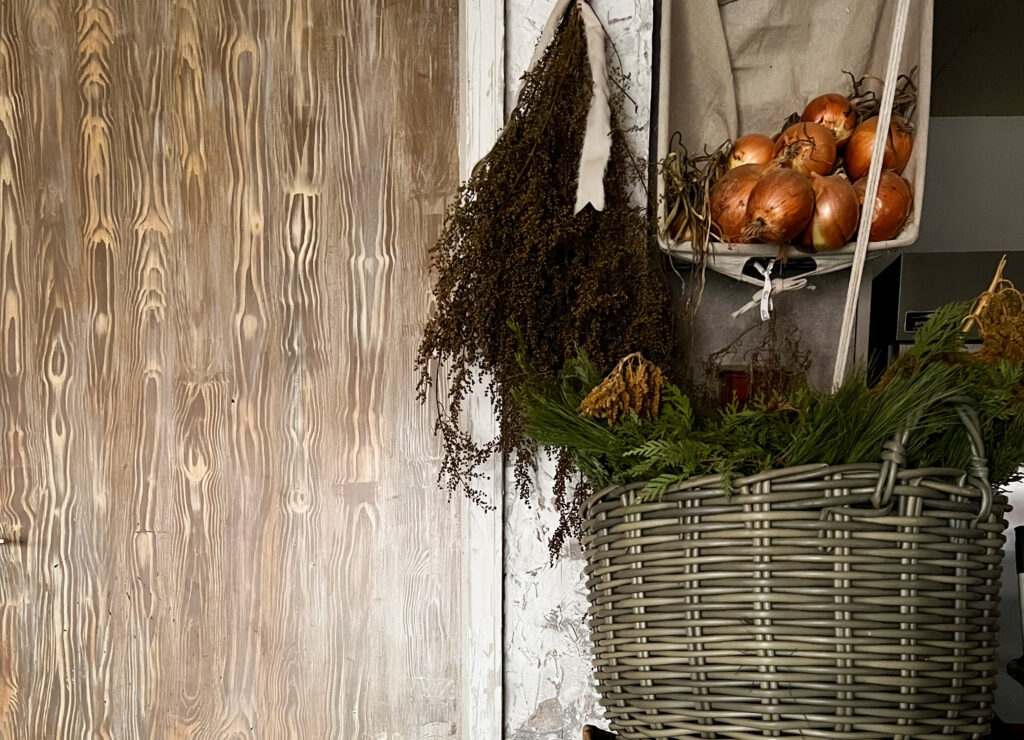
With this area being a focal spot for anyone who stops by the house, comes in for a wreath or floral class, I wanted it to be classically done right. With enough wiggle room to continue to explore the feel, here, I started by creating this rustic-looking rock wall. Warmed it up with a brand new wooden beam, faux-wooden door, refreshed the wood on the step, and anchored eye hooks into the attic so I could raise up my flowers, our luffa sponges, popcorn, and herbs etc to dry.
There will be updates with this corner, as I already have things I want to tweak once it warms up, so you’ll want to stay tuned.
There’s lots happening right here, so lets go through the details, shall we?
So many folks who attended one of our classes this past winter, commented, “That wall is amazing, what is it? How’d you do that?”
I will credit most of my creativity when it comes to wall treatments, murals, painting, sketching, creating scenic mood to my theater background. Starting out in college, I was going to be a nurse, just like my mom. I already started college as a CNA (certified nursing assistant) working mainly in nursing homes and care facilities to earn money for college and rent. As a freshman, I was placed in senior-level classes, barely able to earn a D. Seeking all the academic help I could find, I later overheard that the program was pushing newbies out, after all the world had ‘enough working nurses’ at that time. (If there had only been a crystal ball).
Learning how to make quick life decisions and pivot in the right direction, was my new specialty after a wild battle with cancer the year before. Life is too short. Find your purpose, what drives you and move on! I quickly got the hint and got out the program, but what next? I took every class I was interested in and became a Liberal Studies student, with minor in Spanish and Theater. Liberal means ‘broad minded’ and I took it all in!
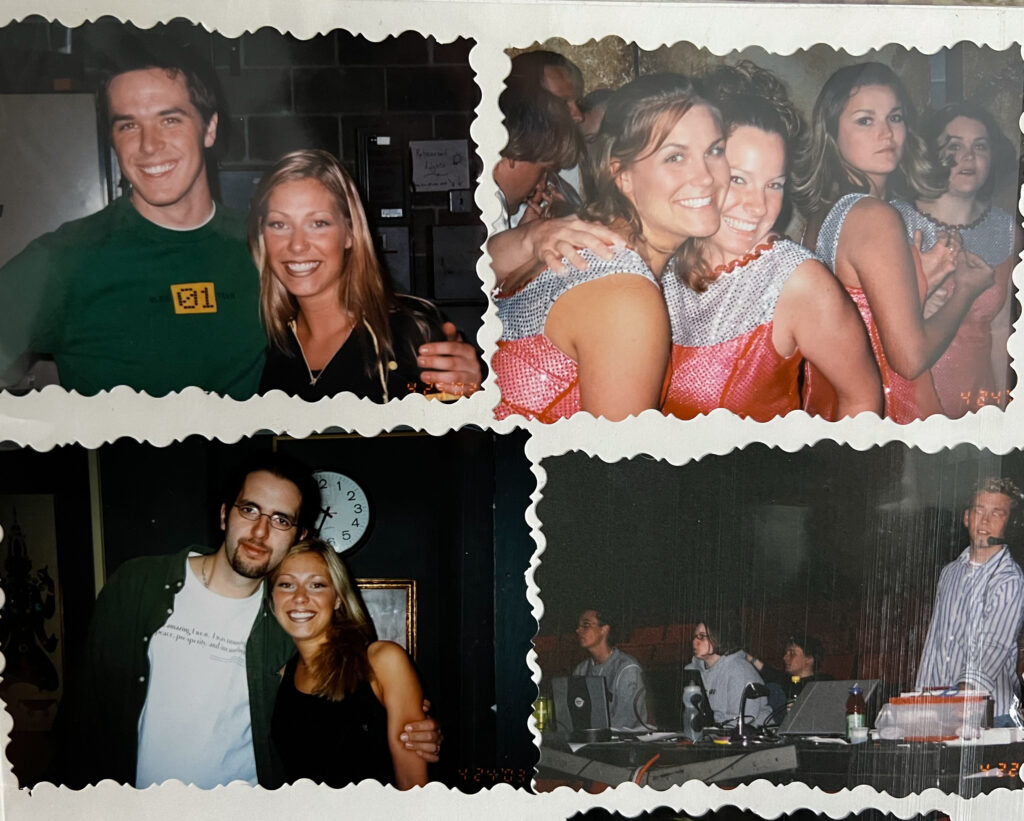
Attending woman’s studies classes, every level of psychology, costume and prop design, Spanish, ballet, religions of the world, business, pottery, photography, and then theater. I got a work study job in the back stage of the theater, one semester all by myself. I knew no one. After all I didn’t really fit in anywhere, I fit perfectly, out. I wasn’t a nursing student anymore and I wasn’t a theater major. I was entirely comfortable, here in this new, unlabeled spot.
Are we still going to talk about your garage, Emily? Yes, we’re coming back around to it, I promise. This part of the story is important.
I was open minded about the scene shop on my first day. Then I saw the most organized tool closet I had ever seen and I swear that little labeled room still lives in the back of my mind today. Anywho, needless to say I was hooked on this crazy, creative space where we painted set drops on 100′ canvas, crawled through the high, dark cat walks to set and rig sets pieces, I learned how to assemble and install my first ceiling fan, built stone buildings out of 1/4″ plywood with some plaster and paint and got to teach countless senior theater guys how to operate a screw gun! If you’re reading this boys, your welcome ;).
The mentorship, acceptance and responsibility that I gained throughout my time with my new theater faculty will forever be a part of what built me. They would hand a project over with fewer and fewer details each time and say, make it happen and oh with only the things you can find in this shop. Do it faster, (yes, I learned how to paint murals with 2 paint brushes, one in each hand) make it stronger, and more believable every time. There was always a fast- approaching deadline or a director who wanted it yesterday.
Are you still here?

I’m hoping by me telling you all of this helps you understand that the amount of creativity that surges through my blood stream can sometimes be overwhelming, even to me. It plagues my sleep, wakes me up in the early mornings and distracts me from life. Sometimes, I wished it would just take a break and let me be. But somehow it’s my purpose to create the spaces that enter into the creative palette in my mind. Because if I don’t create them, either in my space or someone else’s, some sort of negative ju ju happens until I do.
There, now you know. It’s not the boundless amounts of energy that I have, or some level of a societal ‘keeping up with the jones’, a trend, a magic potion that I have a recipe for, even for those little squares over on instagram. It’s because if I can’t do it, if I can’t create, I worry about my mental health. It’s my purpose to create and I want to be surrounded, like a well done set, with the things from deepest parts of my imagination.
My inspirations come from the places that I’ve lived or traveled to and challenge myself with how to recreate these things with just what I have access to, and on a budget.
Faux Stone Inspiration
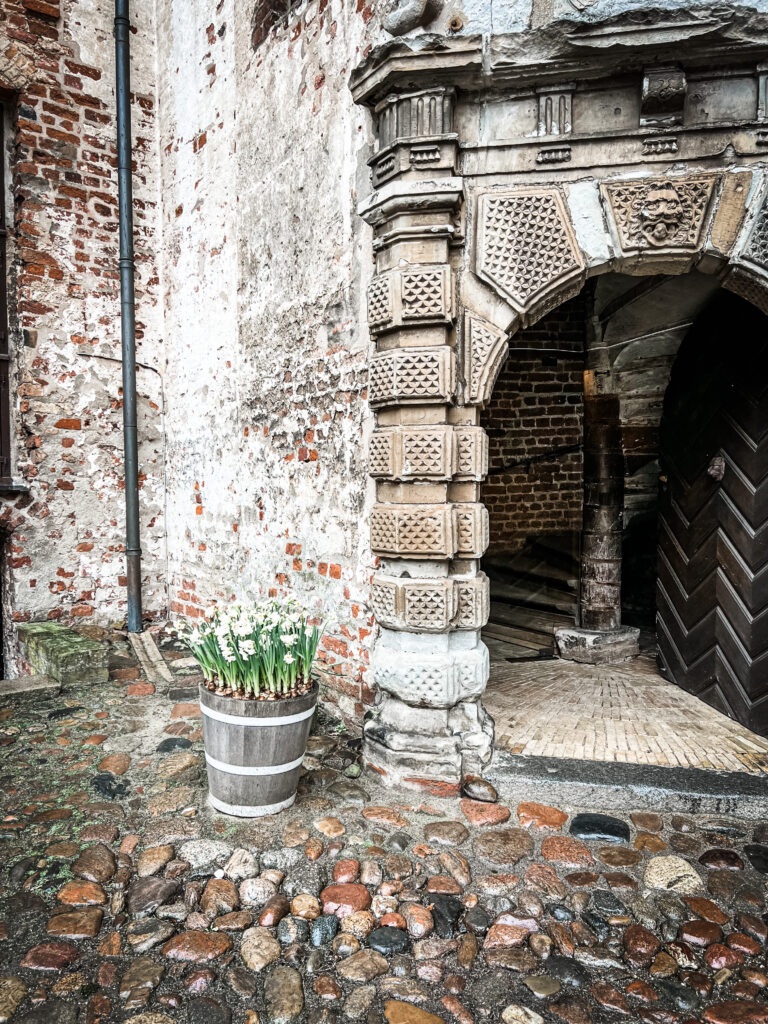
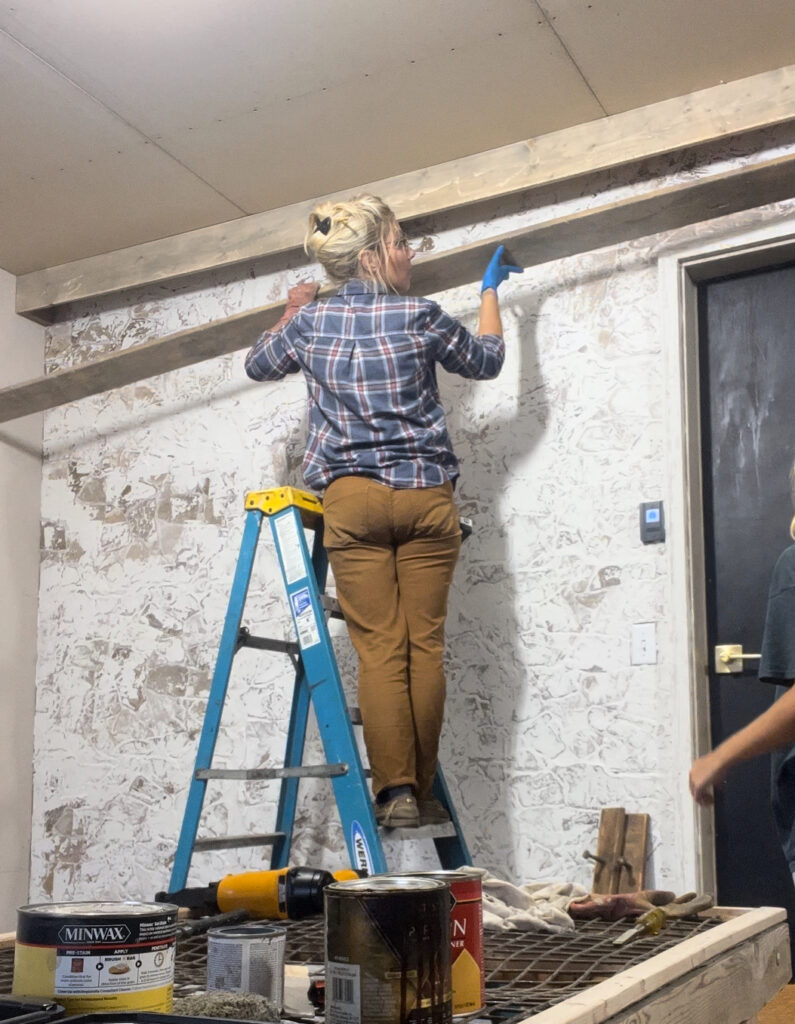
Take this rock wall for example. We had just been in Denmark about 9 months prior and was reminded about how much I love the old stone European buildings we saw there. I had to come up with a way to create the deep textures and look of actual stone. At first I was preparing to just mix up a thicker joint compound and create each stone at a time, then paint shadows and highlights. After all it was just one wall.


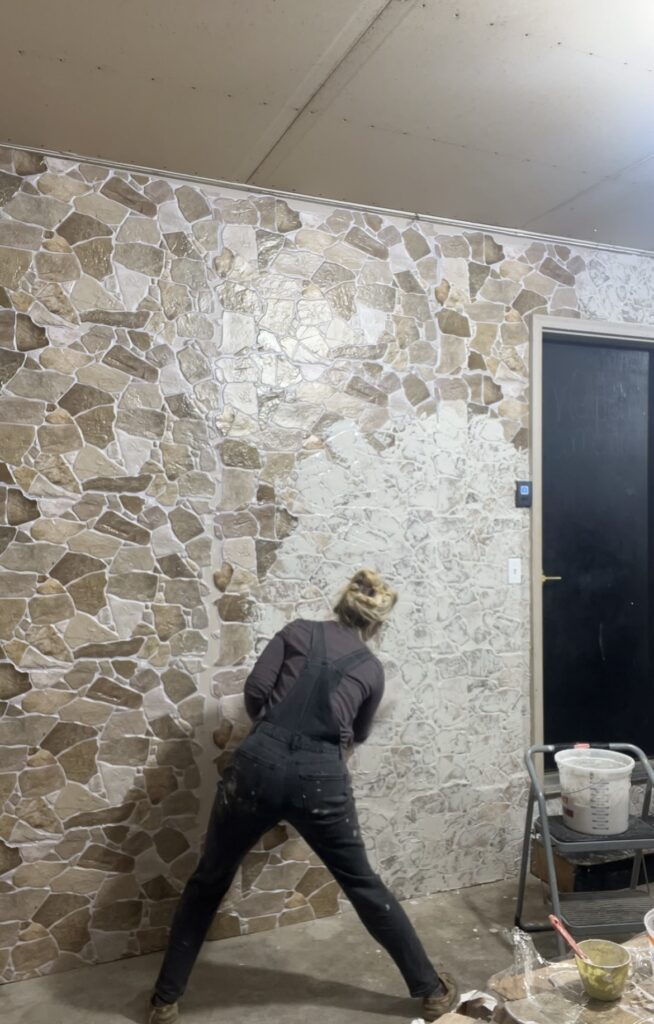
But then I found these faux stone panels that would at very least, save me a bunch of layering. (I used about 2.5 boxes for this wall.) Remember a little paint can change everything. I also looked at bricks and more stacked rock, but ended on the original ones to get me started. Applying liquid nails and pressing them onto the wall, I then went in with some of the roman clay I had made up for the rest of the garage walls. Mixed it up a bit thicker and whiter and applied it with a plastic trowel.
I spent an entire week, standing back, squinting wondering if this is how I wanted it to look. Adding more roman clay, changing the colors back and forth between my favorite warm color and white.
I’m still not convinced that I’m done putzing with it. I may add more layers and paint in shadows.
Stay tuned later this spring/summer.
The Rustic Wood Beam
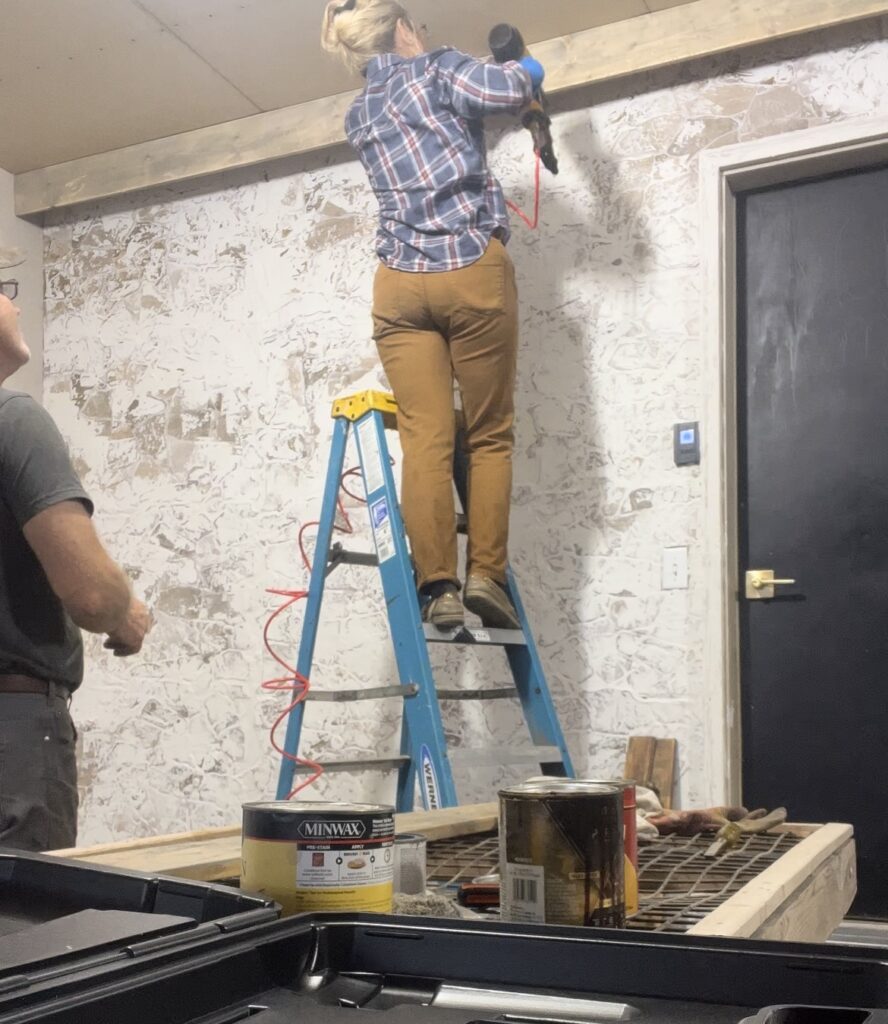
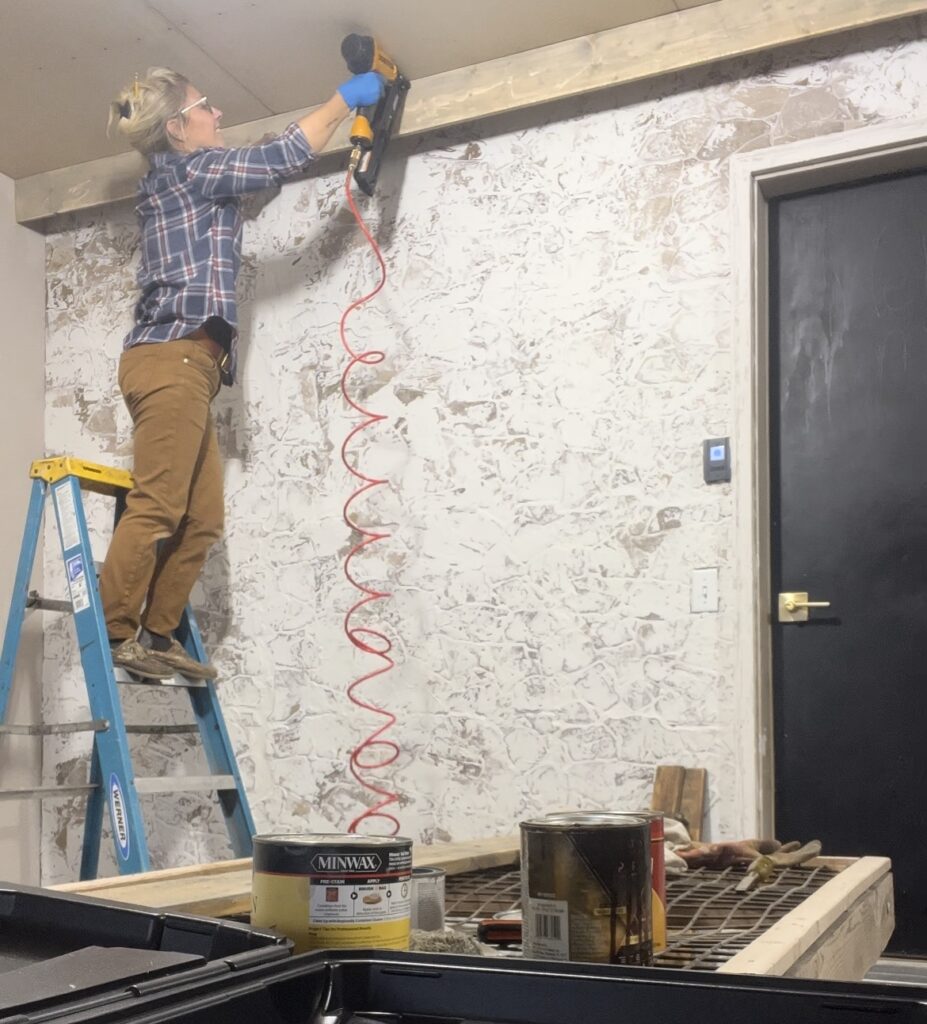
The wood beam project was something I had been wanting to attempt for a really long time, but I wanted to try it out first in a space like this. The garage, where it didn’t matter if I messed up, a bit. I anchored a 2×4 into the ceiling with screws, then boxed 2×6 boards, (stained and beat up to look old), nailing them to the 2×4 base.
My first wood beam turned out to be way easier than I thought and I love how it turned out! I loved it so much, I added a few wood beams in our latest laundry room remodel, too!
The Faux Wood Door
Our door had previously been painted black and as it turns out, per code, you have to have a fireproof door between your garage and your house. So as much as I wanted to find a cool, old wooden door, rules is rules. Figuring out how to make this door ‘look’ wooden, was my next plan.
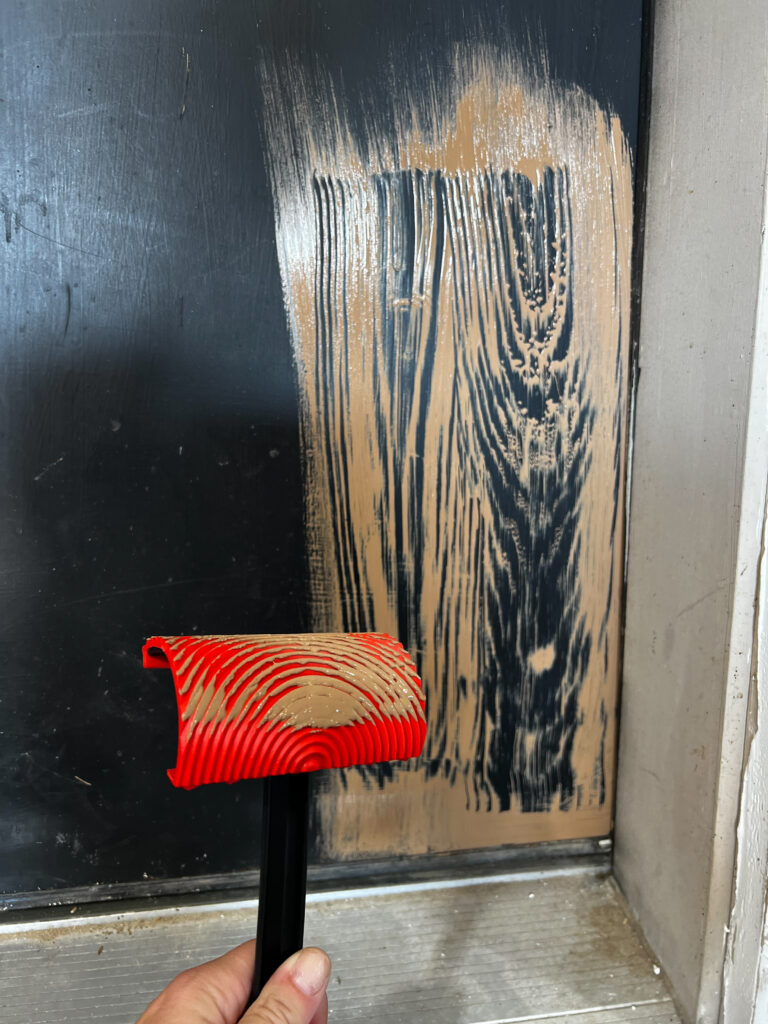
First I would need to layer, paint. Natural wood, has many different variations of color. Over the existing black paint, I used a light brown, then a dark brown, then ran this wood grain tool down the door in planks while the paint was slightly still wet. I had used this tool a lot back in my scene shop days, and forgot how satisfying it was to use.
I added a few layers of polyurethane and need to add more as the dog scratches it when he thinks he wants to come inside. And maybe that just adds to the character of it.
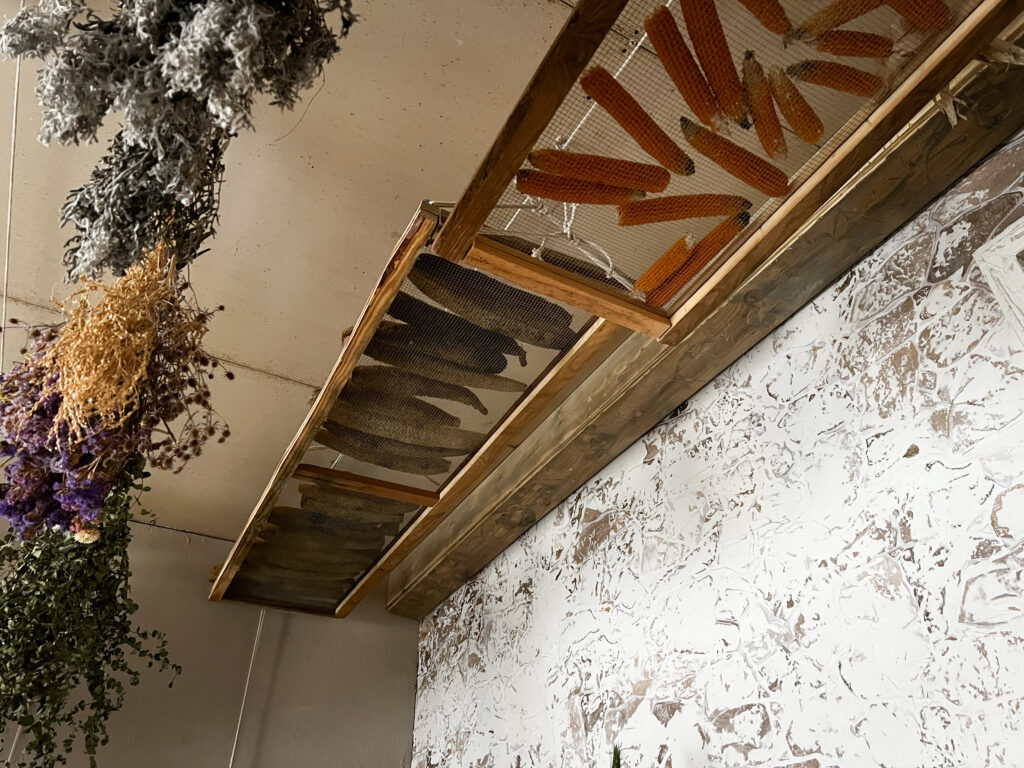
The Moveable Flower Drying Rods and Racks
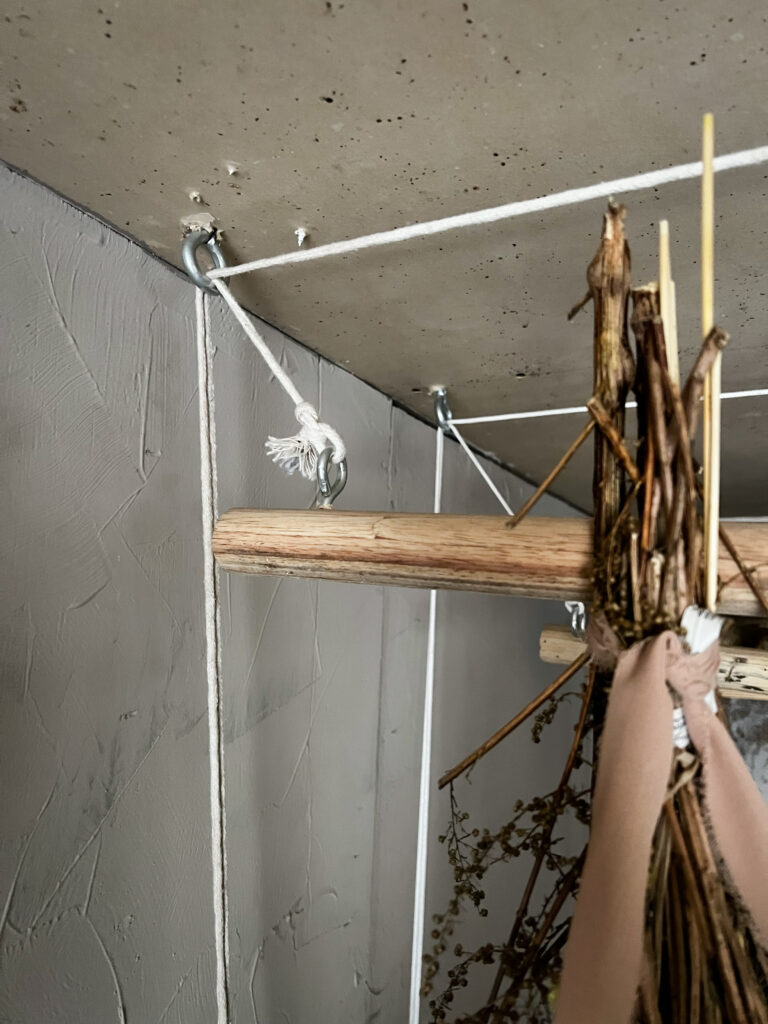
This was a complete experiment and when it warms up again, I will be replacing the original eye hooks that I have anchored into our garage attic with these proper pulleys. As well as replace the cotton clothes line rope that I had in a drawer in my garage with some poly roping. I used simple 12′ wooden dowels and now that I have the system down, will likely be adding a few more here, this summer.
I built two simple drying racks from 1×2’s and some wire mesh I had in my garage to hold our luffa sponges, popcorn and flay-lay herbs.
With the weight of the fresh flowers, popcorn etc, the cotton roping gets strained, and I think replacing the eye bolts with pulleys will make things glide a bit smoother.
Shop this Post
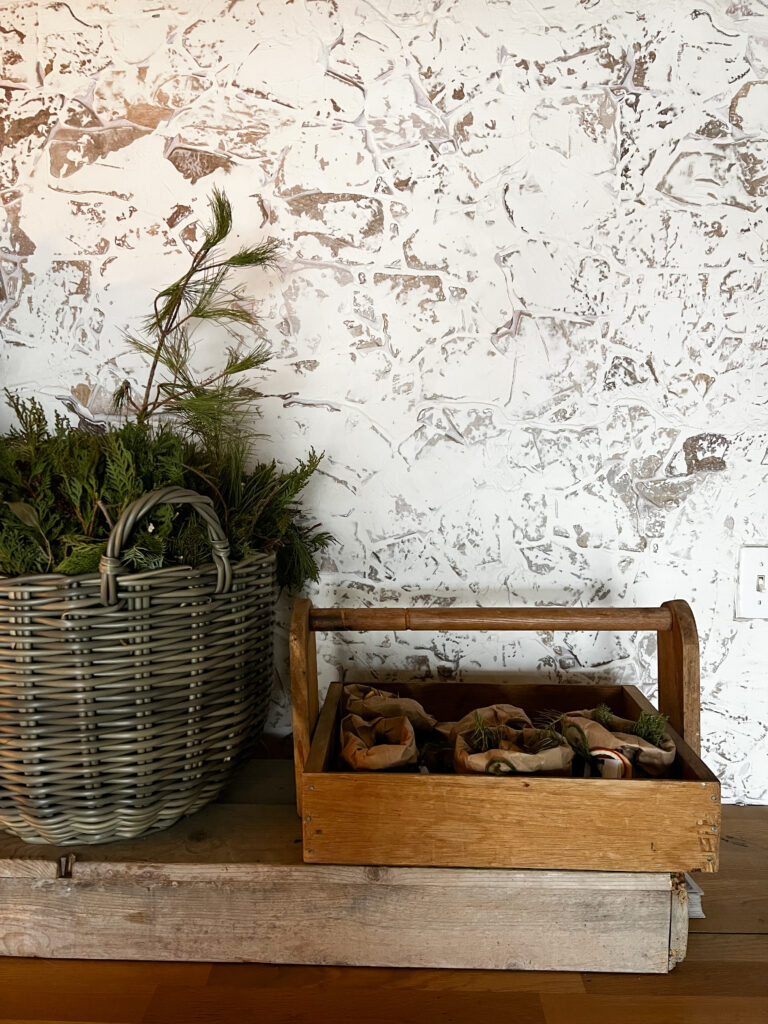
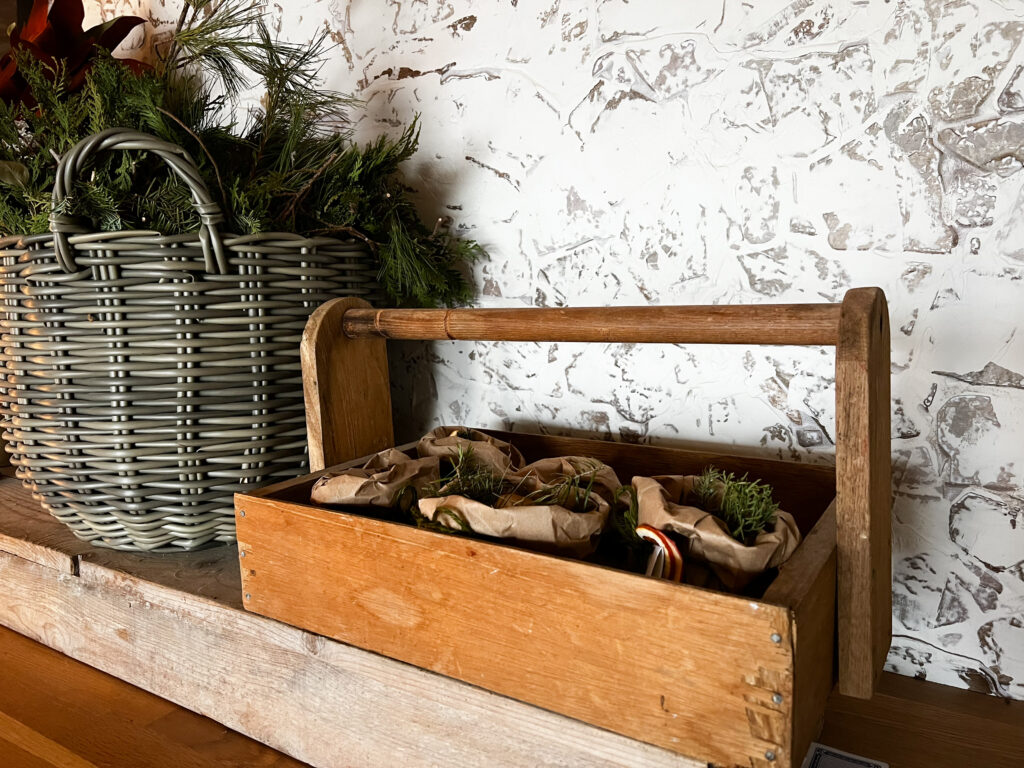
These waterproof poly baskets are incredible and I’ve spent the better half of my adult life finding good Sturdy Garden Baskets like these.

Our Cozy Little Corner
Pin this for later!

Affiliate Disclosure & Content Disclaimer
This post may contain affiliate links from a paid sponsor, Amazon or other program. When you use these links to make a purchase I earn a small commission at no extra cost to you. This allows me to continue creating the content that you love. The content in this article is created for information only and based on my research and/or opinion.
Emily T.


DAILY INSPIRATION ON THE GRAM @hearty.sol
it's hip to be square!
View comments
+ Leave a comment