

How to Hang Wallpaper | Everything you Need to Know Before you Start!
Wallpaper can add tons of warmth and charm to a space, room or wall. There are a few things you need to know before selecting wallpaper as your next wall application. Let me share what I learned while wallpapering in our home.
After a while of pondering ways to update our home and experiencing a devastating flood in our basement, we have been able to renovate. The most notable change? The walls! With many years of wallpapering and home design under my belt, I want to extend my essential tips and tricks to sprucing up your home with wallpaper!
These days this modern take on the stuff you had to tear out of your first home using a steam machine and some weird chemical, has come a long way. The wallpaper they make these days, is a far cry (in the good direction) from your grandma’s wallpaper. And it may have you yearning to give it a try in your own home. Here’s what you need to know before you even purchase your first roll of wallpaper!
How to Select Wallpaper: What to consider before diving in
Selecting the design of your wallpaper should be the fun and creative part. Here are a few things to consider before choosing your design and wallpaper type.
- First and foremost: what is your goal? The world is yours when it comes to wallpapering: there are a range of designs and looks to choose from! It is important to have a layout of what you want in your home so you don’t get overwhelmed. A Pinterest scroll can help with this 🙂
- How big is the space? Is it an entire room or just an accent wall? It is extremely important to take out a measuring tool and measure from floor to ceiling and from corner to corner. These measurements will determine the rest of your wallpapering journey and how much wallpaper you will need!
- Do you want a large pattern or a small pattern? It is important to get a good read on the room size where you are putting the pattern up. For example, smaller patterns typically make rooms look smaller and vice versa. Also, just looking at designs online can be super misleading. Ordering a sample of wallpaper to hold up to your wall is a good idea in order to see how the pattern will look in your space. Samples can run anywhere between $8-10.
- Identify how permanent you want the wallpaper to be. This will determine the type of wallpaper you use. Modern wallpaper / peelable wallpaper is much easier to remove while vinyl wallpaper / traditional wallpaper is known to be much more durable and tough to remove. Experts have identified that we no longer wish to spend days with steamers and harsh chemicals to remove this stuff. However, if you live in a rental space where permanent fixtures are not allowed, peel and stick (aka self-adhesive wallpaper) is an excellent choice and there is tons of variety out there.
- How much time do you have and how much are you willing to put into this wallpaper project? The answer to this question will help determine the pattern you choose to use. Typically, straight-match and drop-match wallpapers take up less time. Check out: “What is the difference between drop match and other wallpapers?” below for more details.
Why You’ll Love Wallpaper in your Home
- Wallpaper will give you a designer look, with little cost and effort. With some expensive exceptions, it’s typically way cheaper than having someone come and paint a mural in your home!
- There are so many different patterns these days! You can even go design your own custom wallpaper if you want! The cost varies a lot too! Some, you can order online like I did here or you can find some pretty nice peel n’ stick right at your local hardware store.
- I love the warmth and charm that it can add to your home or your space. Be careful, it can become addicting. Once your first project turns out beautifully, you’ll be ready to do your whole home!
- Wallpaper also covers up many flaws with the wall. For example, if you have many nail holes, cracks, dents, stains, or areas that need paint touch-up, this might be the perfect area to wallpaper! It can even cover up old wallcoverings!
Where should I put Wallpaper?
Are there any focal points in your house you want to draw notice to? Areas of your house you want to accent or liven up? Maybe your living room, dining room, or other high-traffic areas? You can truly place it wherever!
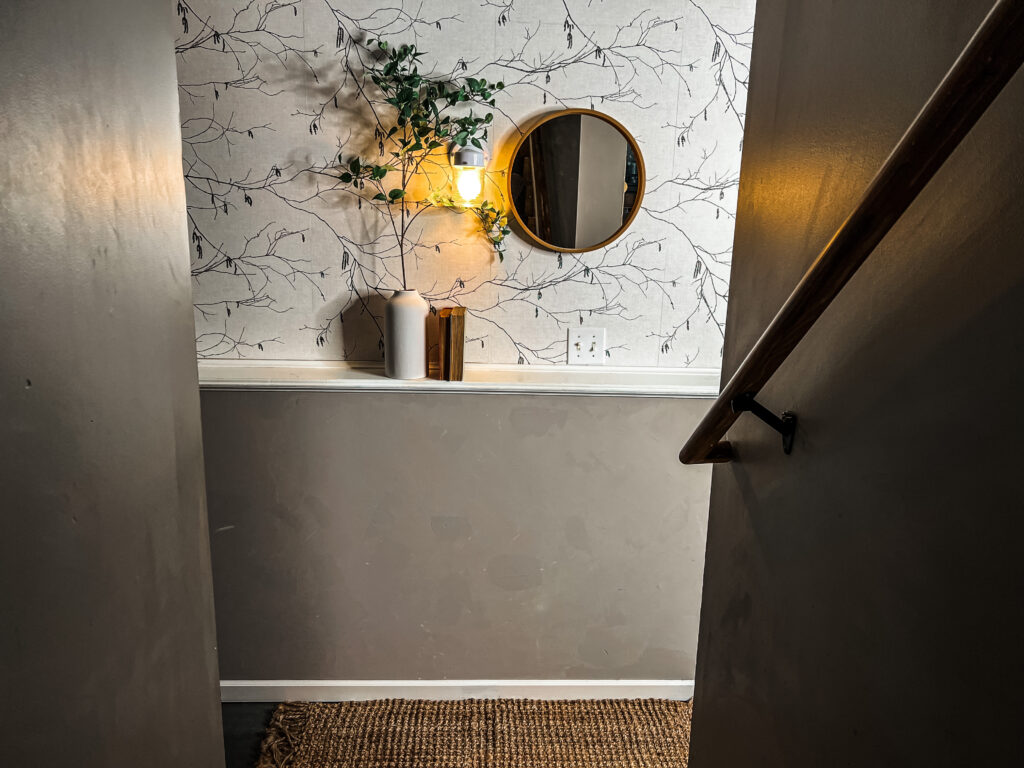
I love using wallpaper as an accent wall behind a bed or if there is a wall that will have some main furniture pieces in front of it.
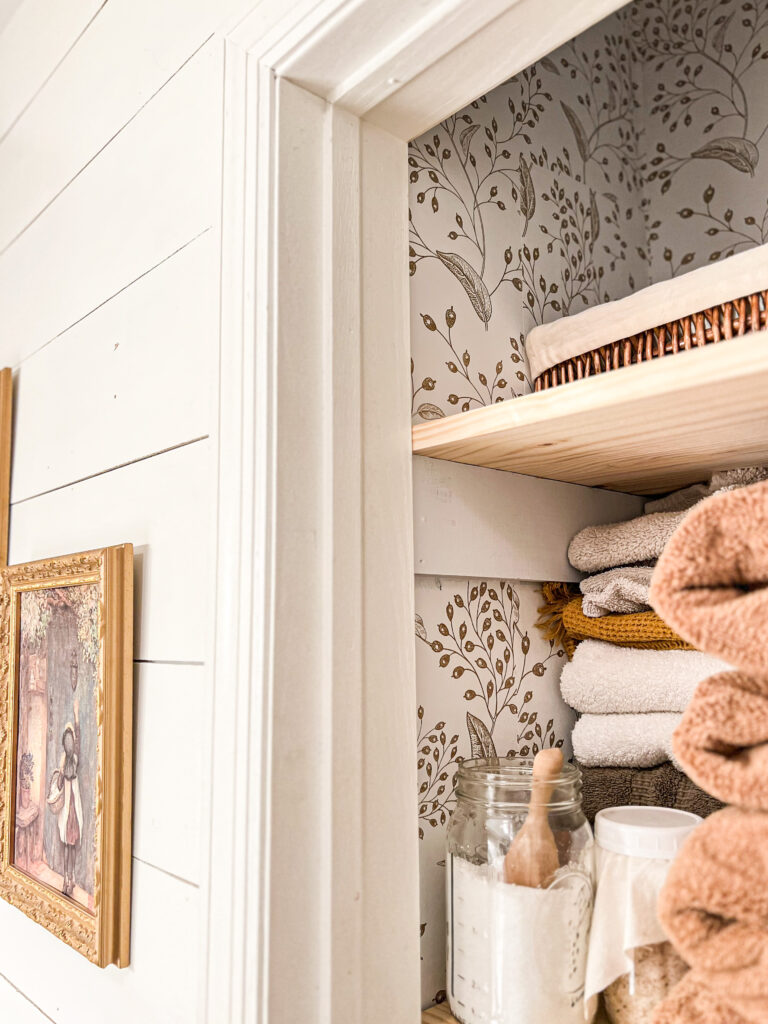
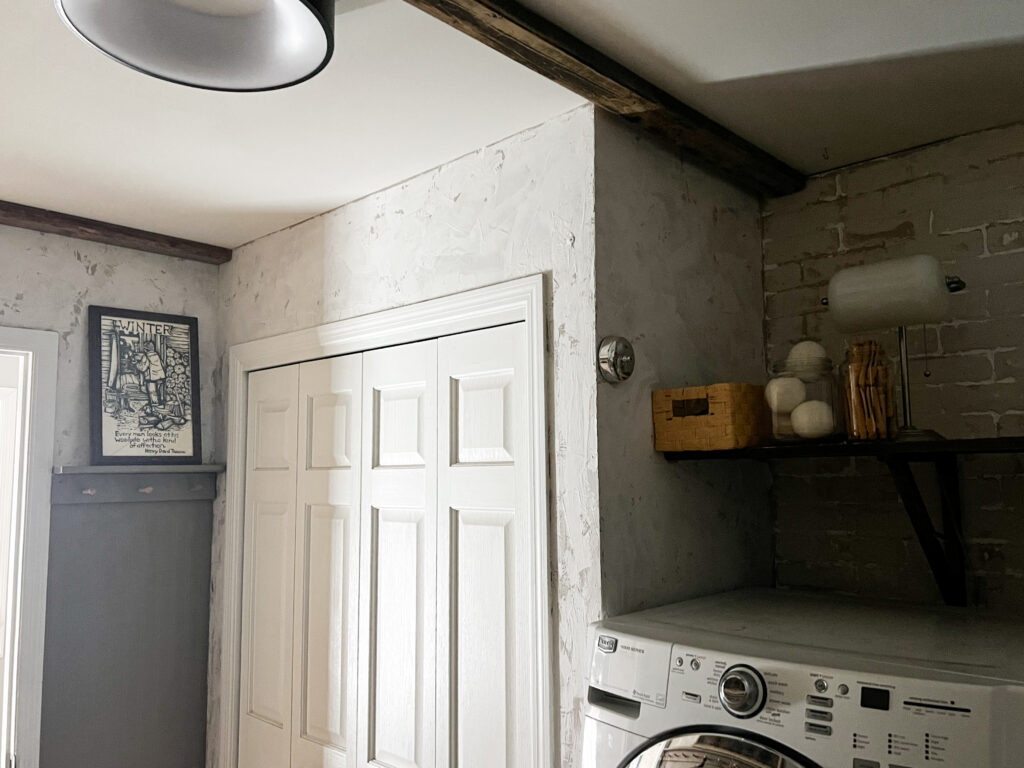
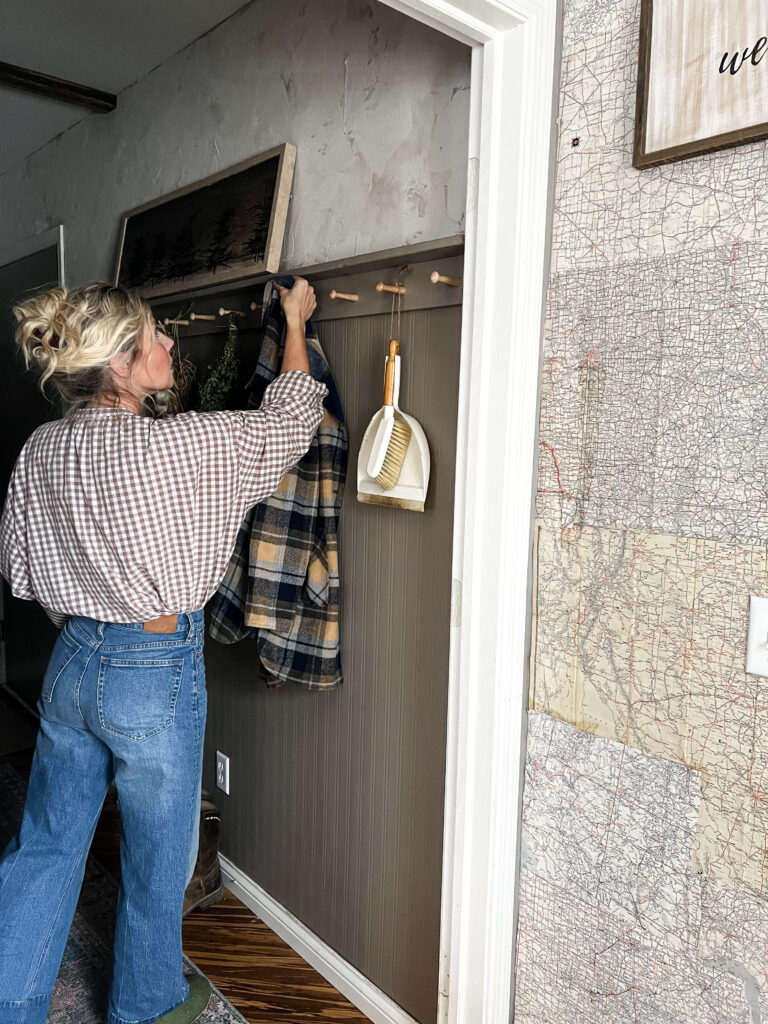
Dress up a linen closet or a laundry room closet to add a little interest.
Wallpaper also works well in the back of an older wooden cupboard. Perhaps you have a few pieces left over from a project and you just don’t know what else to do with them.
Wallpapering behind floating shelves or a gallery wall display is also a fantastic way to add some depth and texture.
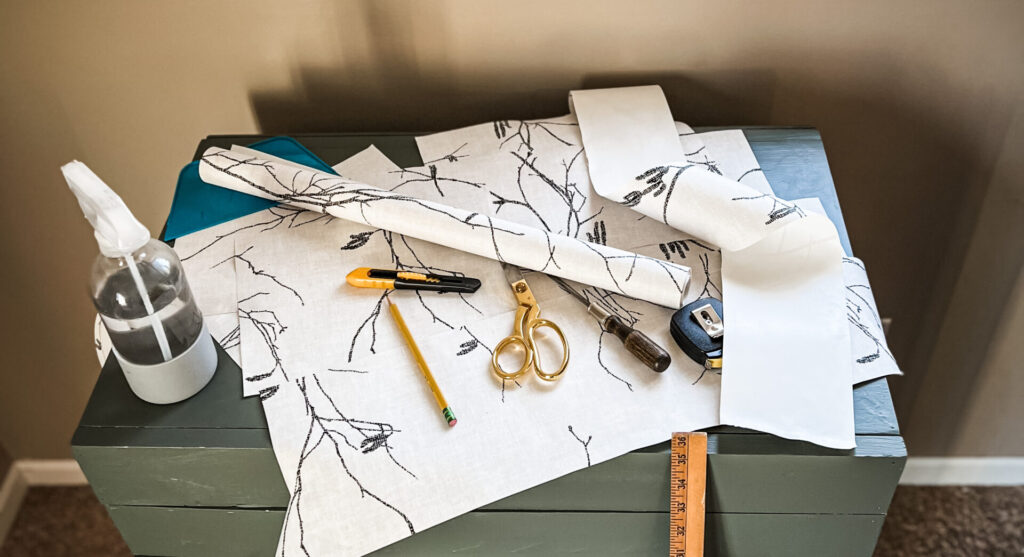
Materials you’ll need to Wallpaper with
- A Scissors
- A sharp box cutter or blade
- Pencil
- Sharp edge or smoothing tool to get the bubbles out (you can even use a sharp knife)
- Measuring tape
- A misting water bottle if your paper is pre-pasted wallpaper
- Some old towels if you are using pre-pasted paper
- A step stool if you will need to reach taller areas
What is the difference between drop match and other wallpapers?
The difference is in the application and the pattern repeat! The difference in wallpaper matches is – you guessed it – the way the wallpaper matches when you apply it and the type of pattern match. Pro – tip: there will be a small logo on your wallpaper packaging when you buy it that indicates which type of match pattern it is.
Drop Match: Drop Match wallpaper means the design matches up vertically and horizontally. The pattern will match up diagonally meaning you will have to play around with it to connect the pattern. You can think of it like alternating puzzle pieces. The pattern will repeat every 2 – 3 strips.
- Half Drop Match and Multiple Drop Match: Half-Drop Match and Multiple Drop Match wallpaper (an offset of drop match wallpaper) means that the wallpaper design will match up in different spots and you will have to be more meticulous about your placing of the strips to keep the pattern. These are the most complex pattern matches.
Straight Match: Straight Match wallpaper means that the design is consistent across all of the sheets. This means that you can match the strips up right next to each other. You can match up the edge of the second strip right to the first and continue on using horizontal alignment.
Random Match (aka Free Match or Random Pattern Match): As it states in the name, Random Match wallpaper means that there is no specific way to apply this wallpaper – the pattern will remain the same no matter your application style. *Random matches are a great choice if you don’t have a specific pattern in mind are new to wallpapering/don’t have a lot of time to commit to putting up wallpaper.
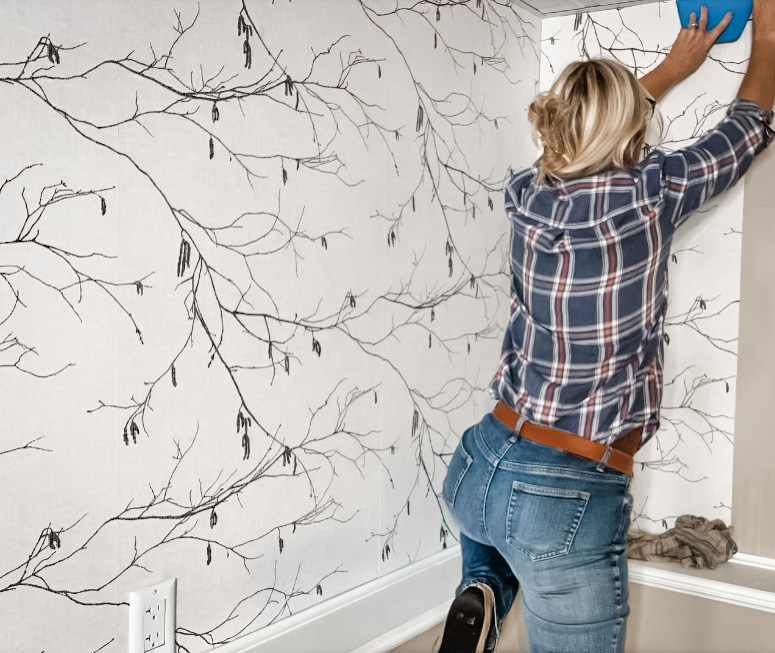
How to Hang Drop Match Wallpaper
“I selected a wallpaper, ordered it up, and then realized that it is called a ‘drop-match’ pattern. What do I do, now?”
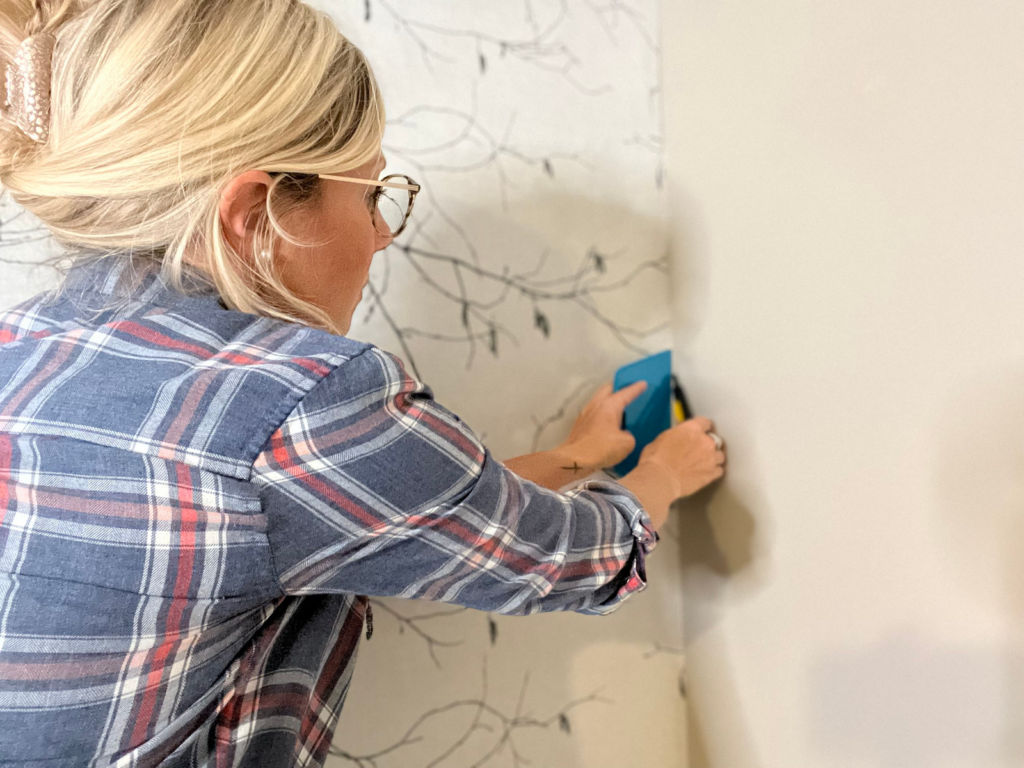
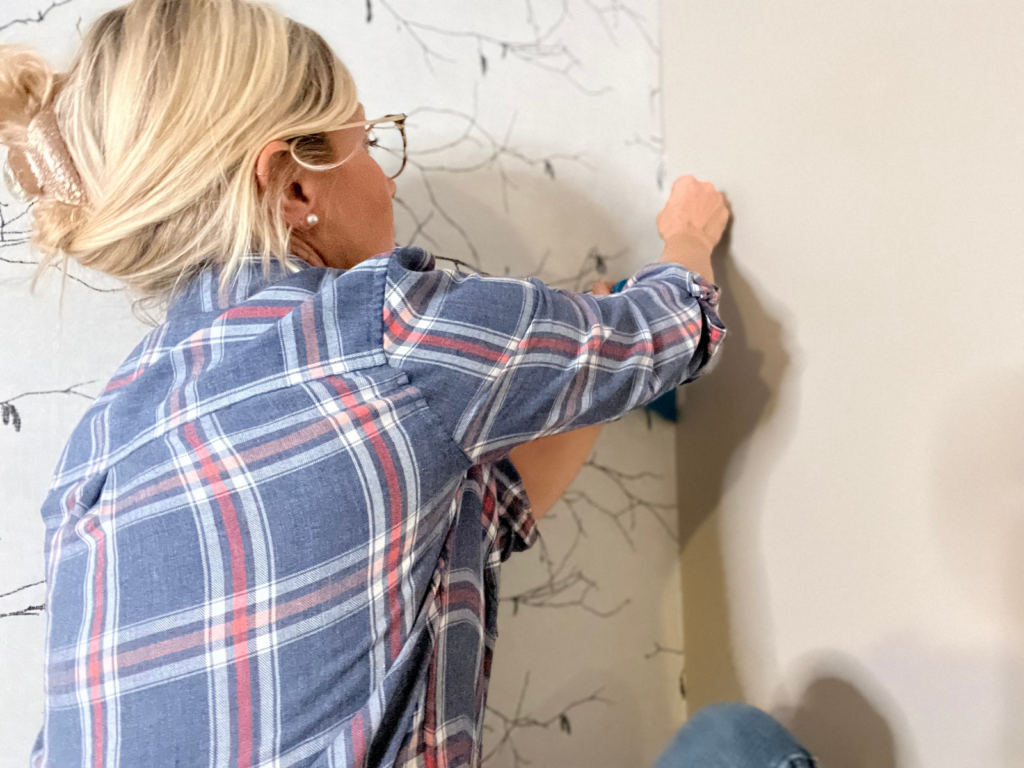
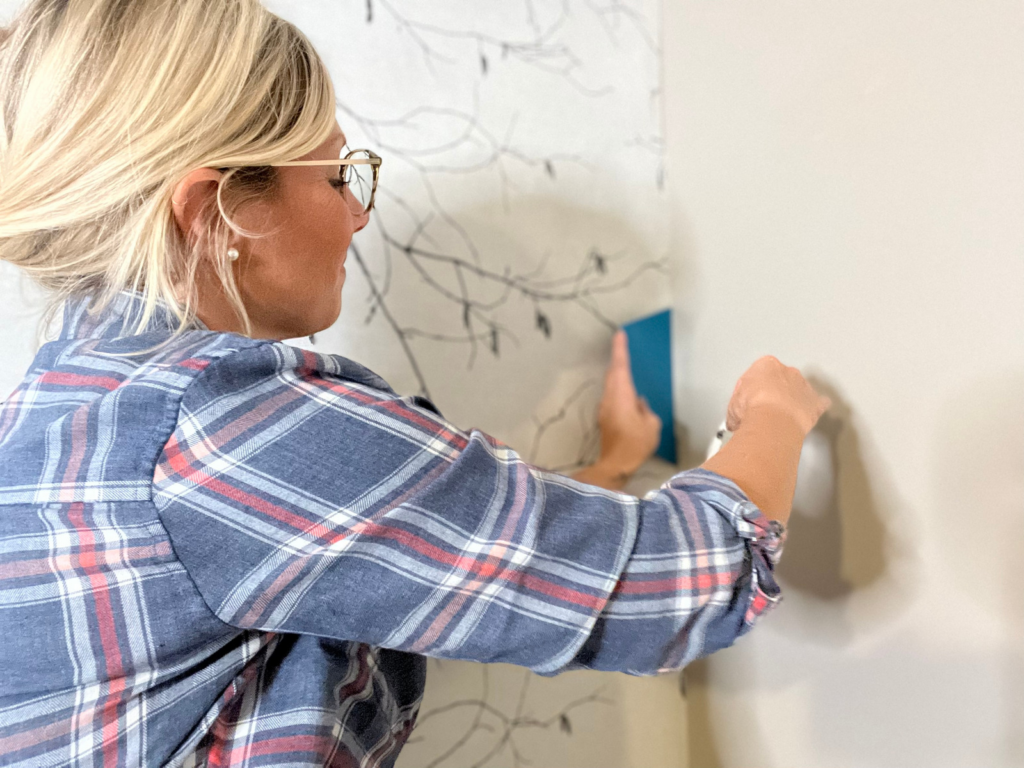
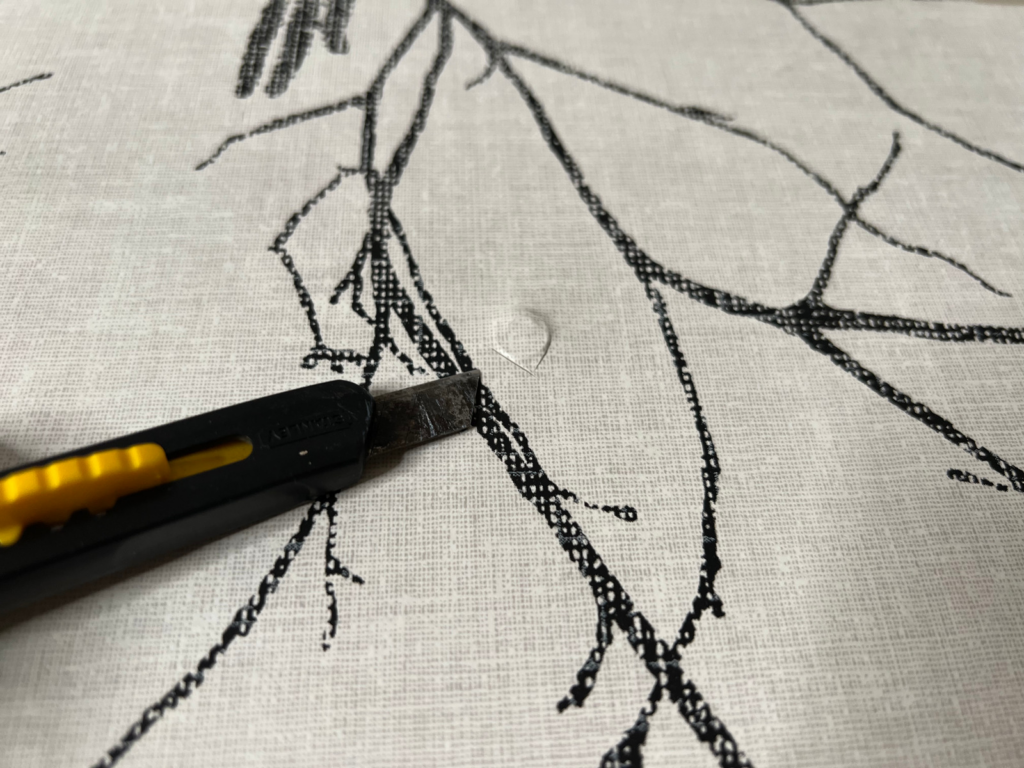
Drop-Match wallpaper can be super interesting and might take a bit of practice before you get it right. I suggest starting in an area that won’t be seen, right away to hang your first strip. I decided to go right to left when I applied my paper. The directions that came with my wallpaper suggested that I leave 2″ on the bottom of the piece I cut, as once dry the paper will shrink up a bit.
I did this, but also ended up cutting off a lot of my paper, leaving small 2″ strips. As frugal as I am, I used those strips in spaces where they happened to match up.
Once I got my first piece of wallpaper panel smoothed on the wall (my first drop), I lined my next strip up to match it (dry). Use a pencil to draw my cut line, then take it to the floor to cut. I added about 1/2″ to it, so it could shrink appropriately when it dried and wouldn’t leave a gap on the wall.
I sprayed the glue side of the wallpaper on top of a few old towels, so I wouldn’t get the floor wet. My instructions said to allow the water to activate the glue for 2 minutes. The first time I did this, but then quickly realized that I would end up re-wetting different areas to get them to stick.
After that, I would spray the piece of paper wait about 30 seconds, and then apply it to the wall. This helped with matching the drop-match-up much easier! With the wallpaper being so wet, it made it so much more easy to work with and forgiving once I got it to the wall.
The video will show you better how I matched and cut our drop-match wallpaper.
Peel N’ Stick Wallpapering Tips
Peel n’ Stick sometimes seems like a simpler choice when it comes to wallpaper. I mean compared to trying to learn about pre-pasted or glue applications, it’s already sticky and that seems easier, right?
The key to using peel n’ stick wallpaper is to only expose the top couple of inches of when lining it up on your wall. Once you get your first few inches lined up on the top and with the side design, you should be good to go. Then I generally remove a few inches at a time to make sure that it lines up. I’ve still not found any wall that I’ve worked on to be perfectly 90 degrees, so prepare to make adjustments to the wallpaper as you go.
Questions People are asking about Wallpaper
To calculate how many drops (strips) you will need when applying drop-match wallpaper, divide your total wall width by the width of your wallpaper roll. Make sure to take into account if you have a single roll or a double roll and the roll size when calculating. Round up the answer and voila!
Before wallpapering your decided area, start with a small space like a closet wall to practice on. Whether you are using peel-and-stick or pre-pasted wallpaper, it’s nice to get things figured out before you commit to an entire room or large wall. When you start putting up your wallpaper, choose a corner at the top of the wall. It is a good idea to use the ceiling line as a starting point to ensure a straight line. Tip: if you can, work away from the natural light. By doing this, you can ensure that the wallpaper won’t cast any shadows if it overlaps.
Do not worry! You don’t have to scrap your plans because of the wall surfaces you are working with. Whatever wall surface you have, you will likely be able to find a wallpaper out there for it. As long as you properly prepare your walls (sanding, cleaning, etc.) you should be able to apply wallpaper that sticks to drywall, paneling, concrete, you name it.
10 Essential Wallpapering Tips
#1. Start with a small space like a closet wall to practice on. Whether you are using peel-and-stick or pre-pasted wallpaper, it’s nice to get things figured out before you commit to an entire room or large wall.
#2. Get all of your tools rounded up before you start. See the materials needed above. When your glue is wet or your backing is off, you don’t want to go looking for a straight edge or smoother.
#3. Make sure you give yourself time. When I started my wallpapering, I thought for sure I was going to get this done in a couple of hours. I would have, had my wallpaper not been drop-match. The drop-matching extended the amount of time it took to cut, match, and apply my wallpaper.
#4. Purchase more wallpaper than you think you’ll need. I know, I know it isn’t always cheap, but you could always use some leftover bits to line a drawer or the back of a cabinet or closet and you want to make sure you have enough wallpaper! Having some extra to play with or even new rolls for matching designs will save you from having to order more later.
#5. When it comes to wetting your pre-glued wallpaper, I found that the best technique is to use a spray bottle that can mist. This will give a nice even coat of water rather than big drops and puddles of water that come with using materials like a damp sponge or water tray. This can weaken and damage the wallpaper.
#6. If you are unsure about a design, order some samples and stick them to your wall with tape so you can step back and see how the color and design show up in your space.
#7. Color-match paint to go with your wallpaper. If you are looking to coordinate paint with your wallpaper, take a sample of your wallpaper to the paint shop and let them help you color match a paint for you!
#8. The best part about modern wallpaper is that pretty much whichever variety you choose these days, so long as it’s not from a 1980s garage sale, will be easy to remove. Making changing your mind in 5 years or wanting to update to something different way easier than it was in the 90’s!
#9. The paint color behind your wallpaper kinda matters. If you have black walls and are wallpapering with white wallpaper, consider what it will look like when it shrinks up a bit after it dries. Or if you have a small gap somewhere. You could either go in and paint with a coordinating paint before papering. Or you could fill in the gaps/ lines with some touch-up paint that matches your wallpaper after you’ve applied the wallpaper.
#10. When it comes to working around corners, it’s best to use a flat edge. Something like a putty knife to fit the wallpaper into the corners and then let a box cutter cut the remaining paper away. It will be sticky and you will question yourself for wanting to wallpaper, but you’ll get through it! Oh and don’t worry, when you show off your new wallpaper. No one is going to go looking for that little corner, anyway! These flat edges are also great for working out any bubbles that might have occurred.
#11. If you have a bubble that you just can’t get out. It’s tight and right in the middle of your panel, simply use your box cutter to slice a small cut. This will let the air out, then you can smooth the bubble down with your straight edge.
Other Ways to Add Rustic Textures to your Home other than Wallpapering
Adding wallpaper is amazing, but have you heard of Roman Clay!?
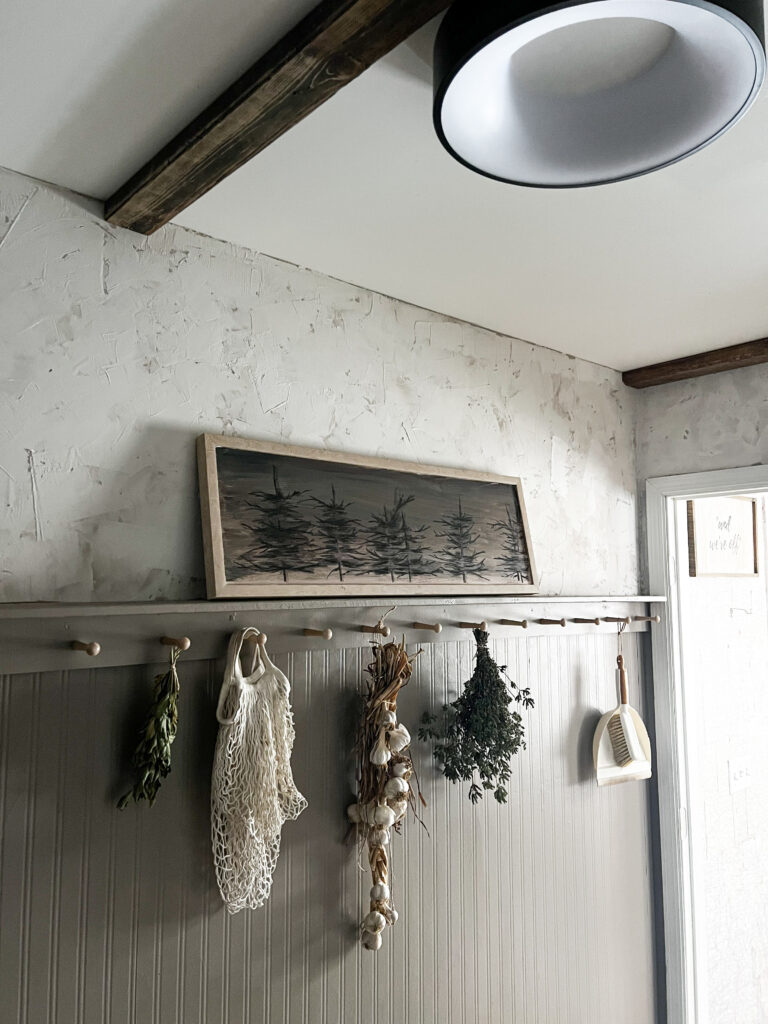
After I finished wallpapering in our basement I decided I wanted to try another wall application called Roman Clay. Now you could spend tons of money on purchasing Roman Clay in a specific color kit. But I wanted to use the color I wanted to use. Enter in DIY Roman Clay. This application method has a matte, chalky feel that adds so much rustic texture to a space!
Another way to spice up a wall is by making your own stencil. I still laugh thinking about the day I discovered this design with my toilet paper core!
Shop our Basement Makeover
From the Art and wallpaper to our beloved Samsung Frame TV and our Fireplace. You will find everything we used here and here.
Wallpaper we’ve used so far:
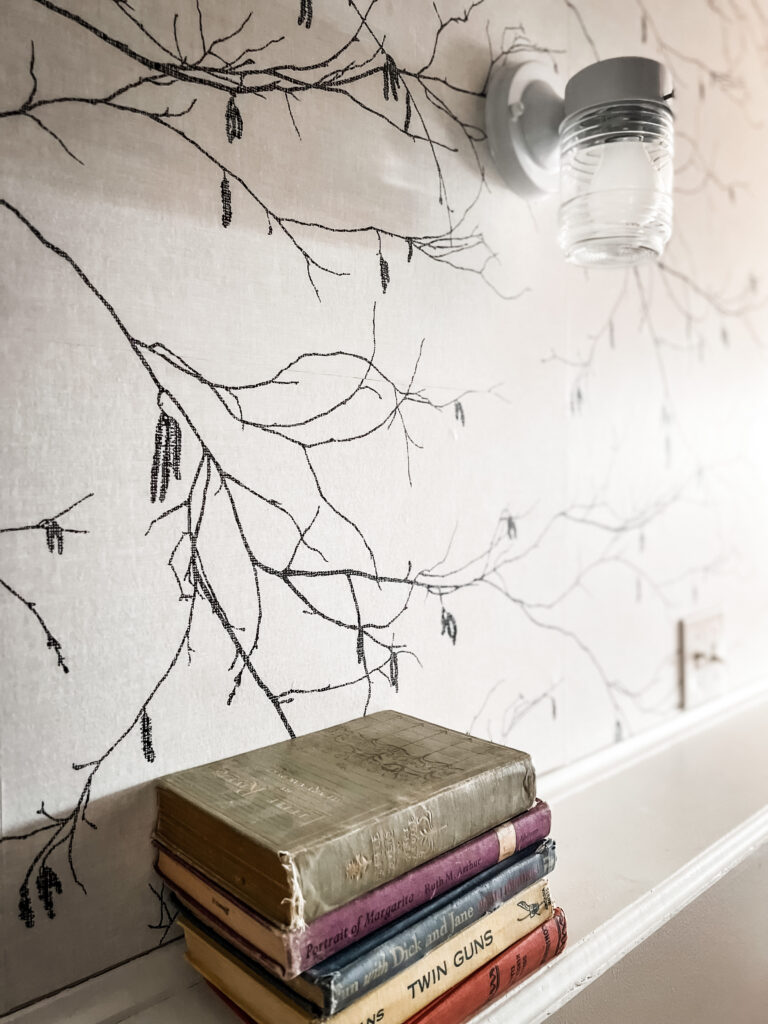
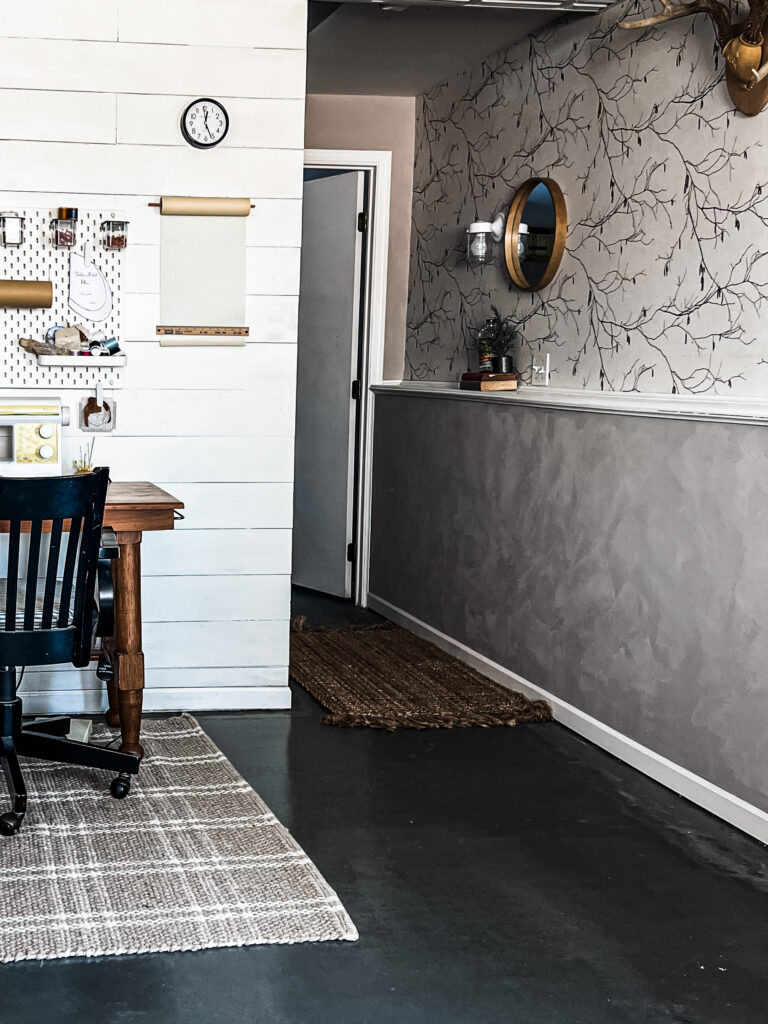
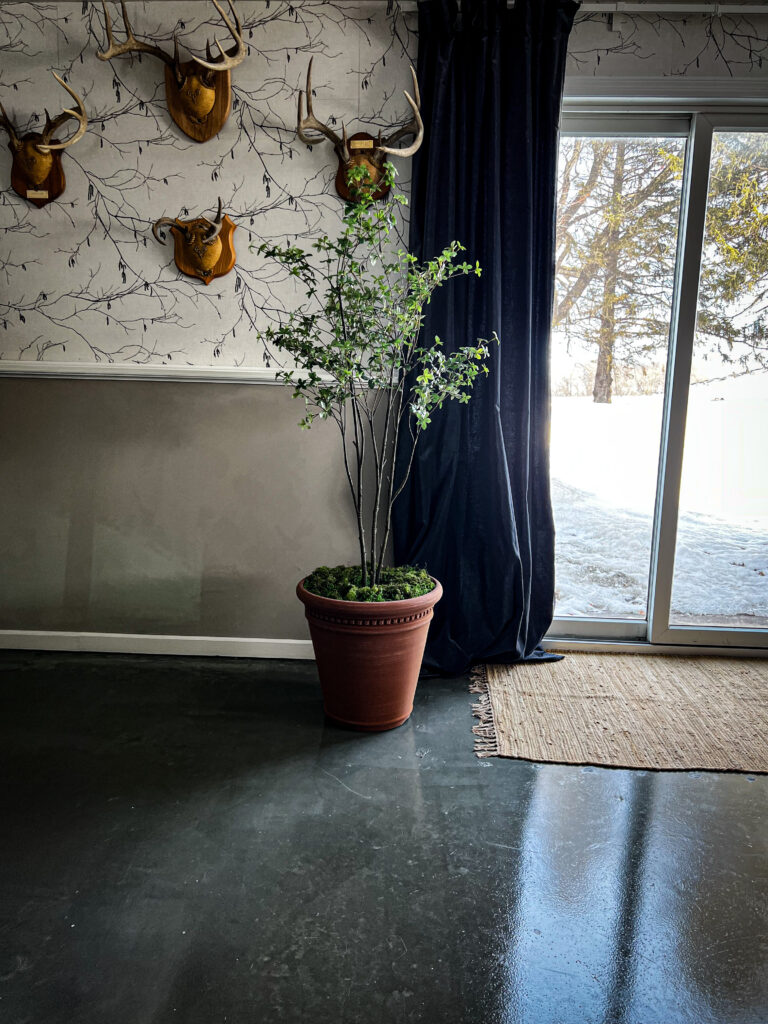
Winter Branches– drop-match, pre-pasted, washable, and strippable
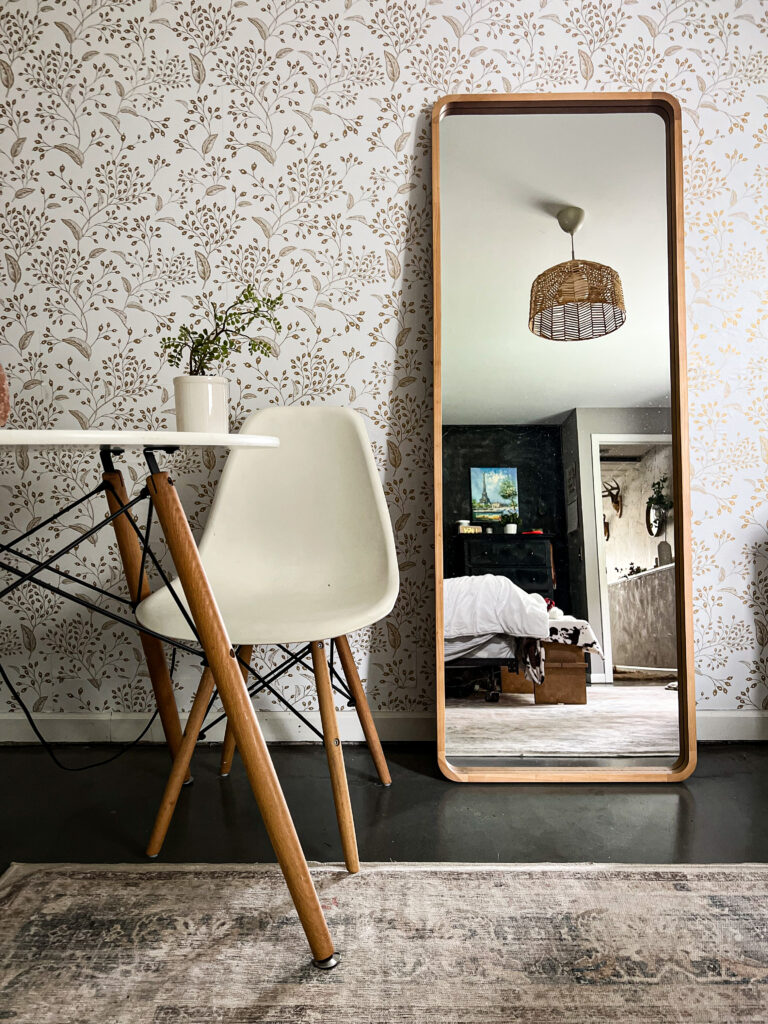
White and Gold Leaf– drop-match, washable, vinyl, peel-and-stick, easily removable
Paintable Beadboard Wallpaper– pre-pasted, paintable, textured
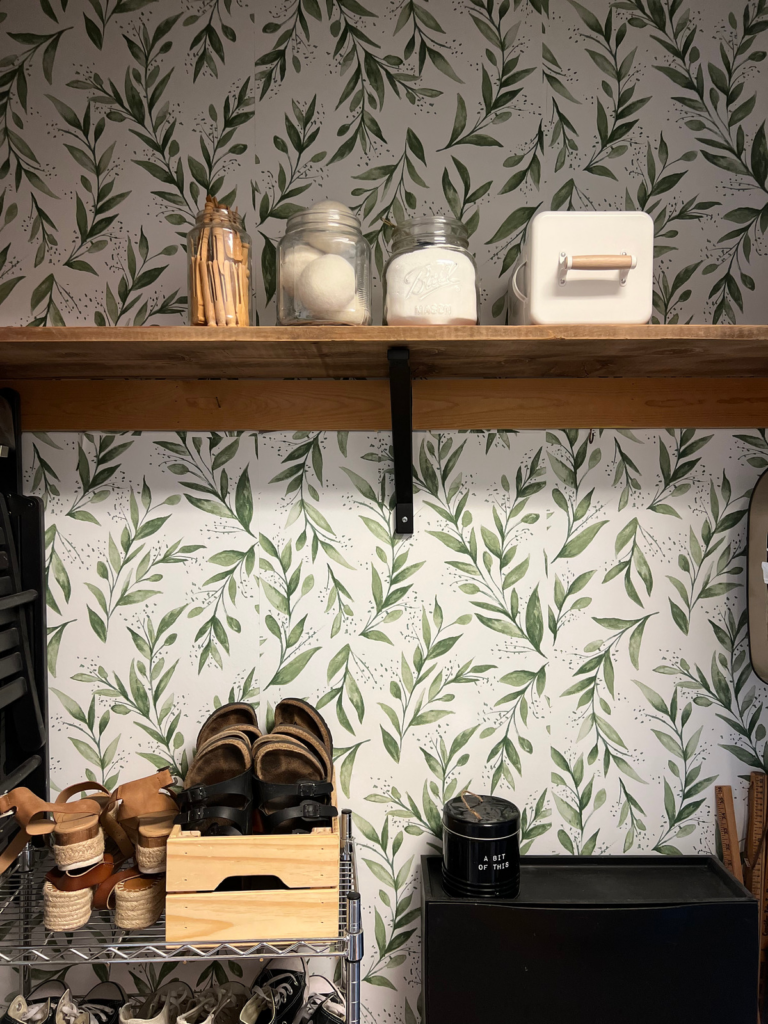
Olive Green Leaf– peel-and-stick, washable, easily removable, (You can find our Closet Makeover here!)
Check out our recent Laundry Room Makeover Here!
Pin Wallpapering Tips for later!


Affiliate Disclosure & Content Disclaimer
This post may contain affiliate links from a paid sponsor, Amazon or other program. When you use these links to make a purchase I earn a small commission at no extra cost to you. This allows me to continue creating the content that you love. The content in this article is created for information only and based on my research and/or opinion.
Emily T.


DAILY INSPIRATION ON THE GRAM @hearty.sol
it's hip to be square!
View comments
+ Leave a comment