How to Make Dried Orange Garland
There’s just something sweet and classic about dried oranges. Make them once and save them for next year or create a holiday tradition.
This Post May Contain Affiliate Links. Please Read Our Disclosure Policy.
I love adding in as many natural elements into our holiday decor as possible and this DIY dried orange garland is a perfect addition to our list. Natural Christmas decor like this means four things:
1. I can source almost all of our decor from our yard or the grocery store.
2. When the season is finished I can toss everything into the compost and it will naturally turn into nutrients for the garden. Also things like dried oranges, pine bough, popcorn and pine cones won’t be taking up space in our storage room :)!
3. We are making memories that the kids will remember and perhaps want to pass down to their kids someday.
4. We adore our Scandinavian roots and love to honor them with these minimalistic pieces of decor that are simple and inexpensive to make!

Making Old Fashioned Dried Orange Slices
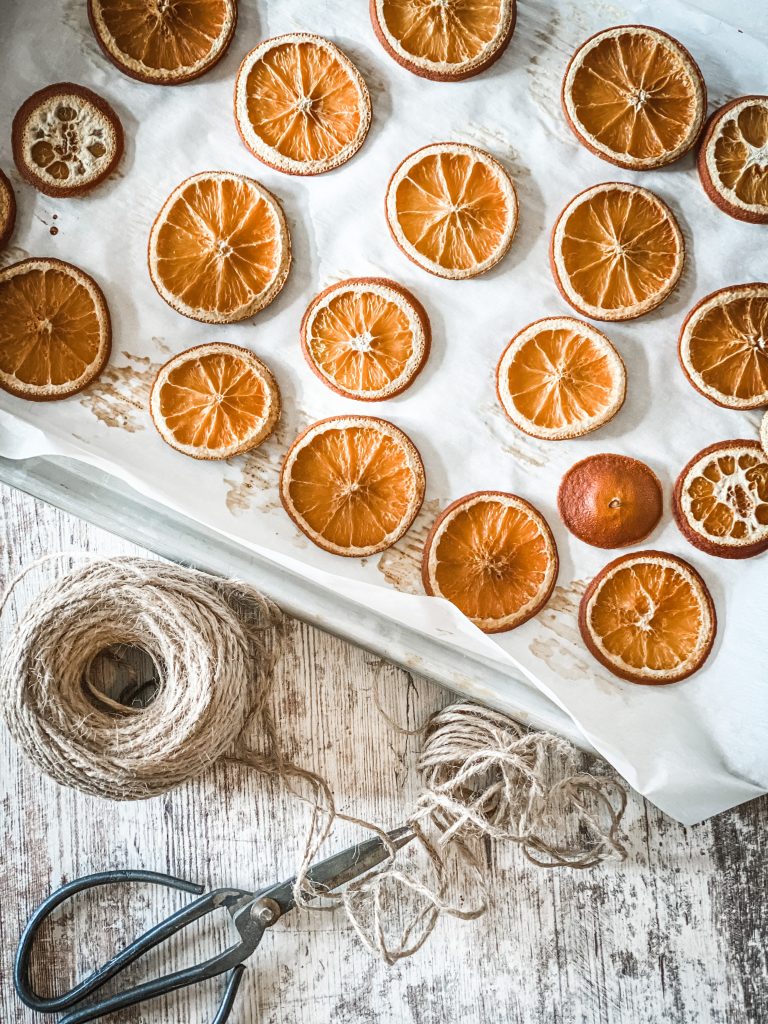
This beautiful dried orange garland adds a freshness to your holiday season and is really simple to make! It’s a fun project that will leave you with dried orange slices and a wide range of possibilities! During Christmas season, we hang our dried orange slice garland all over the house and use them as Christmas ornaments but these dehydrated orange slices can be used many different ways any time of year: decorating around the house with just the slices, decorating desserts, garnishing drinks, homemade scents, adding into dried fruit garland with other dehydrated fruit, and more!
Chances are you may have a few leftover oranges or tangerines around. I always grab those old ones that no one is going to want to eat. It saves me from having to toss them to the chickens and the smell of baking citrus is amazing in your kitchen.
Let’s get baking, shall we?
What you’ll need to Make Dried Oranges
- 3-6 large Oranges
- Cookie sheet
- Parchment paper
- Sharp knife or mandoline
- Paper towel for blotting
- Twine or thread
- Scissors
- Large hole needle (optional)
What can you do with Dried Oranges?
- Decorate your Christmas tree with single strung orange slices
- Jazz up a real or faux Christmas wreath by wiring 3 or 5 slice and a few pinecones to the wreath ring.
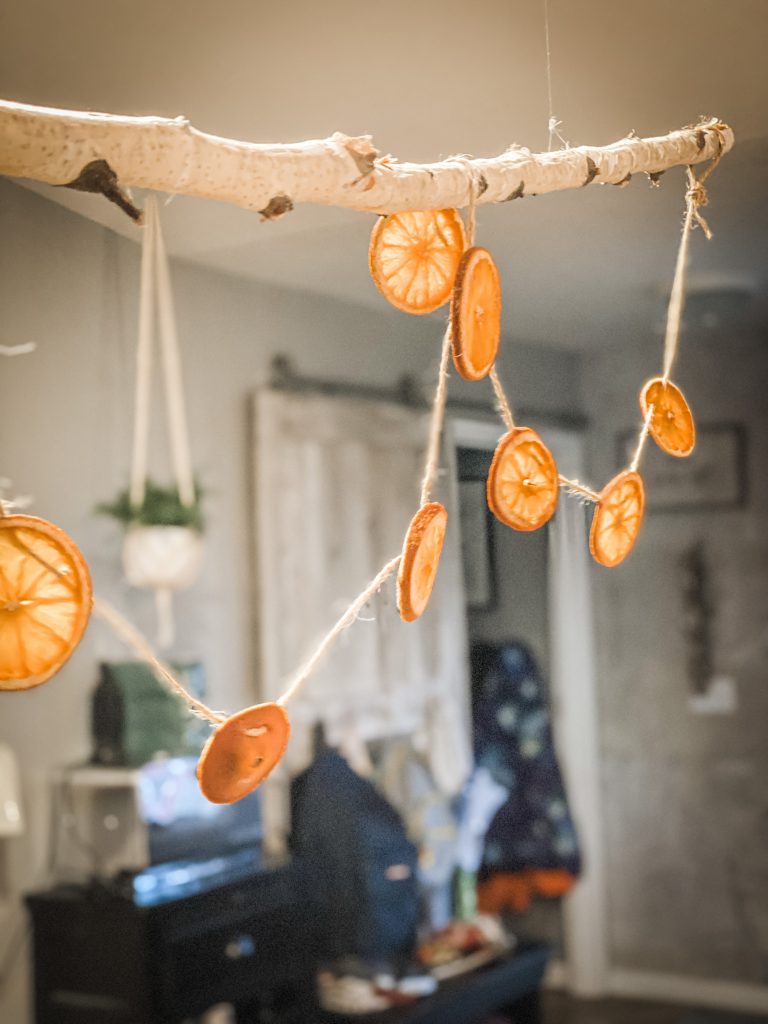
- Create a garland of dried oranges, drape them from your living room curtain rods or your bed’s head board.
- Toss a few of your dehydrated oranges in a simmering pot of cider and cranberries. Remember these are oranges (originally created as food). 🙂

How to Make Dried Orange Slices
Time needed: 3 hours
- Preheat the Oven
Preheat the oven to 225° F. I like to use my convection setting on my oven as it tends to move the air around more, making flipping the oranges optional.
- Prepare your baking pans
I add a piece of parchment paper to 2 large baking pans.
- Slice Oranges ( Can also use Lemons or even Grapefruit!)
Using a sharp knife or mandoline slicer, carefully slice fresh oranges evenly 1/4 or 1/8 of an inch and lay on parchment paper- not overlapping the slices.
- Blot with Paper towel
Blotting the fruit slices with a paper towel helps remove moisture and speed up the drying process.
- Bake your fruit slices
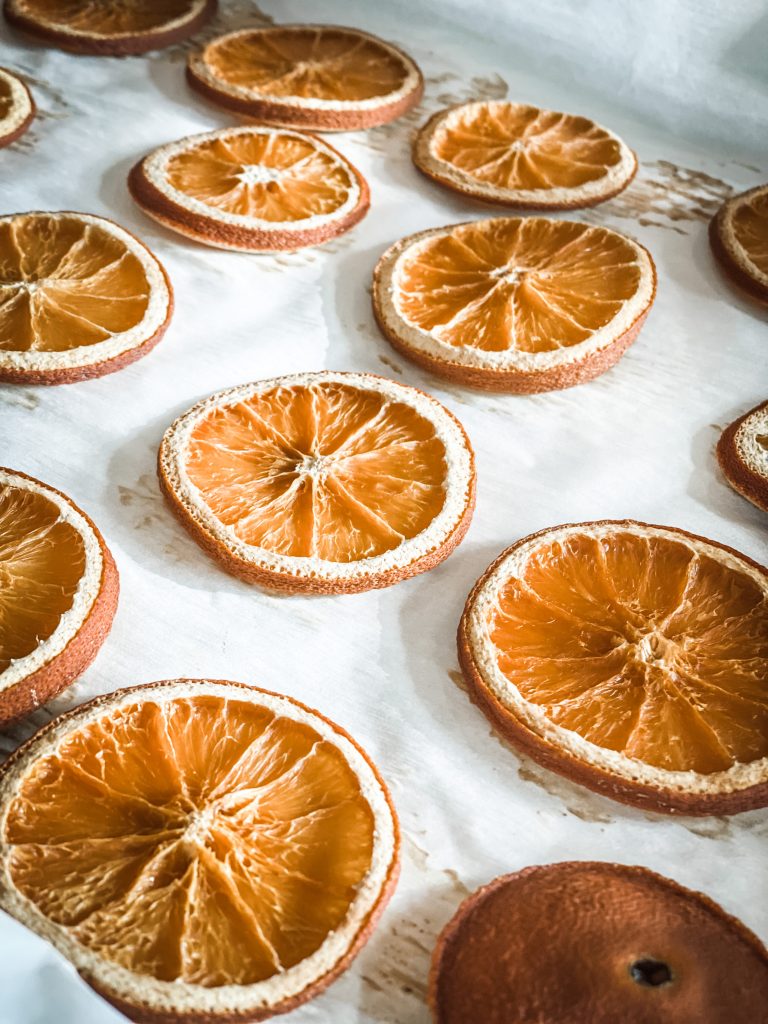
Bake your sliced fruit at 225° for about 2 hours, flipping them after about 1 hour. You will notice them start to brown and no longer shinny- that’s when you know they are done!
Each oven is a little different. So just do some checking around that 1.5 our time frame to make sure they don’t over bake. - Allow to cool
Allow the fruit slices to cool good before stringing them.
- String them
Using a needle or just the end of a scissors, poke a hole and add your string!
To Dehydrate or to Bake your Oranges
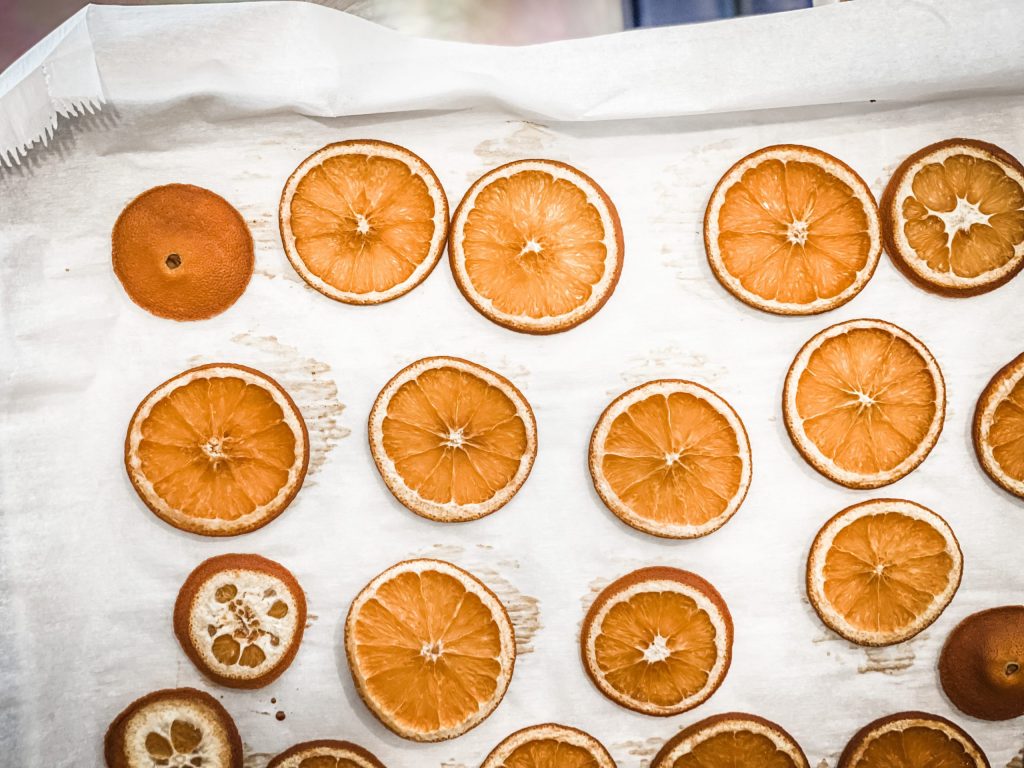
Drying Orange Slices in the oven gives you a darker, more primitive look which is just fine (right side of the photograph below). You can also keep them bright and more translucent – closer to their original color – by using a dehydrator (left side of the photo).
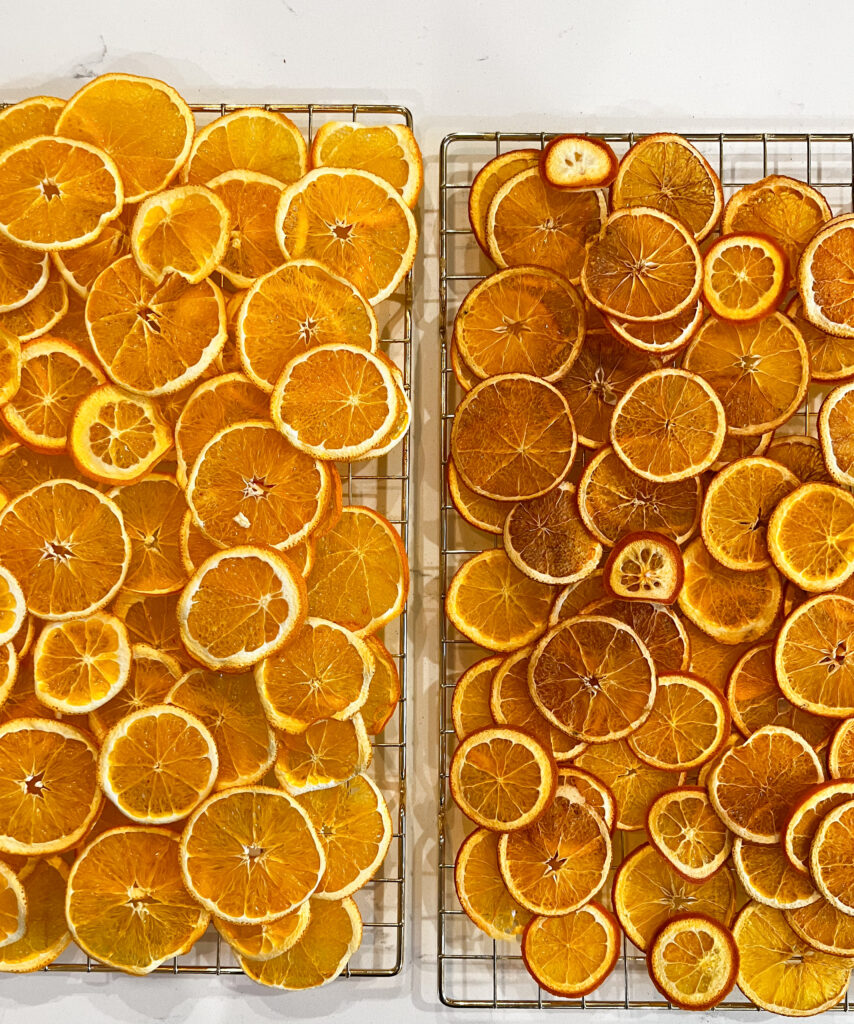
How to Dry Orange Slices Using a Dehydrator
Here are the Steps to making Dried Orange Slices in the dehydrator:
- Slice each orange into 1/8″ slices, trying to make them as even and uniform as possible. This is why I prefer to use my mandolin (just watch your fingers). One orange usually gives me about 17-20 thin slices.
- Line the dehydrator trays with your slices, but keep them from overlapping.
- Pat each slice with a paper towel to soak up any excess juice.
- Dehydrate at about 135° for about 8-12 hours or until the oranges appear translucent. Dehydrators vary, so check in on your oranges around the 8-hour mark to see how much time is needed from there. I usually pull a few more dryer ones at this time and rearrange the others in order to dry more.
- Remove the oranges from the dehydrator and place them on a drying rack until cooled and completely dry.
- Decorate away!
Questions People are Asking about Dried Oranges
Yes! Last year we made them in the dehydrator after we were finished making venison jerky. The dehydrator was already out, so we took advantage. Just dry them down until they are no longer pliable.
Also yes! Load your sliced oranges onto the air fryer shelf and air fry for 3.5 hours at 55C./ 130F. Remove slices from the air fryer and allow to cool before stringing them or placing them into a storage container.
The ones we made in the dehydrator are the ones that we put up this year. We stored them in a paper bag so they had room to breathe. They weren’t molded at all. I imagine they will last a few years with the right storage. We just love the tradition of making them each year and not having to worry about storing them.
We kept ours in a paper bag with our Christmas decor in our cool, dark basement storage room. All came out well. To prevent any mold, be sure they are completely dried before storing.

Pin This for Later

Tips for Dried Oranges
- These dried oranges are so nice to have around because then can easily transfer from a fall to winter holiday decoration!
- When you are done using them, remove any wire or string, then toss them in your bird feeder or out to the chickens for a nice winter treat!
- Let the kids help! This is one of those fun diy projects everyone can help with and they’ll remember that! This is also a great handmade gift idea

- A House Gets Tired in February — Here’s How I Help Refresh Ours
- How to Make a Chicken Pot Pie That Tastes Like Dinner, Not a Shortcut
- The Quiet Home Reset: 7 Small Winter Shifts that Make Your Home Feel Better
- 18 Practical Sauna Accessories We Actually Love (And Why They Matter)
- A Year (or More) of Wellness — and the Simple Micro-Habits I’m Carrying Into 2026

Affiliate Disclosure & Content Disclaimer
This post may contain affiliate links from a paid sponsor, Amazon or other program. When you use these links to make a purchase I earn a small commission at no extra cost to you. This allows me to continue creating the content that you love. The content in this article is created for information only and based on my research and/or opinion.
Emily T.
DAILY INSPIRATION ON THE GRAM @hearty.sol
it's hip to be square!
View comments
+ Leave a comment