How to Make Fancy Paper Snowflakes with Simple Copy Paper
Paper snowflakes are a timeless winter craft that instantly adds charm and elegance to your holiday décor.
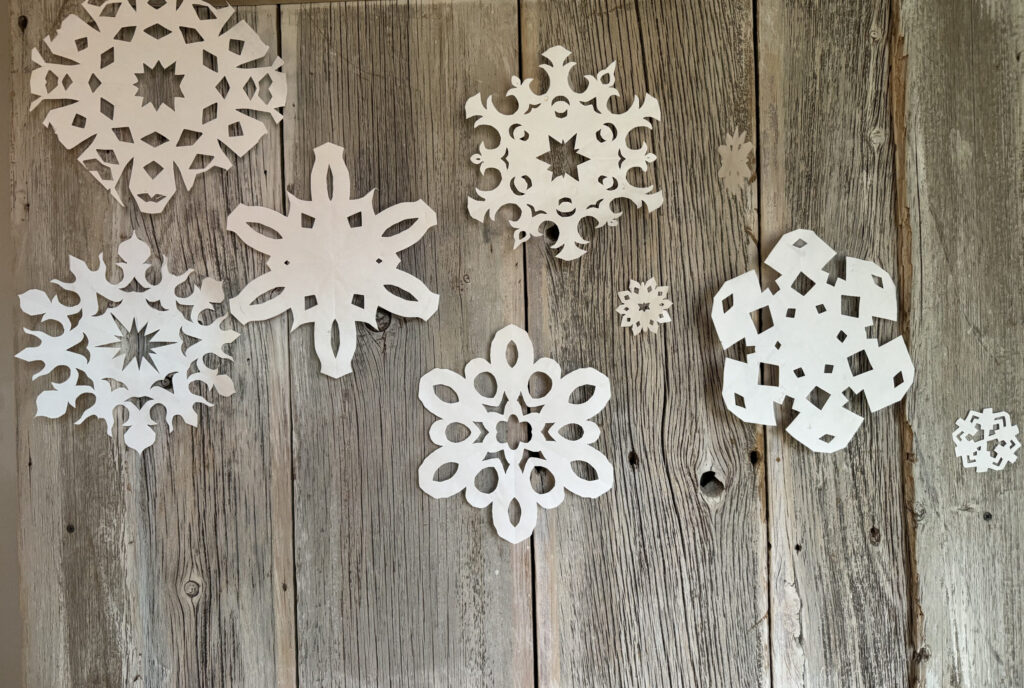
A Winter Wonderland in Your Home
The best part of snowflake decorations? You don’t need fancy tools or materials to create stunning designs—just simple copy paper, scissors, and a bit of creativity. In this guide, we’ll show you step-by-step how to make fancy paper snowflakes, share expert tips for intricate designs, and answer common questions about this festive craft.
Why Make Paper Snowflakes?
Because creating paper snowflakes is an inexpensive, FUN, and creative activity for all ages. Those snow days gathered at the kitchen table sipping homemade hot cocoa, can’t you just see it, while a pot of soup simmers on the stove? Here’s why it’s worth trying:
- Budget-Friendly: Requires only basic materials you likely already have at home.
- Customizable: You can make simple or elaborate designs to suit any style.
- Seasonal Décor: Perfect for windows, walls, or hanging from the ceiling for a festive touch.
- Family-Friendly: A great way to bond with kids or friends while crafting.

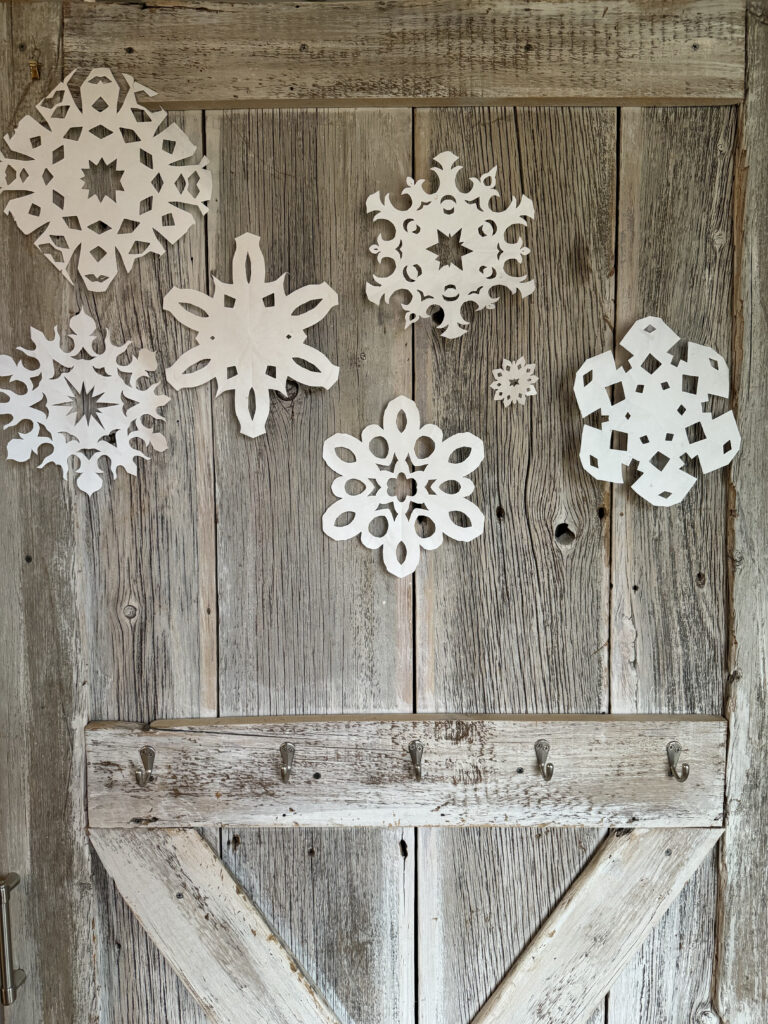

What You Need to Make Your DIY Snowflakes
Here’s your simple supply list:
- My Printable Snowflake Tutorial
- Standard 8.5”x11” copy paper (white or colored)
- Scissors (sharp, precision scissors work best)
- Pencil (optional, for pre-sketching designs)
- Ruler (optional, for folding accuracy)
Step-by-Step Guide to Making Fancy Paper Snowflakes
Follow these steps to create intricate paper snowflakes that wow:
Step 1: Prepare Your Paper
Start with a square piece of paper. If using 8.5”x11” copy paper, fold one corner diagonally to the opposite edge and trim the excess to form a perfect square.
Step 2: Fold the Paper
- First Fold: Fold the square diagonally in half to create a triangle.
- Second Fold: Fold the triangle in half again to form a smaller triangle.
- Third Fold: Fold the triangle into thirds, overlapping the edges like a cone shape. Adjust as needed for symmetry.
- Trim Excess: Cut off the top of the folded triangle to make a clean edge.
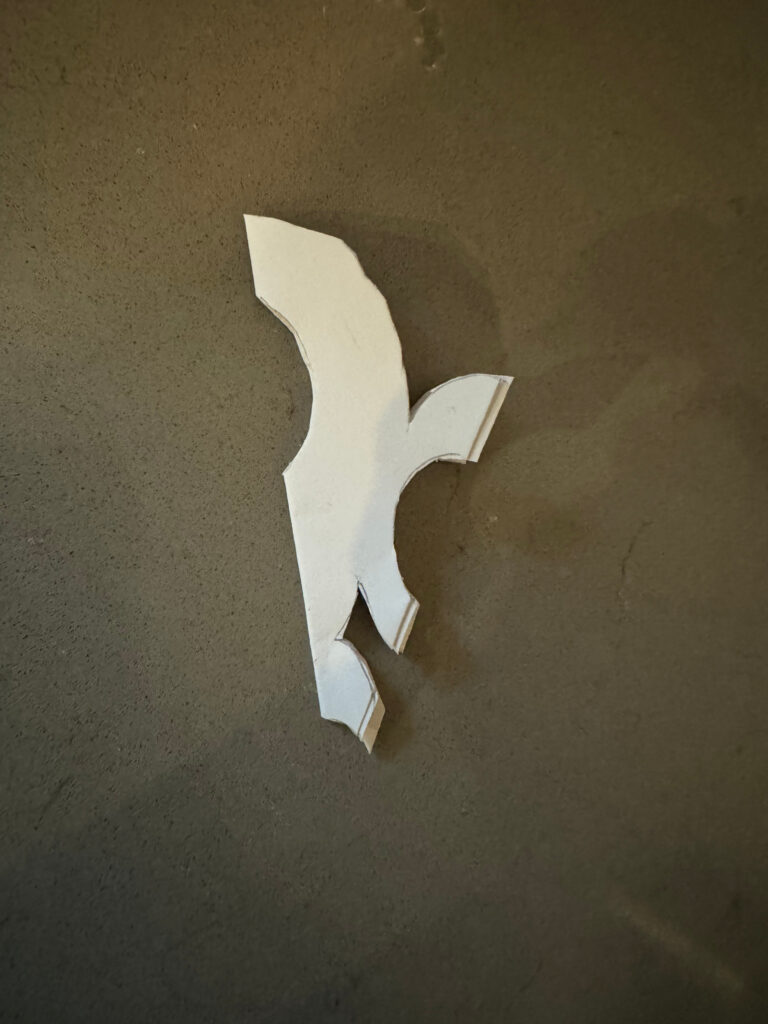
Step 3: Create Your Design
Using scissors, carefully cut shapes along the folded edges of the triangle. These can include:
- Geometric patterns (triangles, diamonds, circles)
- Curves and swirls for a softer look
- Small, intricate cuts for delicate details
Step 4: Unfold and Reveal
Gently unfold the paper to reveal your snowflake design. Smooth out any creases with your hand or a flat surface.
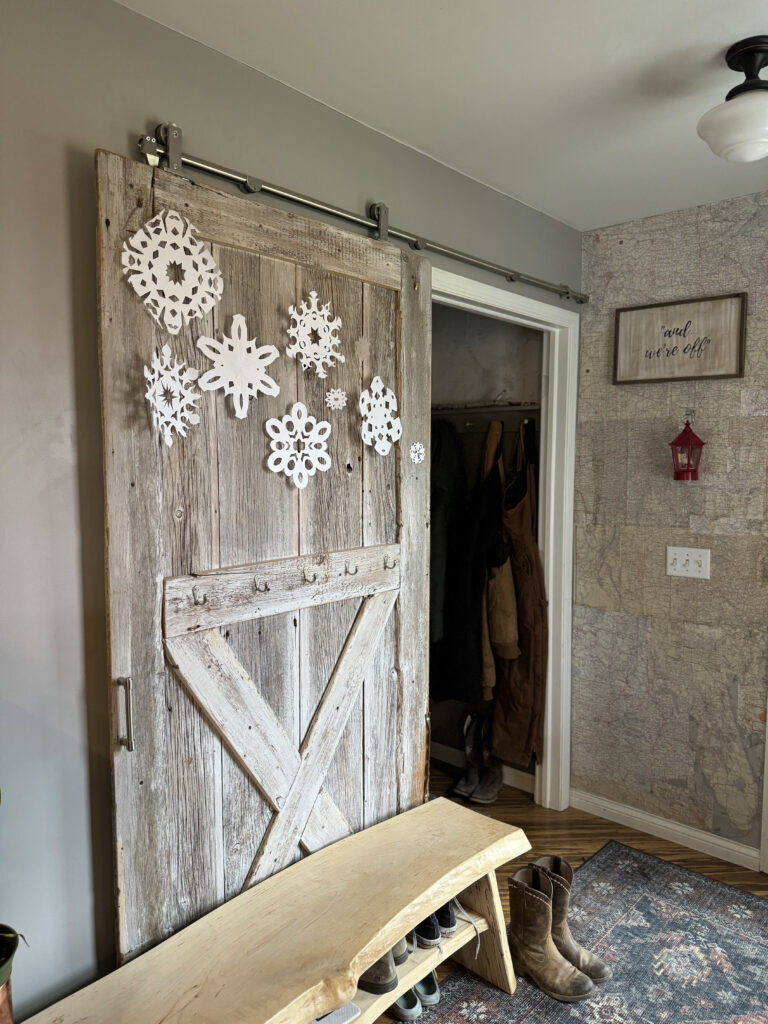
Print this cheat sheet PDF to keep in the cupboard door for easy access every year!
Pro Tips for Fancy Snowflakes
- Use Sharp Scissors: Precision cuts make a huge difference for intricate designs.
- Experiment with Symmetry: Fold carefully to ensure symmetrical patterns.
- Try Layers: Stack multiple sheets of paper together to create dimensional designs.
- Play around with the Paper Size: For larger snowflakes, use the whole sheet of paper. To play around with the size, cut 1/3 or 1/2 off of the paper before folding to make tinier snowflakes!
- Add Glitter or Paint: For extra sparkle, brush on glue and sprinkle glitter or use watercolor paints.
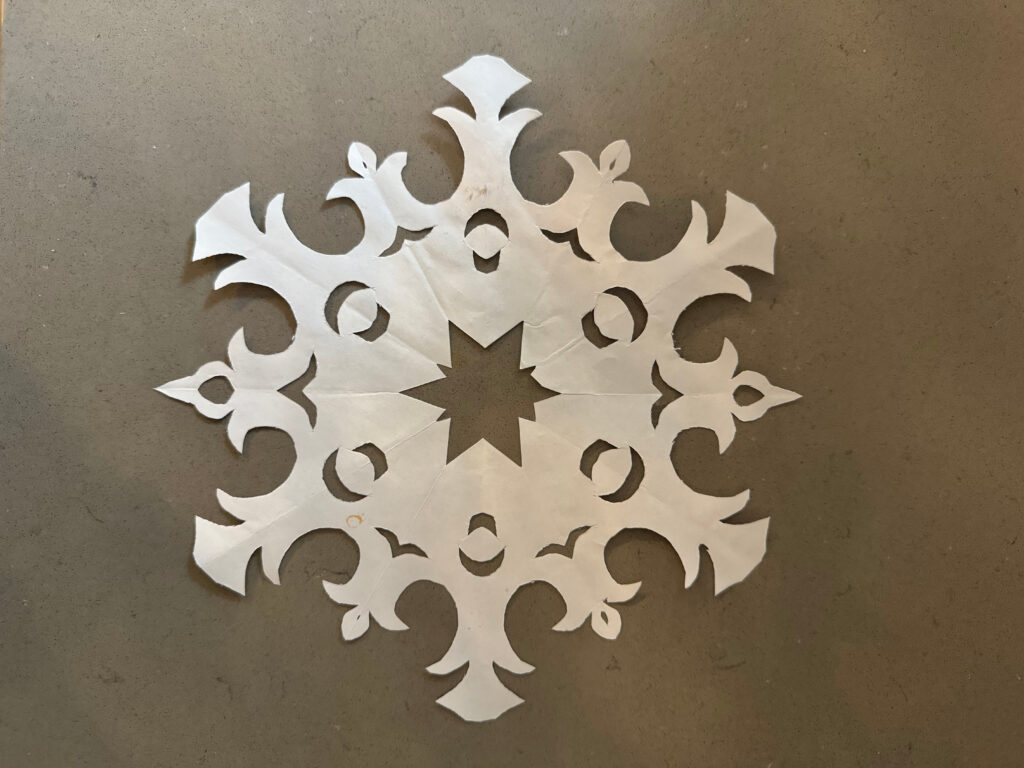
Creative Ways to Use Your Snowflakes
Once your snowflakes are complete, the possibilities are endless! Here are some ideas:
- Window Decorations: Tape them to windows for a frosty, festive look.
- Garlands: String them together to make beautiful hanging decorations.
- Gift Wrap: Use them as embellishments on wrapped presents.
- Holiday Cards: Glue smaller snowflakes onto card stock for unique Christmas cards.
Frequently Asked Questions
1. Can I use different types of paper?
Yes! While copy paper is ideal for beginners because of how easy it is to fold and cut, try using parchment paper, origami paper, or even recycled paper for unique effects.
2. How do I make my snowflakes more intricate?
Practice! Start with basic designs and gradually add smaller, more detailed cuts as you gain confidence. A nice sharp pair of scissors makes a big difference.
3. How do I preserve my snowflakes?
To keep them crisp, press them between heavy books or laminate them for durability.
4. How do I hang them up without damaging them?
To hang your lightweight snowflakes I like to use a bit of fishing line or monofilament (translucent thread) and some simple tape.
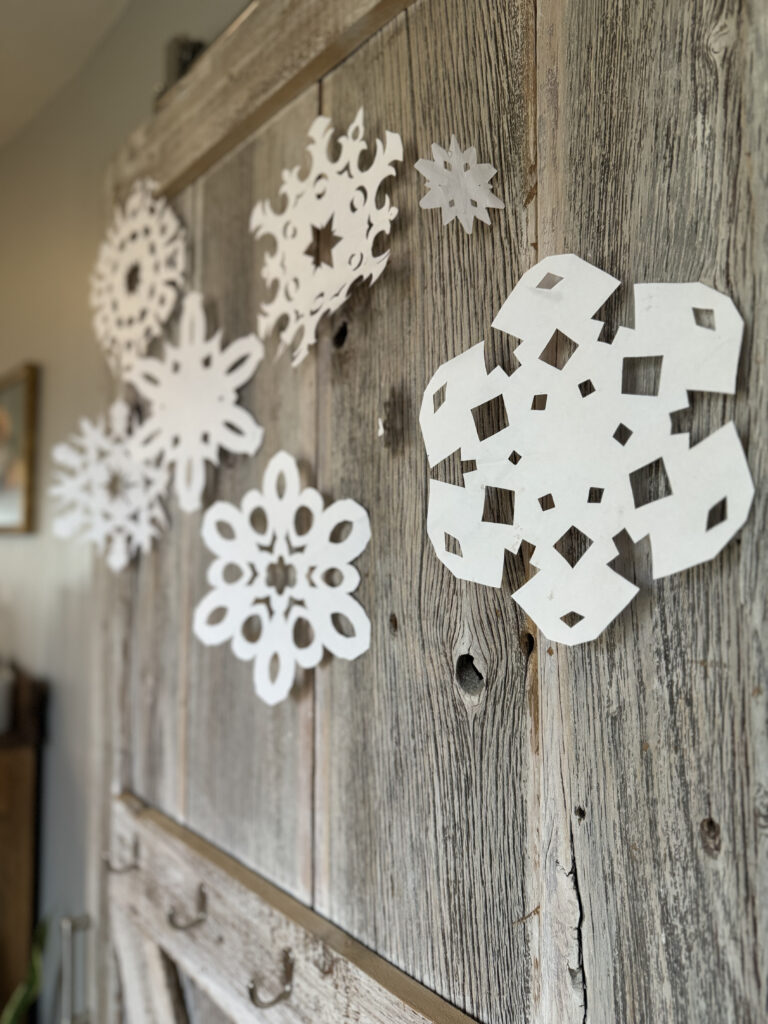
Unleash Your Creativity
Making fancy paper snowflakes is a simple yet rewarding way to celebrate the winter season. Whether you’re making snowflake ornaments for the Christmas tree, creating a few to take to grandma’s house or filling the hallway, these delicate designs add a magical touch to any setting.
Want more inspiration for creative and simple DIY projects?
Happy crafting!
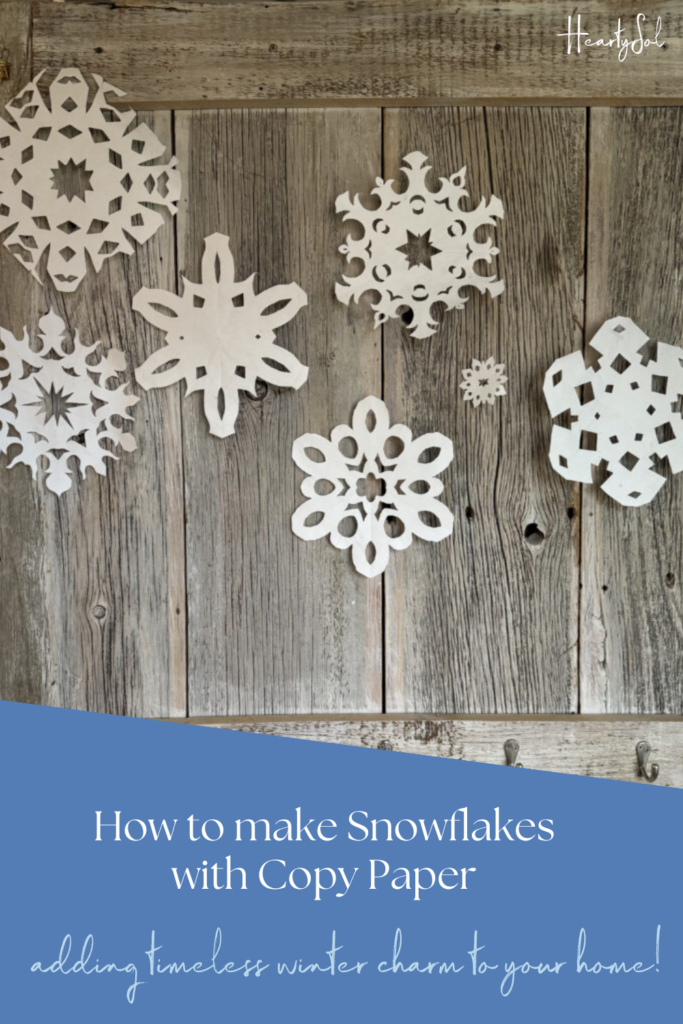
Pin this for later!
Other Simple Crafts:
- 8 Simple Holiday Crafts
- Making Paper Stars with Parchment Paper
- Easy Paper Bag Stars
- Winter Window Art
Check out our other Seasonal Posts!
- Beef Tallow: The Ultimate Natural Skin Care Solution?
- Energizing Turmeric, Ginger, Lemon Shot
- The Real Difference between Infrared and Nordic Saunas

Affiliate Disclosure & Content Disclaimer
This post may contain affiliate links from a paid sponsor, Amazon or other program. When you use these links to make a purchase I earn a small commission at no extra cost to you. This allows me to continue creating the content that you love. The content in this article is created for information only and based on my research and/or opinion.
Emily T.
DAILY INSPIRATION ON THE GRAM @hearty.sol
it's hip to be square!
View comments
+ Leave a comment