

How to Upholster a Chair the Easy Way!
In this tutorial, I will show you how I upholstered a chair quickly and without a lot of fuss.
I’m not much of an instructions girl. I’d rather spend the time to do something incorrectly, learn from it, then do it correctly before I take the time to read directions.
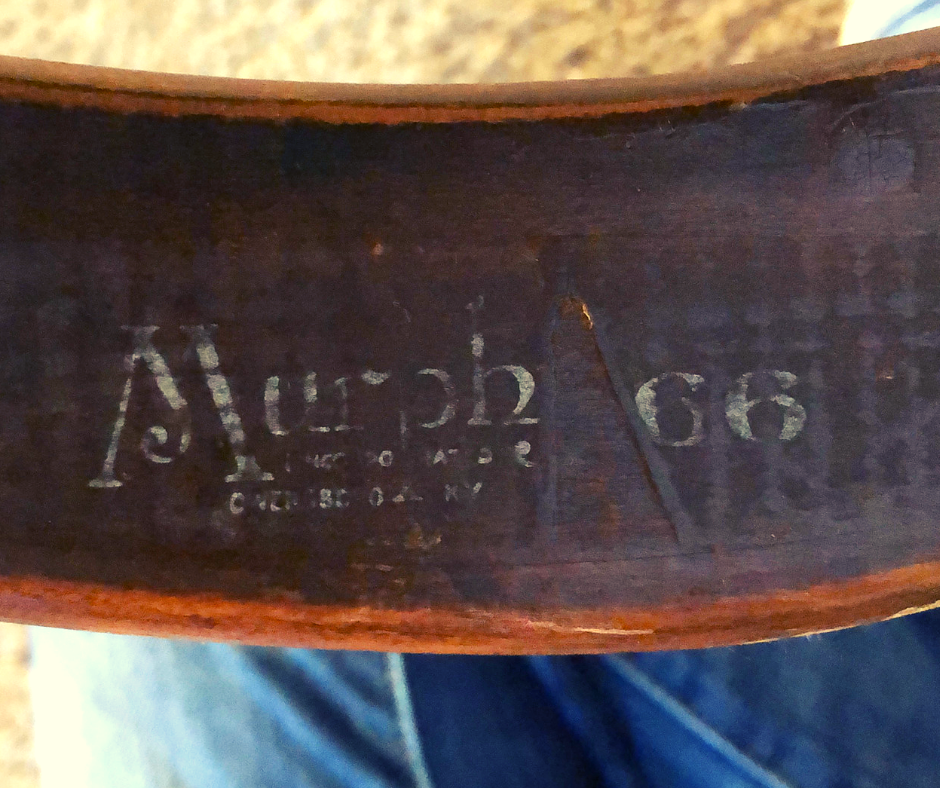
Sometimes, I’ll admit this gets me into trouble. When it comes to serious builds or life/death situations, like epi-pens and murphy bed attaching, I’ll definitely read the directions.
When it comes to fun projects, I’ll work quickly to make up for the time that it would have taken me to read the instructions or find a YouTube instructional video. I learn way more this route!
I’ve reupholstered many things in my day and learned that every piece of furniture is a little different.
This is the quickest way to reupholster a chair or any piece of furniture for that matter. A little extra fabric and some upholstery nails can go a long way!
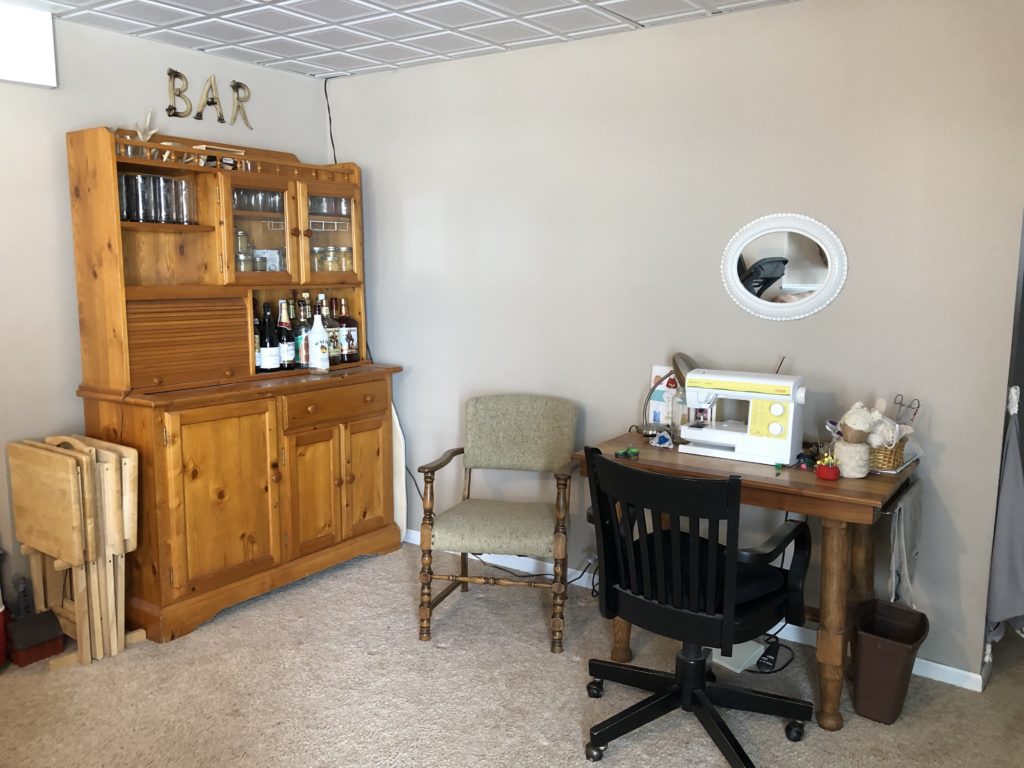
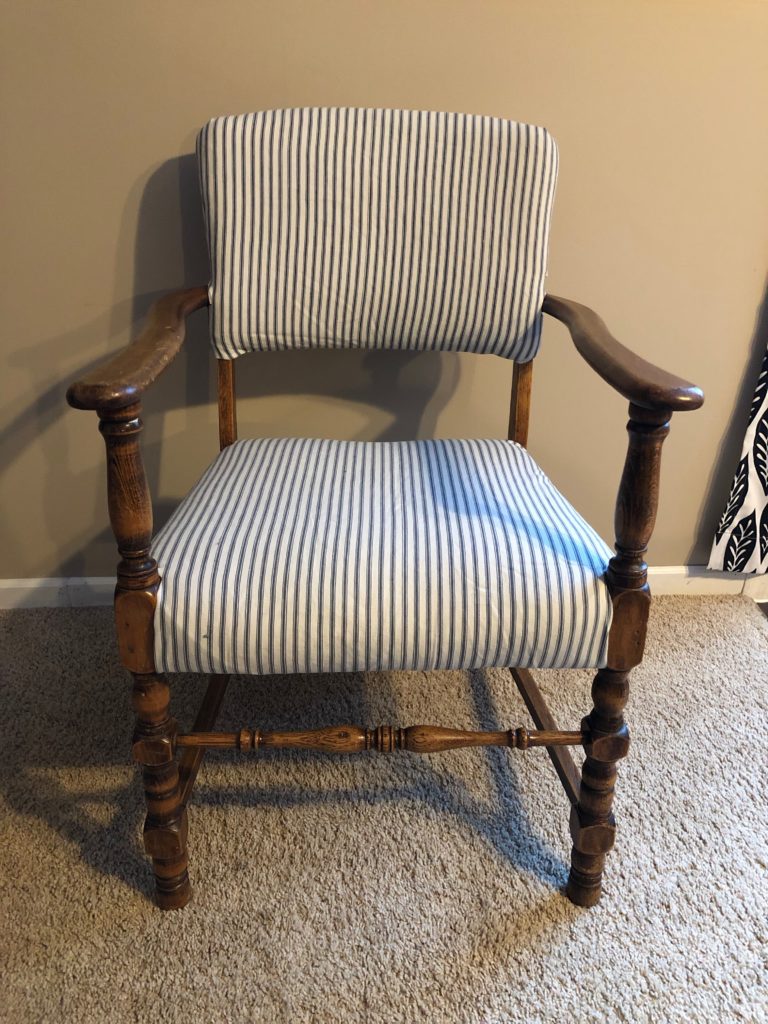
I love being able to refresh this nice little chair as part of my sewing room revamp!
This snowy weather has got us literally hibernating with 14″ of snow that fell just this past weekend and it helps if we can stay busy inside with projects to keep our brains going.
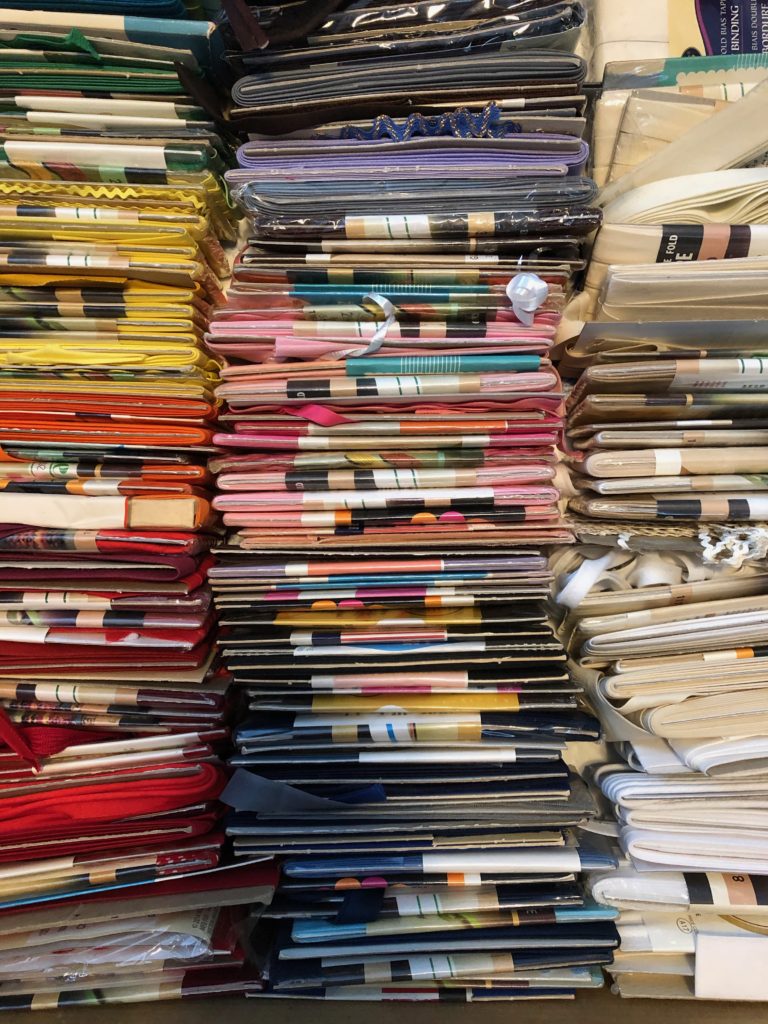
One of my most favorite things to do is to be able to use what I have on hand to do projects.
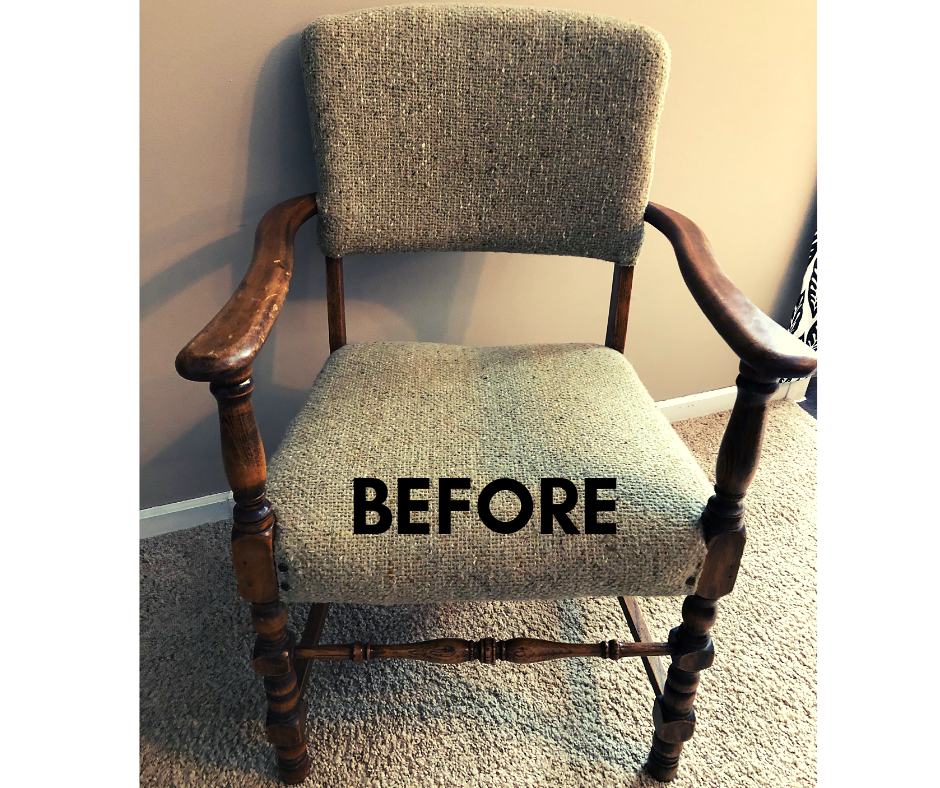
I’ve had this chair since I was a child. It came with me to college, to our first home and now to the farmhouse. I love the worn wood structure, but the soft parts needed a little revamping. My grandma had originally recovered this chair.
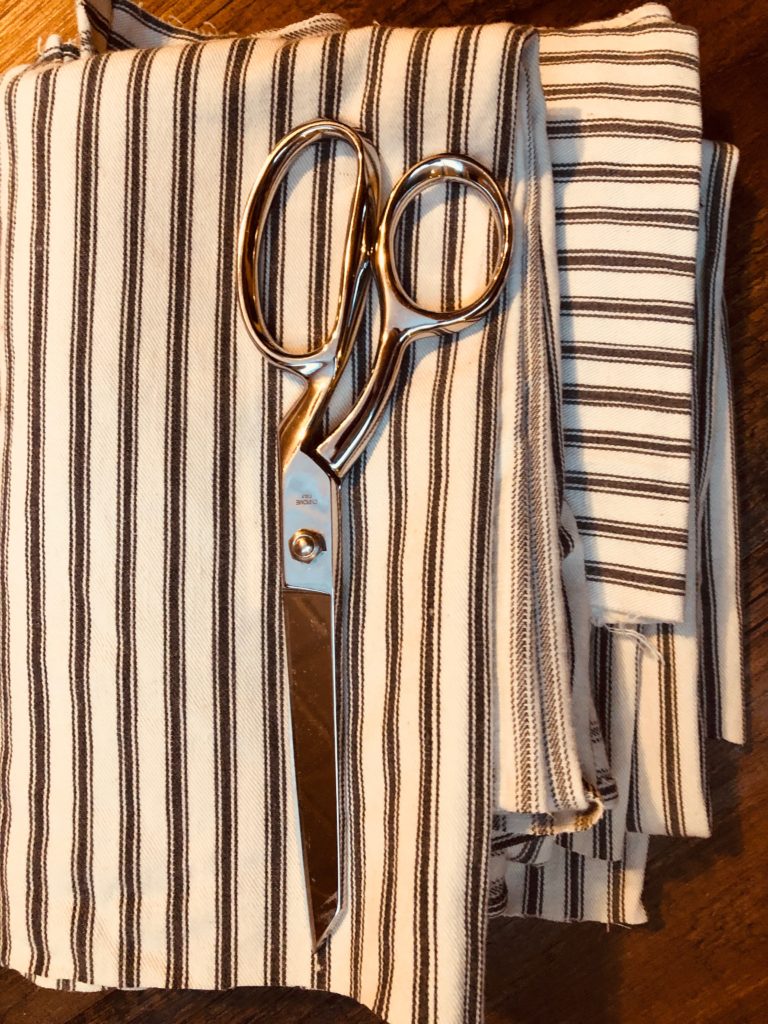
I found a piece of fabric ticking that needed a purpose. The fabric works perfect for my newly done sewing corner.
What you’ll need for an upholstered chair
- Fabric Scissors
- Fabric (preferably a bit thicker, not a light cotton)
- Pliers
- Hammer
- Upholstery nails and or Decorative upholstery tacks
Iron your chair fabric
Be sure to iron your fabric so it looks nice and smooth when you put it on your chair

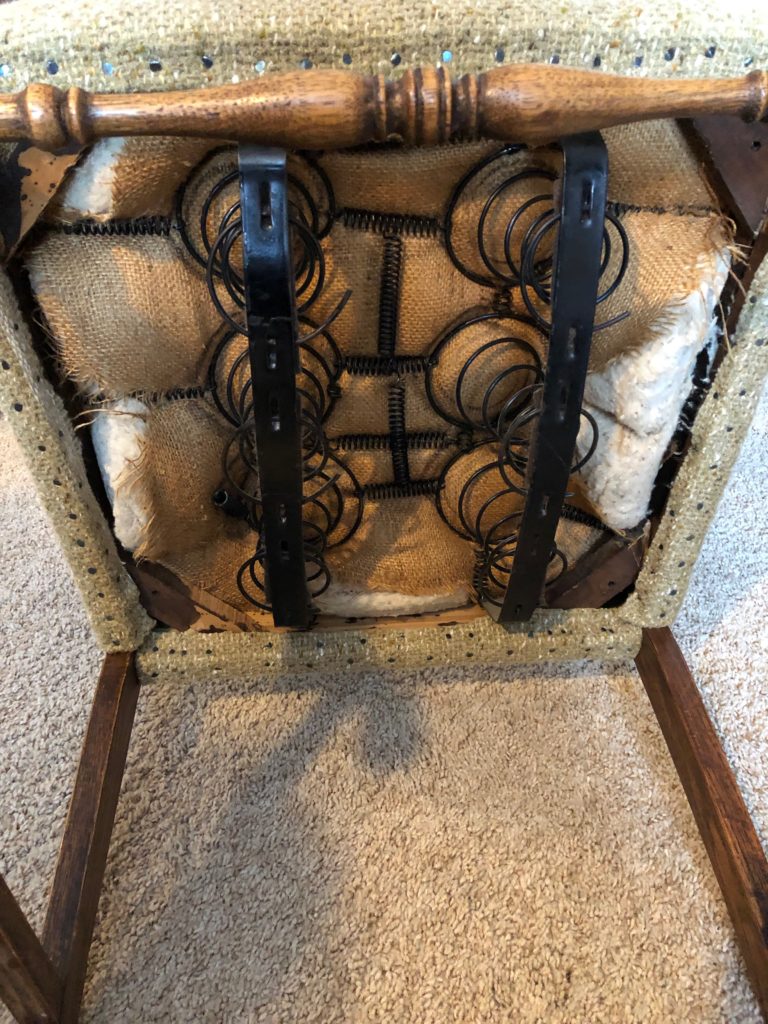
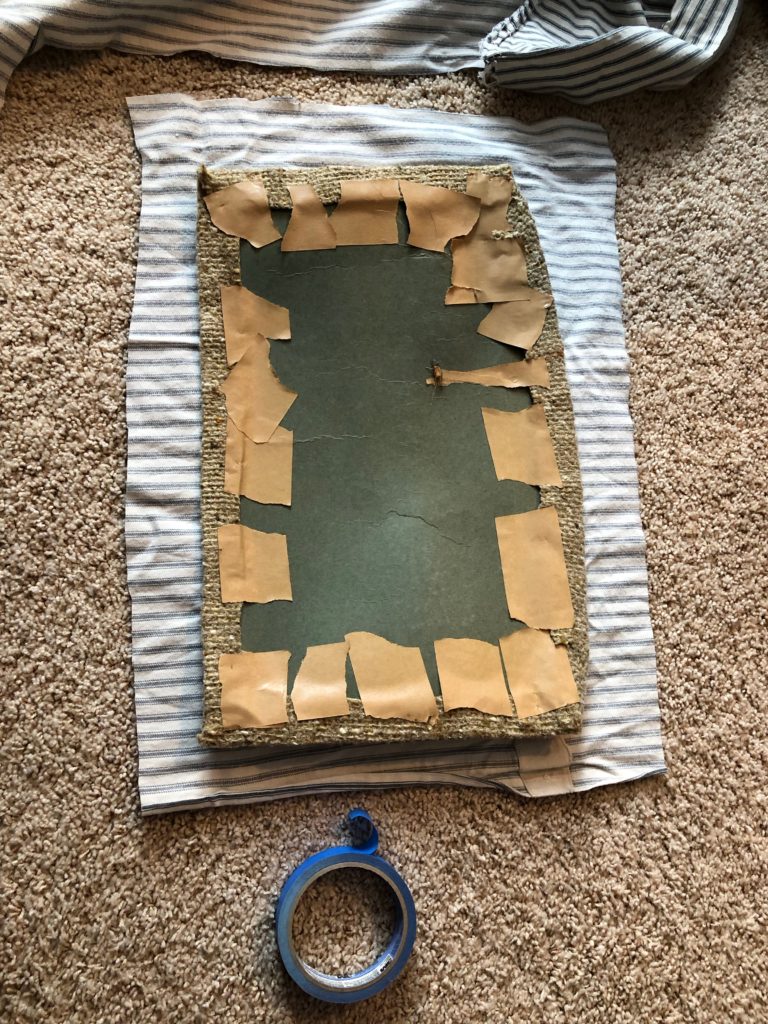
Start by taking off the back panel which is fastened by upholstery tacks. I try to salvage the tacks if I can, so to be reused, but most of them were bent or broken.
To my surprise the back of the chair is just cardboard with upholstery tape around it. It’s funny how different furniture looks when you start taking it apart and tipping it upside down!
PS. Does anyone ever look under their chairs anyway? interesting
If the pattern is complex, I would usually take off the upholstery before redoing it, in order to use the existing upholstery as a pattern for the new fabric.
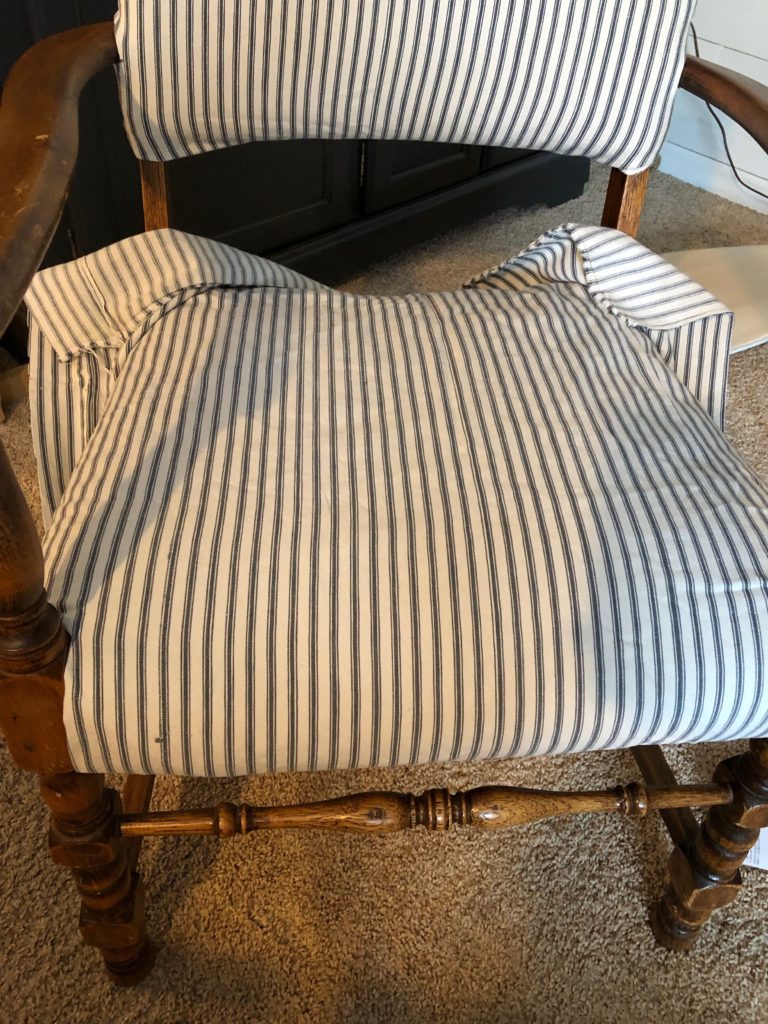
I decided that for this piece I would not need to take the existing upholstery off of the chair but instead place the fabric right over the top of the old stuff.
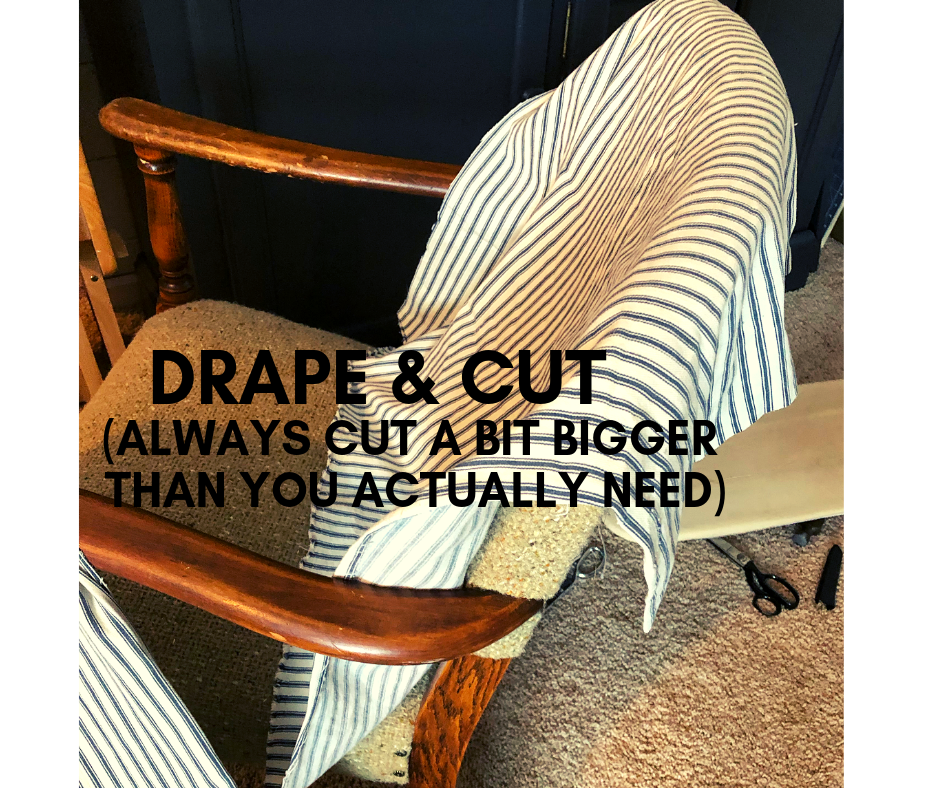
The next part is technical. 😉 Place fabric over the structure, fold until all of the existing fabric is covered and cut. I always cut a little larger around, just to have a little working room. We can always cut more off if it seems to get too bulky in the end.
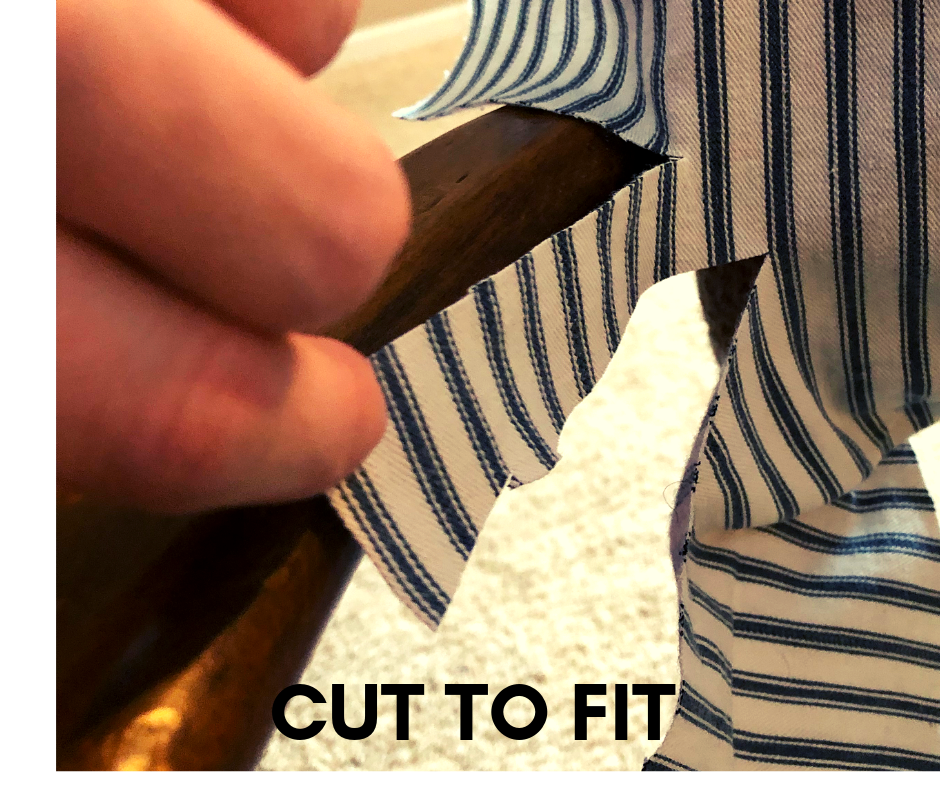
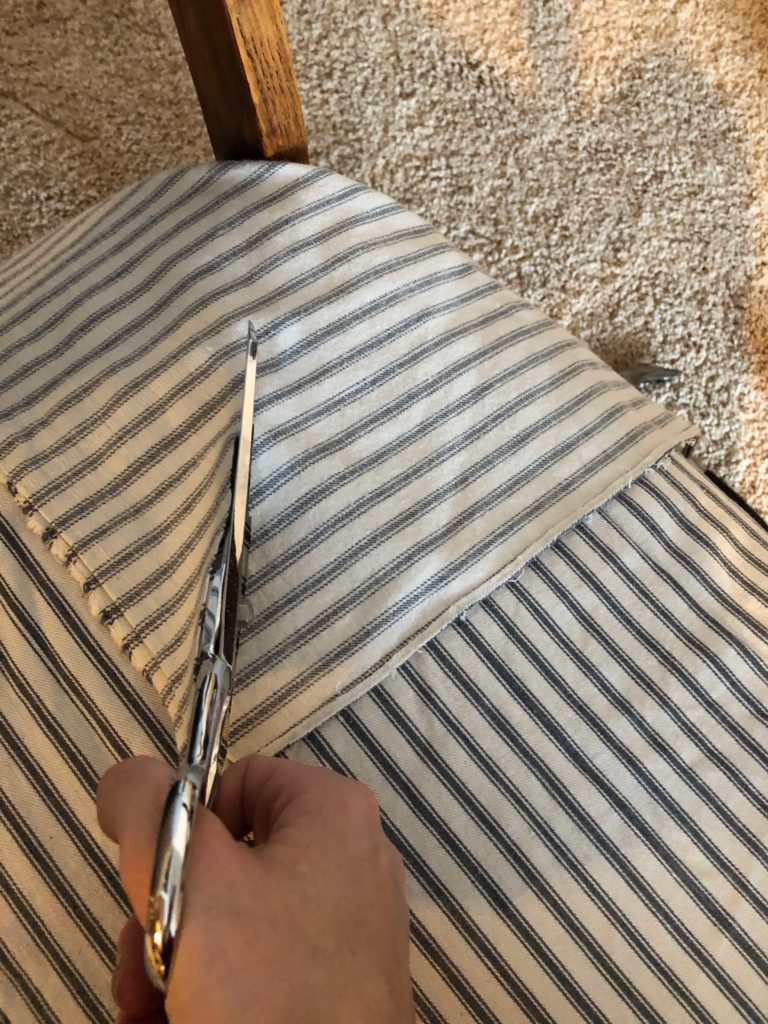
Cut a slit where the arms are, fold the fabric under as much as I can- so to not have any raw edges showing. Then pull the fabric taut and place sewing pins where I want to eventually tack it down.
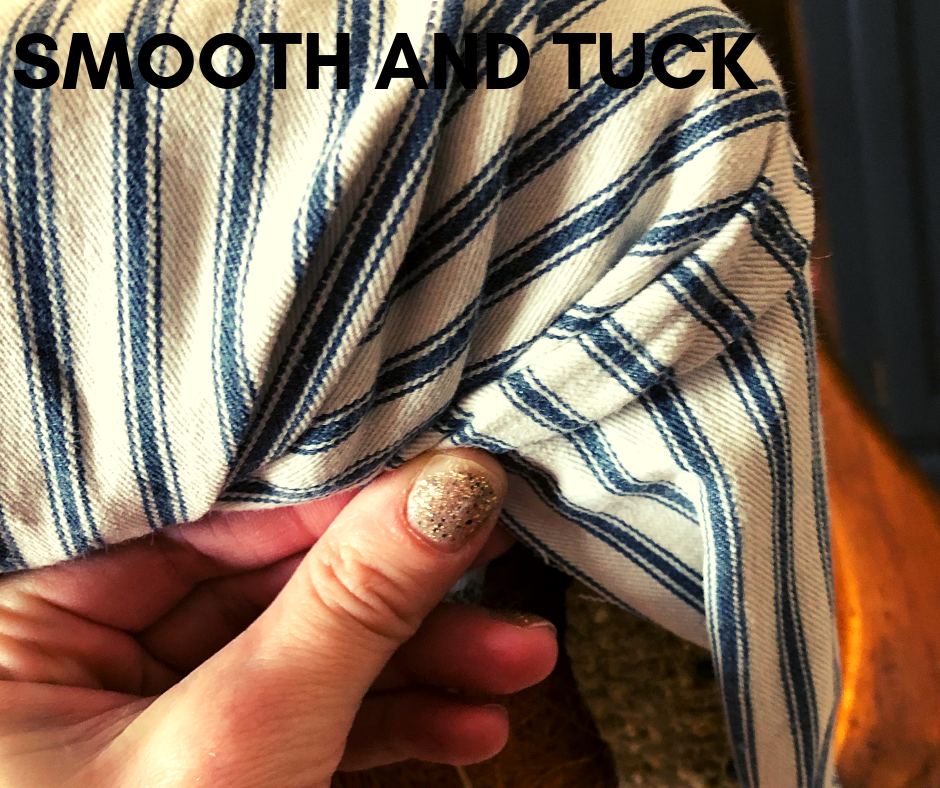
Working around the top of the chair the idea is to roll the raw edge under, tuck and pin. Think of this kind of project like wrapping a present.
Working with a stripped fabric pattern can be a helpful thing in this situation as I could see where my center was and make sure all the lines were going the same direction and symmetrical.
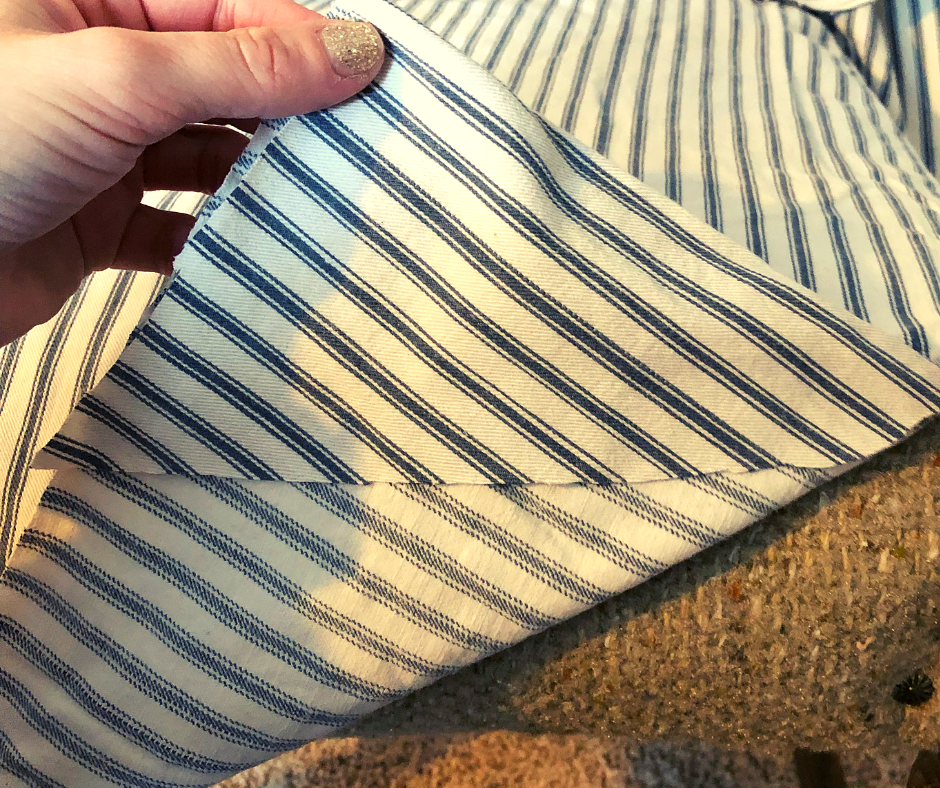
Once the top front is finished. I laid the back portion, which I removed from the chair, on top of the fabric.
Making sure that the lines going the same direction as the front and cut out. Again, I leave a little extra all the way around, just to be sure I have enough to go around. I fold it tightly over and taped it with painters tape.
Fold like a present and tape!
My grandma had redone it this way and it held up just fine for oh-so many years. Why reinvent the wheel, right?
I hammer in upholstery nails all around the back and the front piece once I get them all pinned in place and I like how it all lines up.

For the seat, I again, put fabric on top of the seat, cut a bit more than I know I’ll need and cut out a big square.
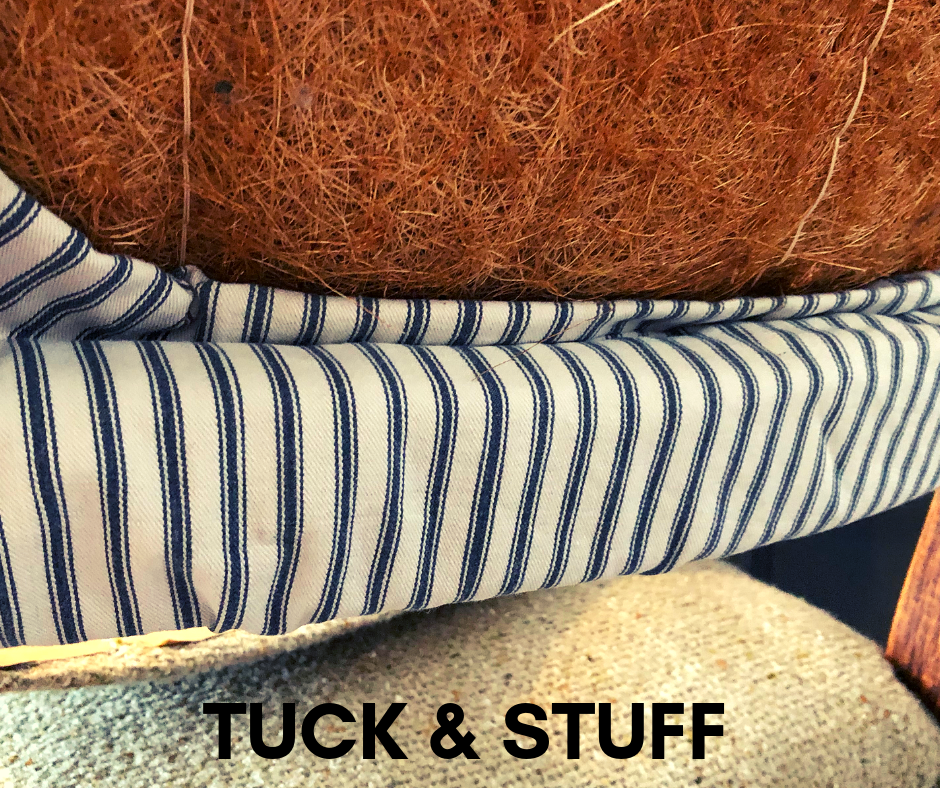
I cut slits in the corner to fit around the wooden corners, fold the fabric under, tuck and fasten with the upholstery tacks underneath the chair. I use the lines in the fabric pattern to help my line things up again.
The final step to Upholstering a Chair
Smooth and pull tightly, but not so much that the fabric starts to bunch. Wrap the raw edges under and fasten with your upholstery tacks and you could add the decorative tacks, if you want. I ran out, so it was the industrial tacks that I had on hand.
The finished Upholstered Chair!
The finished sewing area. Upholstered Chair. Organized, updated and ready for work!
Check that off my list of things to take care of before spring!


(This post may contain affiliate links which means I make a small commission at no extra cost to you.)
Tips for Upholstering a Chair
- Take good photos before you start taking your pieces off of your piece. I like to take pictures as I take fabric pieces off, so I know how they were attached/ folded etc.
- Make sure you all your materials ready to go before you start. It’s a bummer getting mid way into something and realize you don’t have upholstery tacks on hand.
- Working with stripes or plaids can be tricky when first starting off. Aligning patterns on the sides and around corners can be challenging. If you want to try something easy, go with a floral or random pattern print.
Have you upholstered a chair or revamped a piece of furniture like this?
What was the hardest part?

Affiliate Disclosure & Content Disclaimer
This post may contain affiliate links from a paid sponsor, Amazon or other program. When you use these links to make a purchase I earn a small commission at no extra cost to you. This allows me to continue creating the content that you love. The content in this article is created for information only and based on my research and/or opinion.
Emily T.


DAILY INSPIRATION ON THE GRAM @hearty.sol
it's hip to be square!
View comments
+ Leave a comment