How to make an Easy Bow Tie | Quick Sewing Tutorial
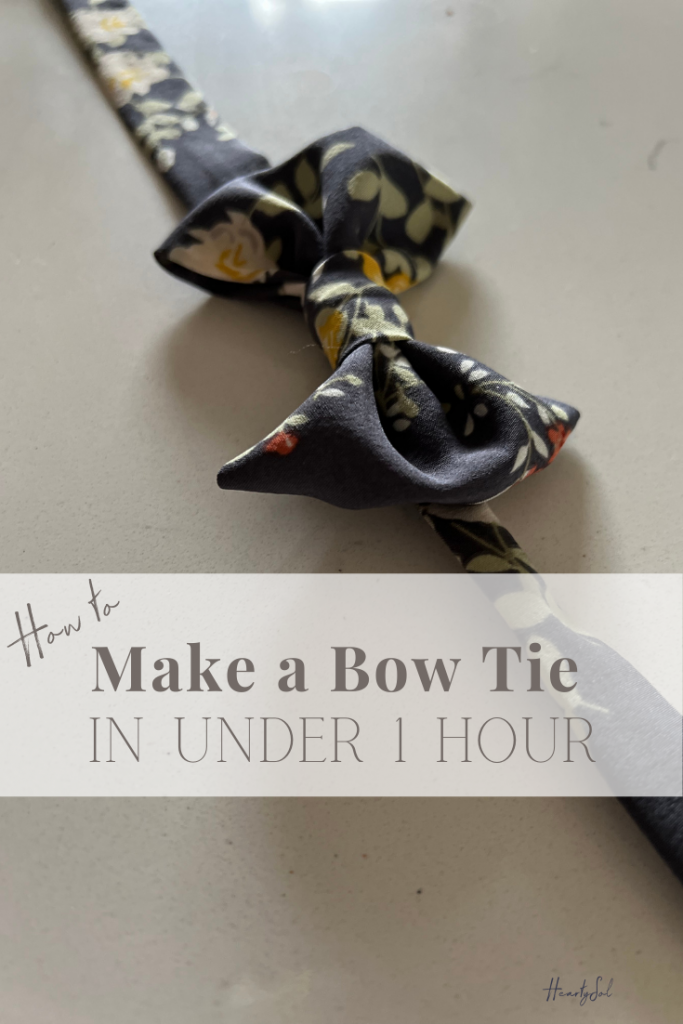
This easy bow tie can be made with just 1/4 yard of fabric and under 1 hour!
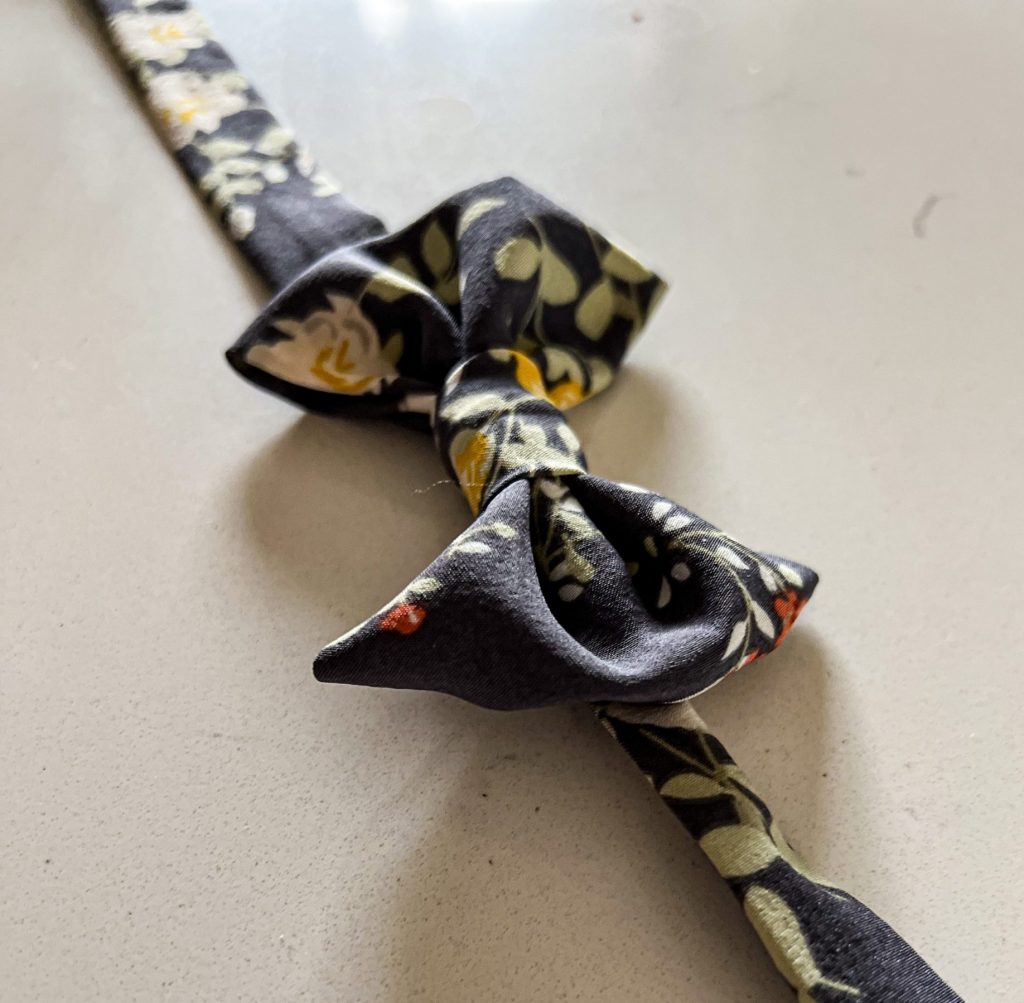
I love making custom little outfits for our kids. Making skirts for the girls was leaving my little guy out of the picture. I needed something easy and fun that would dress up his outfit.
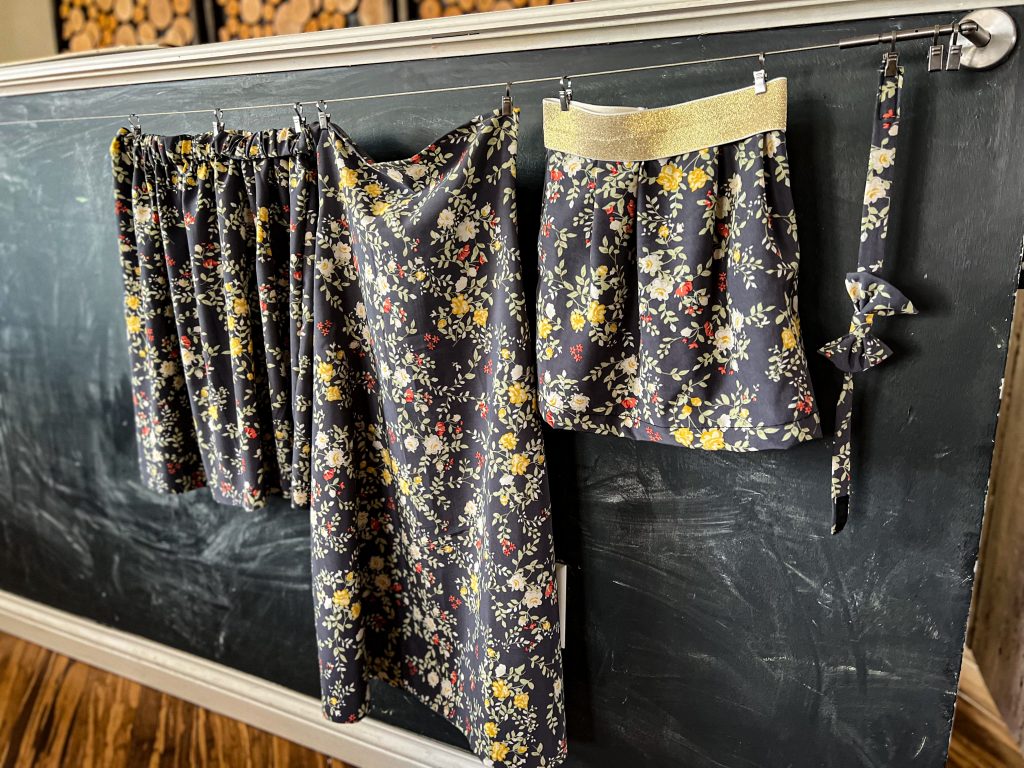
By making an easy bow tie in coordinating fabric to the girl’s skirts/ dresses, he feels like he fits right in!
By now he has quite the collection of bow ties to choose from for special events. He loves that they’re easy for him to put on whenever he wants. A pretend wedding, Christmas, dress-up, Easter…he loves his bow ties! I like to think it’s really because he knows his momma made them.
This easy bow tie can be made with just 1/4 yard of fabric and under 1 hour. So you could practically whip this little bow tie up on your way out the door to Christmas celebration!;)
The best part? You pick the fabric or maybe you let him choose. Satin, corduroy, cotton, fleece- really you could go crazy!
2nd best part? There’s no tying of this tie, so even my little guy can get himself dressed (with maybe a little help folding his collar down in the back).
How to make a Bow Tie – the Video!
Supplies for making a Children’s Bow Tie:
- 1/4 yard fabric (I use regular quilter’s cotton but you could also use satin or anything you’d like, really.)
- Velcro
- Matching thread
- Basic sewing essentials
**The measurements below were created for my 5 year old. However, the same measurements would probably fit 2T-8. Or maybe even up to a size 10 by simply adjusting the velcro placement.
Measurements for the Adult Version of this bow tie
Main Piece: 10″ x 5″
Neck Strap: 3″ x 18″
Middle: 2″ x 3″
Lets Get Started Making a Children’s Bow Tie
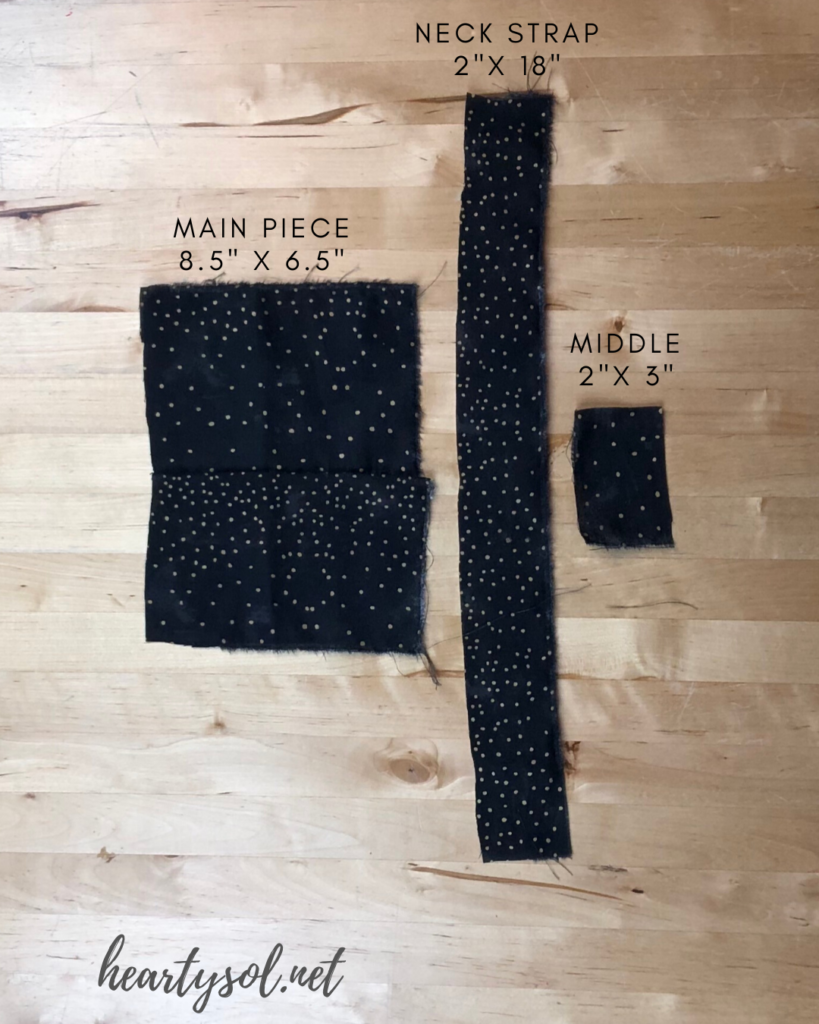
Cut
Cut three pieces of fabric. Your main bow piece at 8 1/2 x 6 1/2 inches, the neck strap at 2 x 18 inches, and the middle cinch at 2 x 3 inches.
Fold
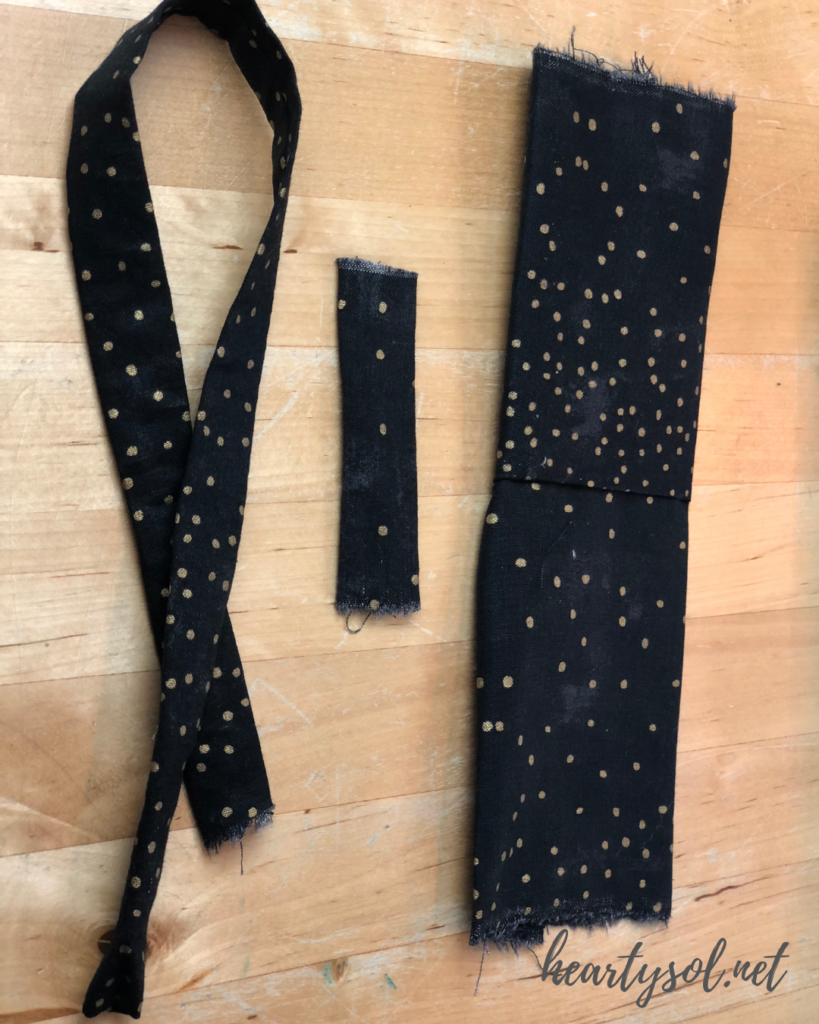
Fold each piece in half lengthwise (with right sides together) and stitch along the raw edges, using a 1/4 inch seam allowance.
Turn
Turn each piece right side out and iron flat. The seam can go along the center of the backside of each piece.
Grab
Grab the large bowtie piece and fold it in half width-wise and sew the two raw ends together, using a 1/4 inch seam allowance.
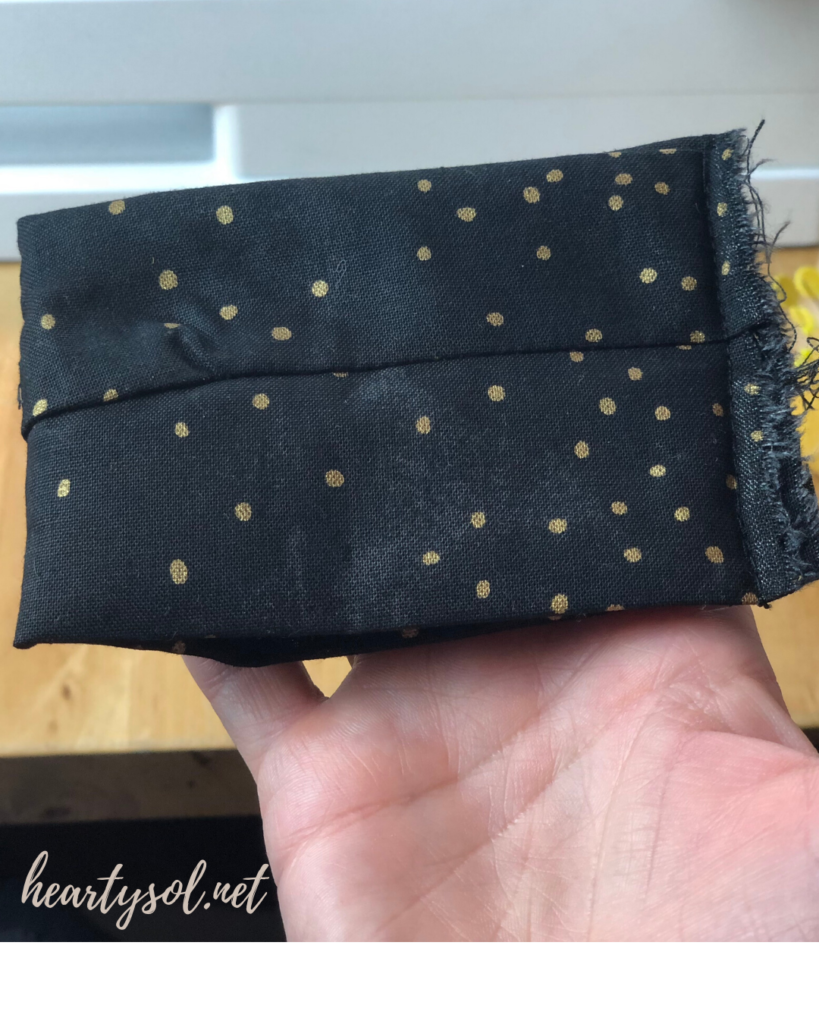
Turn the bow tie
Turn this fabric right side out and flatten. Center the seam along the middle of the backside and open up the 1/4 inch raw edges on the inside and lay them flat.
Pinch
Pinch the middle of this fabric, right along that centered seam…..creating a sort of accordion fold. Thread a needle and wrap some thread around the middle to cinch it in tight and knot the thread ends with your needle, nice and snug to the center of the bow.
Wrap
Wrap the rest of this little strip of fabric snugly around the center of the bowtie until you reach the back again. Fold the raw edge under and hand stitch in place. (If you have way too much fabric to fold under, cut some off first.)
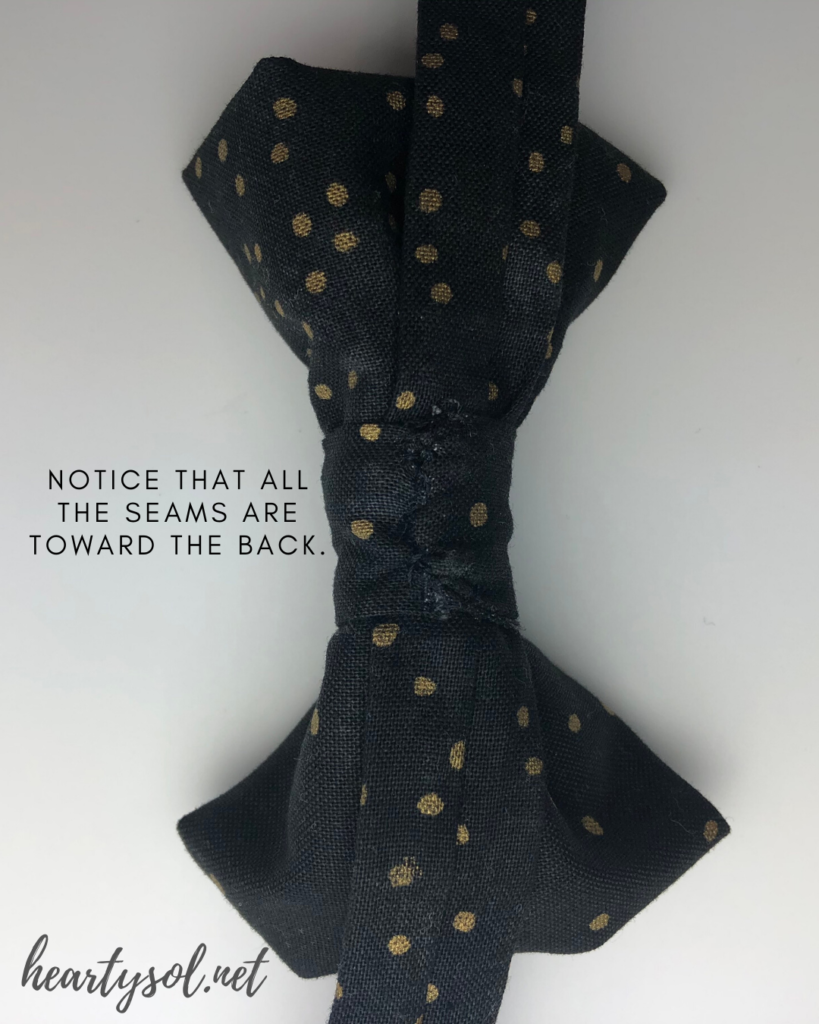
Fold
Fold each end of the neck strap under a 1/4 inch, then another 1/4 inch, and then sew in place.
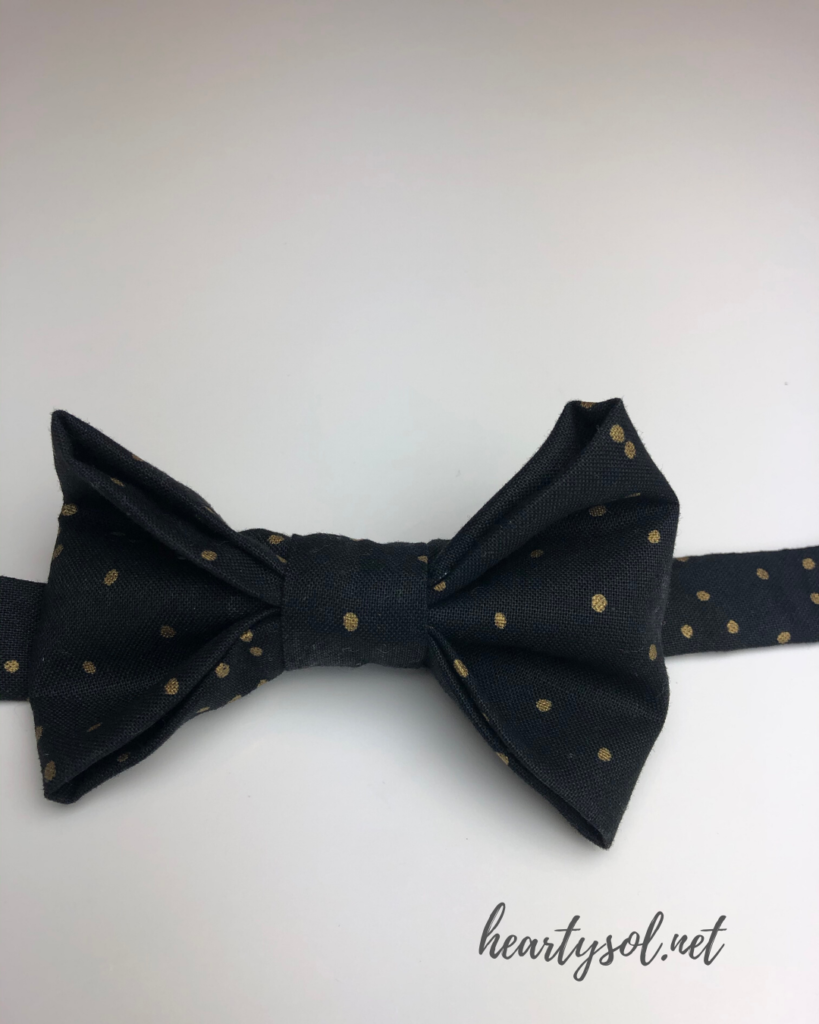
Finish your Bow Tie
Sew some velcro to each end of the neck strap, making sure that one piece is on the “right’ side of the neck strap and the other piece of velcro is on the “wrong” side of the neck strap. That way, the velcro will secure properly without the neck strap getting twisted.
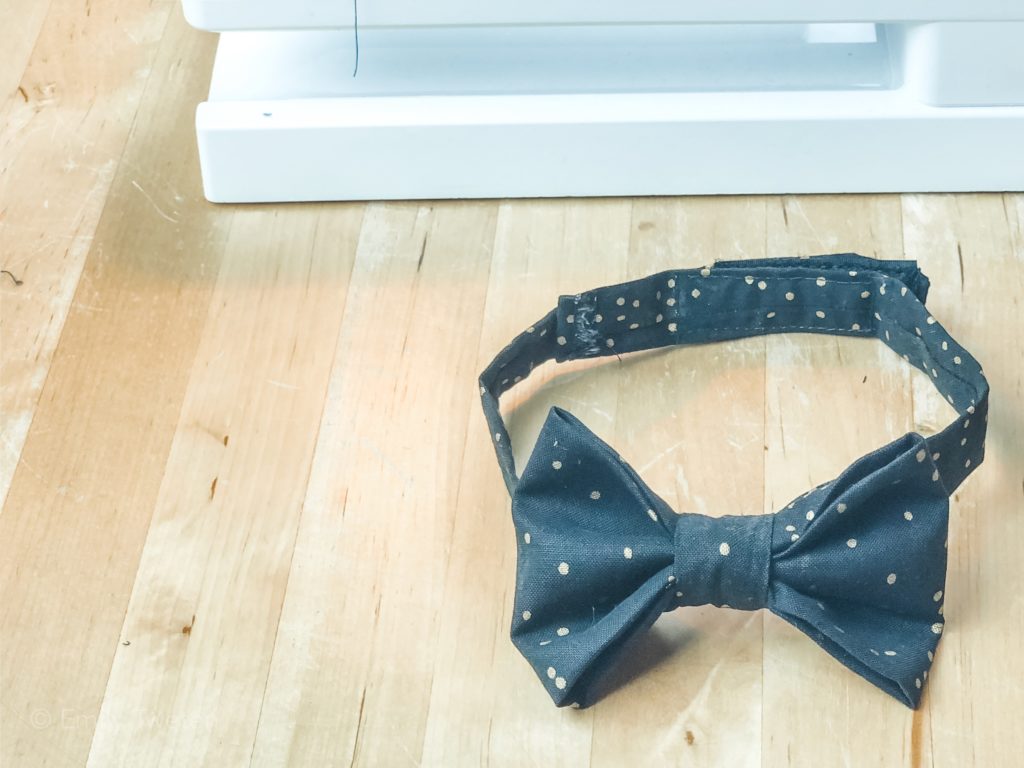
I really hope you enjoyed this tutorial! If you’re looking for more sewing tutorials, check out my how to make a girl’s winter dress tutorial here!

Why You’ll Love This
- Use this bow tie for dress up or one for each holiday!
- These bow ties are quick and easy to make and require very little fabric!
- Coordinating family outfits has never been so easy!
Questions People are asking about Bow Ties
1/4 of a yard is sufficient!
I hear ya! Sewing can be such a rewarding and creative hobby! There is so much you can do when you learn how to sew. I have a sewing class that teaches everything from threading a sewing machine, on up to a few simple projects to get you started!
Yes! See the sizing measurements in this post for an adult sized pattern.
Pin this for later!
- A House Gets Tired in February — Here’s How I Help Refresh Ours
- How to Make a Chicken Pot Pie That Tastes Like Dinner, Not a Shortcut
- The Quiet Home Reset: 7 Small Winter Shifts that Make Your Home Feel Better
- 18 Practical Sauna Accessories We Actually Love (And Why They Matter)
- A Year (or More) of Wellness — and the Simple Micro-Habits I’m Carrying Into 2026
I’d love to see how your bow ties turn out. Feel free to post photos in the comments section when you get done with your projects or tag #heartysol on Instagram!

Affiliate Disclosure & Content Disclaimer
This post may contain affiliate links from a paid sponsor, Amazon or other program. When you use these links to make a purchase I earn a small commission at no extra cost to you. This allows me to continue creating the content that you love. The content in this article is created for information only and based on my research and/or opinion.
Emily T.
DAILY INSPIRATION ON THE GRAM @hearty.sol
it's hip to be square!
View comments
+ Leave a comment