Sew a Simple Spring Skirt with Pockets | Pattern Free
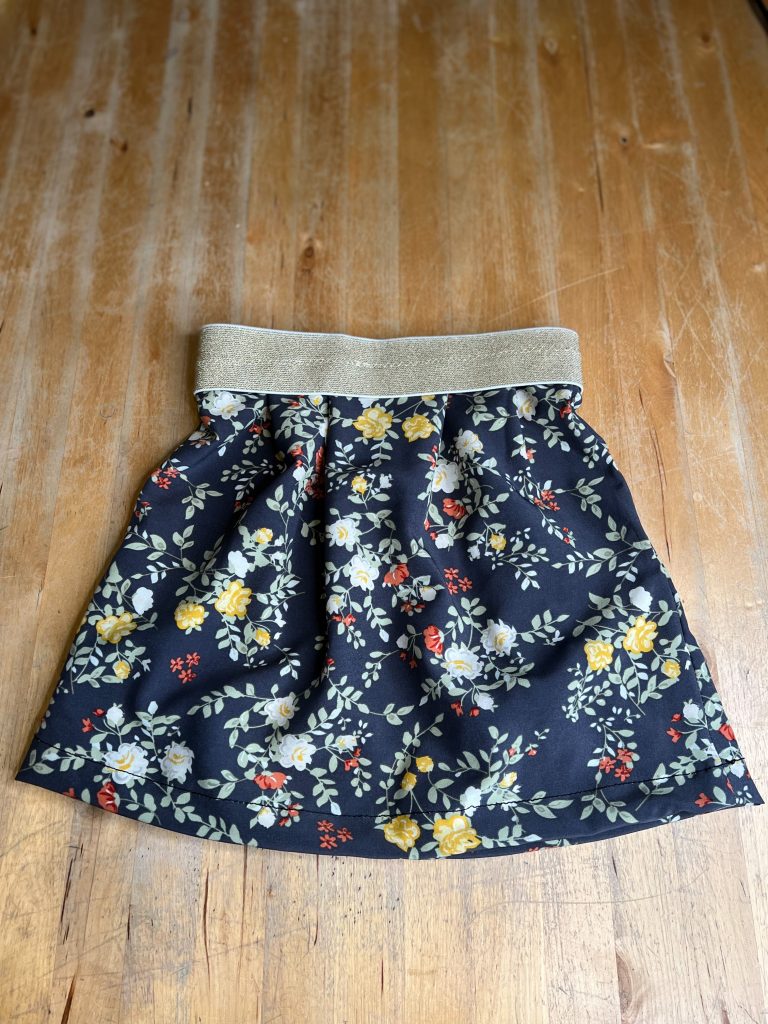
Learn how you can make a simple skirt with pockets for any size with no pattern required! This tutorial requires no skirt pattern and is great for even the most basic sewer!
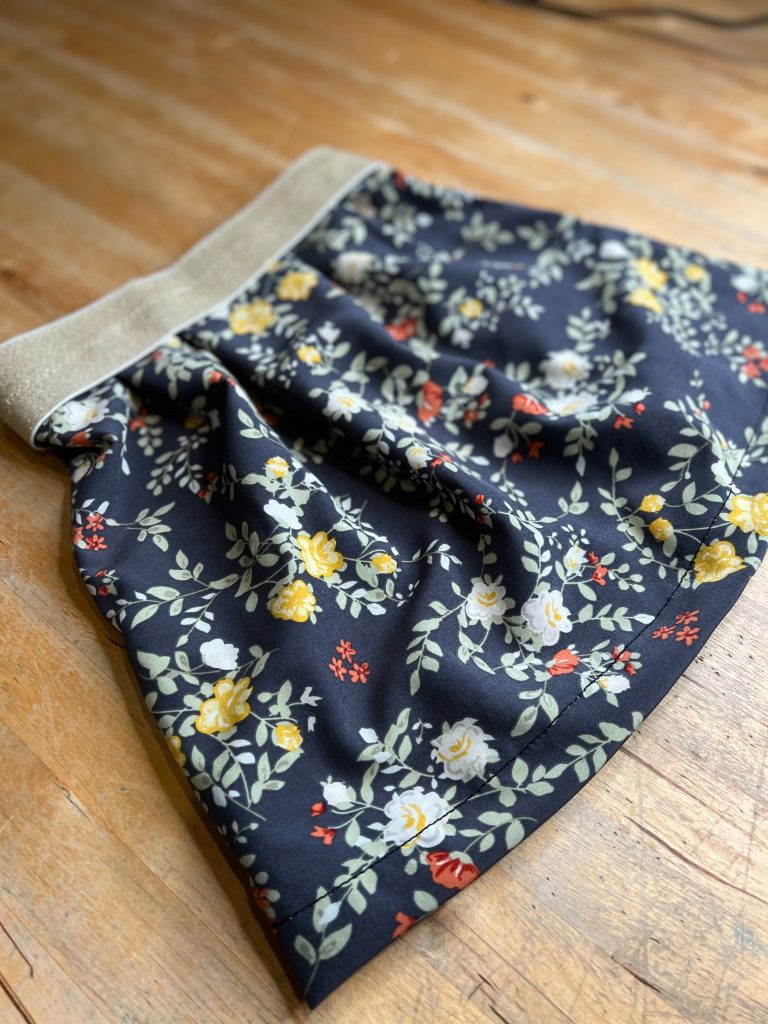
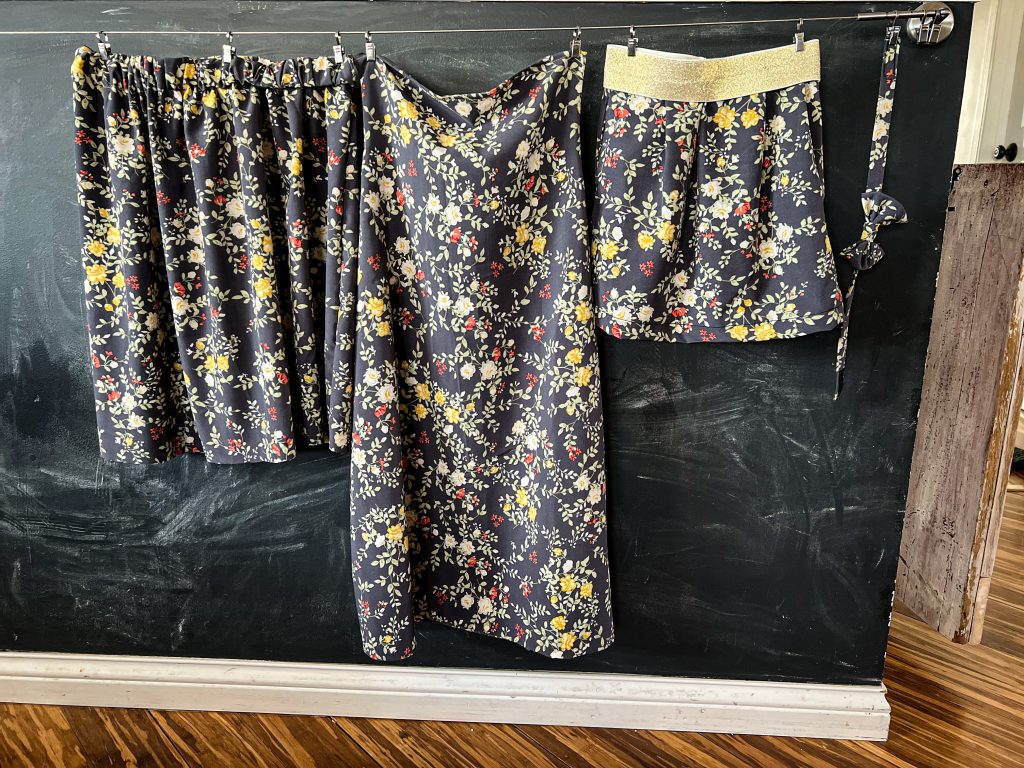
I love quick and easy projects that I literally could make the morning before an event or church! Coordinating the kids with 3 skirts and a little matching bow tie for our son is how I roll when it comes to holidays.
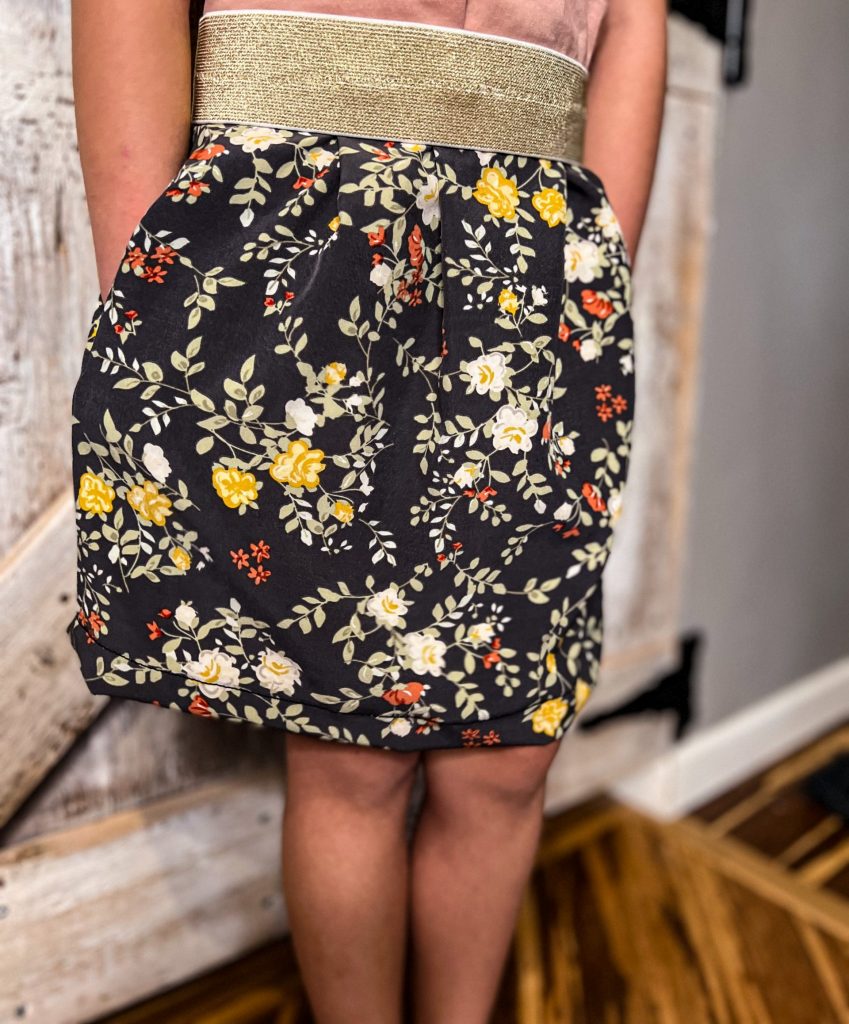
Now that the girls are older they like to have a bit of say-so in the design of their skirts. So while we make the littlest’s skirt for twirling and hiding treasures in pockets, the older girls are having fun designing their own these days.
They know the basic idea and have the equation memorized by this point.
Today I want to teach you the basics of making a simple skirt. Then you, too, can make it as long, flowy, gathered and twirly as you would like!
How to make a Simple Skirt with Pockets-the Video!
Why You’ll Love This Making this Simple Skirt with Pockets
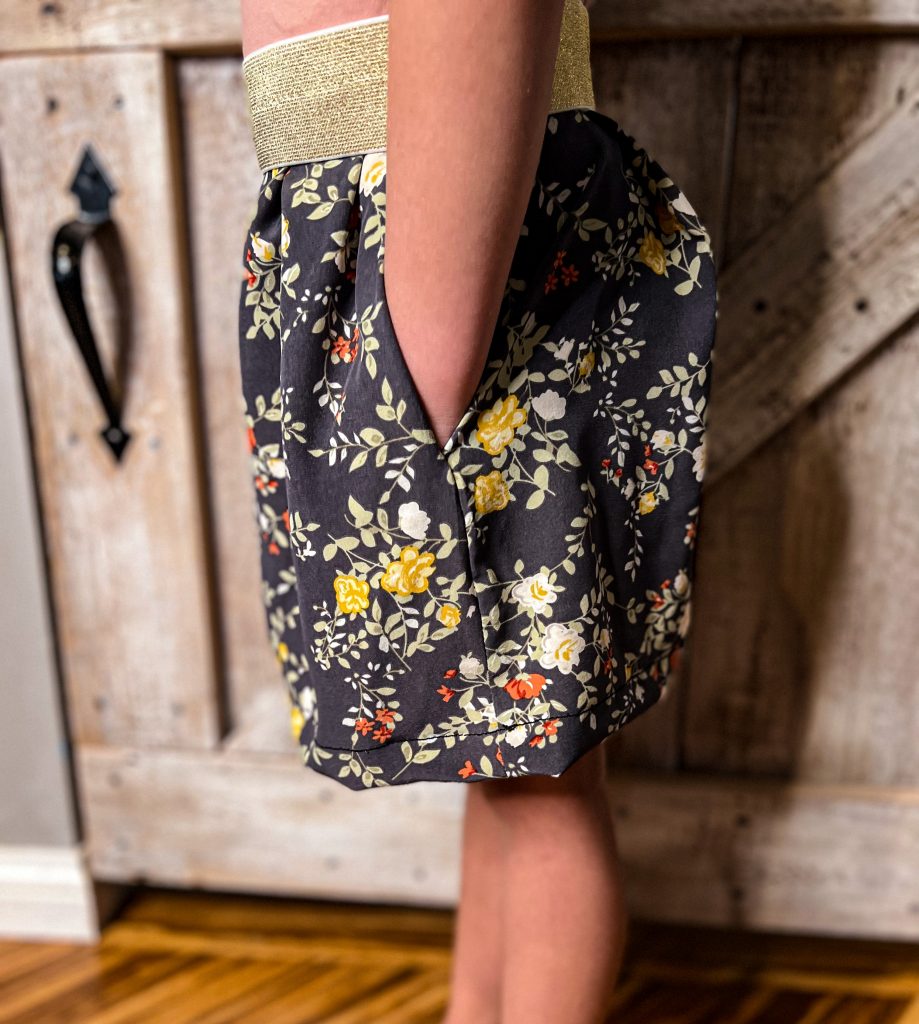
- Once you have this method down, you can get as creative as you want. Use different fabrics to make different ruffles, densities of fabric, pleats, elastic…oh the limits are endless!
- This is the perfect sewing project for a beginner!
- Diversify your closet inexpensively with these skirts. Go wild!
Materials you’ll need to make this
- See my list of sewing essentials.
- Fabric of choice (I got this fabric from Joanne’s Fabric)
- Elastic (I used 1.75″ wide)
- Printed children’s pocket pattern or adult pocket pattern
How To Make a Simple Skirt with Pockets
Select and Wash Fabric
Select and wash your fabric to make sure that it won’t shrink after you assemble the skirt.
Take Measurements
Measure the waist and decide on what length you want the skirt to be.
Cut out the simple skirt fabric
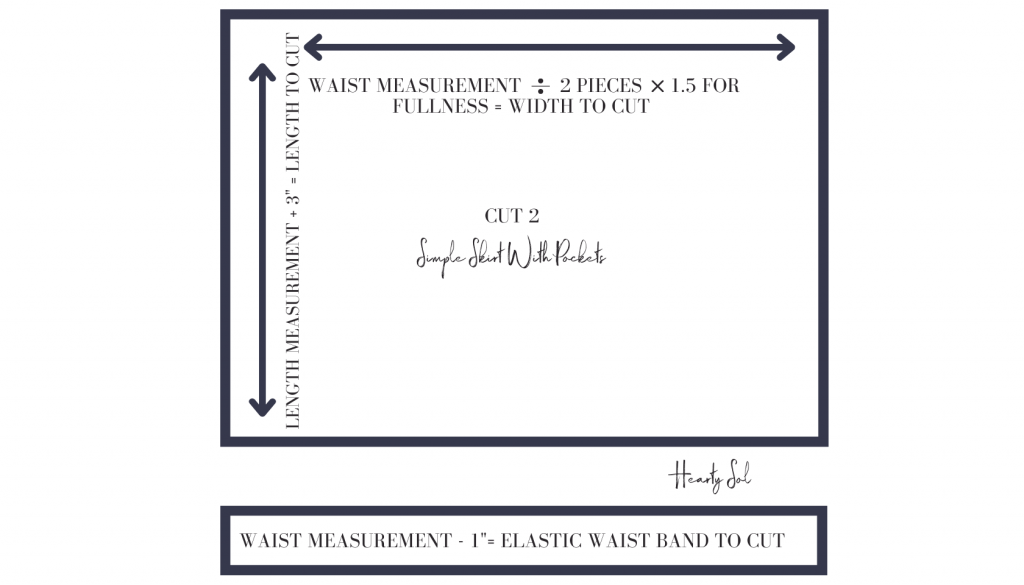
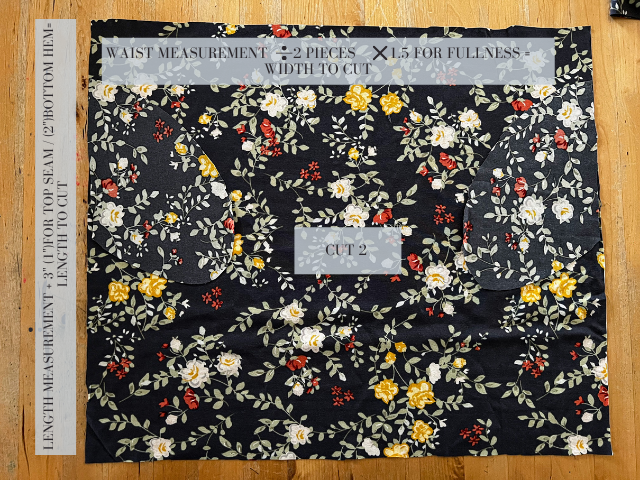
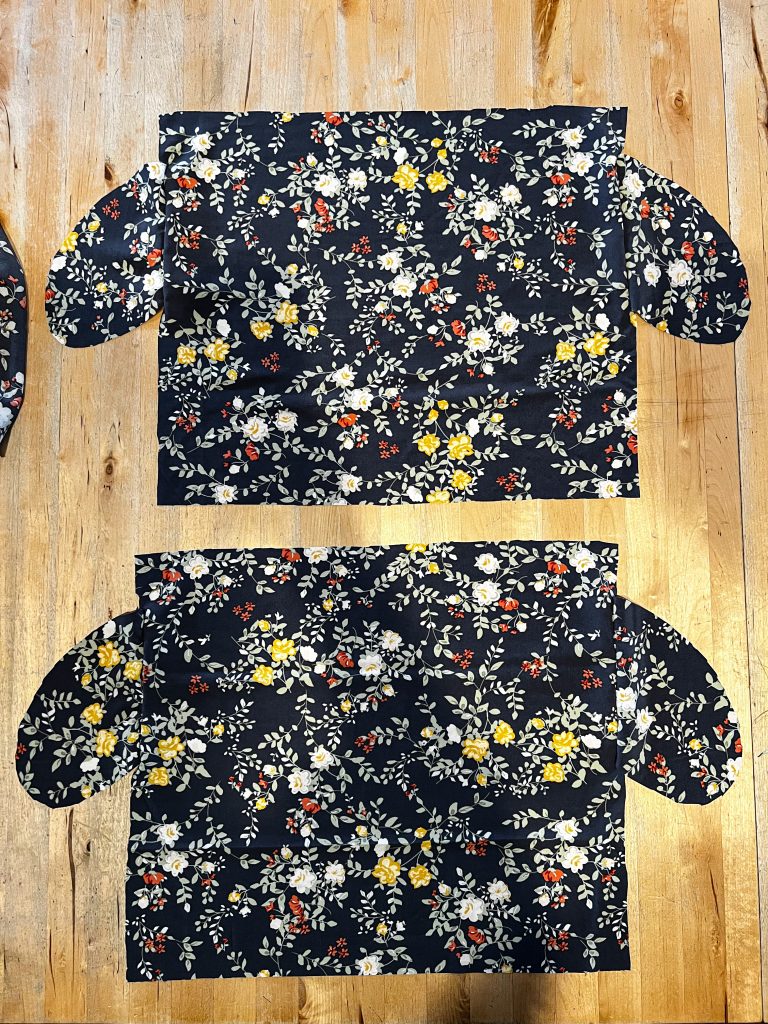
With right sides of the fabric together measure out your length and width. You will cut 2 pieces so you have front and back skirt pieces.
To find the width: take your waist measurement divide that by 2 (because we want to cut out 2 pieces of fabric) then multiply that number by 1.5 for less fullness or 2 for more fullness.
To find the length: take the length you desire the skirt to be and add 3″ (this will leave 2″ for the bottom hem and 1″ for either a top rolled hem or a casing for elastic.
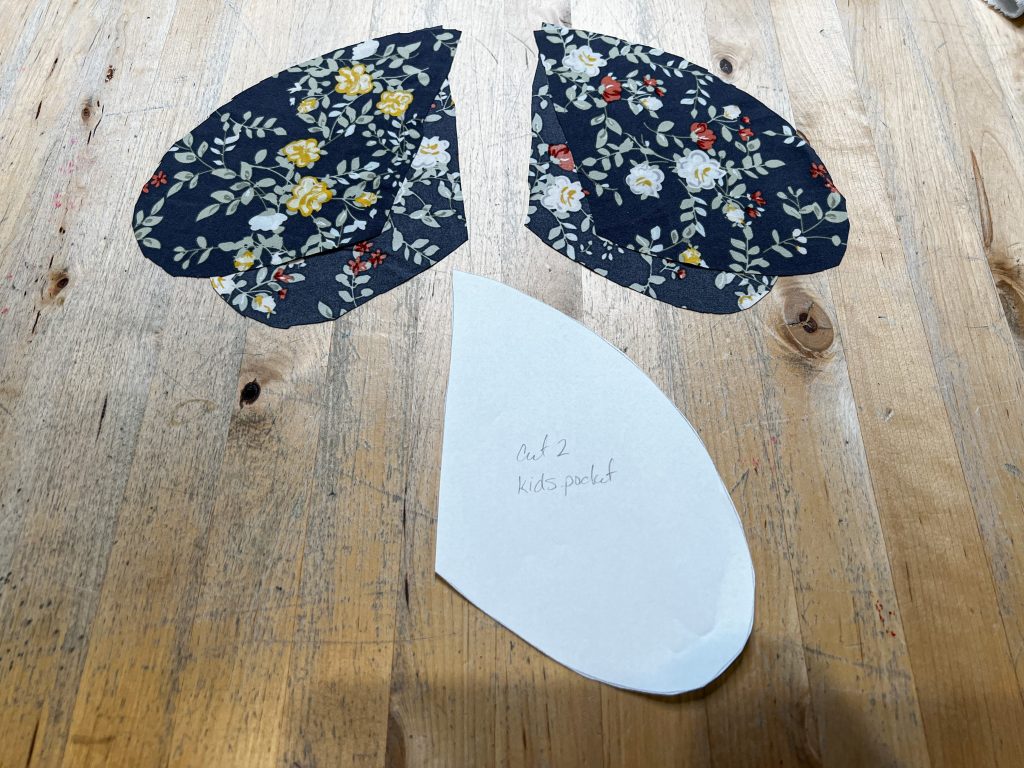
Cut out the Pockets! Yes, I said pockets!
Grab my favorite pocket pattern here (you will find both adult and kids pocket pattern). Print it out and place your fabric right sides together and cut out 2 pieces for each pocket- 4 total.
Let’s start sewing
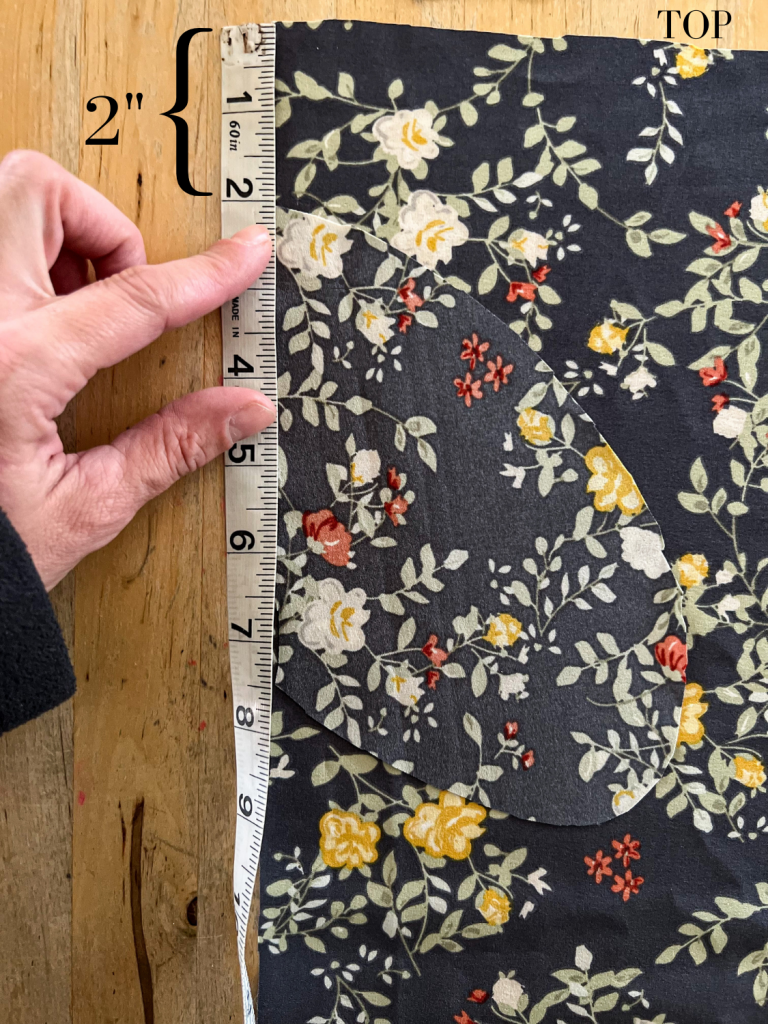
Place the pocket 2″ down from waist line with right sides together like in the photo above. Sew the pocket to the main piece of the skirt. Do this for both sides and for both front and back pieces of the skirt.
Assemble the simple skirt
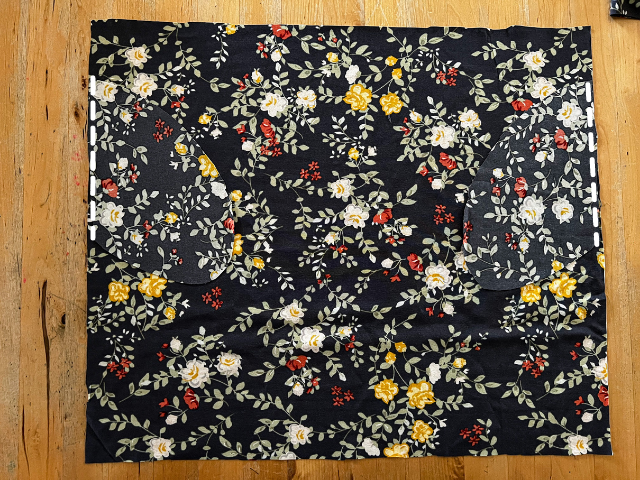
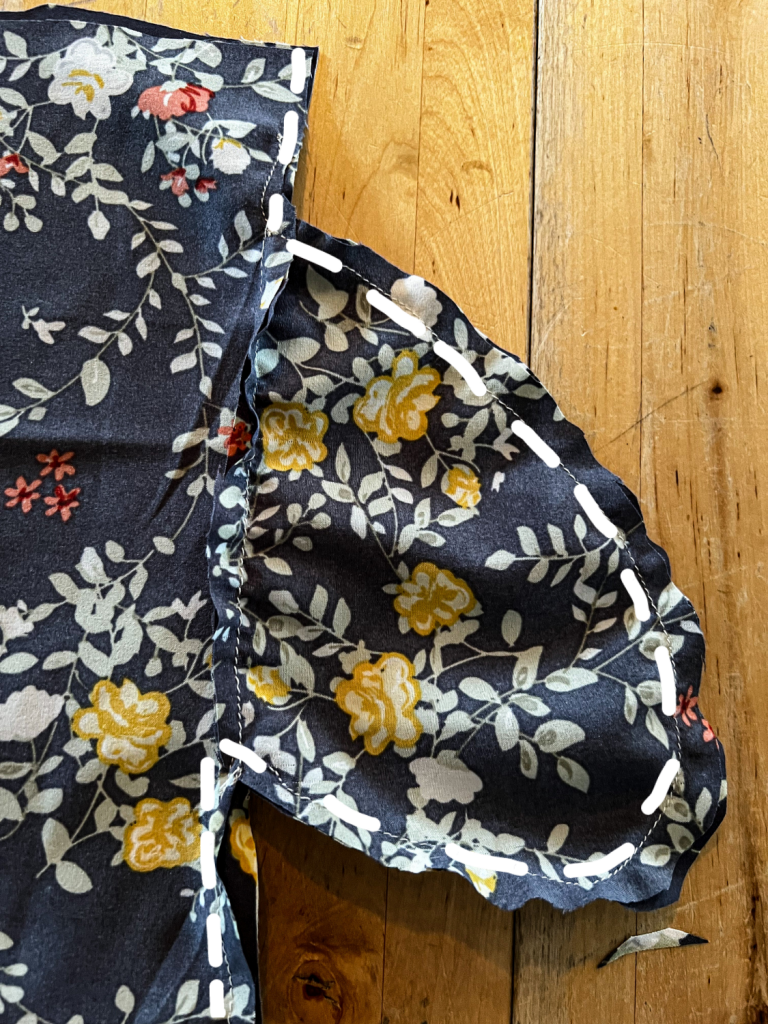
Once you have sewn your pockets to both front and back pieces, lay your front and back pieces right side together and sew the side seam and the pockets together.
Finish top hem
I did a simple rolled hem to finish off the top before attaching it to the elastic waste band. You don’t have to do this, but it keeps it from fraying inside the waist band.
Measure and cut waist band
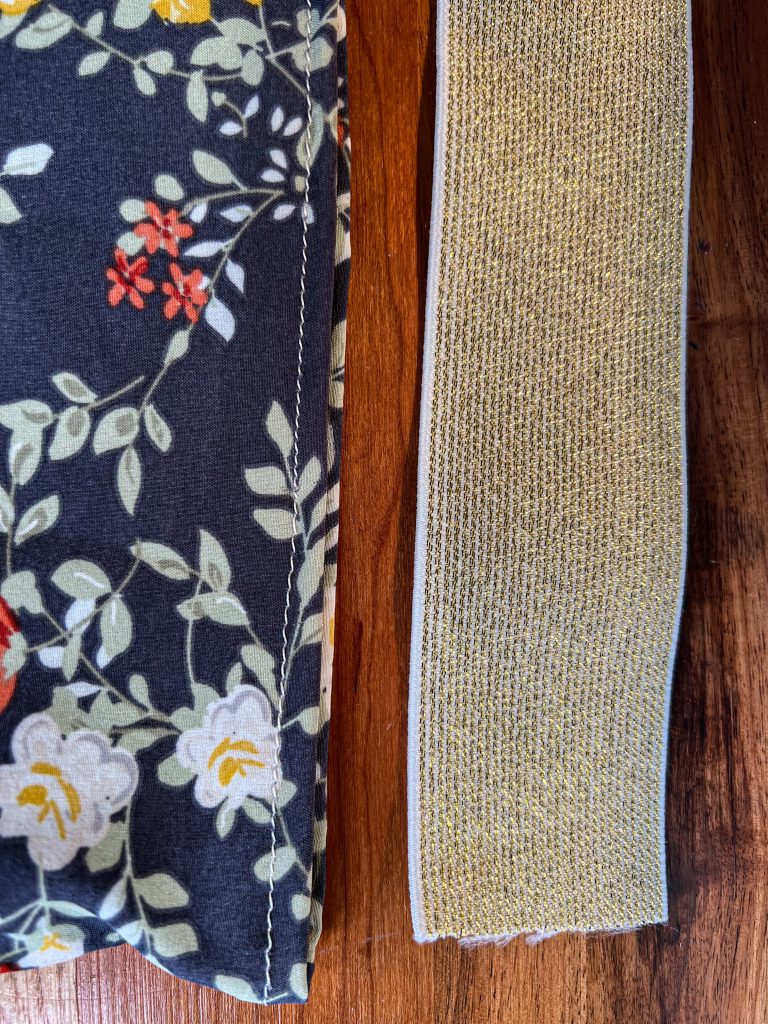
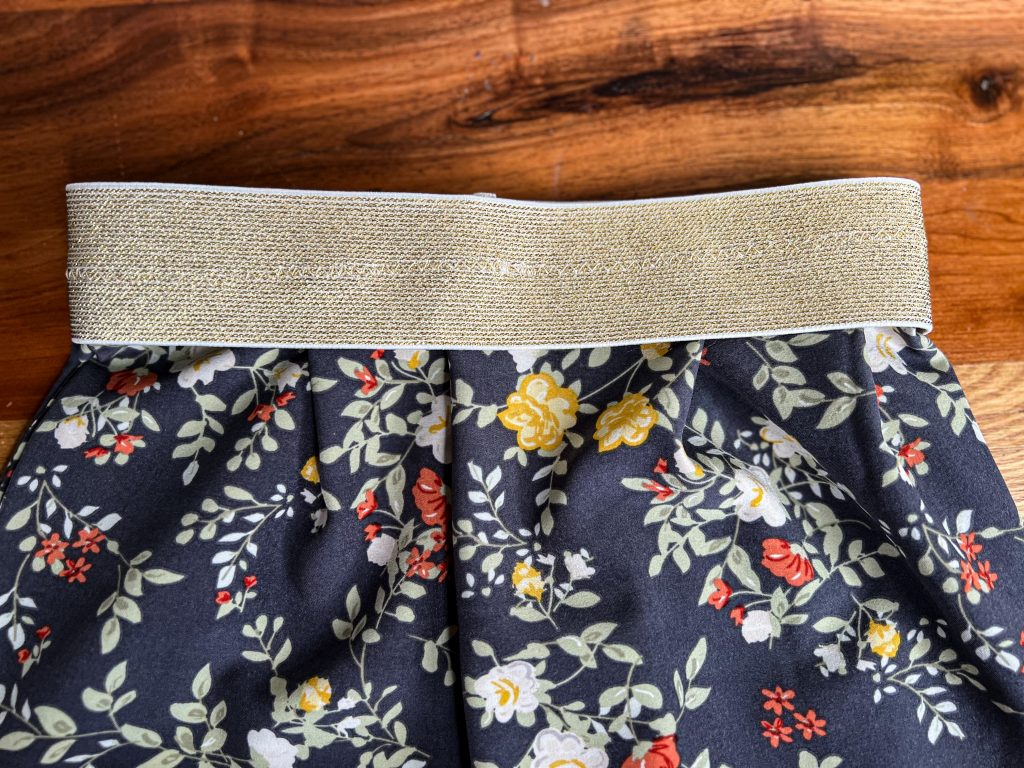
This piece of 1.75″ wide elastic waist band is what I love using for these simple skirts with pockets. I measure the waist and subtract 1″ because this will make it nice and fitted on the waist.
But if you can, hold it up around the person who will be wearing the skirt so they can easily get it up and down.
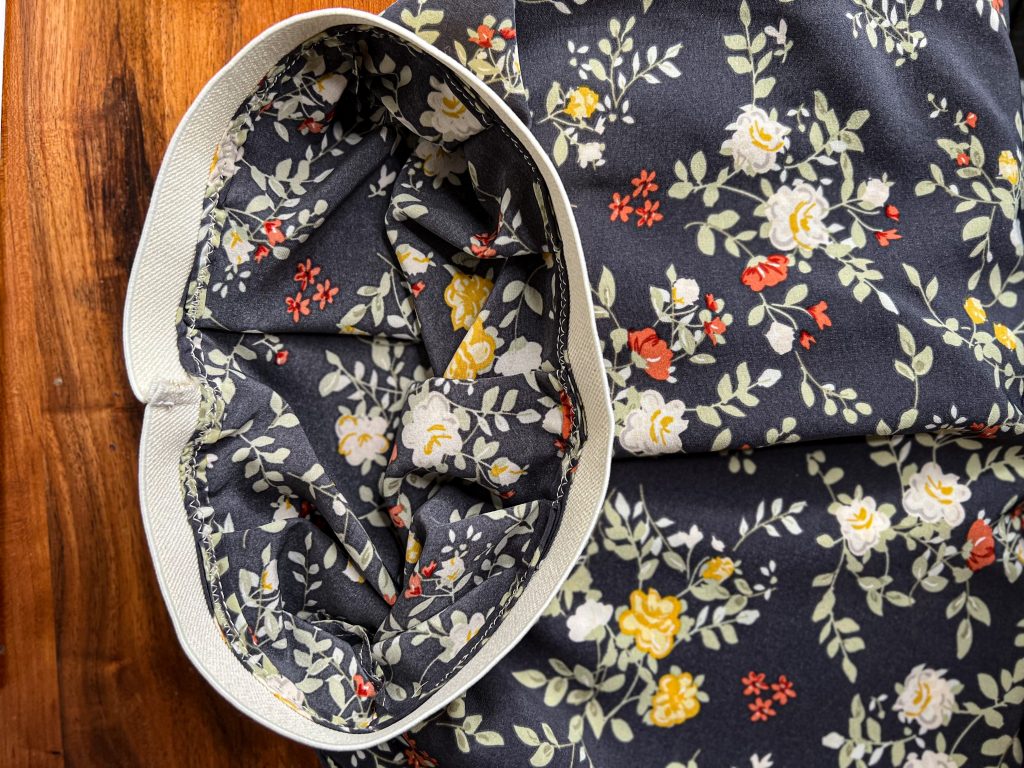
Place waist band right sides together and sew a straight stitch with a 1/2 seam allowance.
Add waist band to skirt
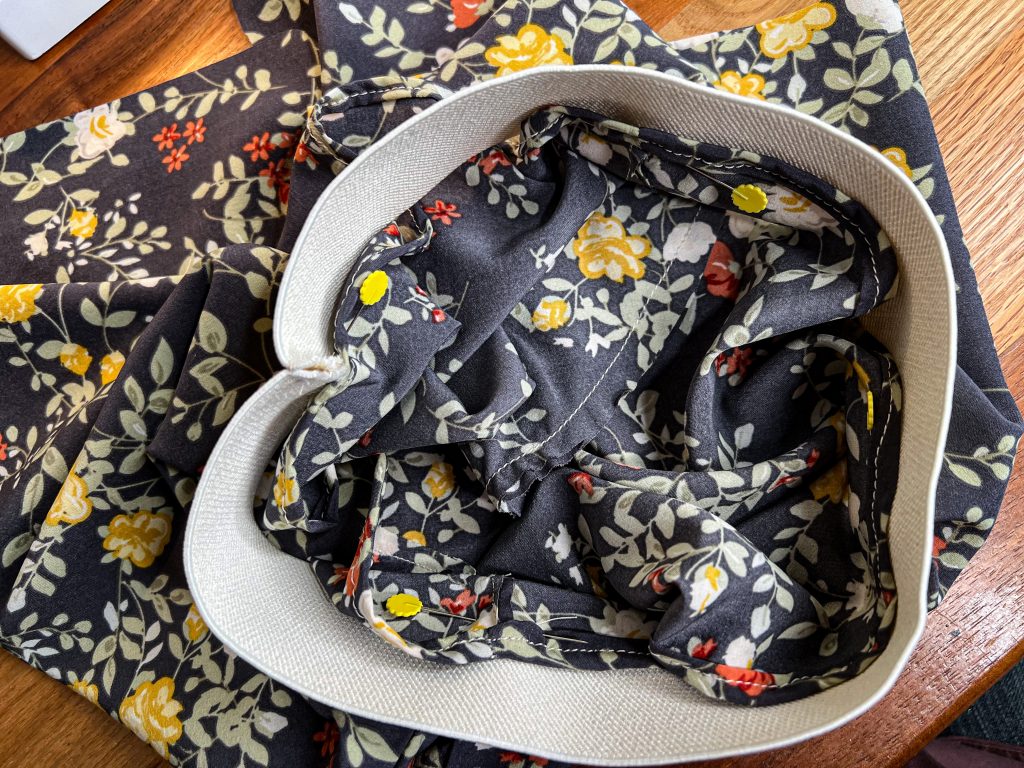
Gather your skirt fabric by finding the front and back, then pin in place. Then find your sides and pin. Use a zig zag stitch to sew.
Determine bottom Hem
Determine how much you want to hem the bottom of the skirt. Roll frayed edge under and then under again and sew using a straight stitch.
Finish Pocket holes- Optional
You may decide to sew a finishing stitch around your pockets. I decided not to on this project.
Questions People are asking about
The answer is just a couple of simple math equations. Measure waist divide that number by 2 and multiply that number it by 1.5. This will give you the waist measurements. Then measure from the waist line down to where you want the skirt to end and add 3″ for the top seam allowance and the bottom hem. Cut 2 pieces of fabric using these numbers.
You can either use pins to gather the fabric onto the piece of elastic or you can create a casing a the top to insert a piece of elastic and then pull until desired size of waist this will automatically create gathers in your skirt.
Yes! Absolutely. This will work for any size of skirt that you would want to make.
Tips about This
- Pressing your seams open between steps helps keep your garment look the most professional.
- Prewash any cotton, poly, and linen fabrics in order to pre-shrink the fabric before you measure and cut it.
- Pinning your fabric in place is a good idea when you are starting out. This will help keep your fabrics in place as you place pockets and begin to sew.

Pin this for later!
- A House Gets Tired in February — Here’s How I Help Refresh Ours
- How to Make a Chicken Pot Pie That Tastes Like Dinner, Not a Shortcut
- The Quiet Home Reset: 7 Small Winter Shifts that Make Your Home Feel Better
- 18 Practical Sauna Accessories We Actually Love (And Why They Matter)
- A Year (or More) of Wellness — and the Simple Micro-Habits I’m Carrying Into 2026

Affiliate Disclosure & Content Disclaimer
This post may contain affiliate links from a paid sponsor, Amazon or other program. When you use these links to make a purchase I earn a small commission at no extra cost to you. This allows me to continue creating the content that you love. The content in this article is created for information only and based on my research and/or opinion.
Emily T.
DAILY INSPIRATION ON THE GRAM @hearty.sol
it's hip to be square!
View comments
+ Leave a comment