An Easy Introduction to Raised Bed Gardening | For Beginners
An overview of how to garden above ground.
What is a Raised Bed?
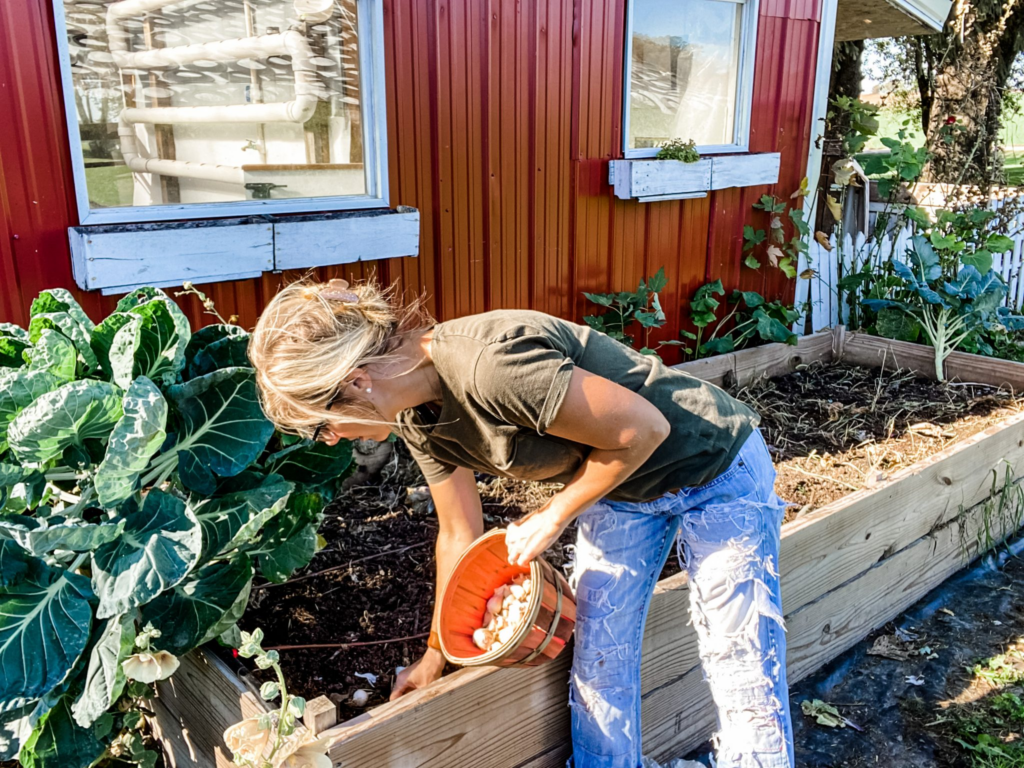
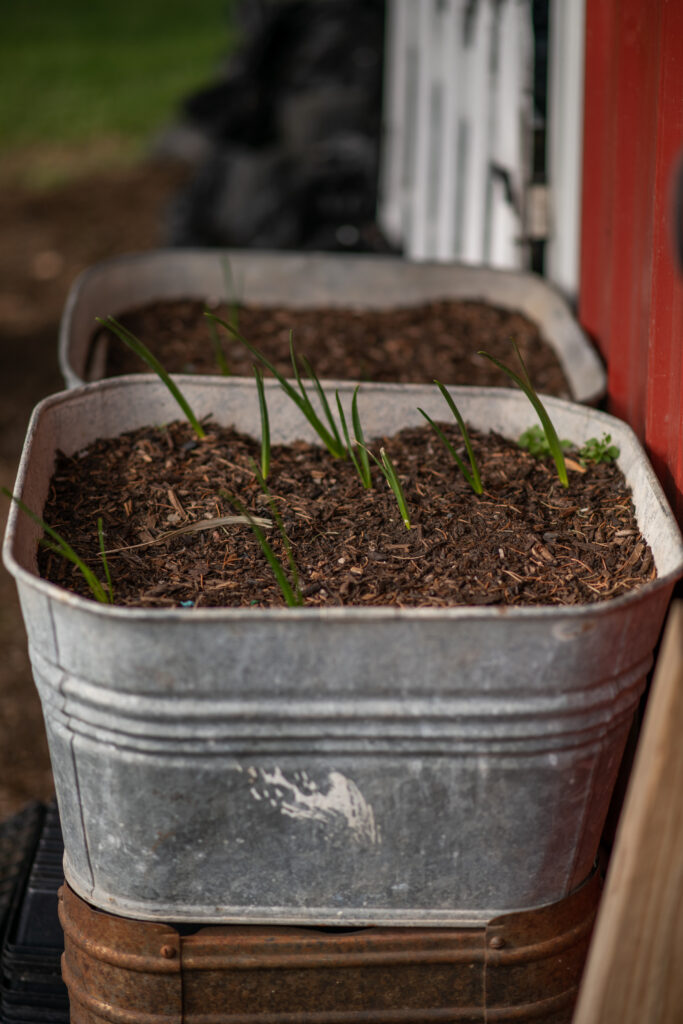
“Raised Bed Gardening” refers to planting above ground in a constructed “bed.” The “bed” is a frame, often made of wood and filled with soil. These beds can also be made out of galvanized material (click here to see what this would look like).
These beds can sit anywhere that is convenient for you as long as they are in a well-lit spot. Both plants and produce can be planted in a raised bed. Here on our farm, we mostly use them for produce. We’ve been utilizing raised beds in our garden for some time now and love how they provide a safe, confined space for pretty much any produce we want to plant.
This is one of those projects where the brunt of the work is at the beginning, creating your bed and deciding where to place it. After that, you can easily fall into a planting schedule of your choice.
Should I have a Raised Bed in my Garden?
At first, this may sound like it’s making gardening a lot more complicated – why not just plant your seeds… in the ground? Let me tell you why we find many advantages with raised bed gardening!
1. Raised Beds protect your plants. Sitting above ground, your plants are much more protected from any natural erosion from storms, being accidentally kicked or stepped on, and a teeny bit further away from any curious garden animals.
2. Crop rotation becomes more efficient. It brings me great pleasure to harvest my Garlic in mid-July and then place our fall and winter produce right into the bed!
3. Companion Planting is possible! Certain plants can have a mutually beneficial relationship when planted next to each other. This can include pest repellent, weed control, etc.
4. Flexible Soil Conditions. Because raised beds are filled with loose soil, your soil is not at the mercy of the ground temperature, nor is it packed down into the earth. This flexibility with the soil allows for easier drainage and warmer soil temperatures. This is a great benefit for your plant’s nutrients and can allow you to plant your seeds earlier than you would have otherwise been able to.
Setting up the Raised Bed
How to Build a Raised Bed
The most common Raised Beds you will see are made out of untreated hardwood because it is a natural element that is easy to work with. If you do choose to use treated outdoor lumber, just be sure to leave it cure in the sun for a bit, before growing eatable vegetation in them, so to make sure there is now chemical leaching into the soil. Our beds are made by screwing together white oak boards into long, rectangular shapes. This long, narrow structure ensures that we can plant multiple different types of produce in one bed at a time while keeping the soil and compost in a concentrated area.
What soil should I use in a Raised Bed?
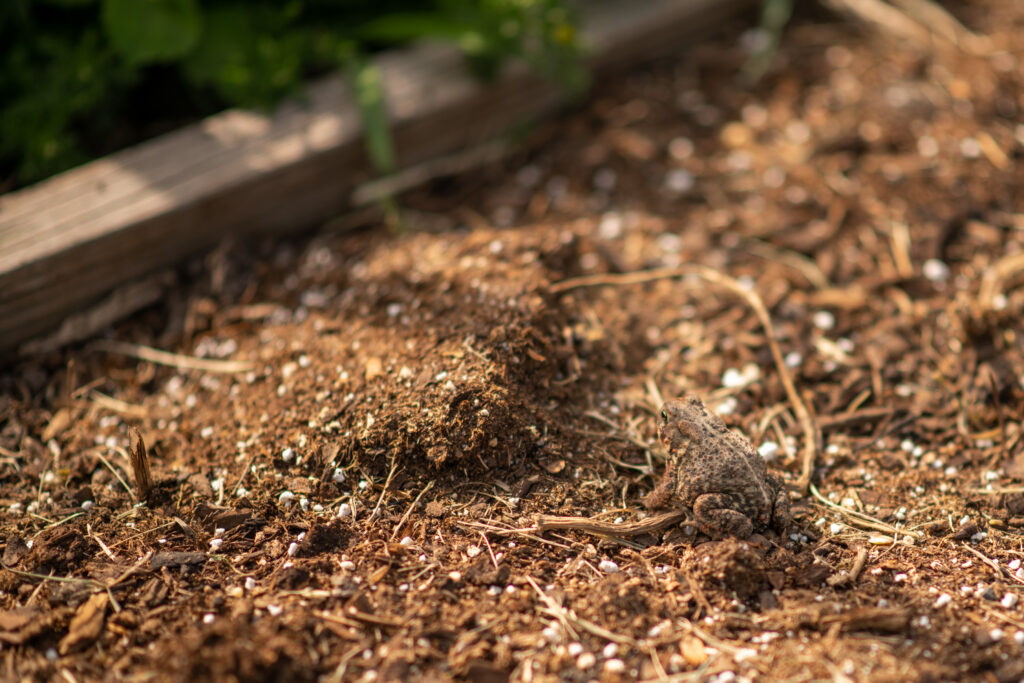
You can find specific “Raised Bed” soil at your local hardware store. This soil consists of topsoil, compost, peat, etc. This mix allows for the ideal variety of nutrients for a successful bed.
What location should I place my Raised Bed?
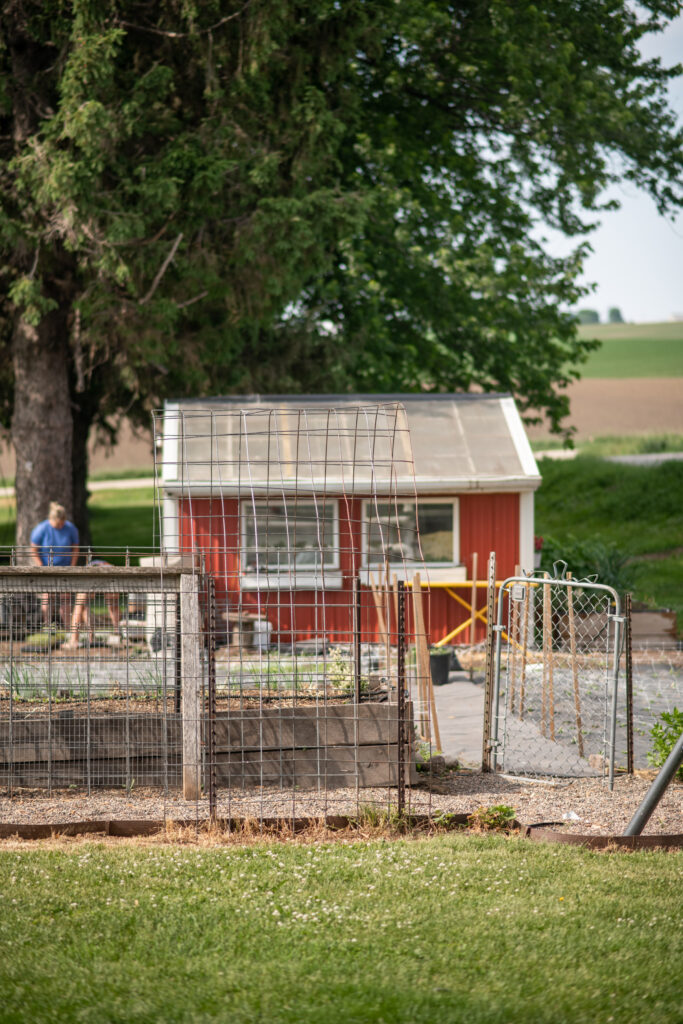
As with any plant, sunlight is the key in this situation. Our raised beds are planted in multiple places around our garden/backyard. Some sit right up beside our shed, and others sit right out in our garden.

What can I grow in my Raised Garden Beds?
When looking to plant in raised beds, it all depends on the size of the bed and the growing window of what you are planting.
First, be strategic about the size of your produce to avoid overcrowding the bed. Second, pay attention to the quality of your soil and how you care for it (read about our drip installation below). These are two areas where you may run into problems.
Here is list of produce we plant in the beds:
- Cucumbers
- Beans
- Luffa Gourds
- Broccoli
- Red Cabbage
- Brussel Sprouts
I especially like growing garlic in our raised beds. I want to keep my crop babies safe, and this spot above the ground ensures they are undisturbed for the entire nine months it takes for them to grow. This also means we can easily switch from harvesting the garlic to planting our fall and winter produce. Read more about How to Grow Garlic and How to Harvest and Store your Garlic right here on our blog!
Installing Drip Irrigation for your Raised Beds
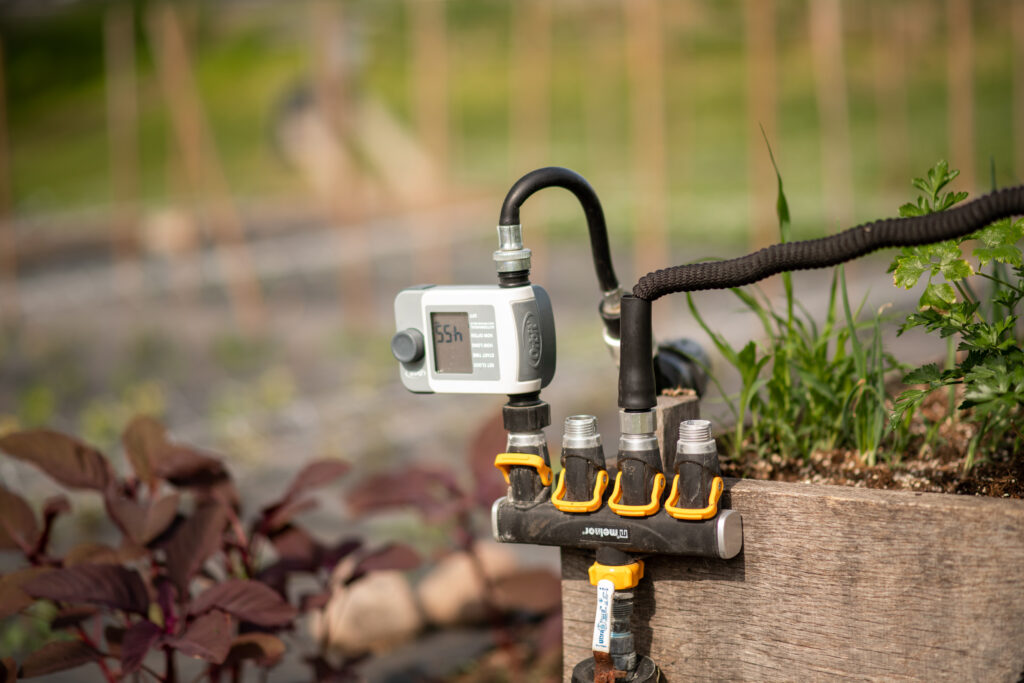
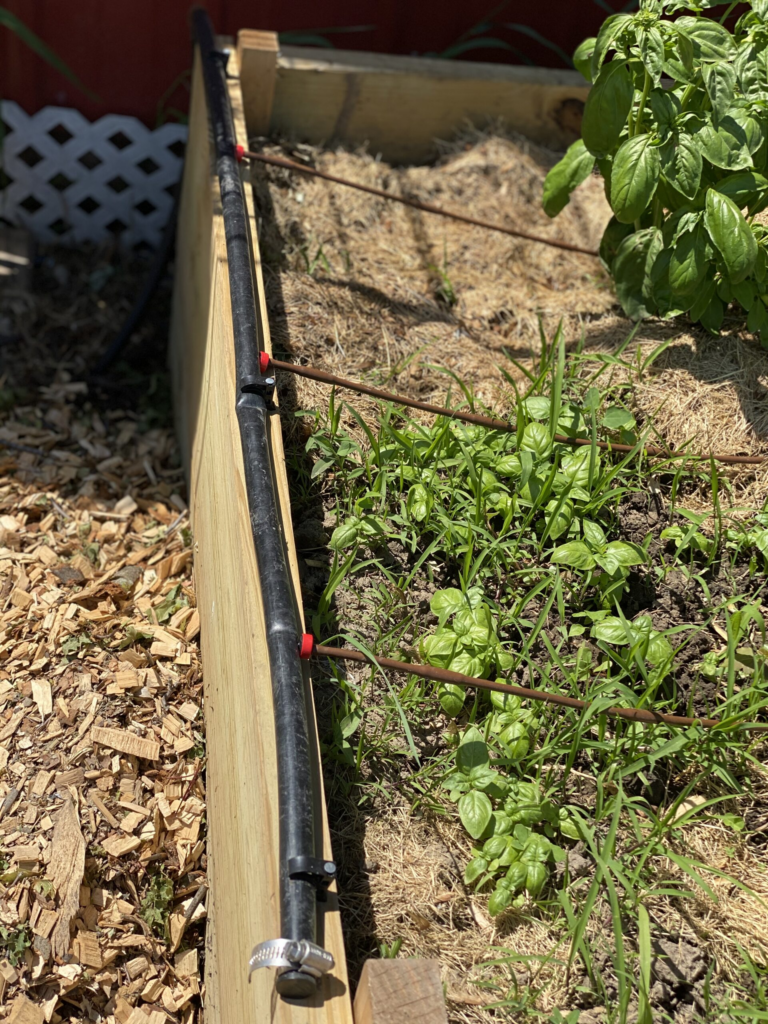
Raised beds have a harder time getting and maintaining nutrients. Because of this, I decided to install a Drip Irrigation System. It is a lifesaver! This handy system prevents the soil from drying out quickly and allows us to save time and skip the beds on our watering route.
With some trial, estimation, and time spent in different hardware store departments, I was able to build our irrigation system. The best part is once you are done with the setup – you are done with the bulk of the work. I seriously recommend investing the time into this. Your plants and your schedule will thank you!
Read the blog here: How to Quickly Install Drip Irrigation for your Raised Beds
Watch the YouTube video here
Raised Bed Gardening has been instrumental to our gardening routine for a while now; I hope with this overview, you and your garden can take the next step into growing above ground!
Pin for Later
Check out our other Gardening Blogs
The Ultimate Guide to Soil Blocking: A Sustainable Seed Starting Method
The Best Tools and Resources for Successful Soil Blocking
How to Make the Best Soil Block Mix for your Seedlings
Top 12 Most Used and Favorite Garden Tools
How to Make Composted Rabbit Tea
How to Care for an Outdoor Rabbit | Bunny 101
Outdoor Garden Rabbit Guide | The Benefit of Keeping a Backyard Rabbit
The Best Way to keep your Garden Weed Free: Ruth Stout Method
How to make your own Carrot Seed Tape

Affiliate Disclosure & Content Disclaimer
This post may contain affiliate links from a paid sponsor, Amazon or other program. When you use these links to make a purchase I earn a small commission at no extra cost to you. This allows me to continue creating the content that you love. The content in this article is created for information only and based on my research and/or opinion.
Emily T.
DAILY INSPIRATION ON THE GRAM @hearty.sol
it's hip to be square!
View comments
+ Leave a comment