

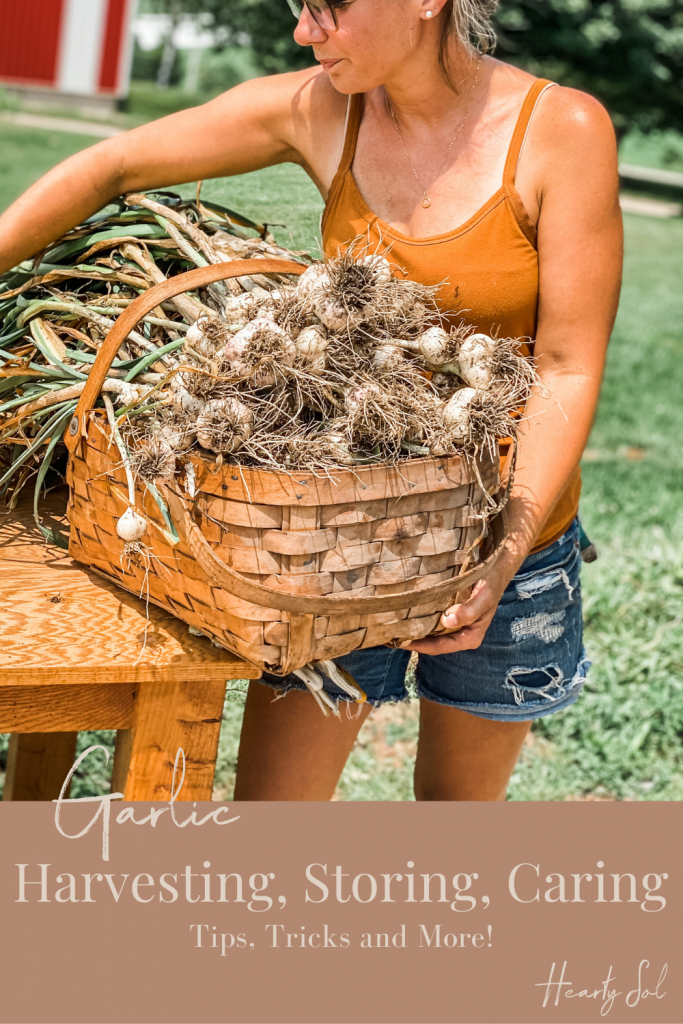
How to Harvest and Store your Garlic
Garlic can be used in so many different ways and is relatively easy to plant. This post covers the ins and outs of garlic harvesting.
Mid-Summer = Garlic Season!
Garlic adds an aroma and taste to recipes, like nothing else we can grow in the garden. I remember the smell of garlic in my grandmas kitchen when I was a kid! Garlic and dill are the two things that make me remember being a kid in grandmas garden.
The fact that this bulb takes approximately 8 months to go from in-the-ground to being able to be harvested, is really the hardest part. We love to incorporate Garlic as many ways as we can including making Garlic Scape Compound Butter.
When to harvest garlic
When determining whether your garlic crop is ready for harvest, there are several signs to look for. Here are three ways to tell when garlic is ready to be harvested:
- Leaf condition: Examine the leaves of the garlic plant. When the bottom leaves begin to turn yellow or brown and dry out, it is an indication that the garlic bulbs are nearing maturity. As the garlic plant matures, the upper leaves may also start to die back.
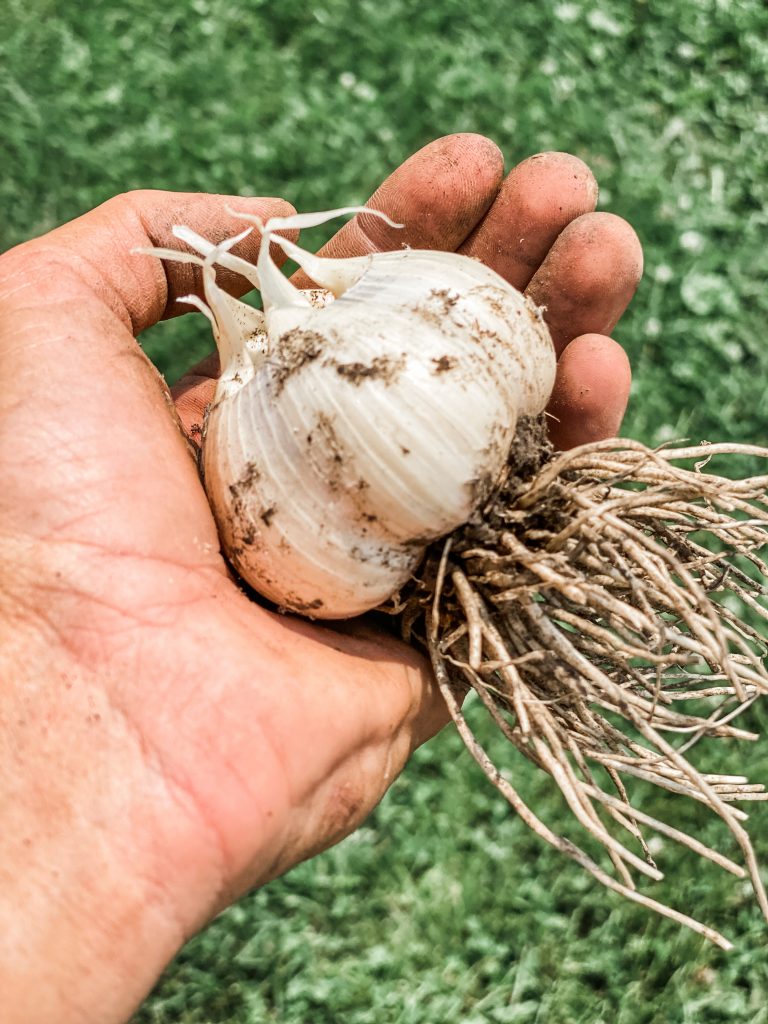
- Bulb size: Check the size of the garlic bulbs. Mature garlic bulbs typically reach their maximum size before harvest. The bulbs should be well-formed and have filled out their papery outer skins. Bulb size varies depending on the garlic variety, so familiarize yourself with the typical size of the variety you are growing.
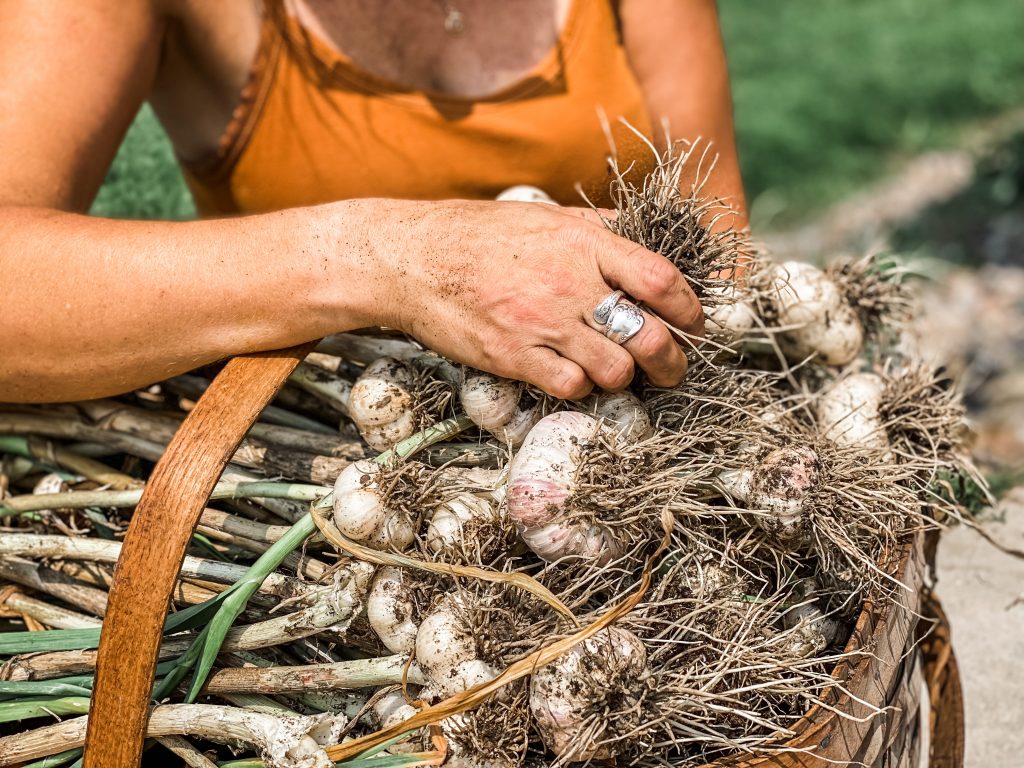
- Skin condition: Evaluate the condition of the outer skin of the garlic bulbs. As the bulbs mature, the outer skin becomes papery and dry. Gently brush away some soil to inspect the skin. If the skin is thick and dry, it is a good indication that the garlic is ready to be harvested.
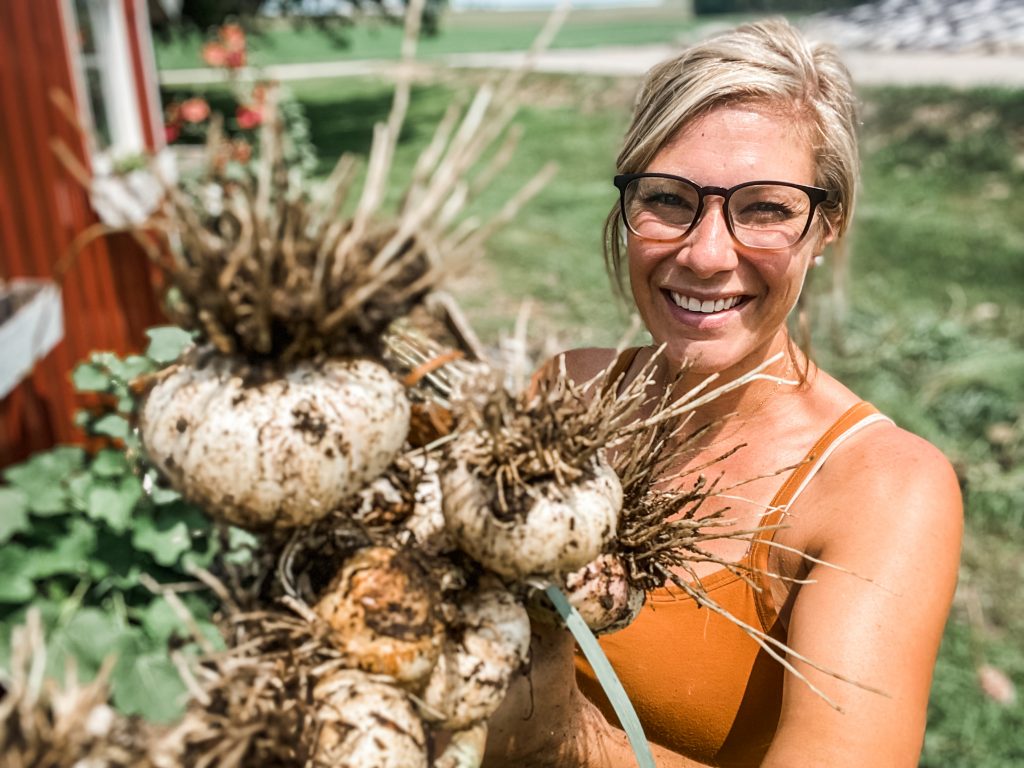
We harvest our garlic here in the SE part of Minnesota, zone 4B in mid July. When the lower stems start to brown, that’s when we know its time. I like to check the process of the bulb, by pulling some of the dirt away from the bulb to make sure that the cloves have filled out their skins. If this is the case, the garlic is ready to be pulled.
Harvesting Garlic Video
How to harvest your Garlic
When garlic is harvested too soon, it doesn’t store as well or as long. On the flip side, if you wait too long the cloves can burst out of their skins. This makes them susceptible to disease and can shorten storage time. So yes, harvest time is important.
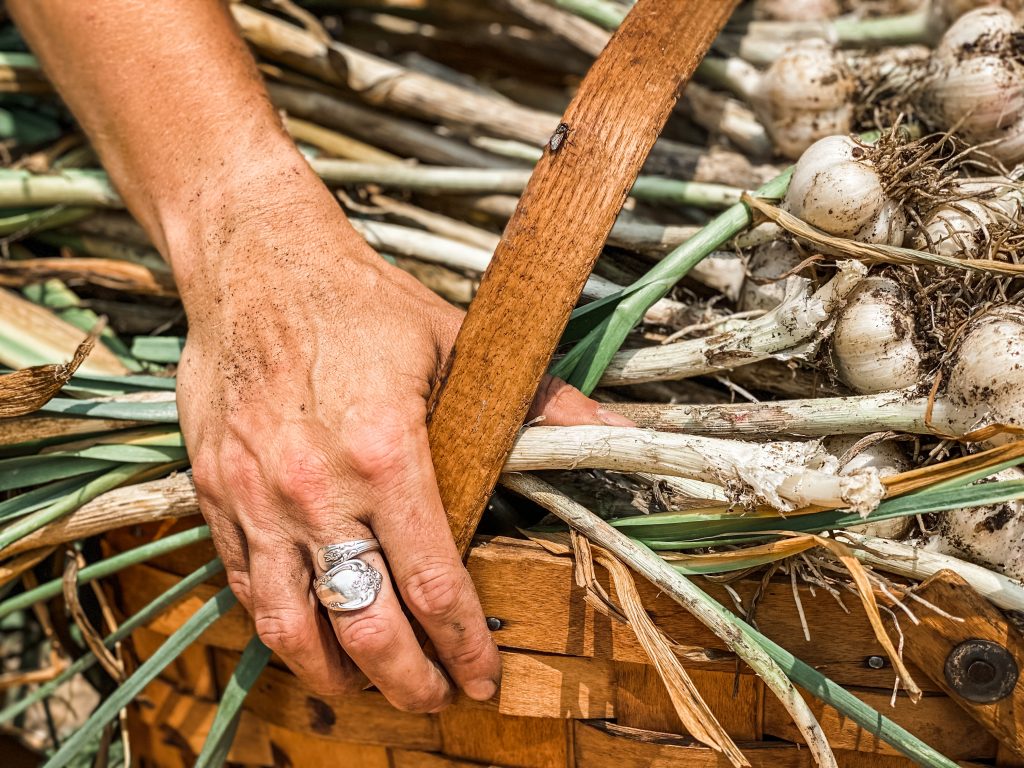
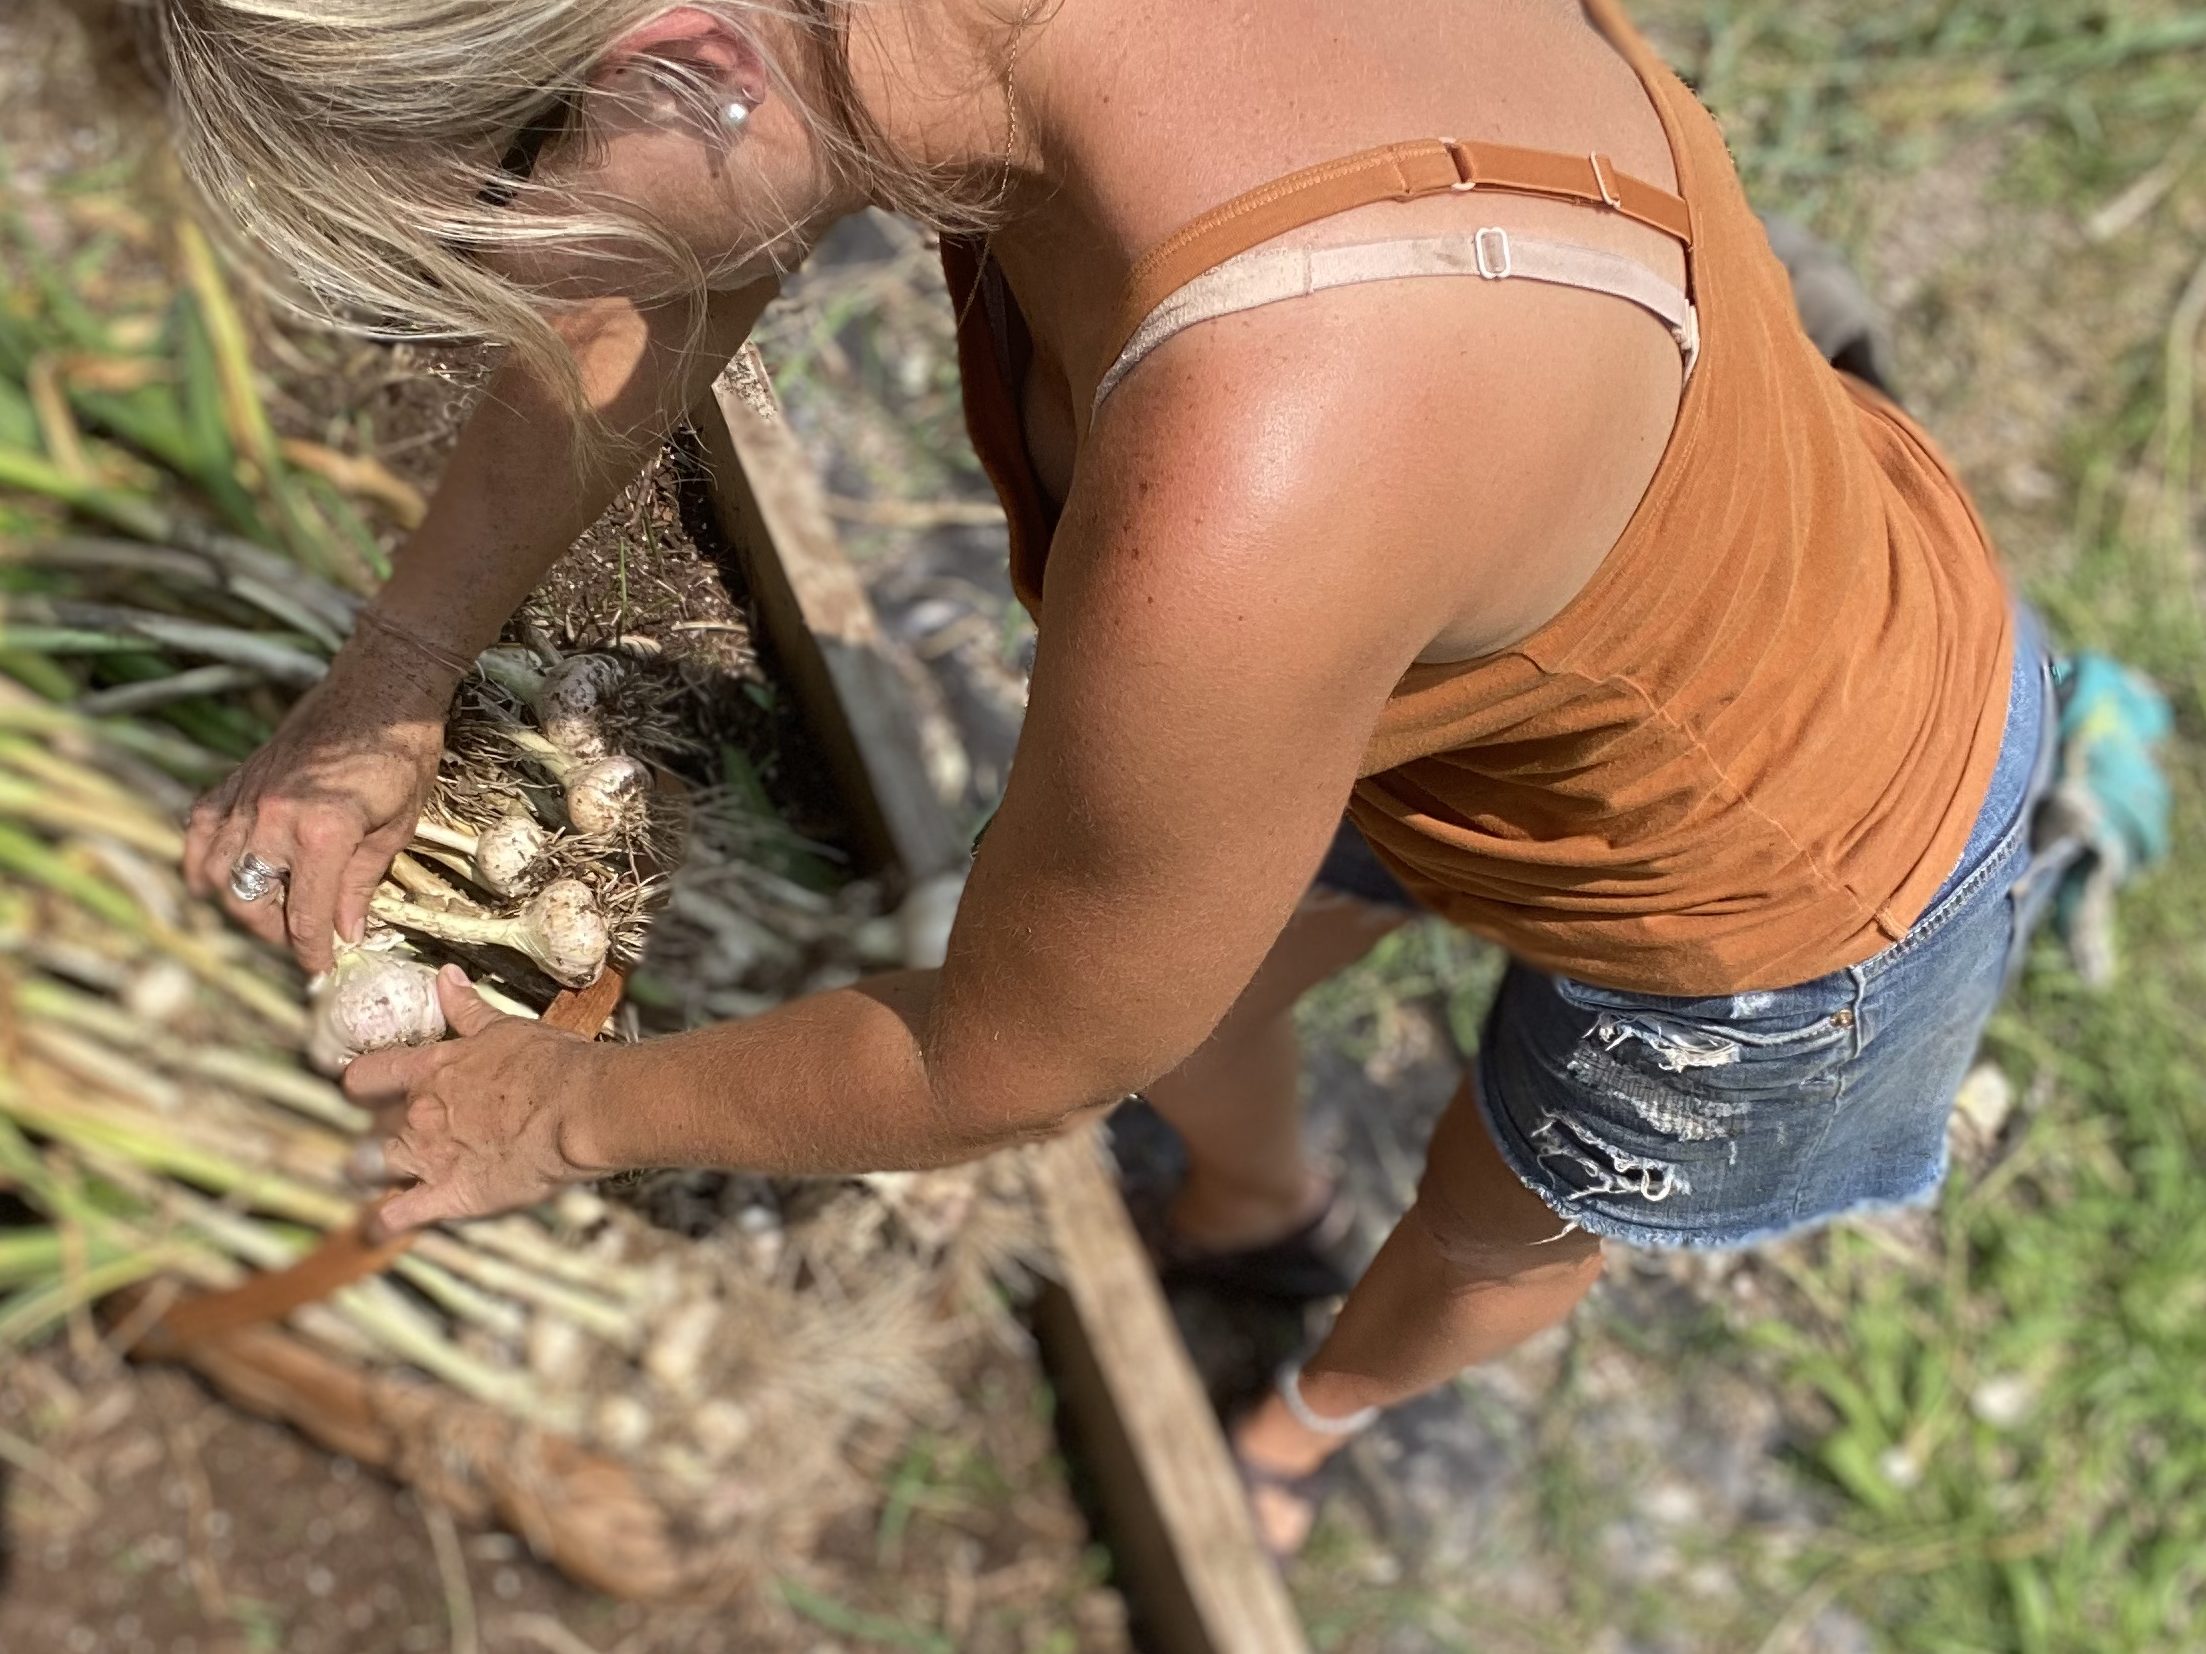
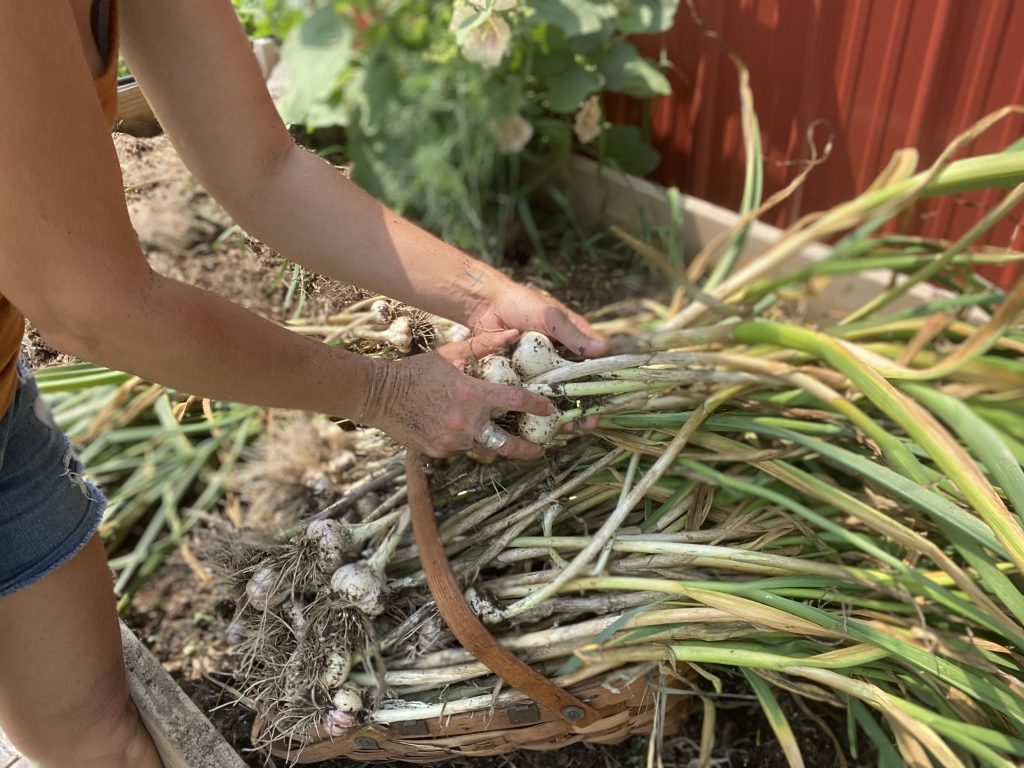
When possible, I like to wait for the dirt to be dry. Many times, the garlic bulbs won’t easily pop out of the ground like onions do. I like to use a small garden fork or shovel to carefully pry the bulbs out of the dirt. Shaking the dirt off gently.
If the bulb pulls loose from the stalk, don’t worry, your garlic bulb is still usable. It just won’t store as well.
The Curing Process
Garlic should be cured or dried for a few days or weeks depending on the environment. I like to lay the bulbs out on in a single layer on a drying table that I keep in a cool, dark corner of my garage. I make sure to brush off any soil clinging to the bulbs. Washing the bulbs can cause them to mold or become mush, so avoid getting them wet. Leave the stalks and roots on as they cure.
You can also bundle the bulbs up in small bunches with twine to hang upside down in a cool, dark place like a basement or garage. Avoid keeping it in the sunlight as it will change the taste of your fresh cured garlic.
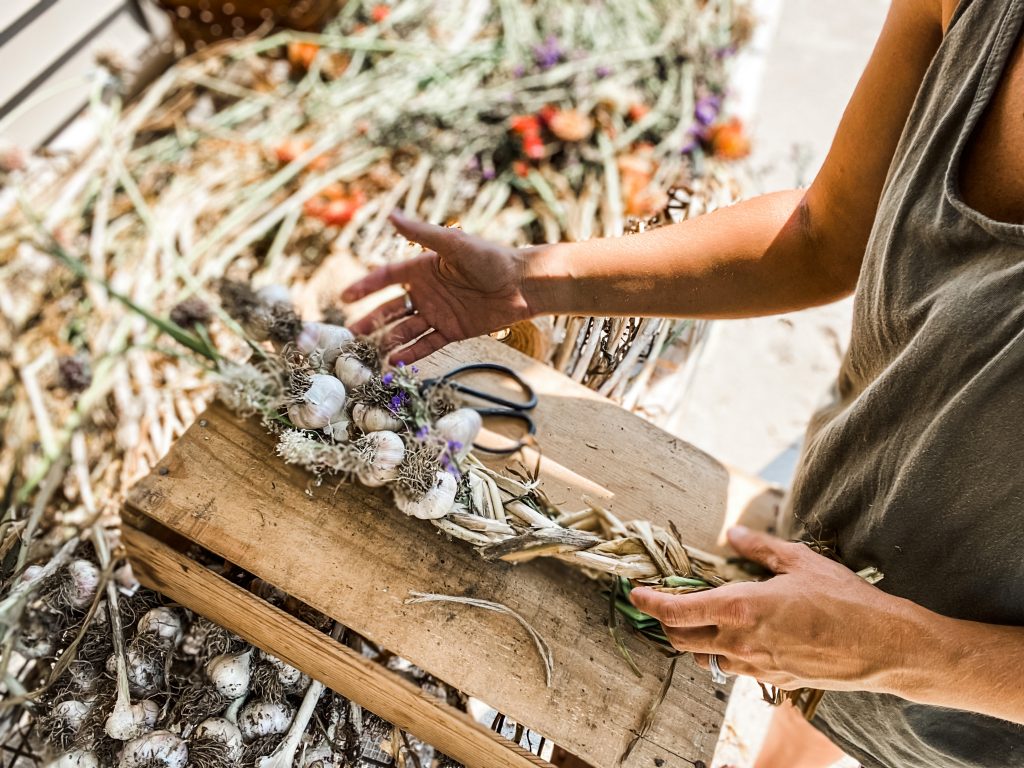
Garlic Braiding
Once the tops and roots have dried, you can cut them off, clean off the paper skins and store in a basket. I love to braid about 9 cloves in with a bit of my dried status or straw flowers. Growing a softneck garlic variety usually works best for this.
Tips for Storing your Harvested Garlic
*Store your garlic in a cool place in the kitchen. If your aren’t braiding it, you can use a mesh bag or breathable basket. When I finish braiding, I like to hang it on the inside of my spice cupboard so not exposed to the sunlight.
*Softneck varieties can be stored for six-eight months. You’ll want to check in periodically to make sure it’s not soft or sprouting. Hardneck varieties may dry out, sprout or soften within about three-four months. This type does better in the freezer.
*Speaking of freezing garlic…to make life a whole lot easier, one of my sisters cooking tricks is to freeze chopped garlic and onions into muffin tins. This process is is simple as pealing the garlic and onion and adding them to a food chopper.
After chopping up, simply pack the muffin tins with the garlic and onion and pop in the freezer for a few hours. Then remove the frozen pucks from the muffin tin and place in a freezer ziplock back. You can either keep the two combined together or make them up separately. I like to use the smaller muffin tins so I can add several to a recipe or just use a little one.
*Making garlic powder using a dehydrator is another one of our favorite ways to preserve garlic.
*I love saving the very largest bulbs to regenerate seeds for fall planting. I also utilize the bulbs that broke away from their stems when I harvested them. Keep in mind the larger the clove that goes in the ground the larger the bulb will be next summer.
Shop this Post
Mini Muffin Tins for Freezing Herbs, Onions, Garlic
Kitchen Aid Food Chopper- the condensed version
Twine for creating Braids or bundles
Breathable Storage Basket
Dehydrator for making garlic powder
Check out our other Garlic posts
How to Grow Garlic | A planting guide
Stay tuned for more from Hearty Sol right here!
More Hearty Gardening Posts!
How to Make Fermented Garlic in Honey
No Weeds in My Garden | How I Lazy Garden
Adding Drip Irrigation to my Raised Beds
HEARTY BUILDS
Building a Flipping Work Bench with FREE PLANS
LIFE ON THE FARM
How We Stay Organized | Living with Less | Purposeful Living
Learn to Sew! Free Simply Sewing Series
Farmhouse Bedroom Makeover | Spring Farm Prep

Affiliate Disclosure & Content Disclaimer
This post may contain affiliate links from a paid sponsor, Amazon or other program. When you use these links to make a purchase I earn a small commission at no extra cost to you. This allows me to continue creating the content that you love. The content in this article is created for information only and based on my research and/or opinion.
Emily T.


DAILY INSPIRATION ON THE GRAM @hearty.sol
it's hip to be square!
View comments
+ Leave a comment