How to Draft a Pattern from Your Favorite Clothes
Do you have a favorite piece of clothing that fits just right? Why not recreate it in different fabrics or sizes by drafting your own pattern? Drafting a pattern from an existing garment is a great way to replicate the fit and style of your favorite clothes. In this guide, we’ll show you how to draft a pattern from your favorite clothes in a few simple steps.
When I was a kid, I would watch my mom sew. I would seam rip Barbie clothes apart so she could have a pattern to make all sorts of new clothes for my Barbies. She’d make us matching Easter outfits, which I adored until I was probably thirteen. When I was 18, my family bought me my first sewing machine. It was brand new and the real deal. I thought I had it made with my shiny new Viking Huskavarna named Lena (who I still have today)!
I really began making my own clothes in high school. First, it was a pair of flannel pajama pants that we made in home-ec (back when that was still a decent priority). Then in college, our costume design project lead to making top hats, combining current prom dresses to create a period piece, mechanical ensembles that would move with fabric and even a boned corset.
Moving on, I worked in both an American Wedding Shop and a Japanese Wedding Kimono shop, where I would help with fittings and hemming. It’s the vintage tops that always get me though. I’ll never find them again, they fit perfectly and so I set off to safe-keep them by drafting a pattern.
I love how garments look and am constantly intrigued at how the right fit can make anyone look and feel confident. I want to teach you how to take your own perfectly fitting item and make it over and over again. In any different kind of pattern or fabric.
Step 1:
Choose your Garment
Select a well-fitting garment that you want to replicate. Choose a simple silhouette without too many complicated seams or details, especially if you’re new to pattern drafting.
Step 2:
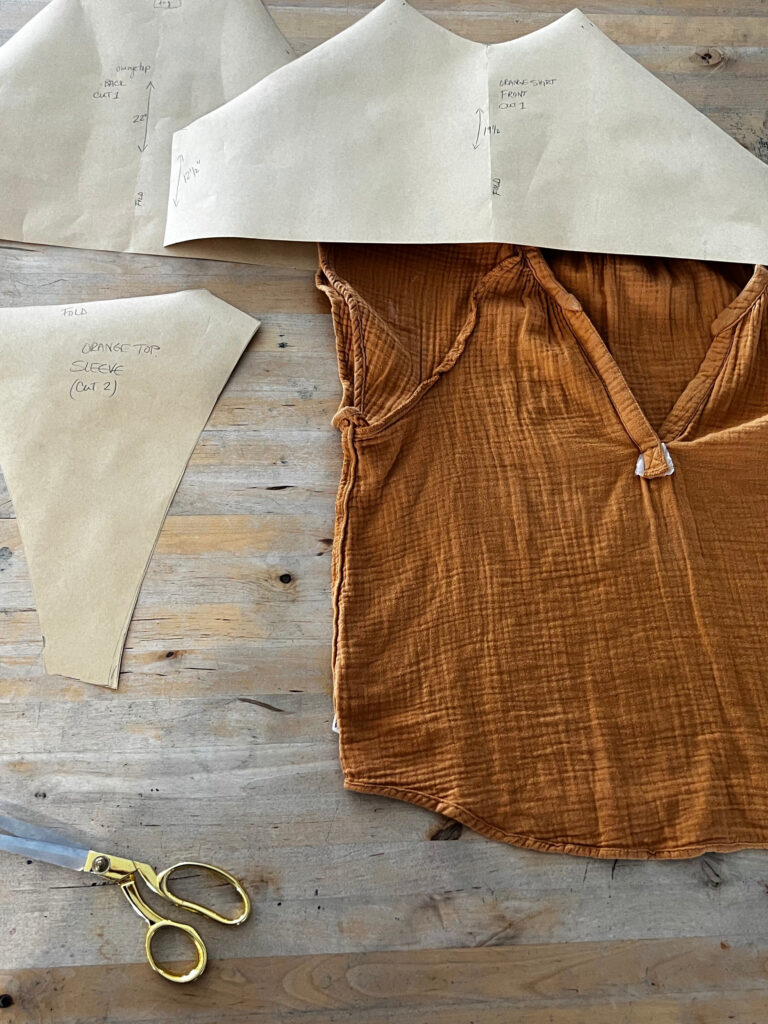
Gather your Supplies
You’ll need:
- Tracing paper, tissue paper or simply a roll of kraft paper
- Fabric and Paper Scissors (not the same)
- Pencil
- Tape measure
- Garment you’re replicating
- Sewing machine
Step 3:
Trace the Garment
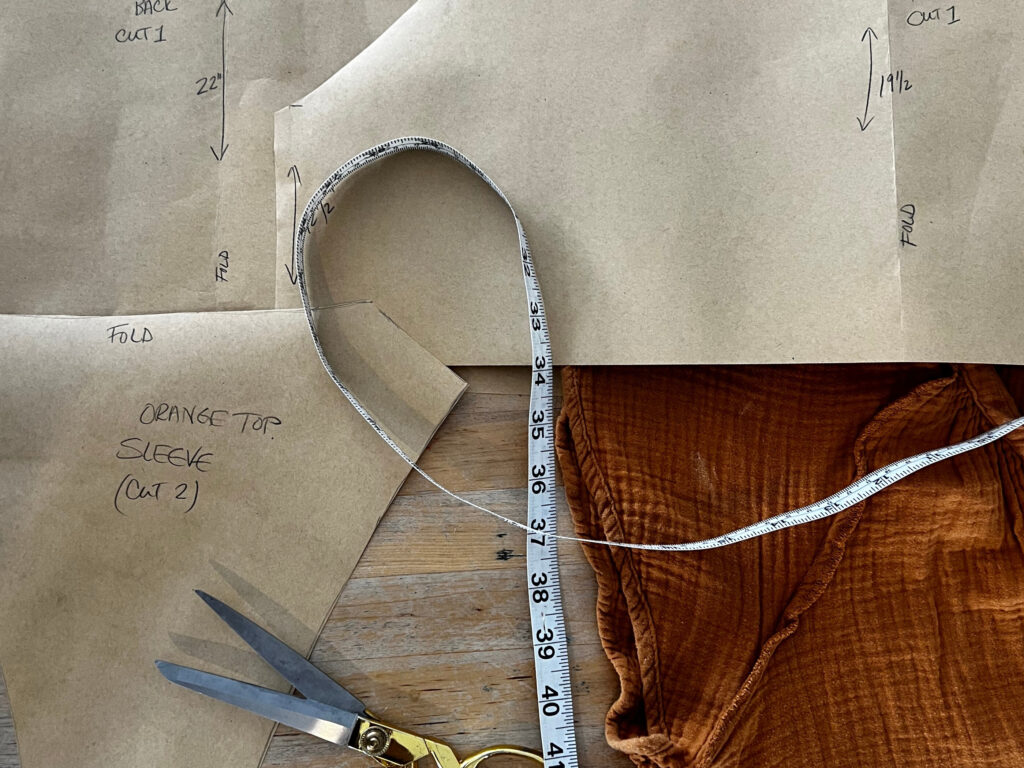
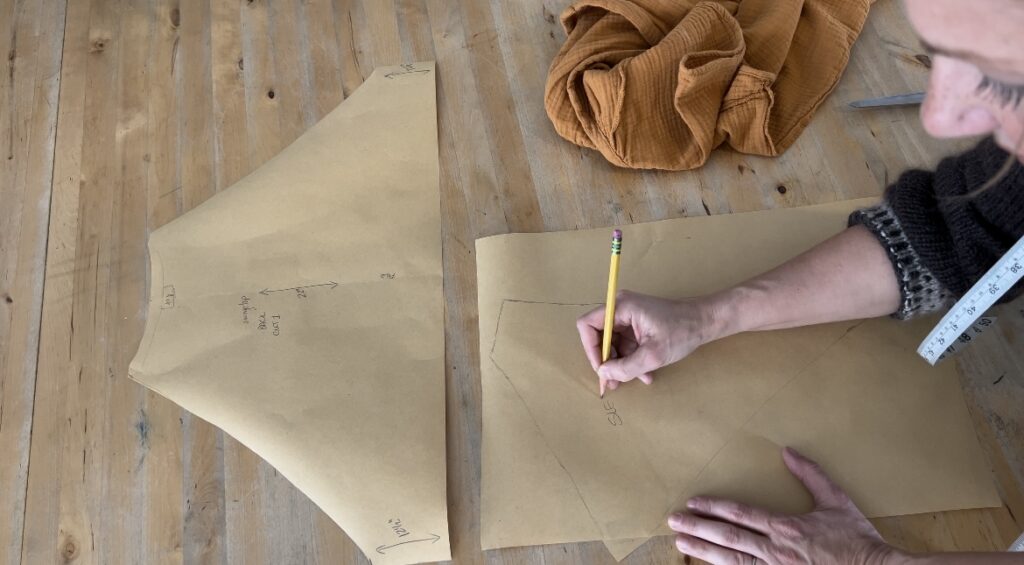
Lay your garment flat on a table. I like to turn the piece inside out to observe the seams and to identify how many pattern pieces there will be. Place the tracing paper under it and carefully trace around each piece of the garment, including the front, back, sleeves, and any other pieces. Stretch out and measure any elastic pieces to make sure you have an accurate measurement.
Step 4:
Add Seam Allowance + Draft your Pattern
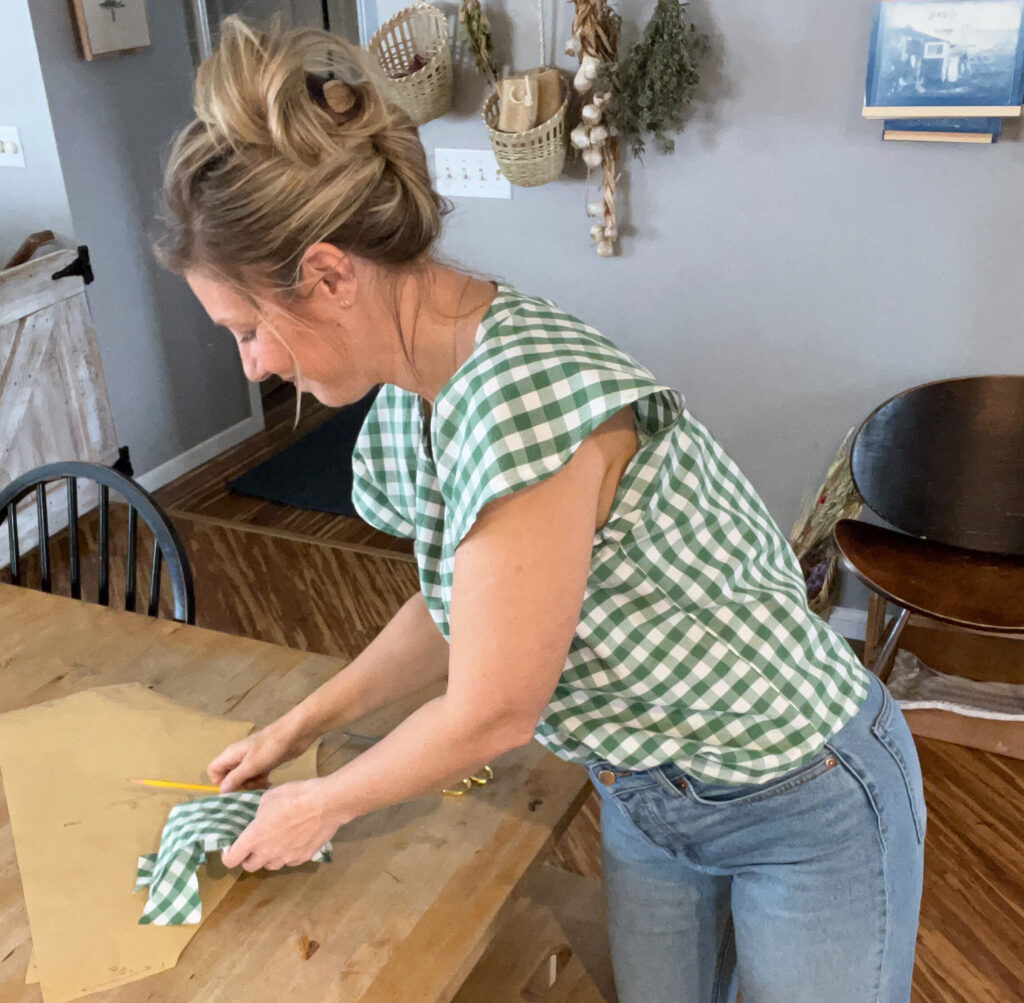
Using your ruler, add seam allowance to your traced pieces. I prefer the standard seam allowance, 1/2 inch, but you can adjust it according to your preference. When it doubt, always give yourself more fabric to work with than not enough. You can always cinch fabric in with a proper tuck, pleat or a piece of elastic. It’s harder to add fabric, if you end up cutting too small.
Step 5:
Label and Cut Out Your Pieces
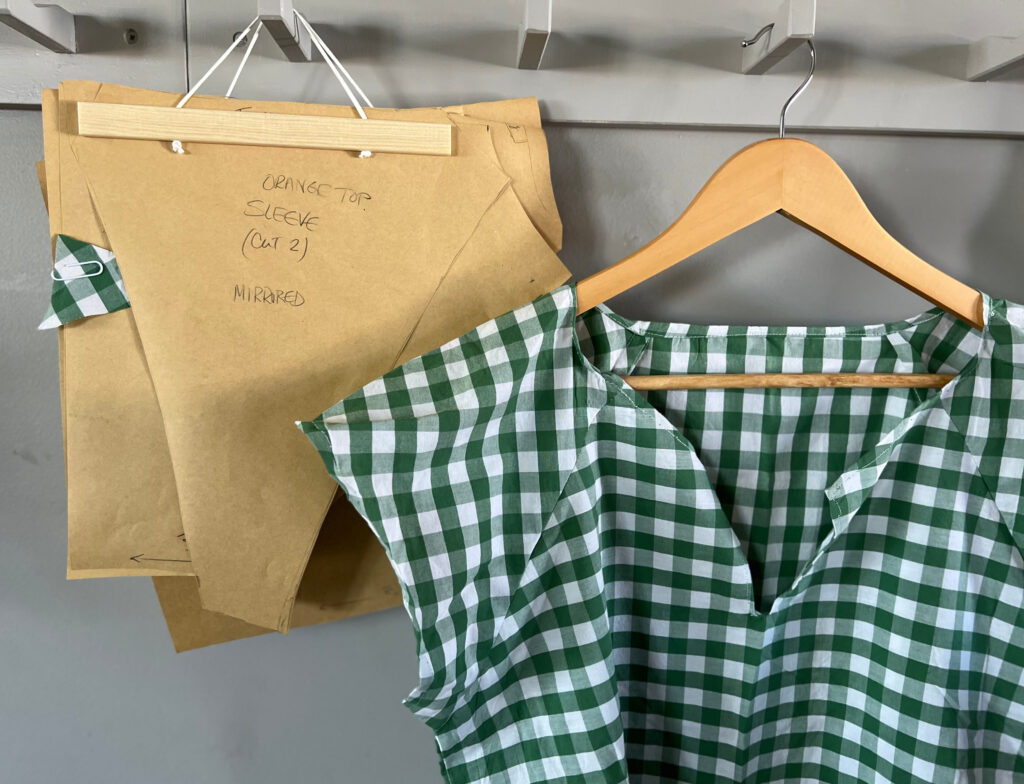
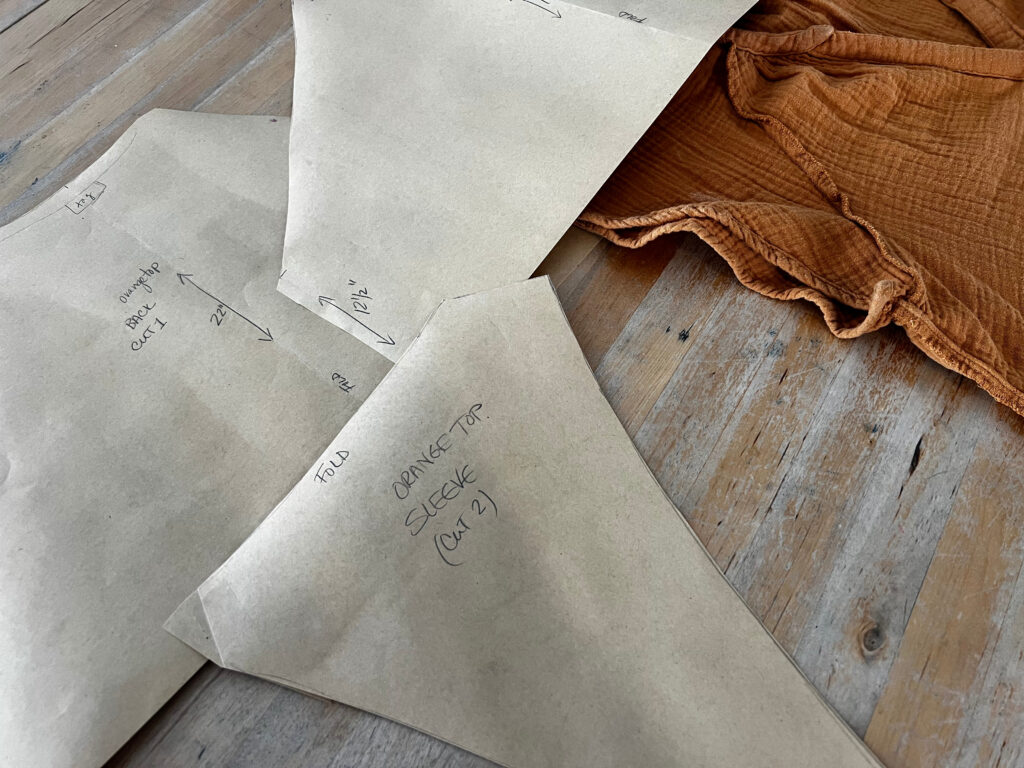
Label each pattern piece with its name (e.g., front, back, sleeve) and any other relevant information, such as grainline direction, folds, how many need to be cut from this piece and in which direction ie. mirrored. I also like to describe the piece that is being replicated, like ‘my favorite green top’ so I have a visual when thumbing through patterns. Once labeled, cut out your pattern pieces.
Step 6:
Test Your Pattern
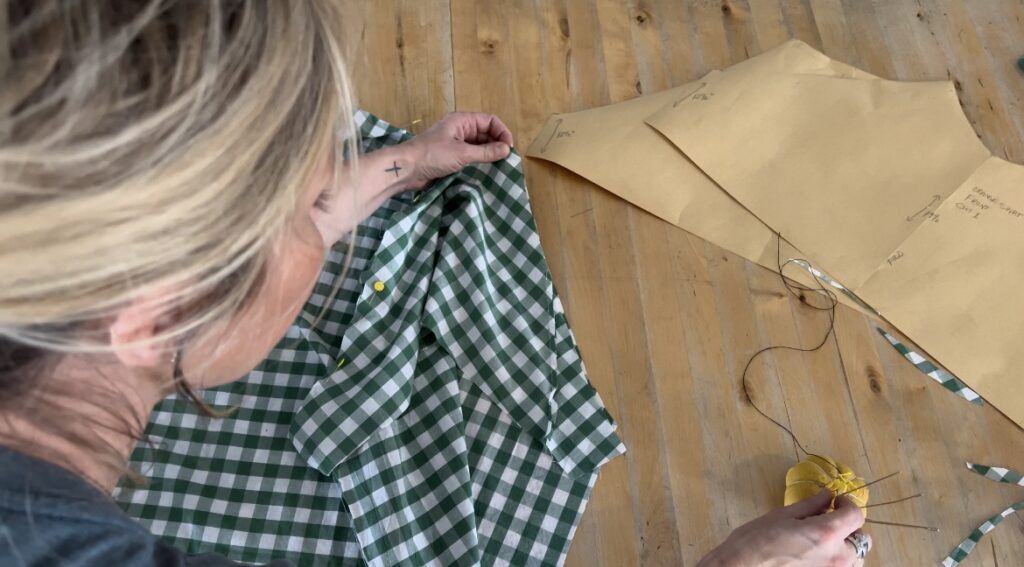
Before cutting your fabric, it’s a good idea to test your pattern by sewing a muslin or mock-up of your garment. This will allow you to make any necessary adjustments to the fit or design.
Questions People are asking about Drafting a Pattern
Yes, you can! Simply take measurements of the garment at key points (e.g., bust, waist, hips) and adjust your pattern accordingly.
Not at all! This method is suitable for beginners and experienced sewists alike.
While this method works best for simple garments, you can use it as a starting point for more complex designs.
You can trace these elements onto your pattern and adjust them as needed to recreate the shaping of the original garment.
Drafting a pattern from your favorite clothes is a fun and rewarding way to customize your wardrobe. With a few basic supplies and some patience, you can recreate your favorite garments in no time. I love saving all our patterns to mix and match for coordinated outfits for the kids and I or just to refresh your spring closet. So why not give it a try and see what you can create?
DIY Pattern Drafting Tutorial Video
Pin this for later!
Our Most Popular Sewing Projects
How to Sew a Flat-Bottomed Zipper Pouch

Affiliate Disclosure & Content Disclaimer
This post may contain affiliate links from a paid sponsor, Amazon or other program. When you use these links to make a purchase I earn a small commission at no extra cost to you. This allows me to continue creating the content that you love. The content in this article is created for information only and based on my research and/or opinion.
Emily T.
DAILY INSPIRATION ON THE GRAM @hearty.sol
it's hip to be square!
View comments
+ Leave a comment