

How to Make Basic Curtains to Elevate your Home | Learn to Sew #8
Curtains are almost all straight sewing, making them an easy project for beginners. In this tutorial, you will find what you need in order to make basic curtains in no time.
Fabric Choices
Choosing your fabric is one of the first steps to sewing your own curtains. There are other things to look for aside from the color you want, including fabric weight, thickness, and grain. Learn about sewing fabric before you go shopping so you know what to look for besides a pretty color or print. I tend to air on the side of simplistic, and use what I have. But for extra special circumstances, I might head to a fabric store to pick out a pretty fabric.
(This post may contain affiliate links which means I make a small commission at no extra cost to you.)
Questions to Consider when making your own Curtains
Before picking up your fabric, think about how you would like your curtains to look.
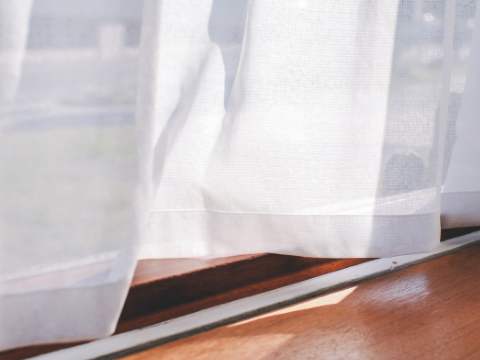
- Do you want the curtain to go to the ceiling?
- Do you want the curtain to hit the floor, or is there a radiator that you want to leave unobstructed?
- How thick is the curtain rod you plan on using?
- Do you want the curtain in the window recess or will it cover the entire window and trim?
- How full do you want the curtain?

Calculate the Length of Each Panel
Use this formula to calculate the amount of fabric you’ll need so the fabric is wide enough to create each panel:

Calculate the Width of your Curtains
Many windows need more fullness than one length of fabric will achieve. A simple rule of thumb is that a curtain is one and a half to two times the width of the area it is meant to cover. A heavier fabric will provide fullness that a lightweight fabric can not. The lighter the weight of the fabric, the more fullness it will require.
For appearance and proper hanging, it is best to have at least a half-width of the original fabric when you need to add width to a panel. If you only want a couple of inches more than the original length of fabric will offer, cut away from the first length of fabric and add it on with the second length seamed to the first length of fabric.
Add more panel lengths to achieve the desired width. A 1-inch hem is usually sufficient for the sides of curtains.
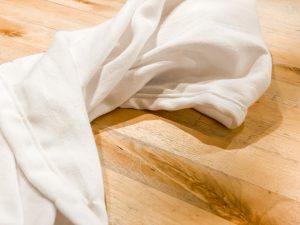
Sewing your Curtains
The next step is to hem around all of the unfinished edges of your fabric. I use a straight stitch with a rolled hem and then be sure to press all of those hems when you are finished sewing. This will give your curtains a professional, finished look!
Thanks, but I NEED SIMPLE.
Minimal sewing, measuring and time.
Grab yourself a tension rod, (these come in several different lengths) a couple of pretty tea towels from the dollar section at Target or like these (I love these tea towels!) Oooh, and while you’re at it, grab a couple more and make a simple apron out of them! And don’t forget, the secret to all of this curtain-making magic- my favorite sliding curtain clips!
Voila! Don’t you love it when you can save time, effort and the whole math thing and still get an amazing result that you did yourself!?
3 ways to make your own basic curtains video:
OTHER SIMPLE SEWING SERIES POSTS
- Basic Sewing Essentials for a Beginner
- Threading a Sewing Machine
- Threading a Bobbin
- How to Sew a Seam
- Patching Pants
- Sew a Pillow Cover from an up-cycled Sweater
- Making a Zipper Pouch
Pin it for later!
HEARTY SEWING PROJECTS TO INSPIRE YOU.
Sewing your own Tank Top Making a Tie Mask Making a Girls’ Winter Dress Making a Reversible ApronMaking a Waldorf Doll Making a Bench Slip Cover Making a Leather Apple Watch Band Making a Bow Tie
WHAT ARE THE PROJECTS THAT YOU WANT TO LEARN TO MAKE? COMMENT BELOW!

Affiliate Disclosure & Content Disclaimer
This post may contain affiliate links from a paid sponsor, Amazon or other program. When you use these links to make a purchase I earn a small commission at no extra cost to you. This allows me to continue creating the content that you love. The content in this article is created for information only and based on my research and/or opinion.
Emily T.


DAILY INSPIRATION ON THE GRAM @hearty.sol
it's hip to be square!
View comments
+ Leave a comment