

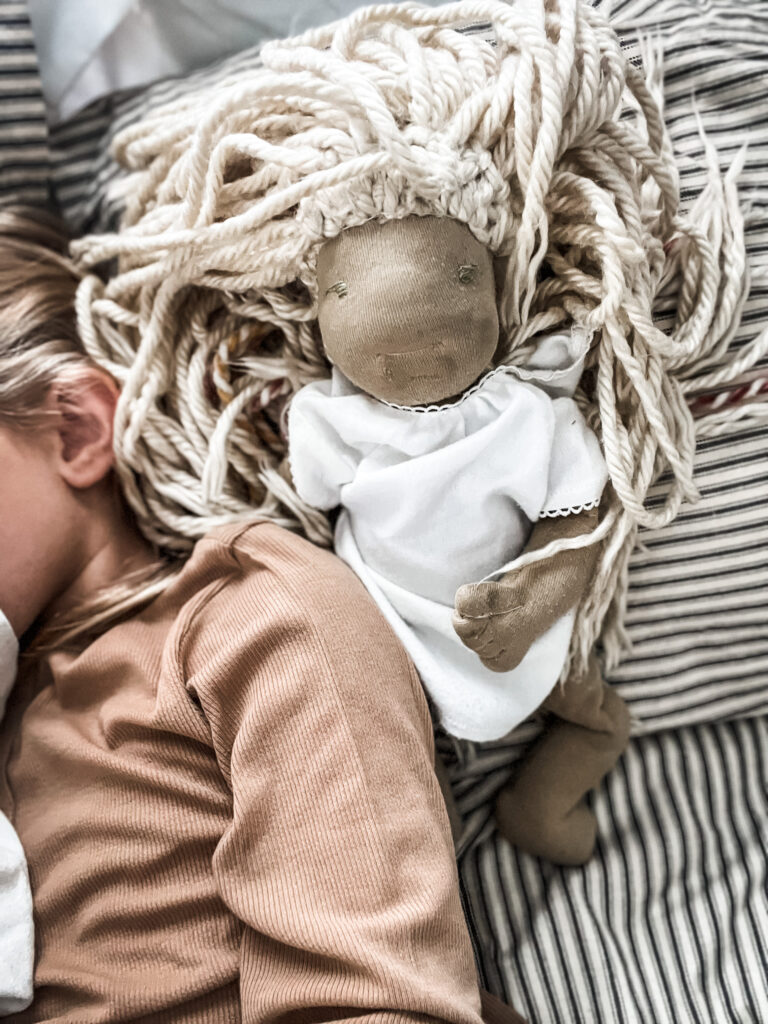
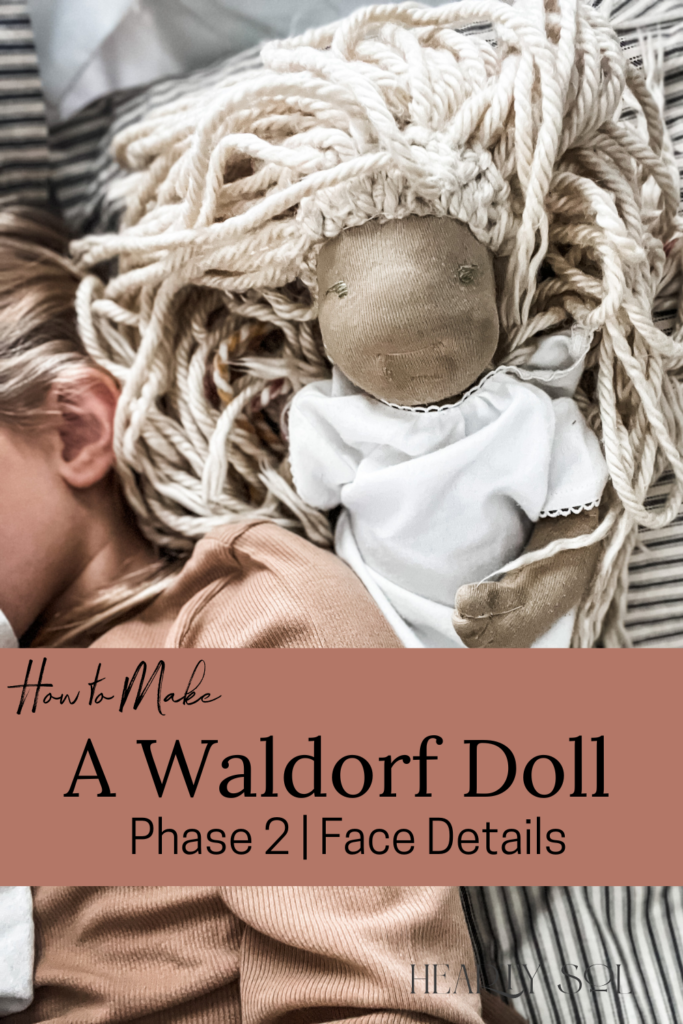
How to make a Waldorf Doll Face | Facial Details
In this tutorial I will be walking you through the specific steps in order to design and create your Waldorf Dolls Facial details.
If you made it through Phase 1 of Making a Waldorf Doll, congratulations! If you landed here and still need to view phase one’s tutorial, you can check that out, here!
Phase 1 Video Tutorial:
In this next phase, I will show you just how to cover the head with doll skin fabric, embroidering the eyes, lips and adding coloring to the cheeks and lips (optional).
(This post may contain affiliate links which means I make a small commission at no extra cost to you.)
Now that you have felted your doll’s facial features to your liking we need to create the skin that will go over your felted face. Remember that the felted features will press in significantly after you put the doll skin on, so it’s good to bulk the features up a bit.
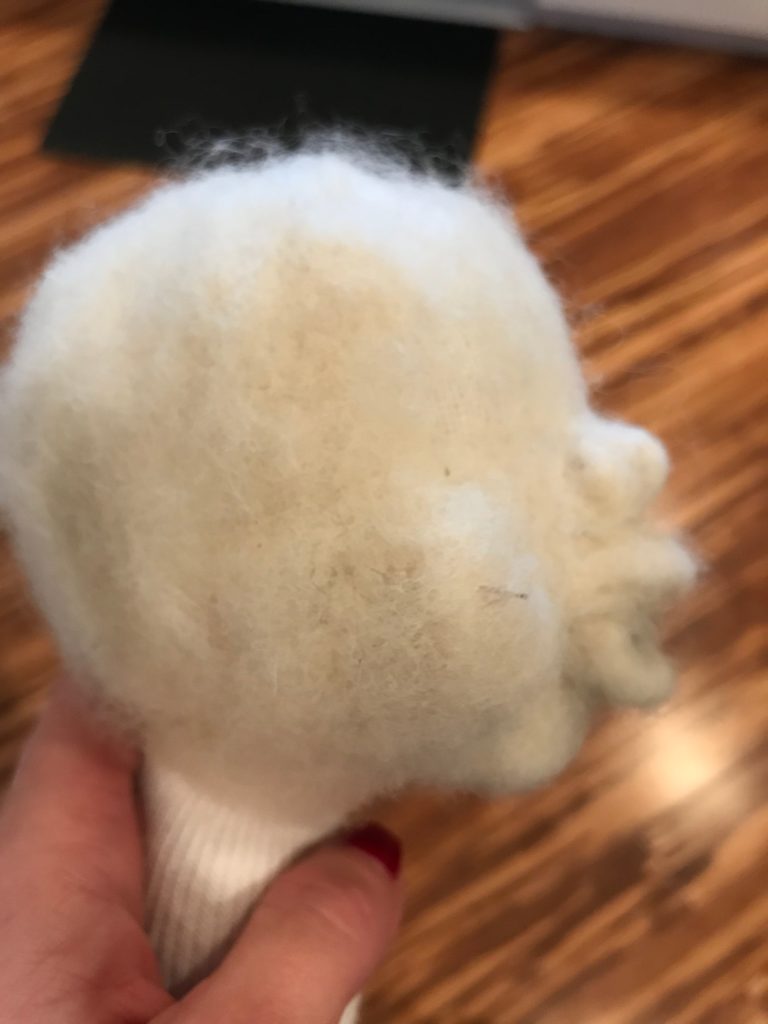
Making the fabric skin for your Waldorf Dolls face

To begin, grab your head you just finished, and the piece of fabric knit piece. You will want to fold your skin piece in half at this point, keeping the grain going vertically.
Lay your head on the fabric, with the face of the head pointing towards the center fold. You want to have it on about a 45-degree angle- shown in the picture above.
Using a dissolvable pen, trace around the shape of the head in a half U shape- leaving about an inch of space before the fold to create the neck. I start at the top- back of the head and trace closely to around the back of the neck, then draw a line straight down.
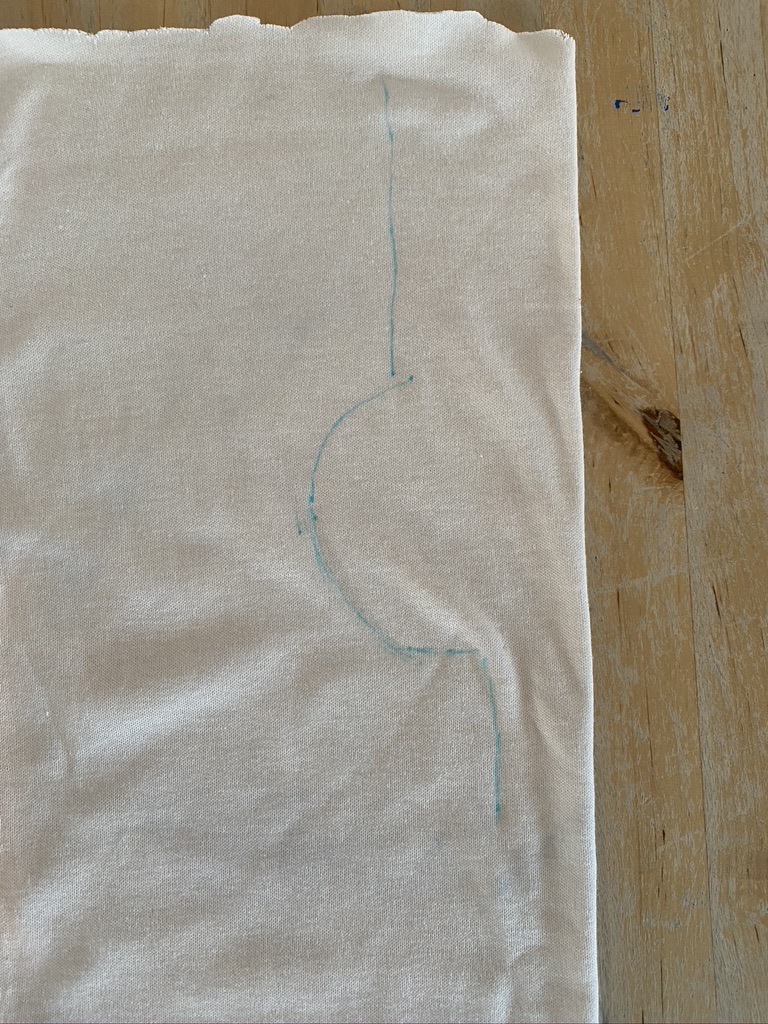
DO NOT CUT THIS FABRIC OUT, YET.
Stitch your face fabric
Using a triple stretch stitch (or whatever stitch you were using previously) and sew on the line.
NOW, cut out your head skin piece.
Turn your head skin right-side out.
Press your neck fabric so that the seam is in the center back.
You will now carefully insert the head into the skin fabric, inserting the neck of the head into the top of the skin fabric. I use my hemostat clamp to go up through the bottom of the neck fabric, clamping the bottom of the neck of the doll and pulling it through the fabric.
You may feel like you are performing surgery on this doll, at this point and yes, you kind of are ;).
Once your head is completely inside the skin fabric and you have a good 1.5-2 inches of fabric above the head, you will want to use your cotton string to tie off around the neck again.
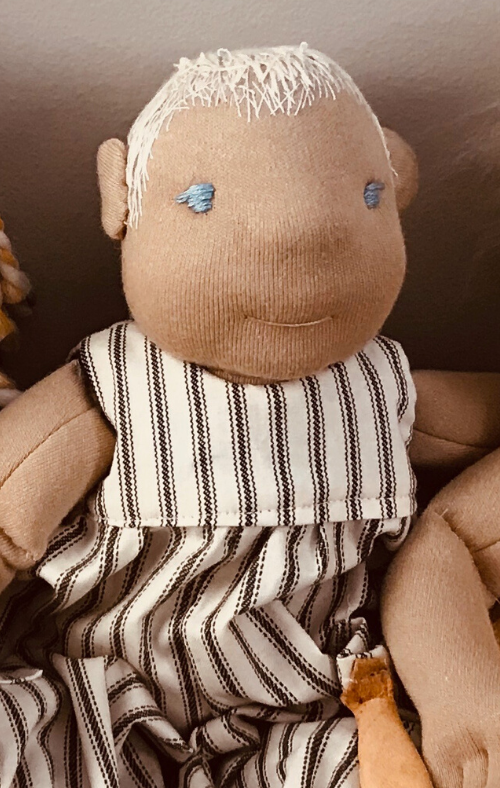
Embroidering the mouth
Find the area between both upper and lower lips of the mouth. Take a strand of mouth colored floss, about the size of the doll’s body. Divide that strand in half. Thread one side of the floss (leave all strands together) onto your large doll making needle. Enter the head on one side of the mouth.
Pull through, leaving a tail. Rethread the opposite end, and enter at the opposite side of the mouth. Tie the two tails together tightly to make a gentle smile on the doll’s face.
Securing the top of the head
Why did we wait for this step until now, you might be asking yourself?
We wait until the lips are finished so that we could have enough skin fabric to define the lips and nose. Once the skin fabric is secure to the top of the head it is so tightly stretched that it is difficult to pull that skin fabric back down where we want it.
Moving on!
If your skin fabric is correct you will have about 1-1.5 inches of fabric that goes up from your doll’s head.
Fold the fabric over a few times, pulling it tightly up from the front of the face. Secure this with pins. You will need to work through getting the wrinkles out a little a time using a combination of pins and sewing.
Remember that this part will be covered up with a wig and the stitching and potential wrinkles will all go away.
It is important to work the wrinkles away from the forehead, however.
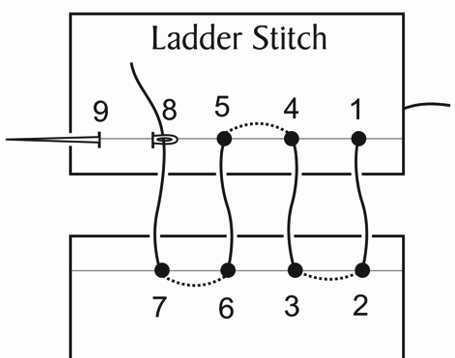
Secure all of the skin fabric on top of the head using a ladder stitch.
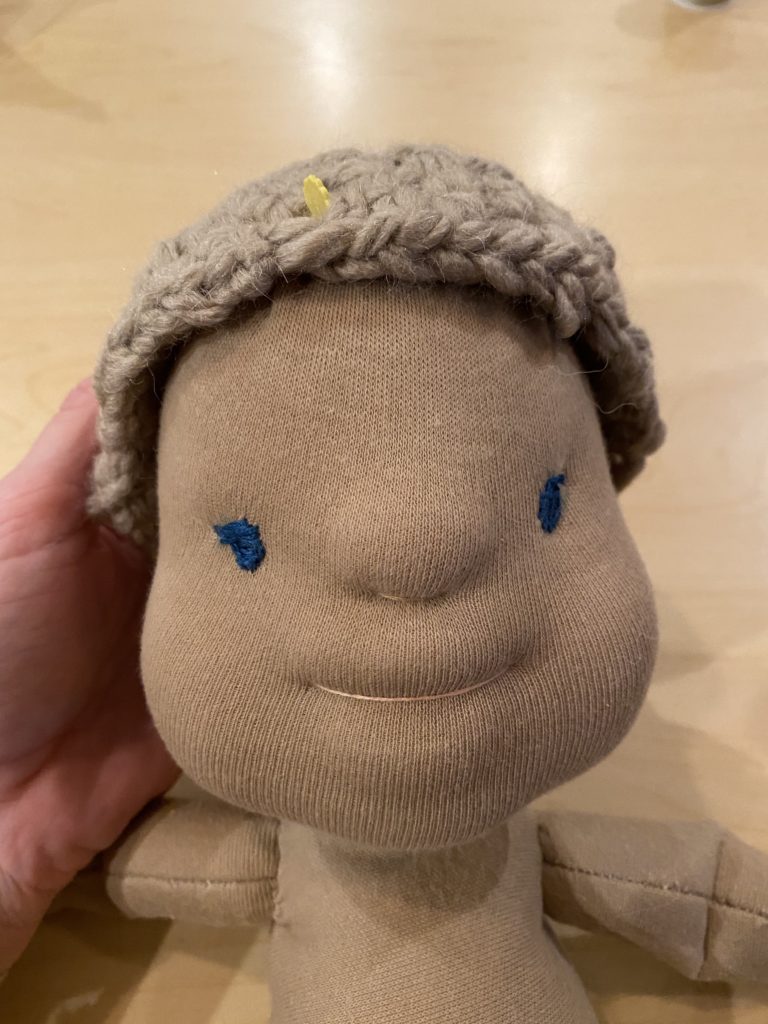
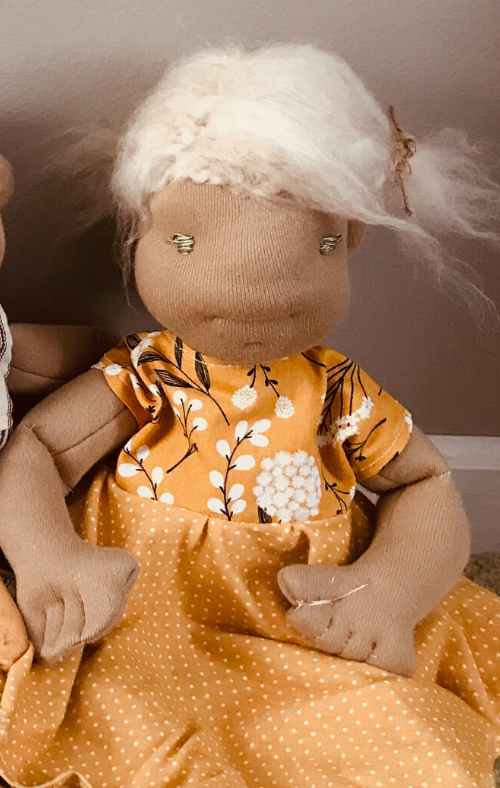
Embroidering the eyes
Using your doll’s eyeline as a guide, you can begin by marking where you would like your eyes by using round pins. Try to evenly space them on either side of the nose.
Remember to look at this from all angles of the face and make changes until you are comfortable about where the eyes will go. After you have determined the shape of the eye you would like, use your erasable marking pen to mark where the eyes will be placed.
Establish the embroidery floss color that you will use for the eyes and cut about 15″. You will divide that strand into 2 sections of 3 strings. Now you have the exact same amount of string for each eye.
Begin by threading your string onto your long doll needle. No need to knot this thread.
To start embroidering the eye, enter the head from the bottom of your eye circle and come out the top/back of the head. You can then unthread your needle and leave just a small tail (for tying) at the top of the head.
Rethread the long end of the floss to your embroidery needle.
Begin embroidering 3 vertical lines going from the bottom to the top of the eye. These three lines will provide the structure to maintain a circular eye as you do your horizontal stitches
After about 3 vertical stitches, you can switch to embroidering horizontally across the eye. I like to do the bottom half of the eye first.
I then move to the upper half of the eye.
To complete the eye, rethread the end of the floss to your large needle, and go back through the eye and out the back/top of the head. Tie the tail ends together.
Repeat with the other eye.
Waldorf Doll | Face Detail Video Tutorial
Materials I use for making a Waldorf Doll:
Wool (you’ll need 5-6 of these)
Waldorf Doll body pattern
Doll Footed PJs Pattern: https://www.etsy.com/listing/227125447/doll-footed-pajamas-pattern-for-the-wild?ref=yr. I love making several of these PJs for my children’s doll as it is another protective layer for the doll. These PJ’s also seemed to keep their skin cleaner. They are easier to remove and clean than to spot clean your doll. It also protects their joints from getting directly tugged on. Our kids tend to carry their Waldorf dolls around by their limbs and it seems they are a bit more protected when they have their jammies on.
This is the Mohair yarn that I used for making the wigs in every different color thinkable!
My extra special sewing scissors that I’ve had for 15 years!
Doll skin fabric
A sewing machine similar to mine
Embroidery needles
Erasable marking pen
Hemostat used for stuffing and positioning
Fleece lining for doll’s body
Crochet hook (you don’t need all of these, but it’s a pretty good deal!)
Beeswax crayon for adding color to cheeks and lips
How to Clean your Waldorf Doll
Here’s our special cleaning recipe that we use on everything from getting slime out of the carpet to cleaning up our Waldorf Dolls! We use this spray to spot clean our dolls. Rinse with a hot rag.
Grab your FREE Waldorf Doll Pattern HERE!
Other Waldorf Doll Tutorials
How to make a Waldorf Doll | Making a Doll Head
Making a Wig for a Waldorf Doll
How to Make a Waldorf Doll | PHASE 4 | the Body
Waldorf Doll Video Tutorials
Watch all of my Waldorf Doll Making Tutorial Videos.
Questions?
If you have any questions, leave them below and I will do my best to answer them!

Affiliate Disclosure & Content Disclaimer
This post may contain affiliate links from a paid sponsor, Amazon or other program. When you use these links to make a purchase I earn a small commission at no extra cost to you. This allows me to continue creating the content that you love. The content in this article is created for information only and based on my research and/or opinion.
Emily T.


DAILY INSPIRATION ON THE GRAM @hearty.sol
it's hip to be square!
View comments
+ Leave a comment