

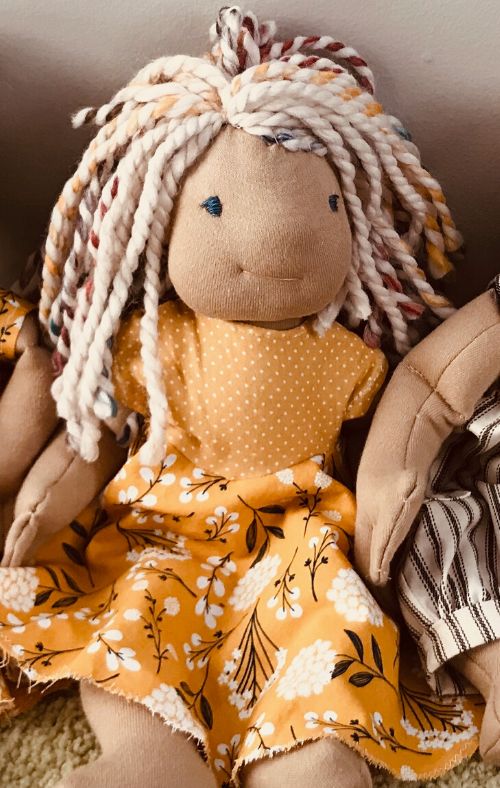
How to make a Wig for a Waldorf Doll
In this tutorial, I will show you how to add a wig or hair to your Waldorf Doll!
There are a few different methods for making a wig or adding hair to your doll and I am delighted to show you what I find the loveliest styles of wig-making.
This post may contain affiliate links which means I make a small commission at no extra cost to you.
In case you are just landing here and missed the first 2 phases of making this Waldorf doll, here are the tutorials for making the head, face and embroidering the mouth and eyes.
WALDORF DOLL | MAKING THE HEAD TUTORIAL | PHASE 1
WALDORF DOLL | FACE DETAIL VIDEO TUTORIAL| PHASE 2
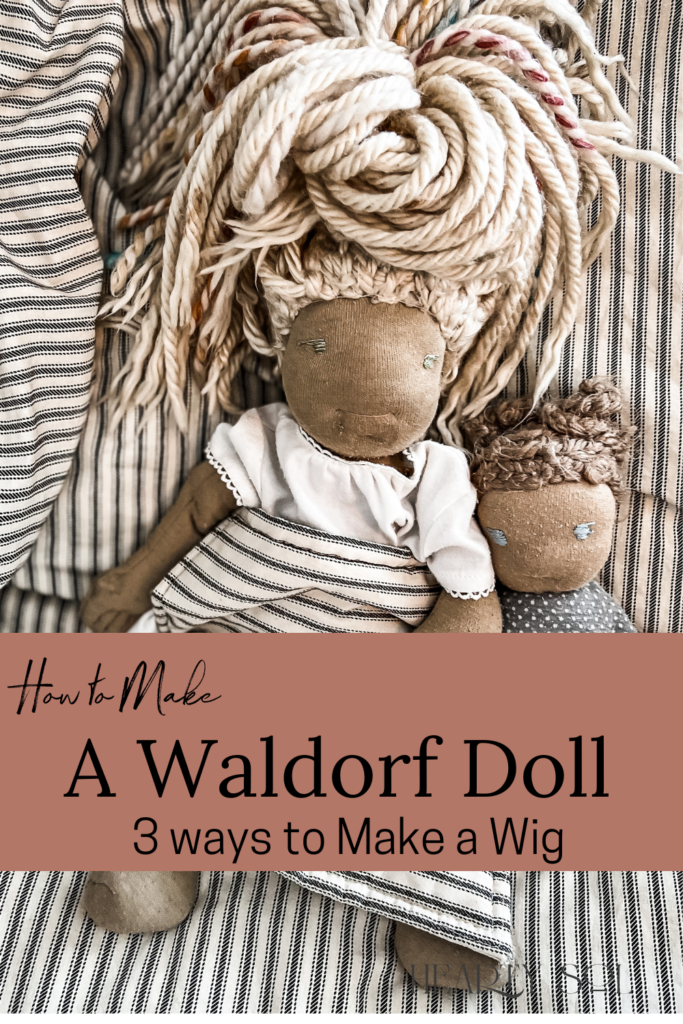
Three different methods of making doll hair.
- Crocheting a cap of mohair or wool and brushing it out for a more natural effect.
- Crocheting a cap and adding lengths of yarn or mohair (this could also be brushed out if you so choose).
- Embroidery for shorter hair or boys hair
Each of these methods takes some time but the outcome can be amazing! I just love the messy hair dolls that we have. They look so sweet, innocent and enduring! This type of wig making reminds me of a baby’s hair when they just wake up from a nap.
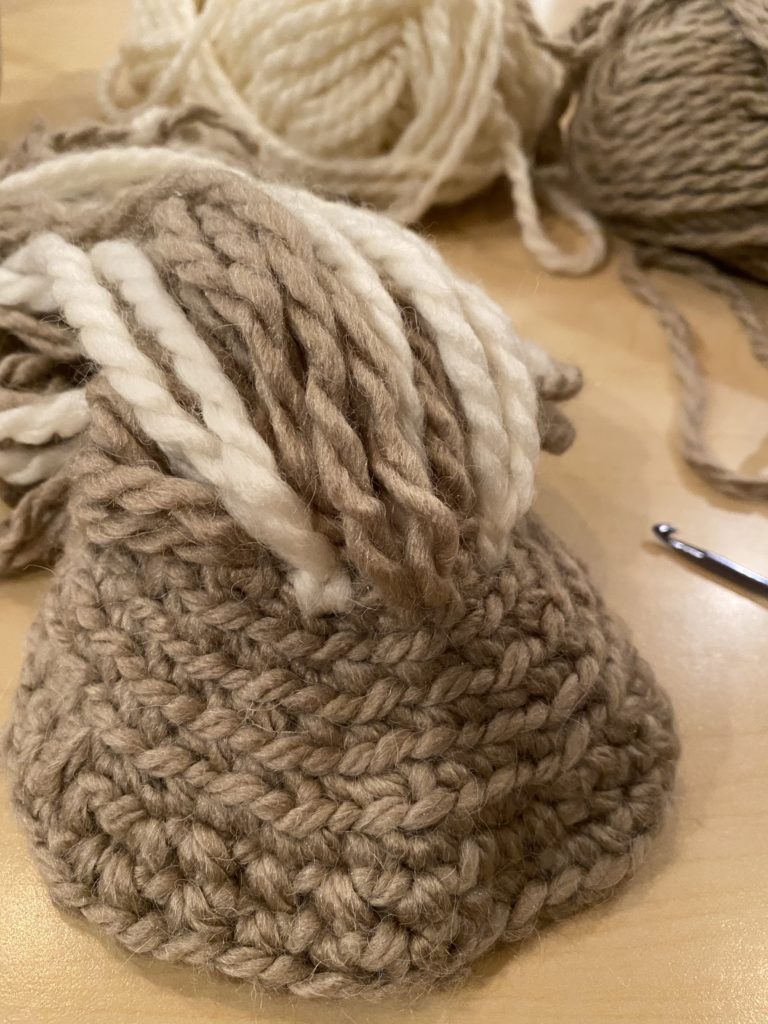
Making a crochet cap for a Waldorf Doll
The easiest method I have found to learn how to crochet is by watching someone do this.
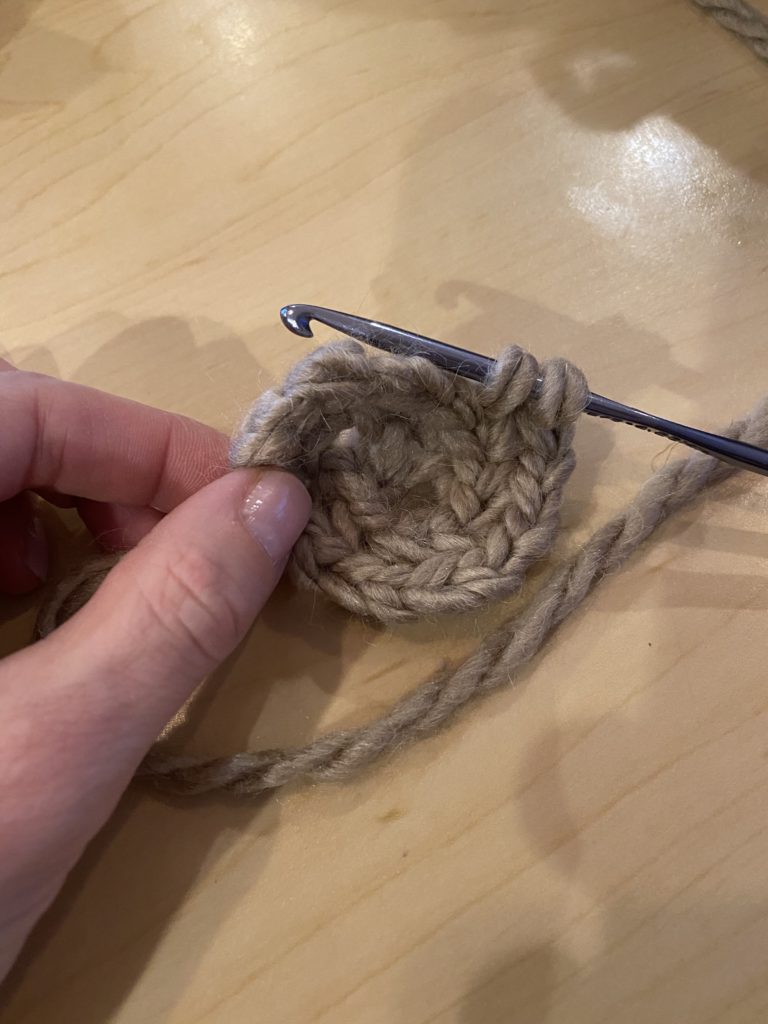
Start with a magic ring of 6 stitches, working your way around and adding stitches to fit the size of your dolls head.
The 1st and 2nd method of creating a Waldorf Doll Wig
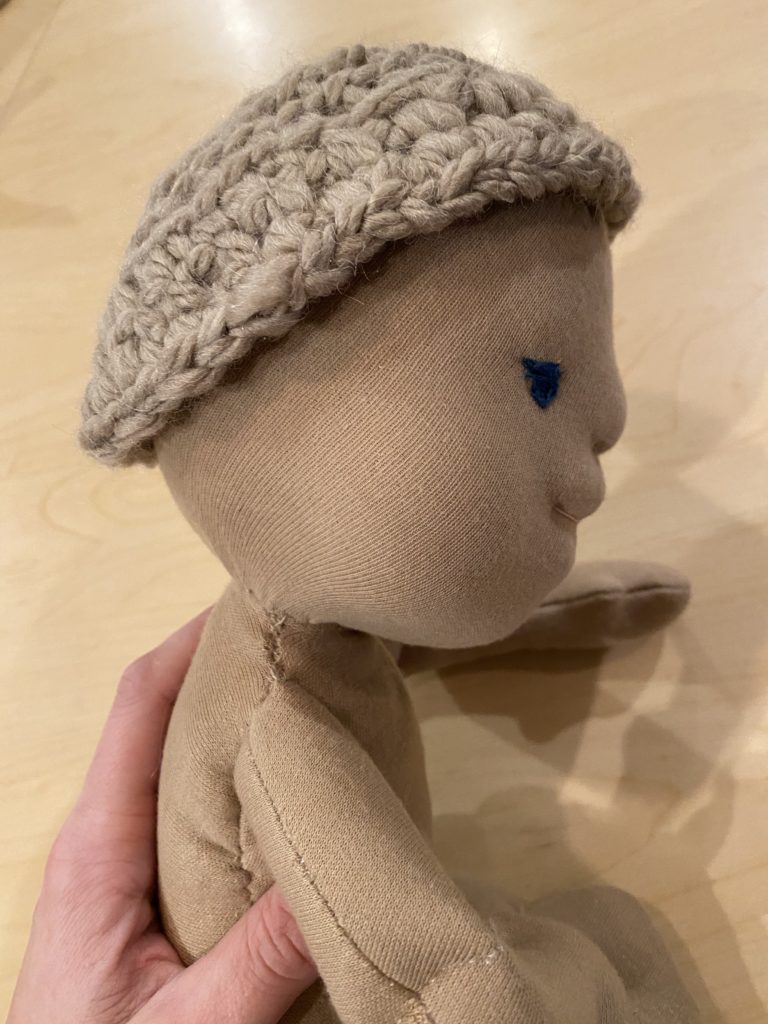
Both methods will require us to start with a crochet cap.
The first Waldorf Wig method
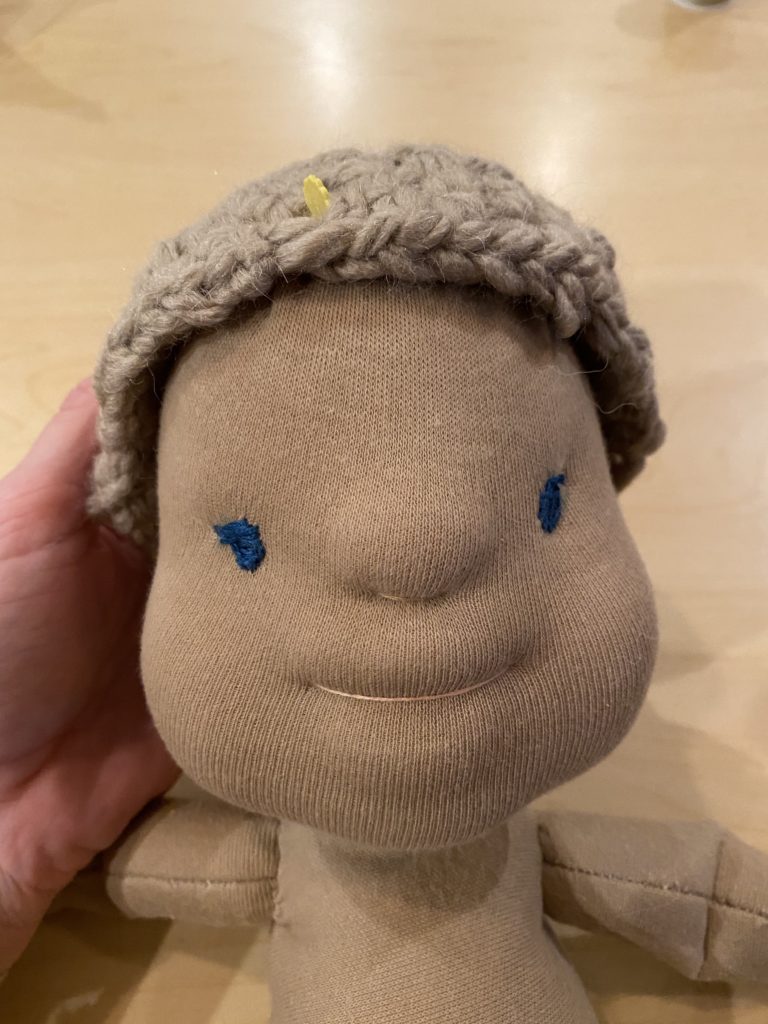
The first will require a brush like this, for combing out the fibers in the yarn. I like to put the cap on my knee to brush it out. You will keep brushing around until you are happy with how the hair looks.
Remember to brush the outside edge too! This will help blend the cap to the face and give it a more realistic look.
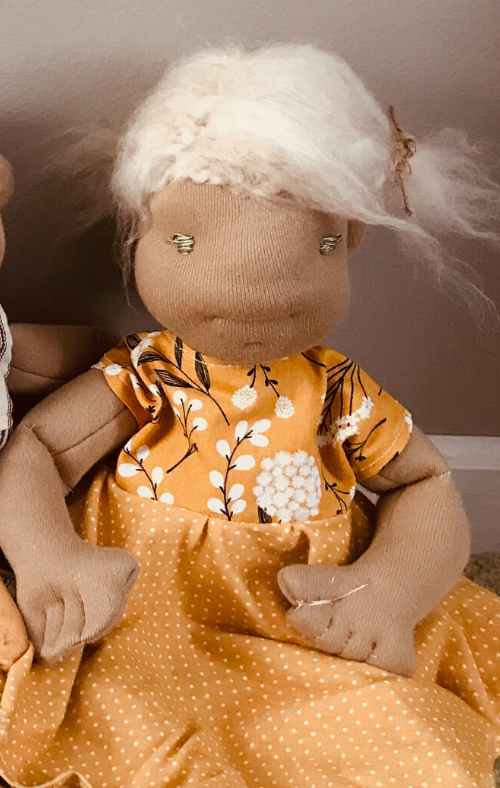
Style this type of hair how you’d like. I put tiny little pigtails in my daughter’s doll. I do also love to have it just naturally messy!
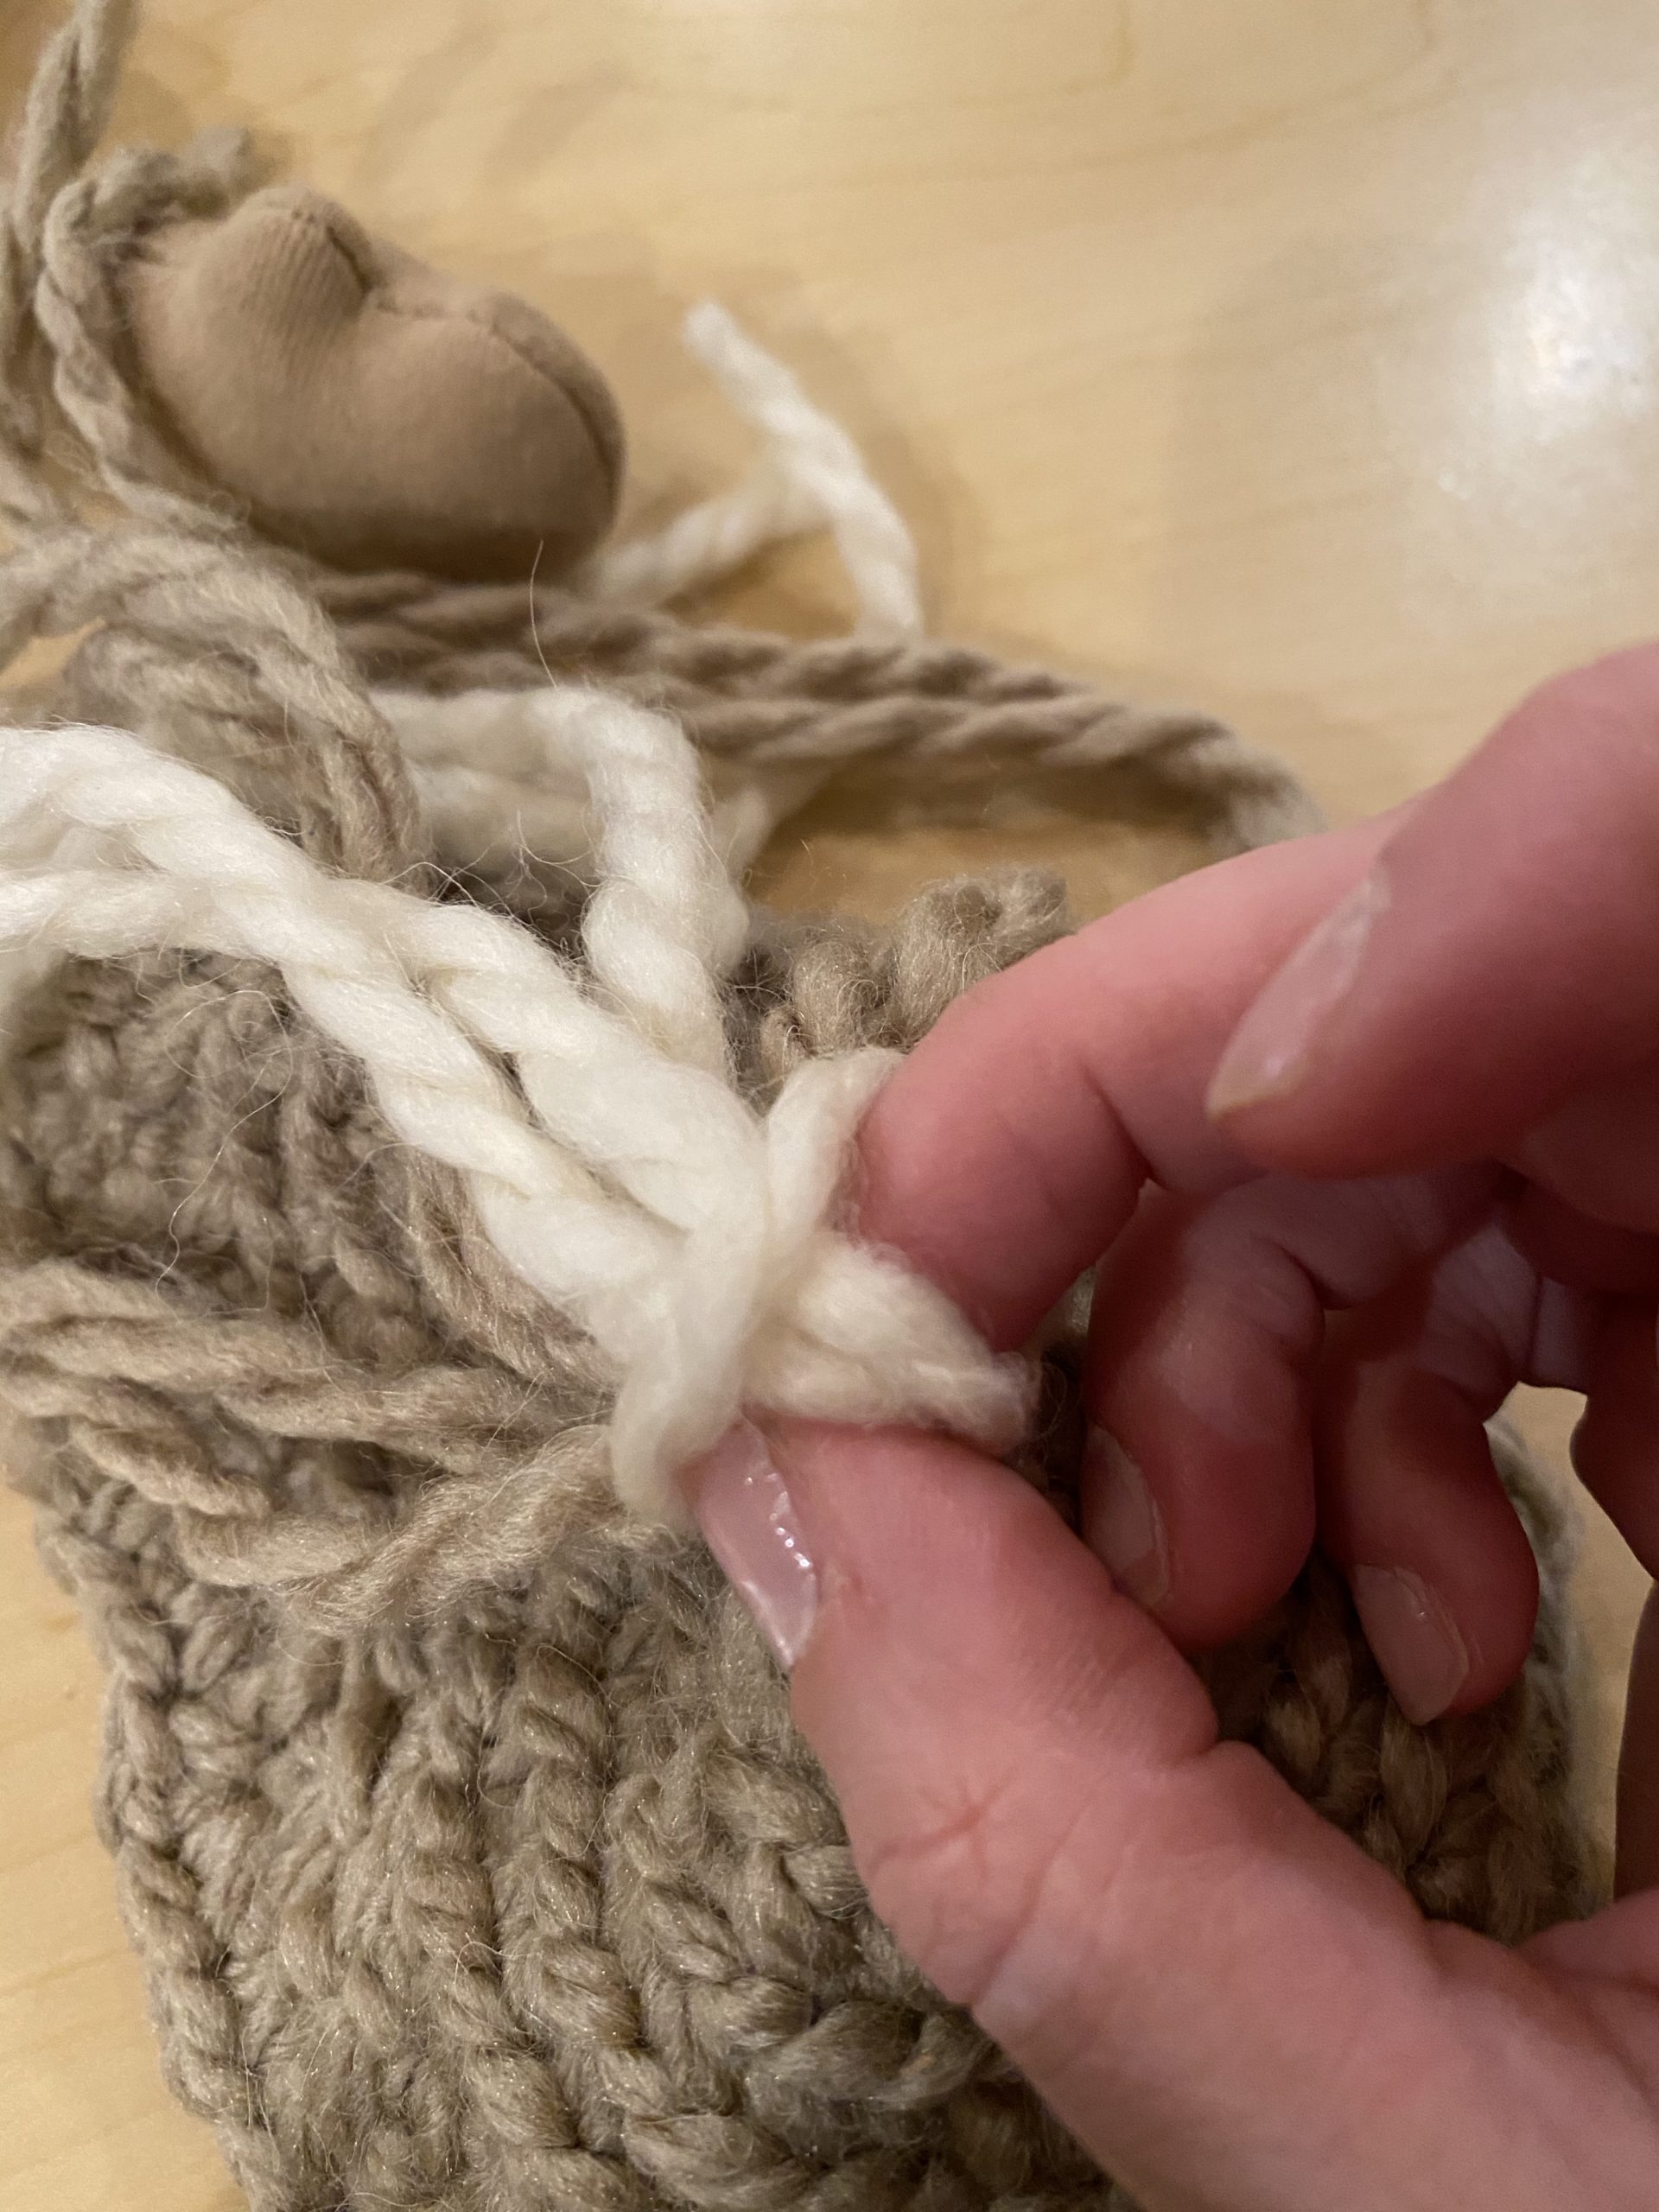
The second Waldorf Wig method
The second method will require more yarn. Use your crochet hook to weave and tie pieces of yarn at the desired length into the cap.
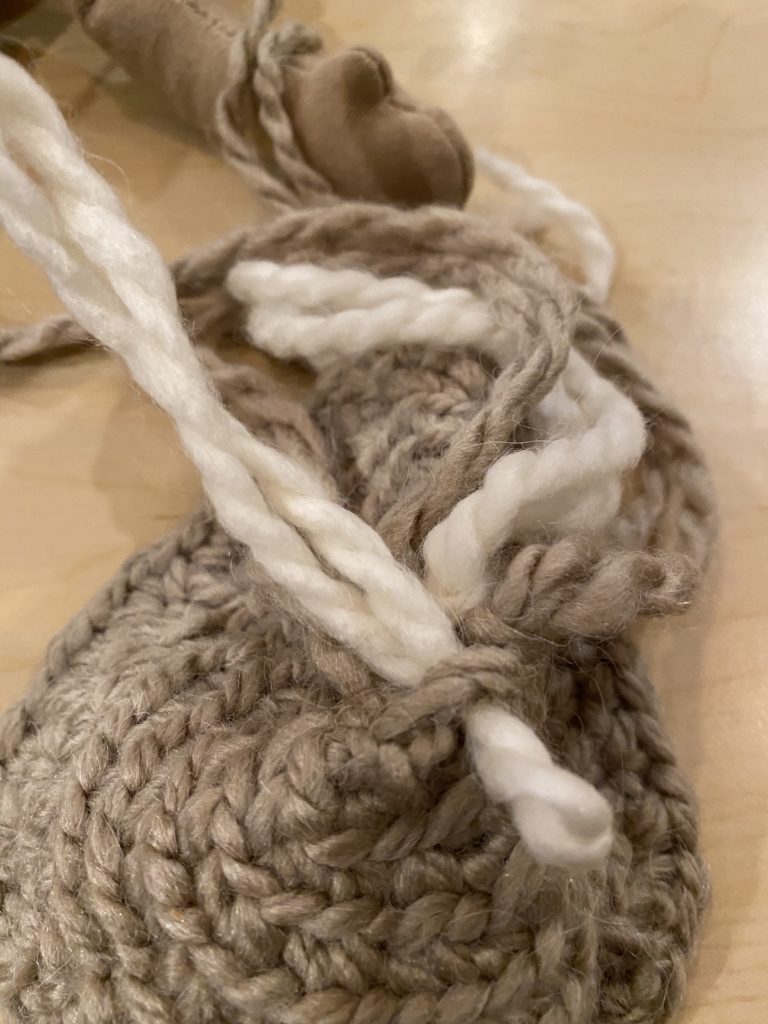
You can start at the top and go all around the cap. You decide how full and dense you want this wig to be.

Brushing these lengths of hair is also an option for this method.
It is sort of fun to let the yarn be a brushing project for your kids, too.
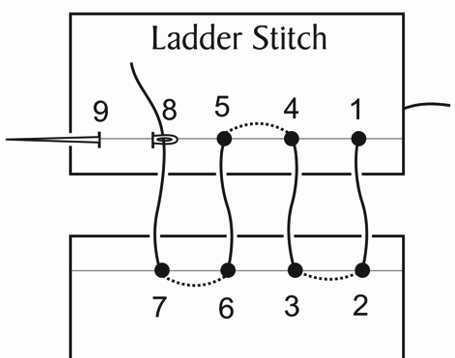
Attaching the wig to the dolls head
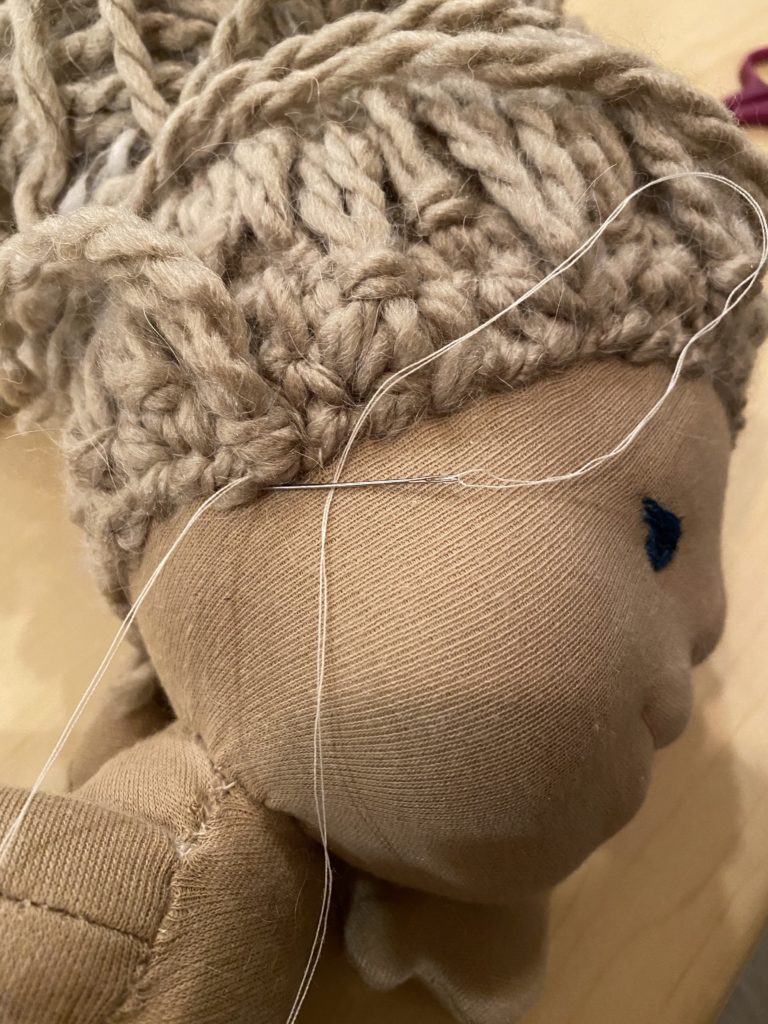
Once you have the wig styled and brushed the way you like, you can then begin to attach it to the head of your doll. I recommend using the ladder stitch. Stich 3x around the wig. Stitching this many times around the wig, will reinforce the hair and make it durable against those who wish to carry their dolls around by the hair.
The third way to add Hair to your Waldorf Doll
Embroidering a head of hair for a boy doll or shorter contact hair.
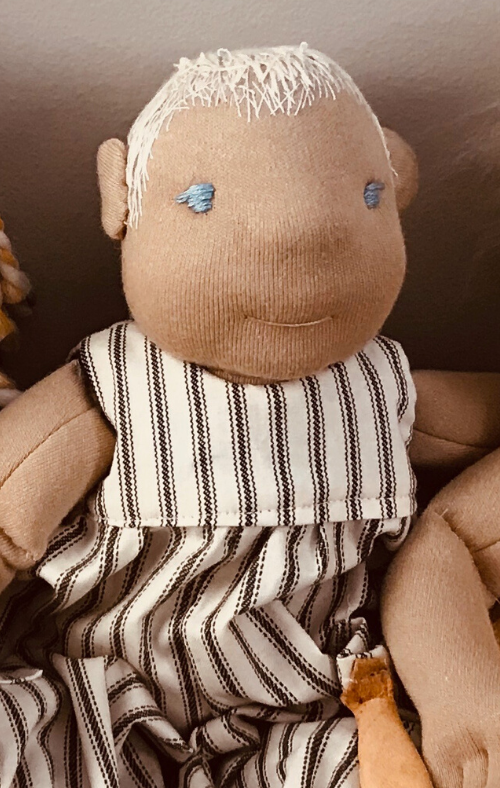
I used this method for our son’s doll. I mimicked his hair pattern by using 3 threads on most of the head and then 1 string around the face where he has finer light-colored hairs. This whole head took me about 5-7 hours to do, but it was so so worth it! I would even work while we were driving to and from things. It was an easy thing to take with me and work on it when I had time.
For the thicker hair towards the back of the head, I used 3 strands of embroidery thread. I then worked in the 1 strand of embroidery thread around the front of the face, to look more like the fine baby hairs.
MATERIALS I USE FOR MAKING A WALDORF DOLL:
Wool (you’ll need 5-6 of these)
Waldorf Doll body pattern
Doll Footed PJs Pattern: https://www.etsy.com/listing/227125447/doll-footed-pajamas-pattern-for-the-wild?ref=yr. I love making several of these PJs for my children’s doll as it is another protective layer for the doll. These PJ’s also seemed to keep their skin cleaner. They are easier to remove and clean than to spot clean your doll. It also protects their joints from getting directly tugged on. Our kids tend to carry their Waldorf dolls around by their limbs and it seems they are a bit more protected when they have their jammies on.
This is the Mohair yarn that I used for making the wigs in every different color thinkable!
My extra special sewing scissors that I’ve had for 15 years!
Doll skin fabric
A sewing machine similar to mine
Embroidery needles
Erasable marking pen
Hemostat used for stuffing and positioning
Fleece lining for doll’s body
Crochet hook (you don’t need all of these, but it’s a pretty good deal!)
Beeswax crayon for adding color to cheeks and lips
HOW TO CLEAN YOUR WALDORF DOLL
Here’s our special cleaning recipe that we use on everything from getting slime out of the carpet to cleaning up our Waldorf Dolls! We use this spray to spot clean our dolls. Rinse with a hot rag.
Grab your FREE Waldorf Doll Pattern HERE!
Other Waldorf Doll Tutorials
How to make a Waldorf Doll | Making a Doll Head
Waldorf Doll Face | Facial Details
How to Make a Waldorf Doll | PHASE 4 | the Body
Waldorf Doll Video Series
Watch all of our Doll Tutorials here.
Pin This Waldorf Doll Tutorial For Later
QUESTIONS?
If you have any questions, leave them below and I will do my best to answer them!
I want to see your dolls!
Toss a photo of the doll you are working on to the Hearty Sol Facebook or Instagram page and tag us!
Next week we will cover the last and final step in making a Waldorf Doll!
Cheers!

Affiliate Disclosure & Content Disclaimer
This post may contain affiliate links from a paid sponsor, Amazon or other program. When you use these links to make a purchase I earn a small commission at no extra cost to you. This allows me to continue creating the content that you love. The content in this article is created for information only and based on my research and/or opinion.
Emily T.
Leave a Reply


DAILY INSPIRATION ON THE GRAM @hearty.sol
it's hip to be square!
A couple questions for you, if I don’t want bent arms and legs like a baby infant look but still want I guess what’s called hinging can I alter my legs to be straighter? Or will they not fit in the leg and arm holes correctly?
Also I know from what I’ve been reading button eyes aren’t typical of Waldorf Dolls but it’s for me not a child. (Kind of going through my healing my inner child era.) If I use buttons does that pose an issue? My other thought is painting the face on instead bc I want freckles and stuff. I’ve read about heat transferring faces you draw on special paper and painting over as a guide, but I guess you have to heat set it and use a special textile medium with the paint to prevent hard icky feeling paint job.
What I’m wanting to do is make miniature clothes from my fabric scraps stash. Out of stuff that’s too small for quilting or not enough. And while I am not new to pattern alterations (intermediate) or drafting (novice still) I was hoping to make something specific in mind. How hard is it to draft patterns for a doll body? Are there basic blocks one can purchase and alter to spec?