

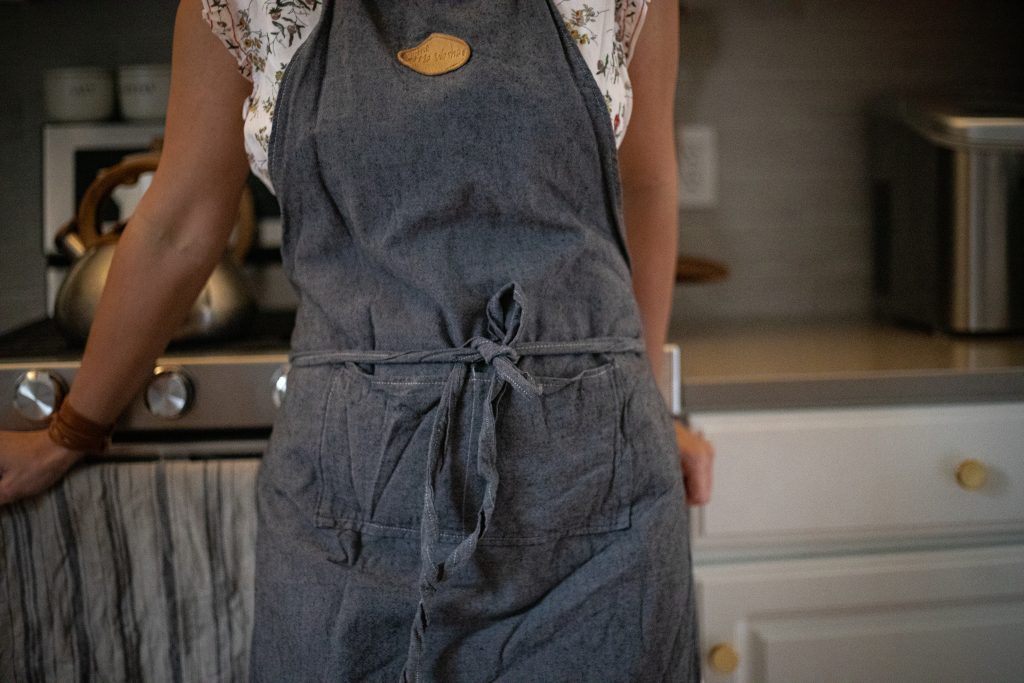
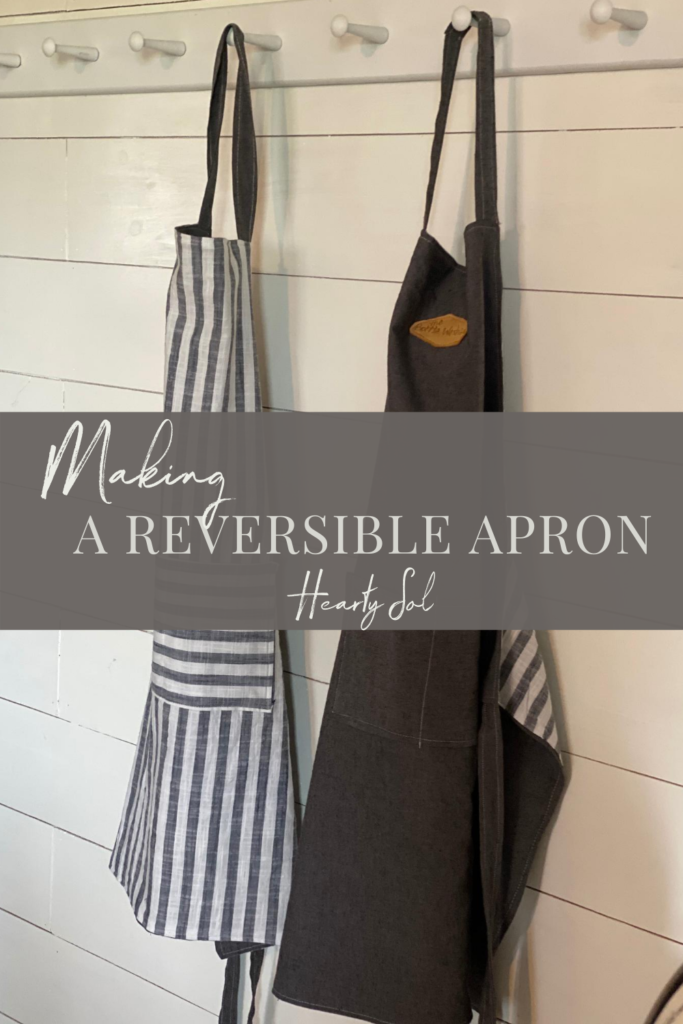
How to Make a Reversible Apron | DIY Sewing Tutorial
This sweet reversible apron will be a great addition to any kitchen. Make a gift to someone who loves wearing an apron or make one to match your very own style!
TIPS FOR MAKING DIY REVERSIBLE APRON
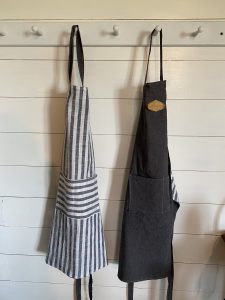
- Use different, but coordinating fabric to make this reversible apron. Place the pockets on the coordinating side or the opposite fabric side to change it up a bit.
- You can use beautiful linen, cotton or batiks for all year round or red fabric for a more Christmas look.
- Give this as a gift in a homemade baking basket. Add a pretty whisk, measuring spoons and cups, and your favorite cookie recipe. These reversible aprons make great Mother and Father’s Day Gifts too!
Measurements you’ll need to know to make a Reversible Apron
Coordinating fabric: I used this one and this one.
Main piece 30” wide by 33” long (cut 2) – make sure fabrics are coordinating.
Neck strap piece 2.5” wide by 21” long (cut 1)
Waist strap pieces 2.5” wide by 40” long (cut 2)
Pocket piece 7” wide by 12.5” long (cut 2)
Watch How to Make a Reversible Apron
Steps to Making a Reversible Apron
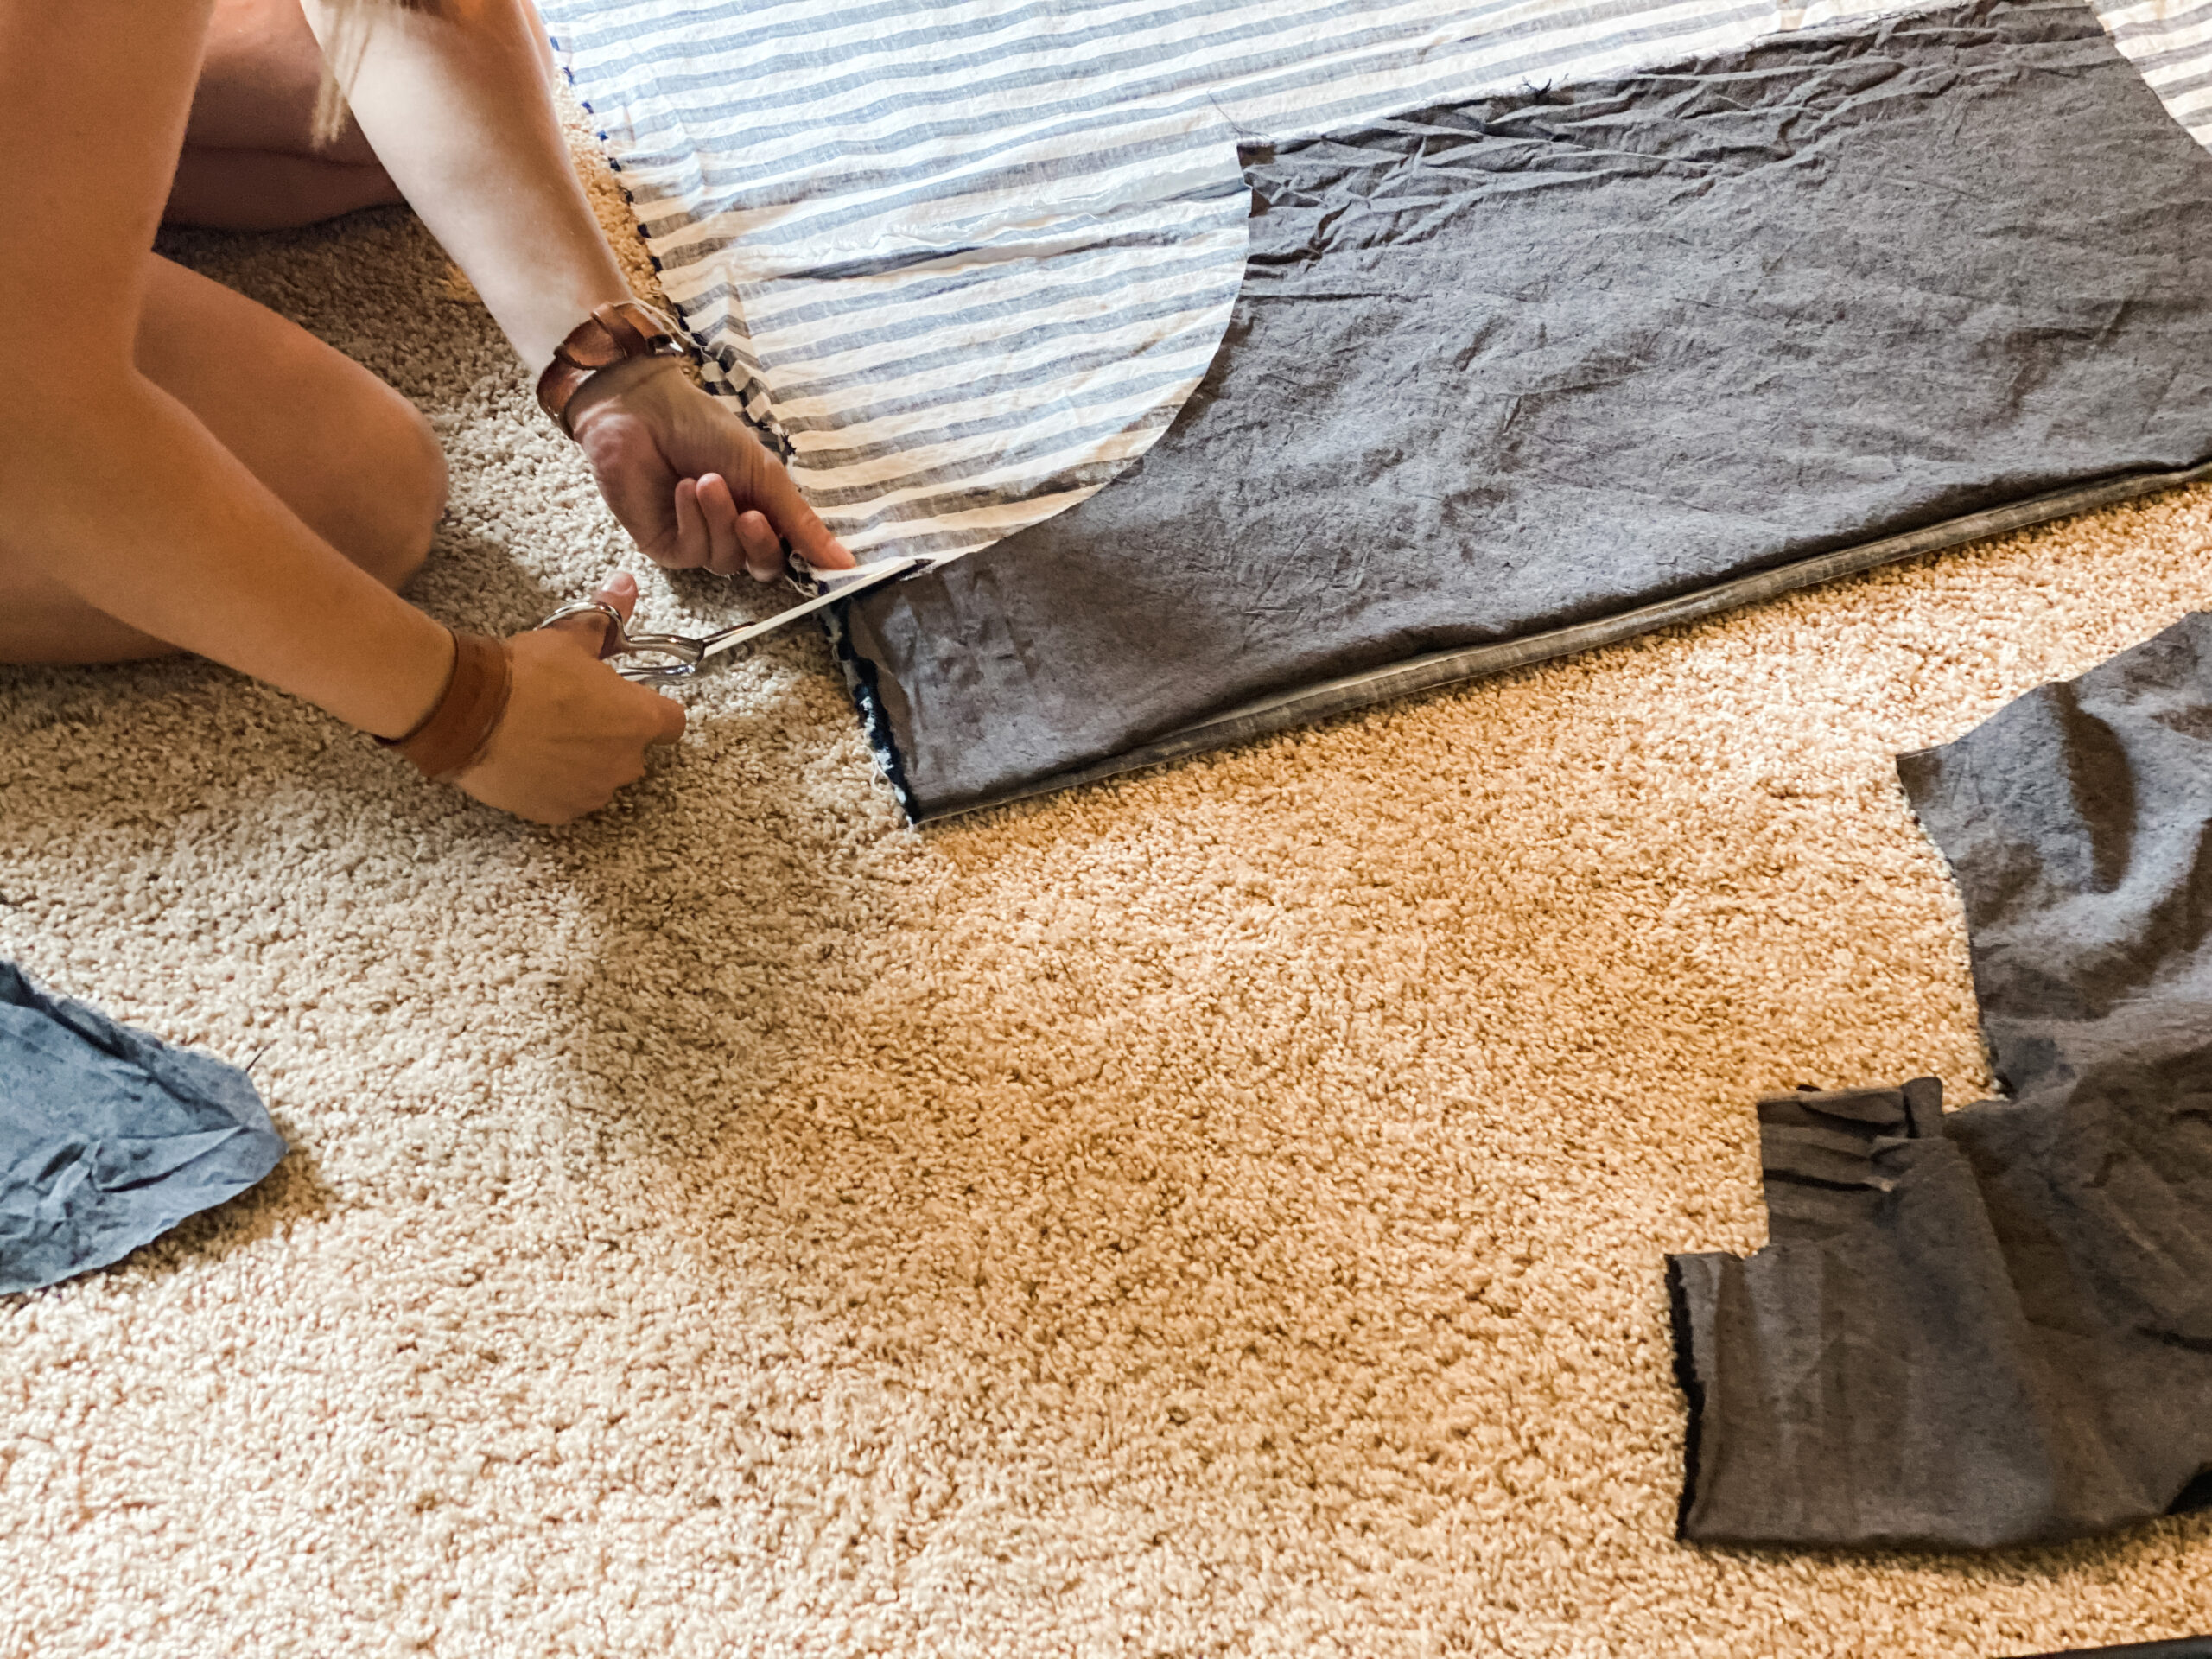
STEP 1: CUT OUT APRON PIECES
- Cut a rectangle 30 inches wide by 33 inches long out of each of your main piece fabrics (you’ll have two total 30×33″ rectangles). One will be for one side of the apron, and the other is for the other side, so make sure they are coordinating
2. Using a fabric marker, or making an indent with the handle of your scissors, make a curved line from the two marks, and then cut along that line through both sides of the fabric to make an armhole on each side.
3. Next, cut out the shoulder strap (2.5” wide by 21” long (cut 1), waist straps (2.5” wide by 40” long (cut 2)), and pocket pieces (7” wide by 12.5” long – cut one pocket in one fabric and the other pocket in the other fabric.)
STEP 2: SEW THE STRAPS
- Fold the straps in half lengthwise with the right sides in.
- Sew along the edge. When you get to the end of one side, fold down the end and sew, giving it a clean edge.
- Repeat that same process for all four straps
Using a safety pin, pin one side and push it through or use a chopstick to turn it right side out
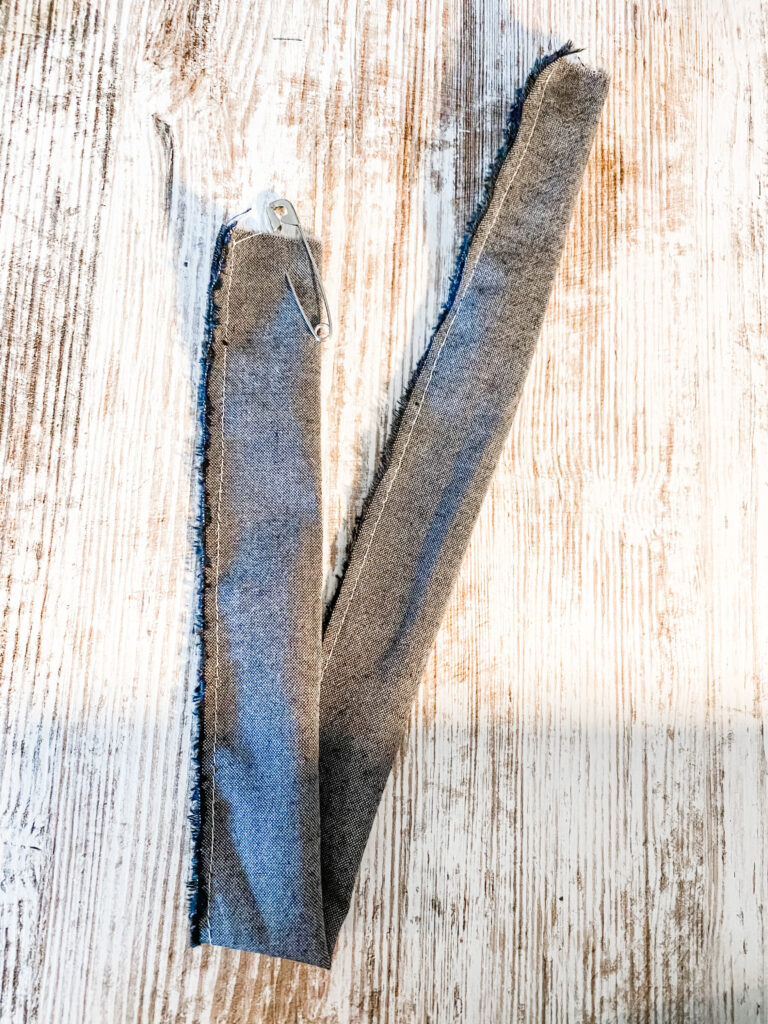
- I like to topstitch because it gives everything a nice, clean look
STEP 3: MAKE, CREATE, AND SEW THE POCKETS
- Prepare pocket piece by pressing all sides. Fold over each side about a half-inch, and then another half inch, and press.
STEP 4: SEW THE APRON TOGETHER
- Lay the apron flat with the right side up.
STEP 5: TURN THE APRON RIGHT SIDE OUT AND TOP STITCH
- Turn the apron right sides out through the hole in the bottom.
- Sew all the way around the apron using a narrow topstitch. Making sure to sew the hole you created to turn the apron right sides out nicely, at the top.
- I like to press all around once I finish my projects to make them look crisp and lovely.
That’s it!

There are so many ways you could give it as a super thoughtful gift for someone who loves to cook or bake, or someone who is just starting out in their home!
Pin It for Later
MORE OF MY FAVORITE SEWING PROJECTS:
Simple Spring Skirt with Pockets
SHOP THIS APRON TUTORIAL:
The Fabric I used: Striped and Solid
HOW TO MAKE A REVERSIBLE APRON PRINTABLE INSTRUCTIONS
If you try this project and love it, I would appreciate it if you could come back, commented on the post, and give it 5 stars! Thanks.
MATERIALS
- Coordinating fabric:
- Main piece 30” wide by 33” long (cut 2) – make sure fabrics are coordinating.
- Shoulder strap pieces 2.5” wide by 25” long (cut 2)
- Waist strap pieces 2.5” wide by 40” long (cut 2)
- Pocket piece 17” wide by 10” long (cut 2)
- Coordinating thread
TOOLS
- Sewing Machine
- Fabric scissors
- Pins
INSTRUCTIONS for Making a Reversible Apron
Cut
Cut a rectangle 30 inches wide by 33 inches long out of each of your main piece fabrics (you’ll have two total 30×33″ rectangles). One will be for one side of the apron, and the other is for the other side, so make sure they are coordinating.
To get the armholes, fold one of the main pieces in half lengthwise, and then make a mark 6 inches from the fold and 9 inches down the side.
Using a fabric marker, or making an indent with the handle of your scissors, make a curved line from the two marks, and then cut along that line through both sides of the fabric to make an armhole on each side.
Repeat with the other main piece. Fold it in half like the other piece, then lay it on top of the already cut piece, and cut along the curve, using the first piece as a guide.
Next, cut out the shoulder straps (2.5” wide by 25” long (cut 2)), waist straps (2.5” wide by 40” long (cut 2)), and pocket pieces (17” wide by 10” long – cut one pocket in one fabric and the other pocket in the other fabric.)
Fold the straps in half lengthwise with the right sides in.
Sew
Sew along the edge. When you get to the end of one side, fold down the end and sew, giving it a clean edge.
Repeat that same process for all four straps.
Using a safety pin, pin one side and push it through to turn it right side out.
Press the straps with an iron, and then add a top stitch down each of the long sides of the straps and over the side you turned in.
Prepare pocket piece by pressing all sides. Fold over each side about a half-inch, and then another half inch, and press.
Sew a top stitch on the top edge of the pocket.
Place pocket 7-1/4″ from raw edge sides and 14.5″ from the top.
Pin
Pin in place.
Once the pockets are in place, topstitch the 3 sides of the pocket that have already been folded and pressed over to sew it to the apron.
After the pockets have been sewn on each side, find the middle of the pocket (7-1/4″ from the side) and sew down the middle, creating two pockets.
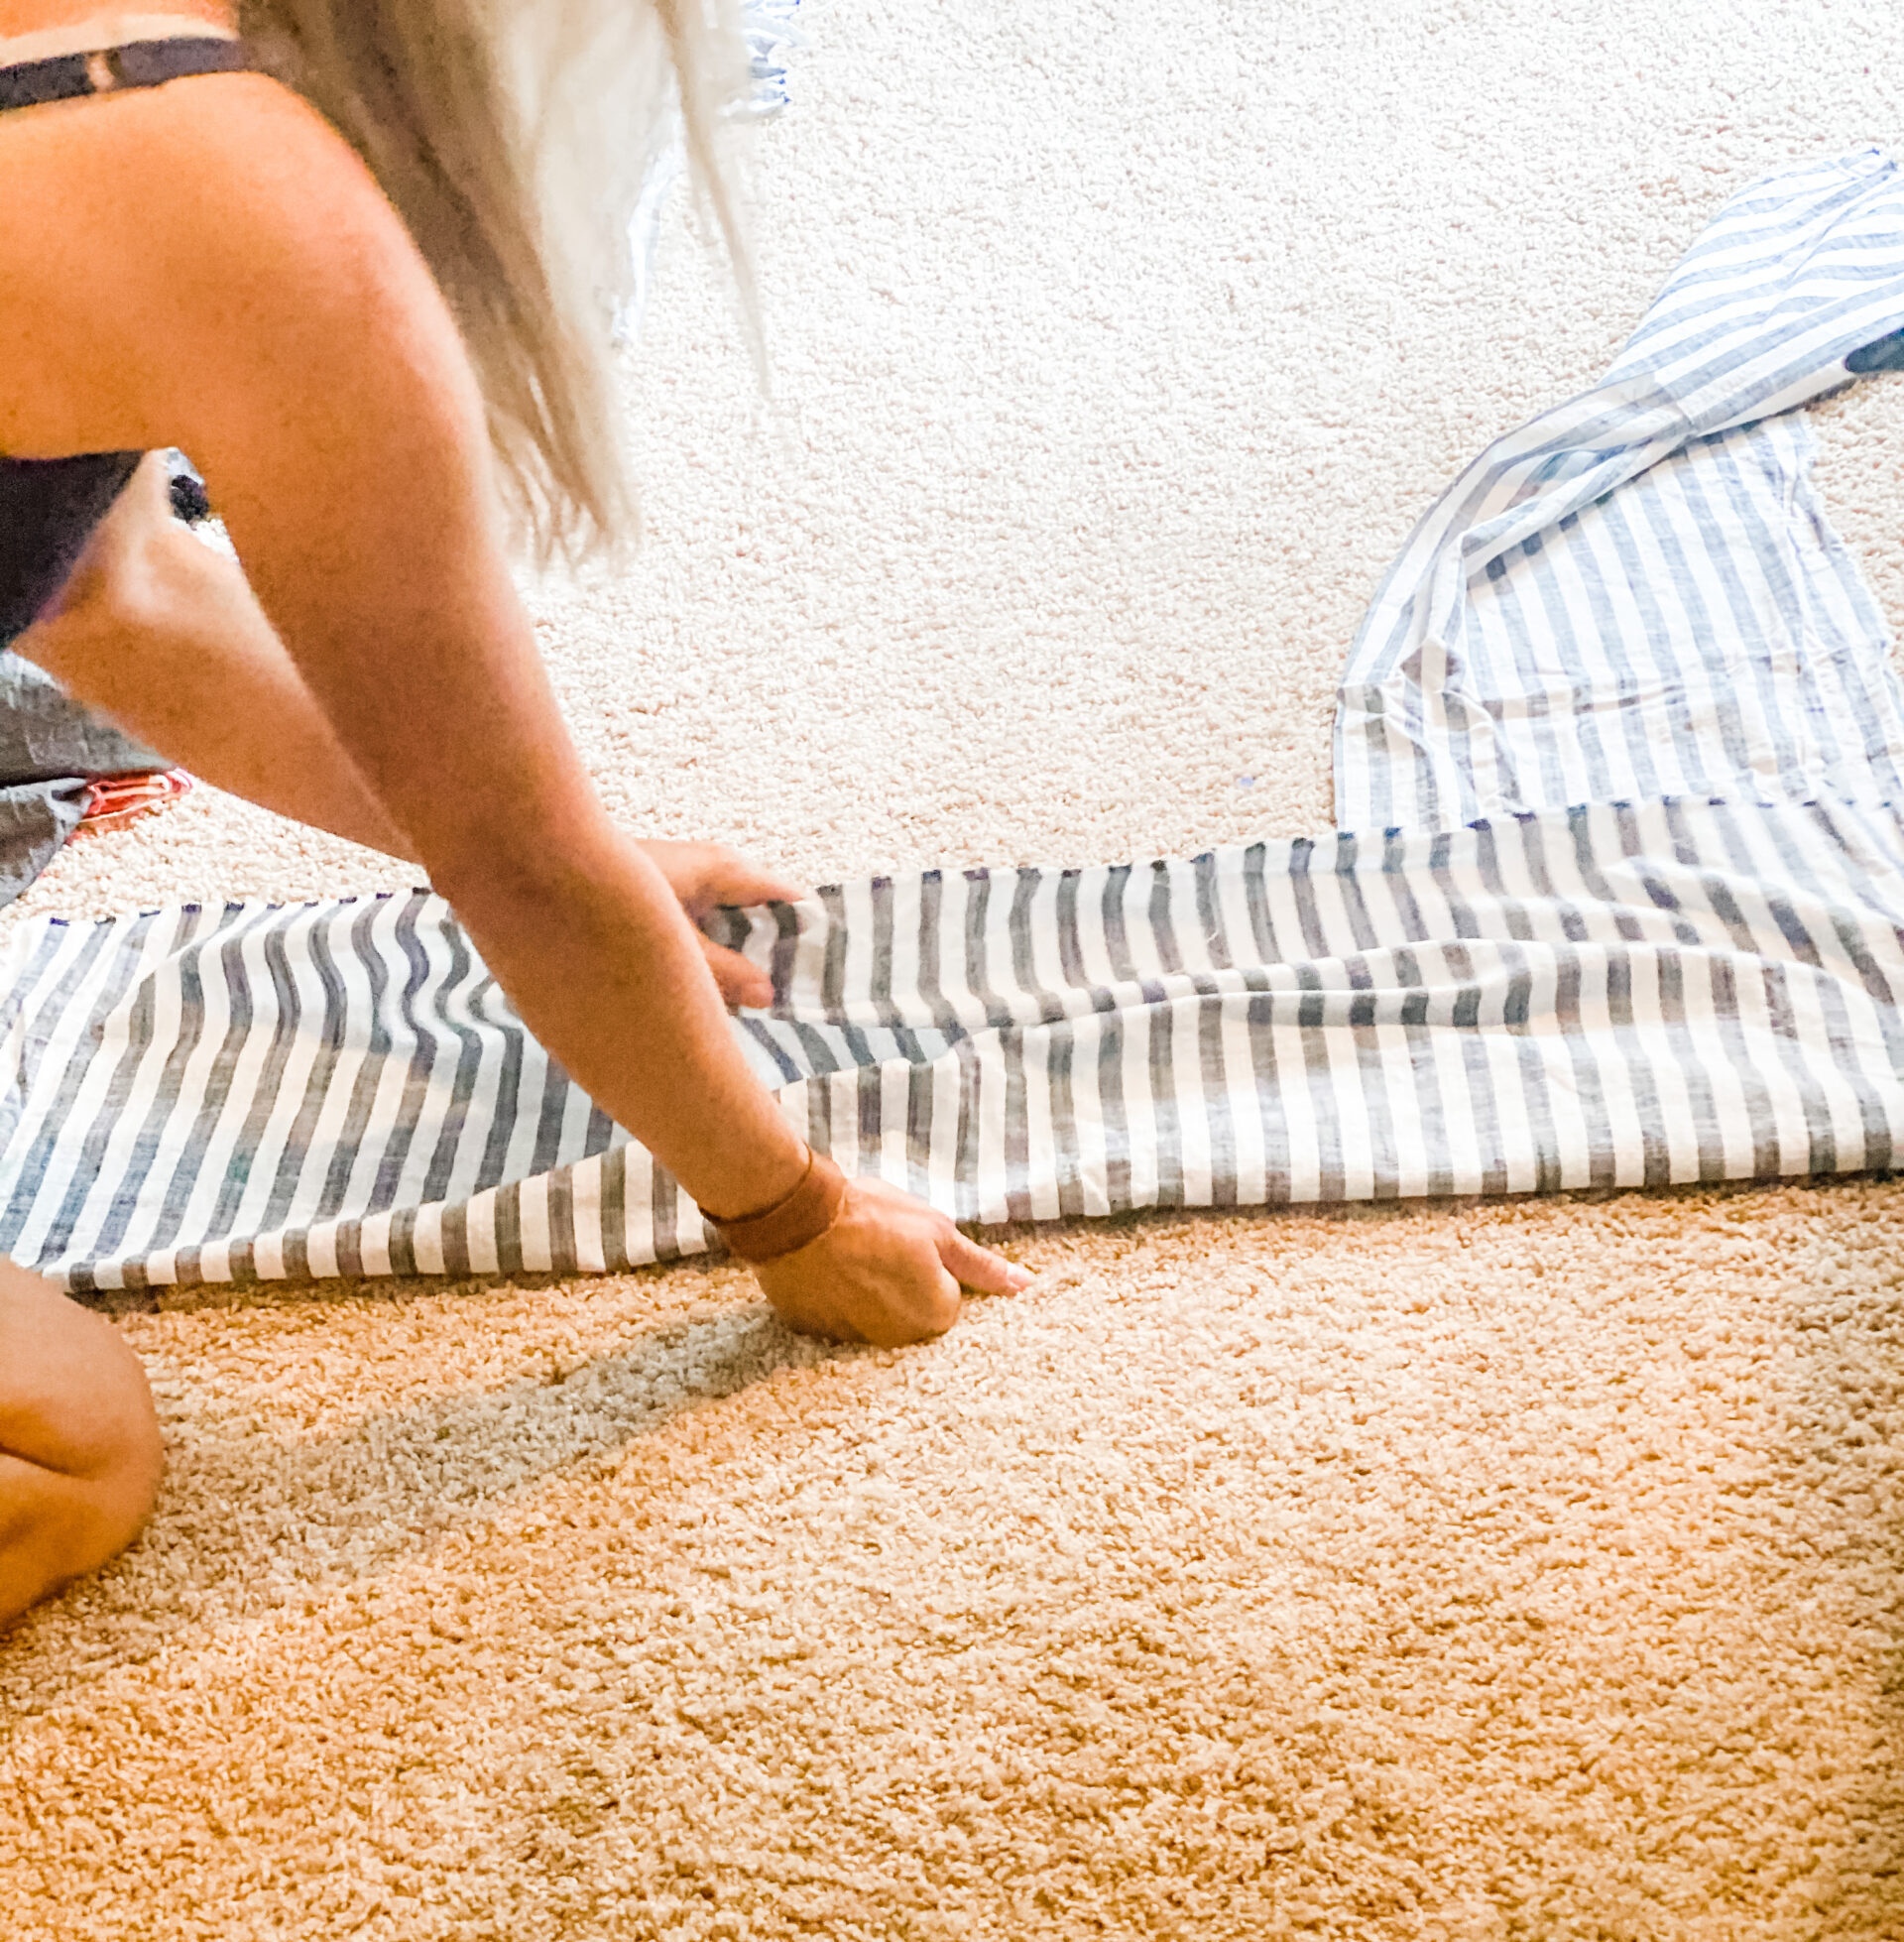
Lay the apron flat with the right side up.
Pin the finished short straps to near top of the apron, about a 1/2 inch in from the side (this allows for seam allowance). The unfinished edge of the straps should be in line with the raw apron edge.
Pin the finished long straps near the waist part, about 1/2 inch below where the armholes end on the side.
Place the other main apron piece on top of the other main piece, right sides together. The wrong side should be facing you.
Next make sure all your straps are laying inside the main apron pieces so they’re in the right spot when you turn out your apron!
Sew all the way around with a half-inch seam allowance, leaving a small opening at the bottom to turn it right sides out.
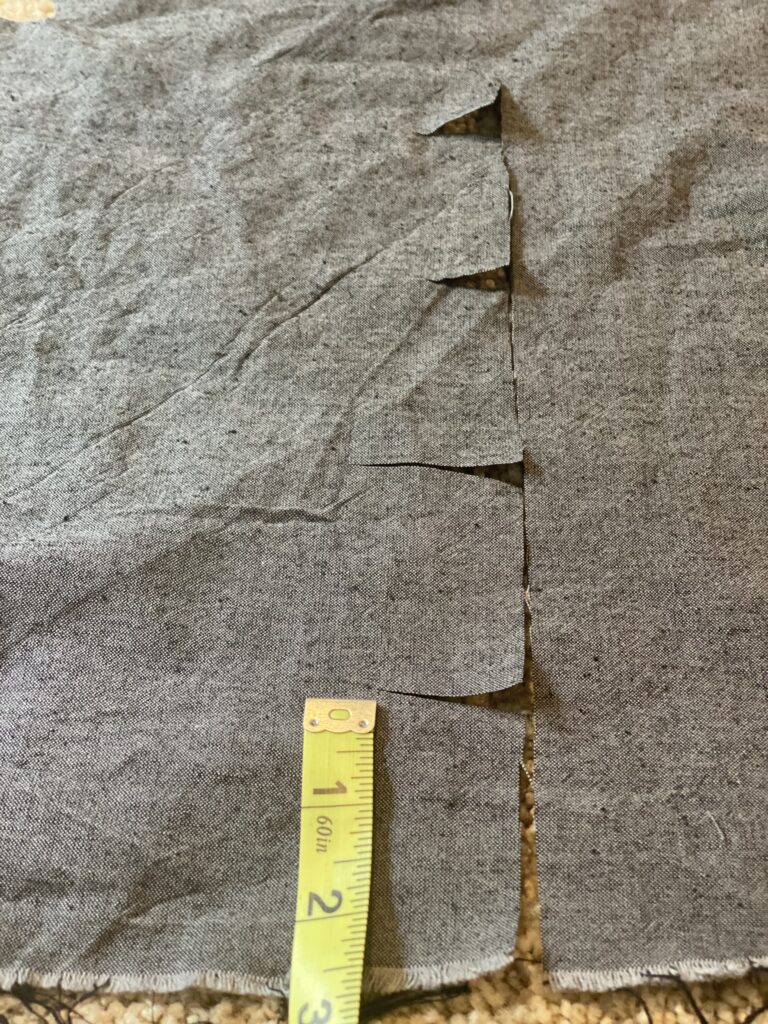
I clipped little slits around the curve for the armholes and trimmed the corners a bit; this will just give it less bulk when turning it out and help it lay more nicely.
Turn
Turn the apron right sides out through the hole in the bottom.
Sew all the way around the apron using a narrow topstitch.


Affiliate Disclosure & Content Disclaimer
This post may contain affiliate links from a paid sponsor, Amazon or other program. When you use these links to make a purchase I earn a small commission at no extra cost to you. This allows me to continue creating the content that you love. The content in this article is created for information only and based on my research and/or opinion.
Emily T.


DAILY INSPIRATION ON THE GRAM @hearty.sol
it's hip to be square!
View comments
+ Leave a comment