

Our Simple Farmhouse Kitchen Renovation Reveal
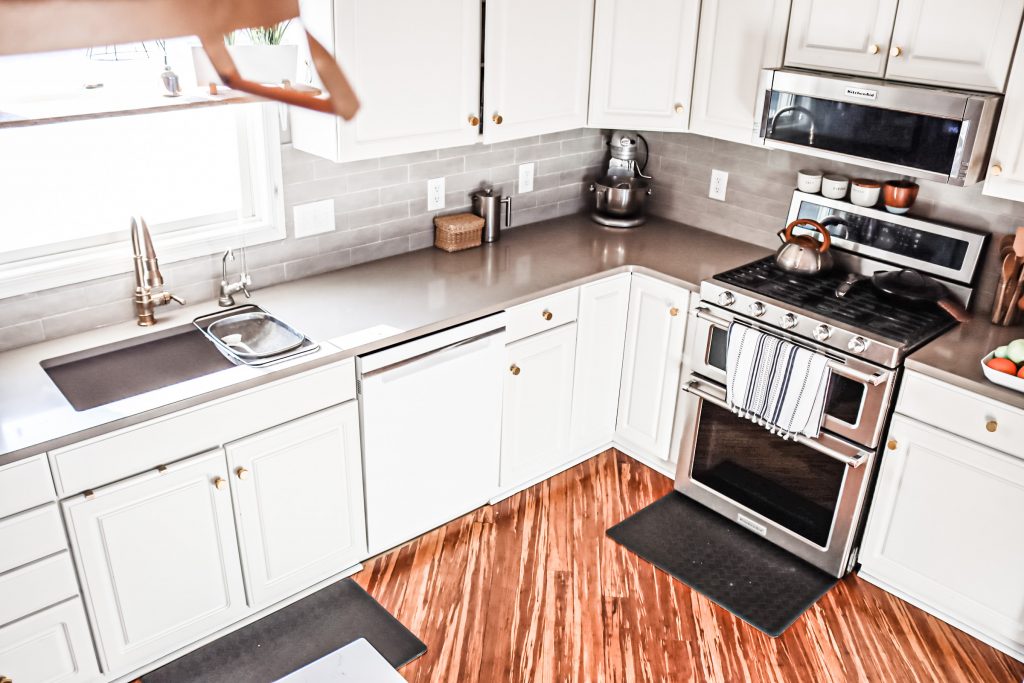
The time has come to finally reveal our kitchen renovation. This classic space is bright with warm neutral tones allowing for colorful accents to come and go with the times, the food and the company we invite in!
This project has come after nine years of living here and saving up for these modern fixes.
When we moved to the farm almost ten years ago, we were just thankful to be able to have housing on site of our family dairy farm. One of the first things we did was hire a painter to paint the entire house as the walls were divided in half, then painted every color of the rainbow with high gloss paint. We even had a yellow laundry room that had safari animals painted on top. I literally can’t make this up!
When I decided on paint colors I went with more grey tones up stairs and then a warmer neutral tone in the lower level. The colors I chose way back ten years ago are the colors I would choose all over again today, so I knew I would be color matching as best as possible with our current kitchen paint color.
My typical design choice is always as classic as possible. I like to spend our money wisely and I generally skip out on trends when it comes to major investment pieces. For me, texture is timeless and when combined with a sleek countertop brings in the natural homey feel that I was looking for.
Pin for Later
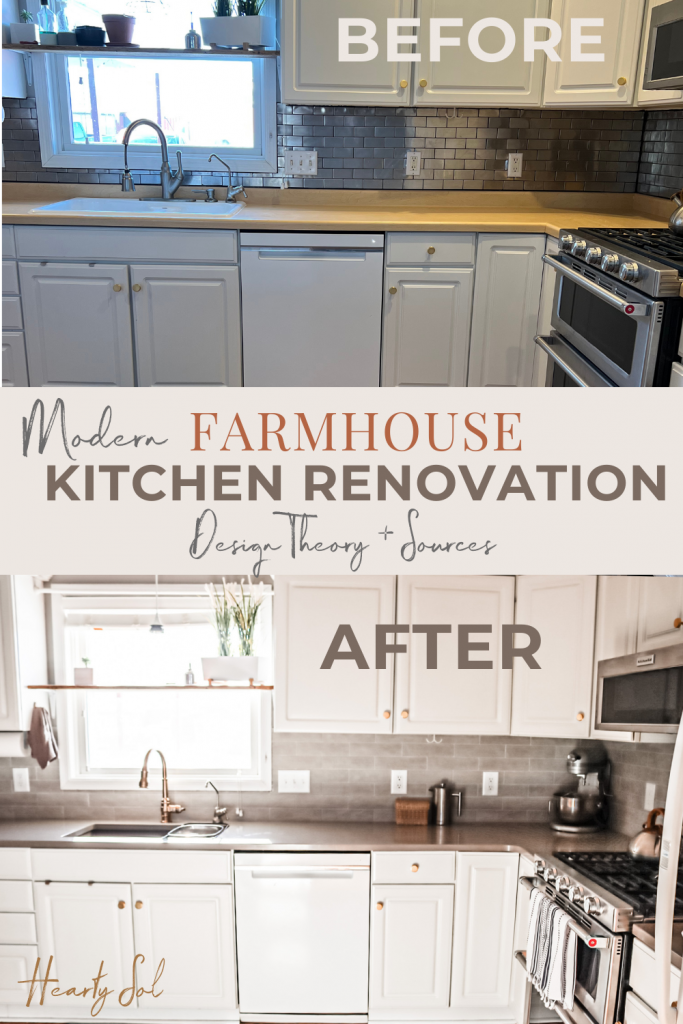
Before the Renovation
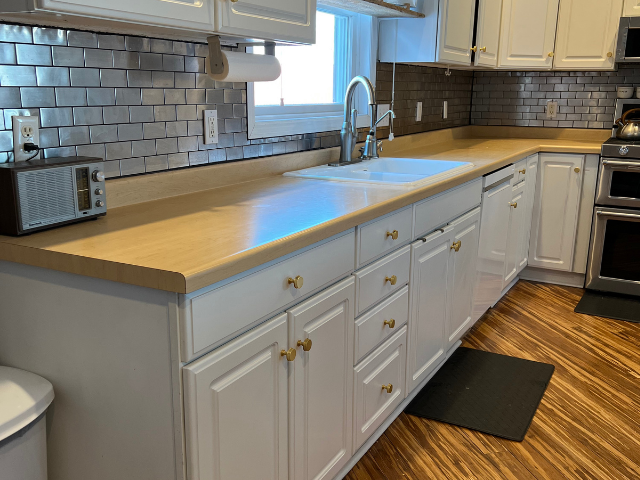
The countertops before the kitchen renovation were some sort of faux wood lament which was fine for a while. They did seem to give off a yellow hue in all of my blogging photos making things seem warmer and this was not what I was wanting. I would always end up using a background piece in photos to avoid shooting on this yellow background.
The backsplash had begun to pull away from the countertop in most areas where it was originally caulked and for a while we thought we would just replace the countertops, but then we would find ourselves in a pickle when it came to that curb on the counter in the back.
We would either have to find replacement pieces to fit into that lower section of the backsplash or replace the backsplash. Luckily enough there were no replacement pieces available! 😉
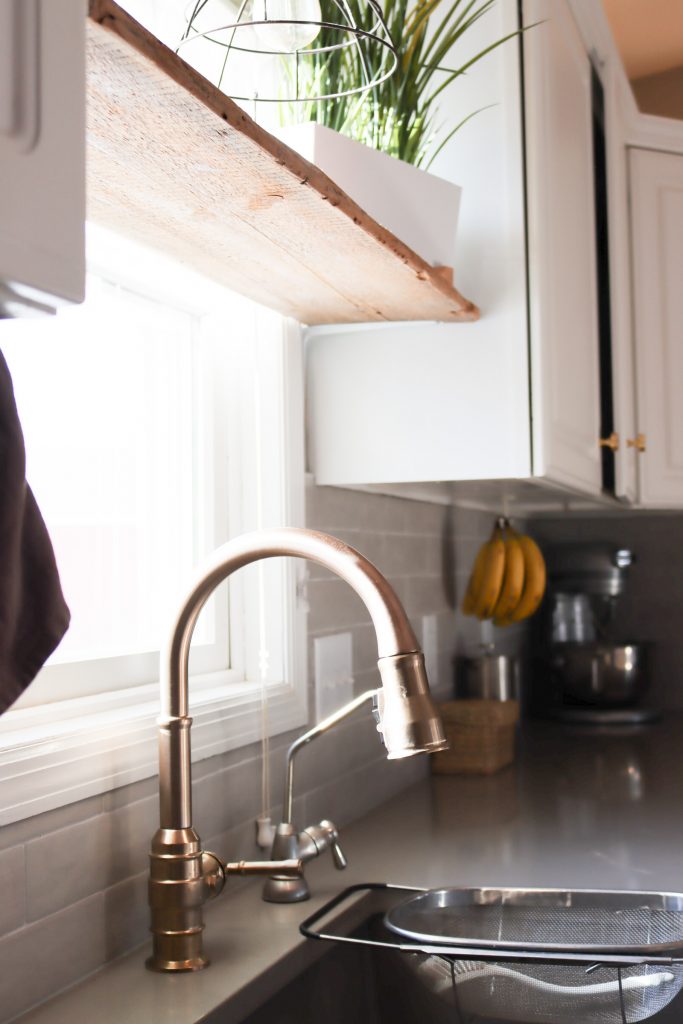
I knew that the cabinets were sturdy and just fine, so I was happy to simply replace the stainless steel knobs for a warm and fresh update. I went with a muted champaign color knob from amazon to best match our new faucet.
The faucet is wonderful! Our old one was having some issues anyway and I was delighted to upgrade to this fancy touch faucet from Delta in the color Champagne. I wanted the color to be different, but also understated and warm- not too shinny.
Our Kitchen Sink
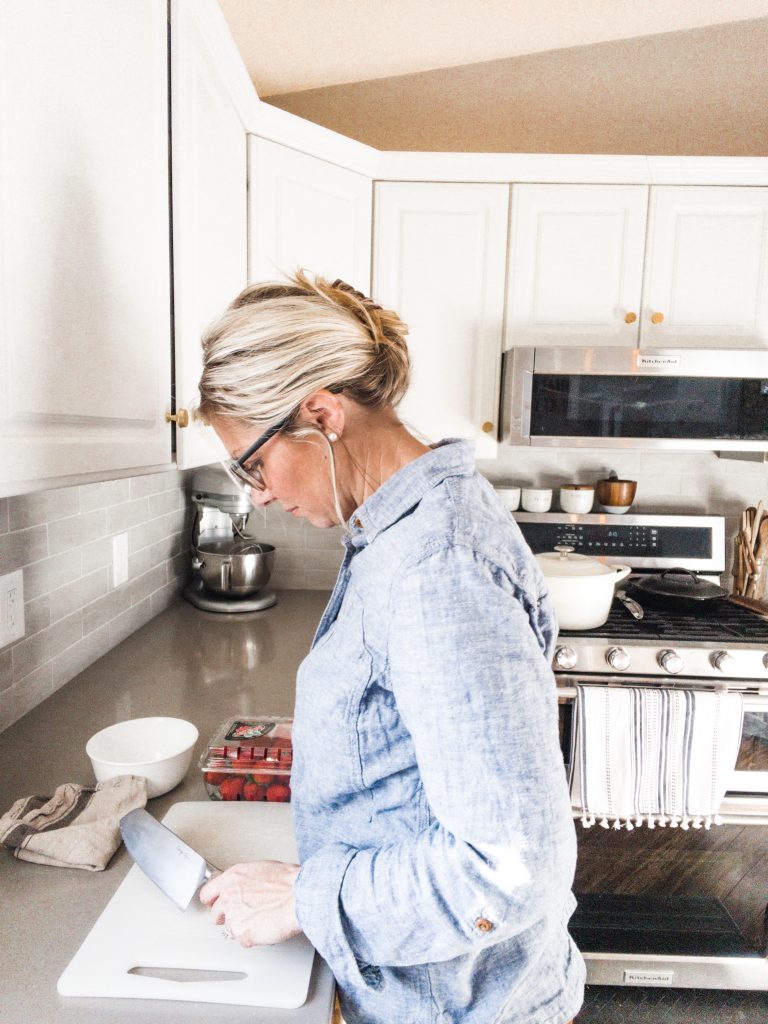
Our kitchen, like many working farm homes is the center of our everyday lives. Whether we are bathing a new baby lamb or fixing field meals for 25 hungry crew member I need this kitchen to work with me, not against me.
The kitchen sink that came with the house was a beautiful hefty, divided, white porcelain sink. It was pretty, that is, until you started using it and doing dishes. The minute I sent a pan down in the sink it would scratch and leave these ugly grey scratches all over it. Also, it felt puny to me compared to the large stainless steel sinks I was used to doing major dishes in.
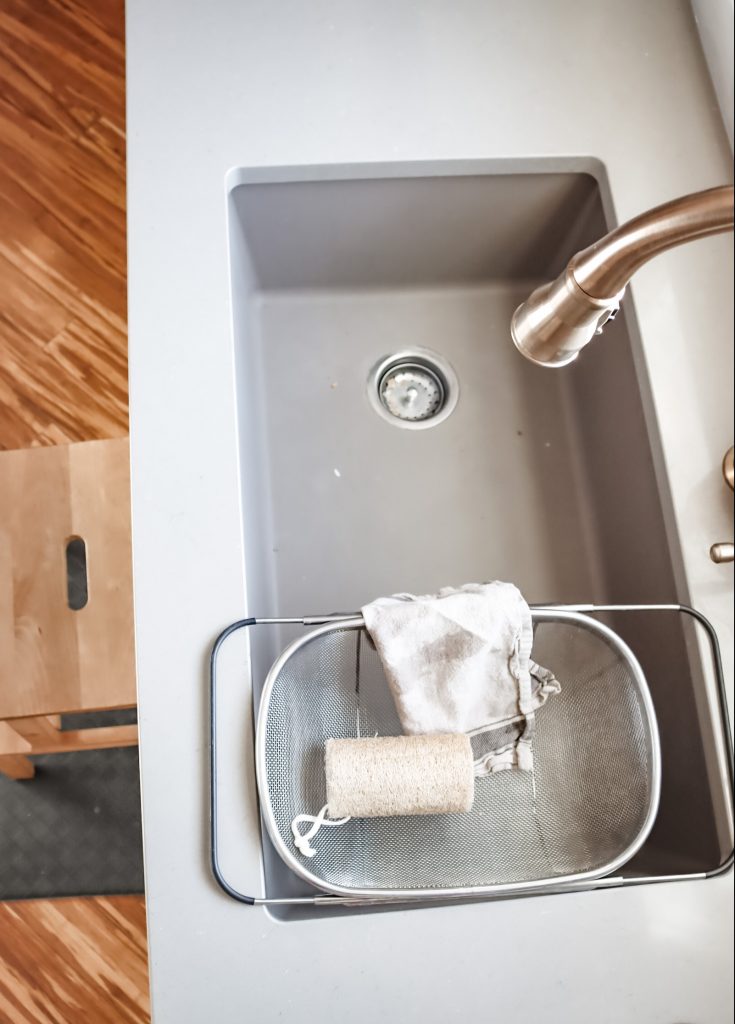
This new quartz composite sink from Karran has been a dream. Large and deep with only one basin. I love it! It’s easy to clean, shows very little dirt because of the color- called concrete and makes it almost a pleasure to do dishes in! I feel like I finally have room to do the amount of dishes we make when cooking dinner!
Cleaning in and around this sink has been one of the best parts. There is no more crevice between the back of the sink and the rounded lip of the counter. I can get all around the faucet to clean. We also love that this is an under-mounted sink so no caulking to clean and crumbs can easily be swept right in the sink from the counter.
We did also invest in a grate that sits at the bottom of the sink which is super handy for letting the dishes dry or meat thaw.
The Back Splash
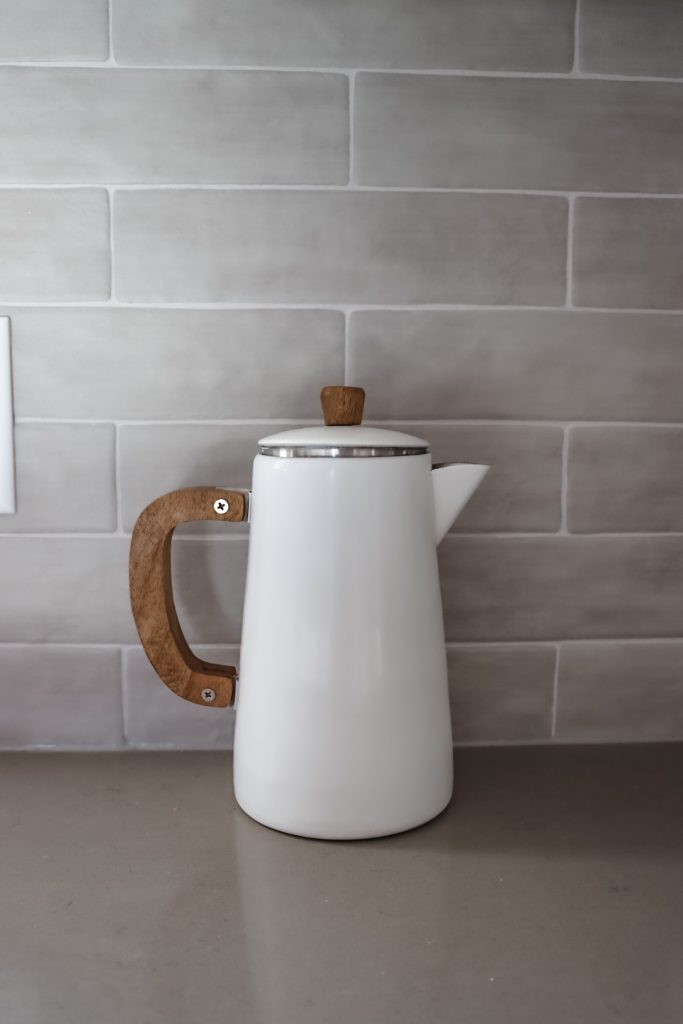
Since we opted to replace the backsplash we decided to go with KateLo | Bricco | in the color Grigio | Size 3×12 with a warm grey grout. It’s matte and textural. I love that it feels like warm stone and gives off an earthy ancient artisan kitchen feel.
Something I think I will love for a really long time! It’s also convenient that I don’t have a glare when I am shooting photos up against it!
The Countertops
Going into this renovation I almost immediately knew that I wanted a quartz countertop. But I was worried about the cost. Turns out, it was less expensive than even a composite countertop, which I was preparing to settle with. There also happen to be a sale going on and I jumped on board. If you are looking into a quartz countertop and are saving up, like us, keep an eye on the sales of different companies, you might be surprised to know what you can afford!
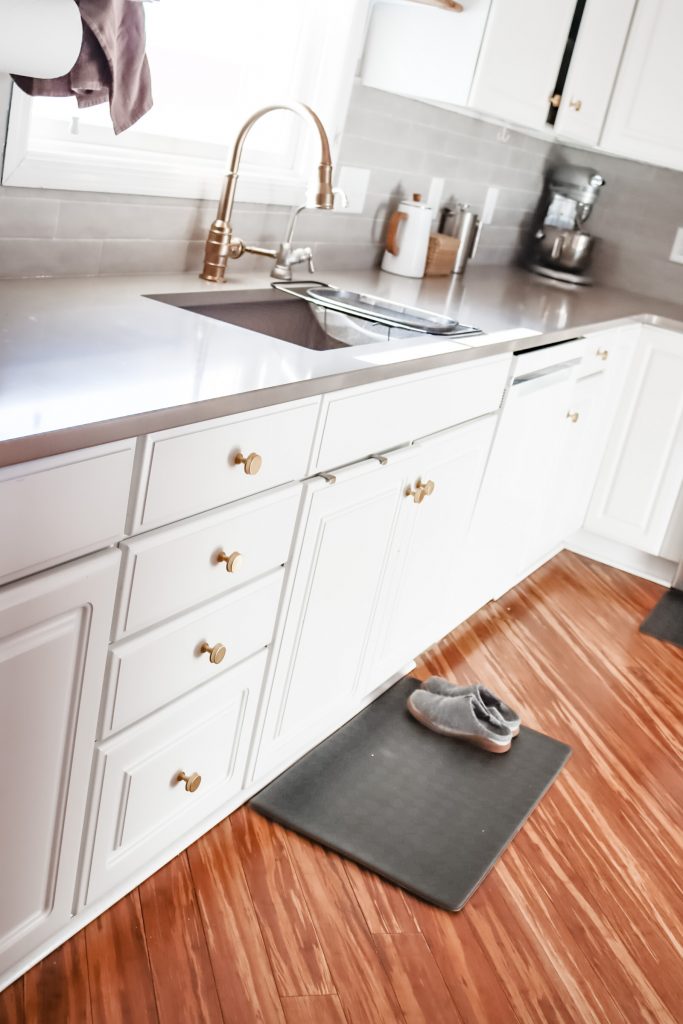
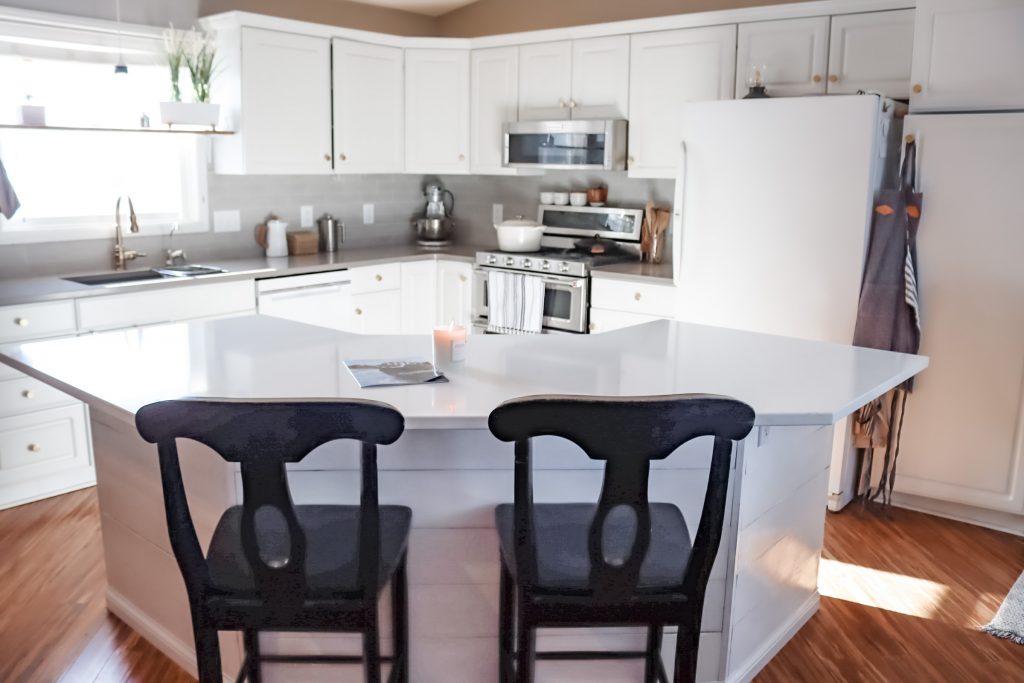
I decided to have a grey tone that worked well with the muted backsplash called Fossil Gray for the perimeter and nice clean white with minimal veining for the island called Carrara Morro.
Both of these quartz surfaces can easily be cleaned using our Homemade Cleaner. I also love that they don’t need to be sealed or yearly maintained.
Our Simple Farmhouse Kitchen Renovation
One of my favorite things about this kitchen is not just about the functionality, or the juxtaposition of textures and materials, but also that I easily have two different color backgrounds to choose from when shooting photos for the blog!
Questions People are asking about our Kitchen Renovation
The clear answer here is no. I treated myself to not doing this project for a few reasons.
1. I DIY nearly everything else around here.
2. I didn’t want to have the kitchen in disarray for weeks on end, while I figured it all out.
3. I saved time and money by not learning a very large project on my own.
4. I wanted to have something professionally done right the first time.
5. I know my limits and me doing this project on my own would have caused unnecessary stress on our home and family and I was happy to skip that.
We worked with a local company for the tile and countertop demo and install.
Ha! You’re my kinda cat! I truly feel that once you get to be a certain age, you just know your self and your style best. This was one of the reasons, I am happy that we waited nearly 10 years to do this project. I needed time to really know what would make the space what we needed it to be for our family’s functionality and design.
Also when it comes to design of any space, I like to limit my options so to not feel so overwhelmed. Start with your budget and go from there.
Finishing Touches
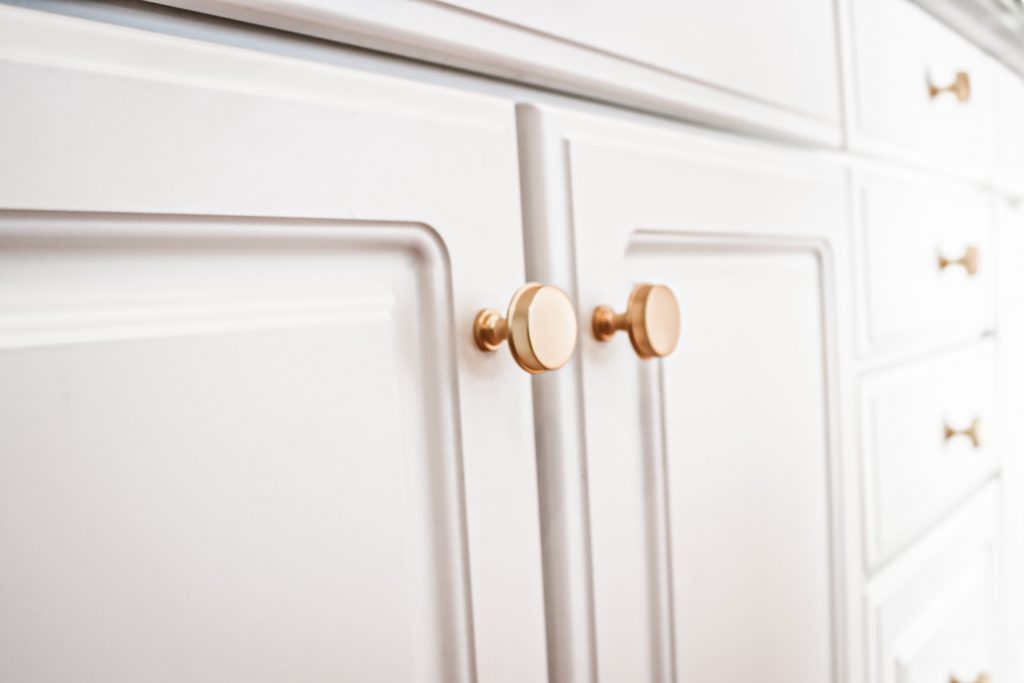
I did update the stainless steel cabinet knobs with 35 brushed brass. This was one thing that I felt like I dabbled into the trend zone with. Carey laughed and said, “well, I hope you keep those silver knobs for when you feel like you’re sick of these gold ones!” I did keep them- ya know just in case! 😉
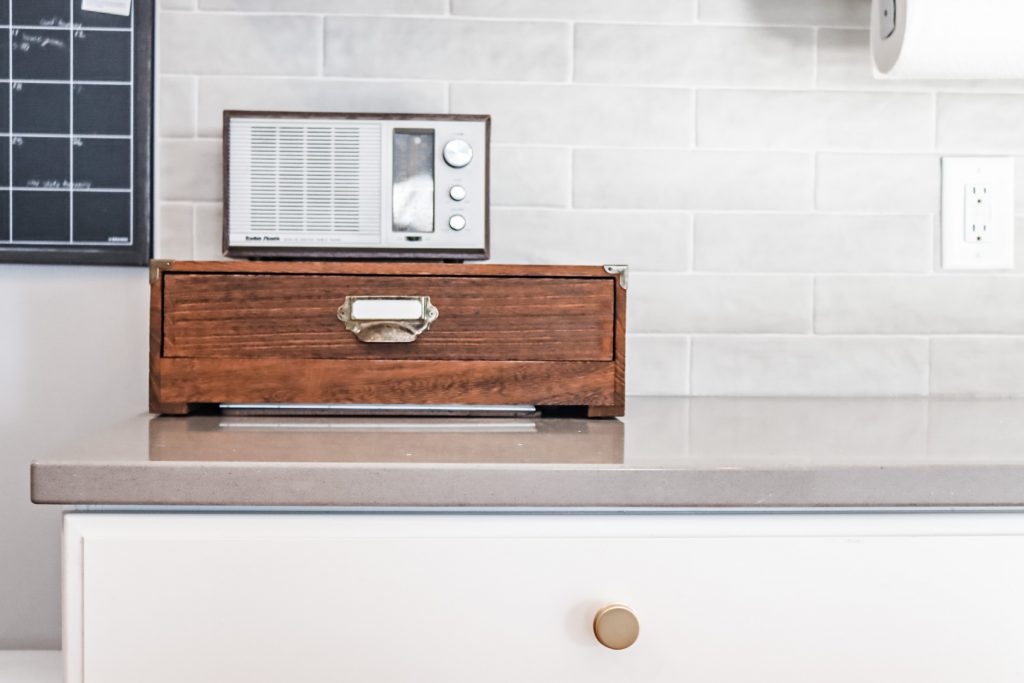
The kitchen also where we keep our calendars, the mail, the medicine and yup even a junk drawer. I took the time to update this space for us, after the kitchen renovation was finished.
Really, I just needed a space for my new little handmade note paper holder to go. 😉 I made that out of a little scrap of black stained wood, added a couple of leftover leather pulls from Ikea to hold the roll of paper. Then used a bit of a leather belt to secure the bottom paper. A little leather for a pencil loop on the side and voila!
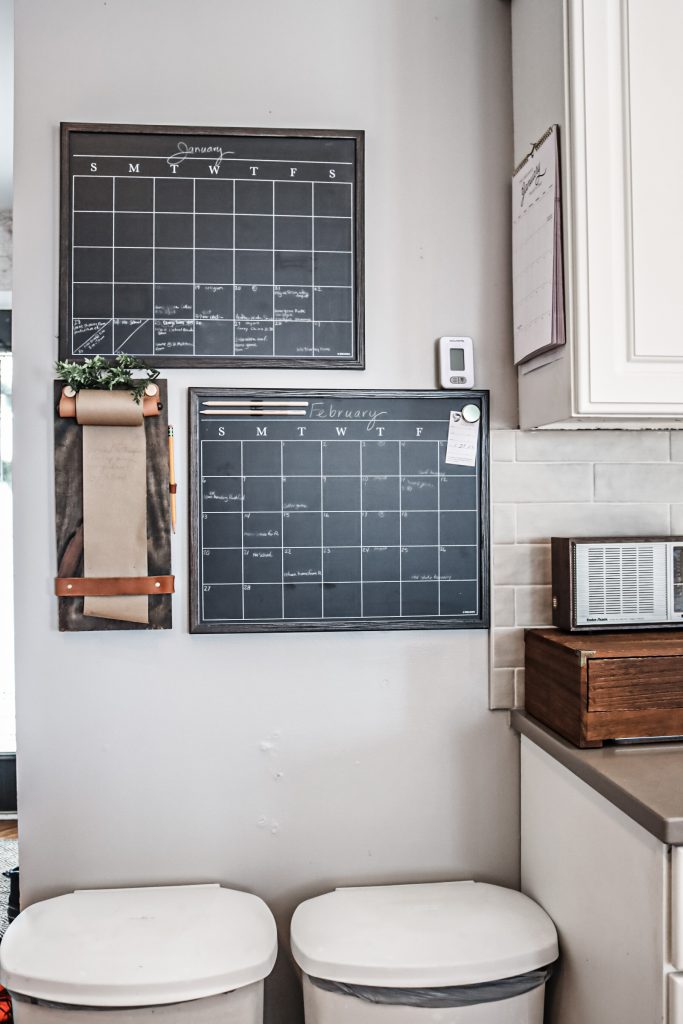
I added our vintage radio on top of a wooden computer stand that I found at target. It functions beautifully as our mail center. The files where I keep the kids special school things are below and now out of site.
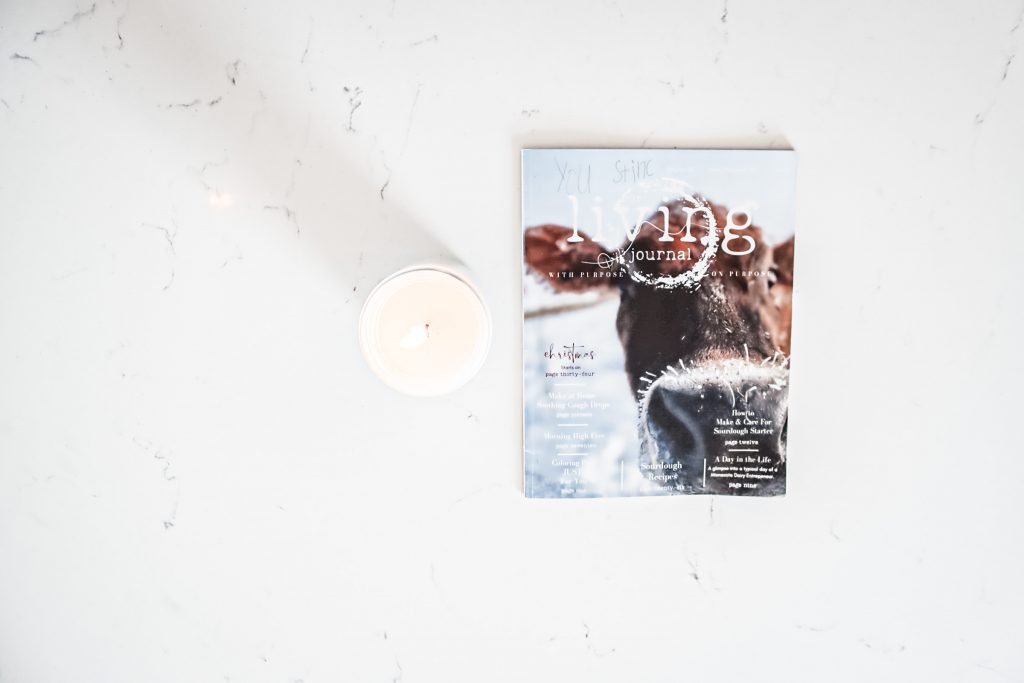
The goal with this space it have it as cleared off as possible. But you know life will ensue and the farm magazines have already started to accumulated here.
We also added a few under the cabinet lights for a bit of cozy in the mornings when everyone is getting ready and we aren’t all ready for the major work lights of the kitchen.
A few of our electrical outlets were tripping and sparking, so we worked with a local electrician to replace a few of these boxes for safety reasons.
To DIY or NOT to DIY – Kitchen Renovation.
The Kitchen Renovation video goes more into depth about this, but my general reason for skipping this kitchen renovation simply because I can generally do what ever I put my head and heart around doing.
I mean, I successfully turned around a 1970’s horse trailer this past summer- it’s not like I don’t have a few skills up my sleeve. I love learning new things and teaching myself how to do anything is just in my nature.
This kitchen renovation was just a little treat to myself. I didn’t have to relearn how to tile from this summer, mess up measurements, have to go buy more materials, wait hours, tear everything back out etc.
Our kitchen renovation from start to finish lasted 3 days. When we are talking a major room in your home, a hub of family activity, I was glad when the 3 days were over and things were completely finished. I coudn’t imagine working on this for weeks or maybe months on end and then having to possibly call and then wait of a professional reinforcements on top of that!
It was totally worth my time, energy and the stress it would have put on our household to have this done for us. I will DIY the heck out of my garage, greenhouse, chicken coop and horse trailer, but this was one call, I am glad I made.

Tips for designing your dream kitchen
- Try not to overwhelm yourself with too many options.
- Know you’re budget and then add another 20% on top, just in case.
- Realize that planning for all of this, doesn’t happen over night. Research of materials, working with designers and demo/ install companies can all take time. Enjoy the ride, it’ll be done before you know it!
- Don’t forget how important both ambiance lighting and work lighting is in your kitchen. We love having both!
Shop this Kitchen Renovation
Little Rolls of Paper used to make that little note station
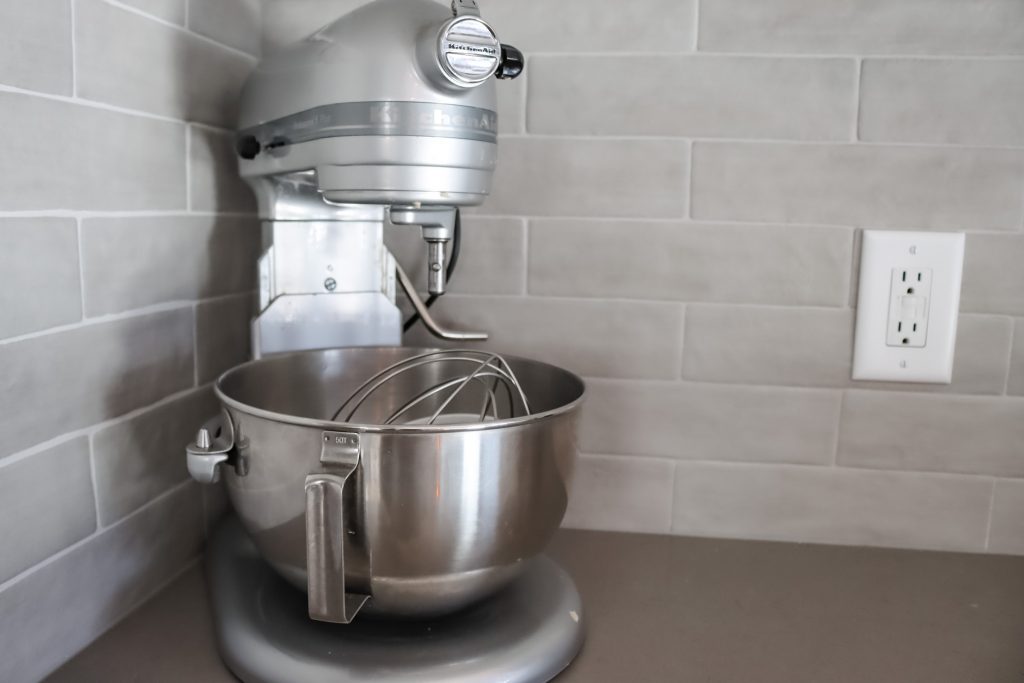
Kitchen Aid Mixer (my most used kitchen appliance it has earned it’s privilege to sit on our brand new countertops!)
What’s your favorite feature of this kitchen?
P.S. Can you spy the love note, in the photos above, that one of my kids left me after I had to say no? 🙂
- Our Hidden Household Pantry: The Hardest-Working Room in Our Home
- A Year in the Life of Our Garlic Patch: From One Clove to A Year’s Worth of Flavor
- Fresh Summer Salad made with Lemon, Orzo, and Arugula
- What We Keep in the Car During Summertime
- Teaching Kids the Art of Talking to People

Affiliate Disclosure & Content Disclaimer
This post may contain affiliate links from a paid sponsor, Amazon or other program. When you use these links to make a purchase I earn a small commission at no extra cost to you. This allows me to continue creating the content that you love. The content in this article is created for information only and based on my research and/or opinion.
Emily T.
Leave a Reply


DAILY INSPIRATION ON THE GRAM @hearty.sol
it's hip to be square!
I really like the color palette. It’s really warm and inviting, also clean. It’s all beautiful!
Thank you so much!!