

Homemade Holiday Custard Hand Pies | A Nostalgic Treat
These Holiday Custard Hand Pies are a cozy little treat inspired by a certain drive-thru classic… only better.
Easy to make, easy to eat, and so nostalgic!
There’s a certain little holiday pie that shows up in fast-food land every December, tucked between french fries and fountain drinks. And while I’m not above grabbing one on a busy errand day, there’s something extra fun about making a version at home — one that feels warm, simple, made with real custard, and a little more “kitchen table” than “drive-thru window.”
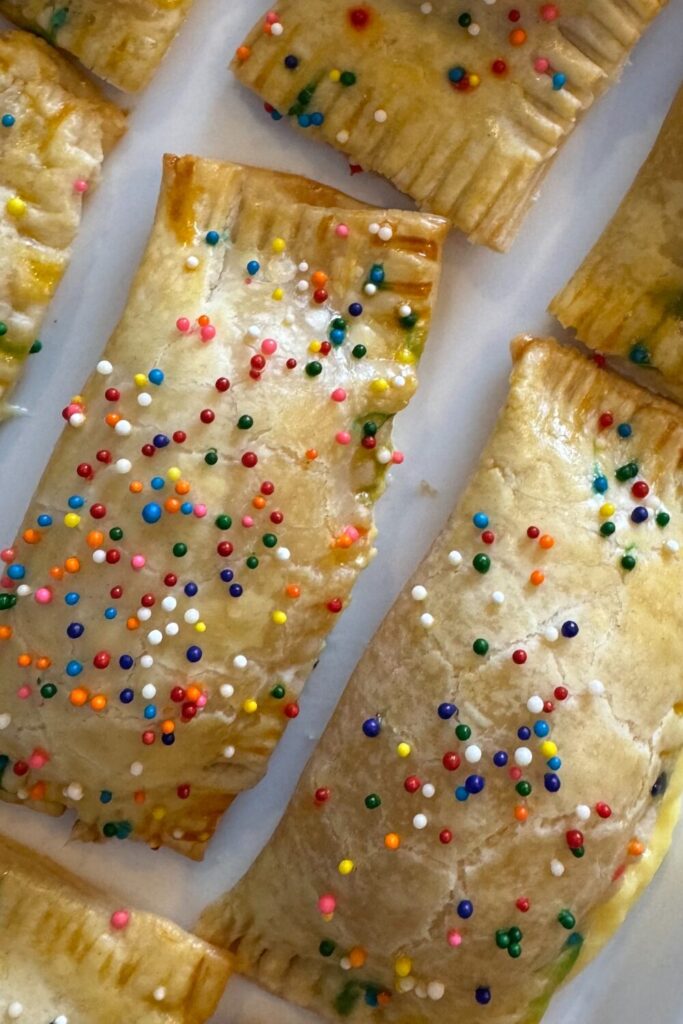
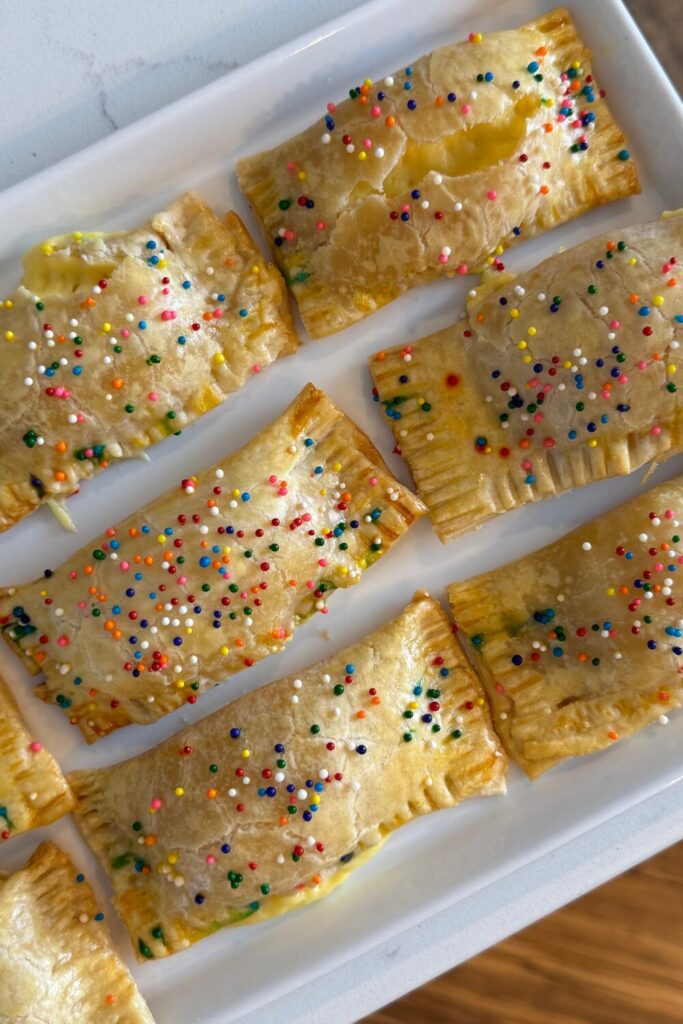
These Holiday Custard Hand Pies bake up buttery and golden, with a soft vanilla filling and cheerful sprinkles on top. They remind me of when the kids were little and any dessert with rainbow jimmies automatically made the day feel special. They’re easy enough to make on a weeknight, but cute enough to serve on Christmas Eve with hot cocoa.
And the best part? You probably have most of the ingredients already sitting there in your pantry, waiting to jump into something fun.
- Making a homemade family tradition
- Ingredients
- Step-By-Step Instructions
- Ways to Elevate this Holiday Treat
- Baker’s Tips
- Printable Recipe Card
- More Handmade Goodies

Why Make Custard Hand Pies at Home?
We had our first snow day the other day and everyone wanted something sweet without having to leave the comfort of the warm fireplace.
Besides the fact that homemade anything just feels better (we love copycat recipes like our creamy mint shake) — these taste richer, creamier, and a whole lot more comforting. Plus, this recipe is made with real custard, not pudding mix. You can make a whole tray for what one or two would cost out in the wild. And if you’ve got kids around, these are the kind of desserts they love helping decorate (sprinkles everywhere… consider that your warning).
This recipe makes you feel like a master chef in less than an hour, seriously! They freeze beautifully, too, which means you can stash a batch away for when company pops in or when you just need that evening treat with a quiet cup of tea.


Holiday Custard Hand Pie Recipe
Ingredients
Homemade Crust
(Feel free to swap in store-bought refrigerated pie dough — zero shame in that.)
- 2 cups all-purpose flour
- 1 tbsp sugar
- 1 tsp salt
- 1 cup cold unsalted butter, cubed
- 6–8 tbsp ice water
Vanilla Custard Filling
- 1 cup whole milk
- ½ cup heavy cream
- ⅓ cup sugar
- 2 tbsp cornstarch
- 2 egg yolks
- 1 tbsp butter
- 1½ tsp vanilla extract
- Pinch of salt
For Assembly
- 1 beaten egg (egg wash)
- Rainbow jimmies
- Coarse sugar (optional but so good)
Instructions
1. Cook the Custard
- In a saucepan, whisk together the sugar, cornstarch, and salt. Add the milk, cream, and egg yolks and whisk until smooth.
- Set over medium heat and stir until thickened — about 5–7 minutes.
- Remove from heat and stir in the butter and vanilla.
- Let the custard cool completely (it thickens as it cools). Stash it in the fridge while you get the dough ready.
2. Make the Crust
- Mix the flour, sugar, and salt in a bowl. Cut in the cold butter until everything looks like coarse crumbs.
- Drizzle in the ice water just until the dough comes together.
- Divide into two discs and chill for about 30 minutes. (Or unwrap your store-bought dough. I won’t tell.)
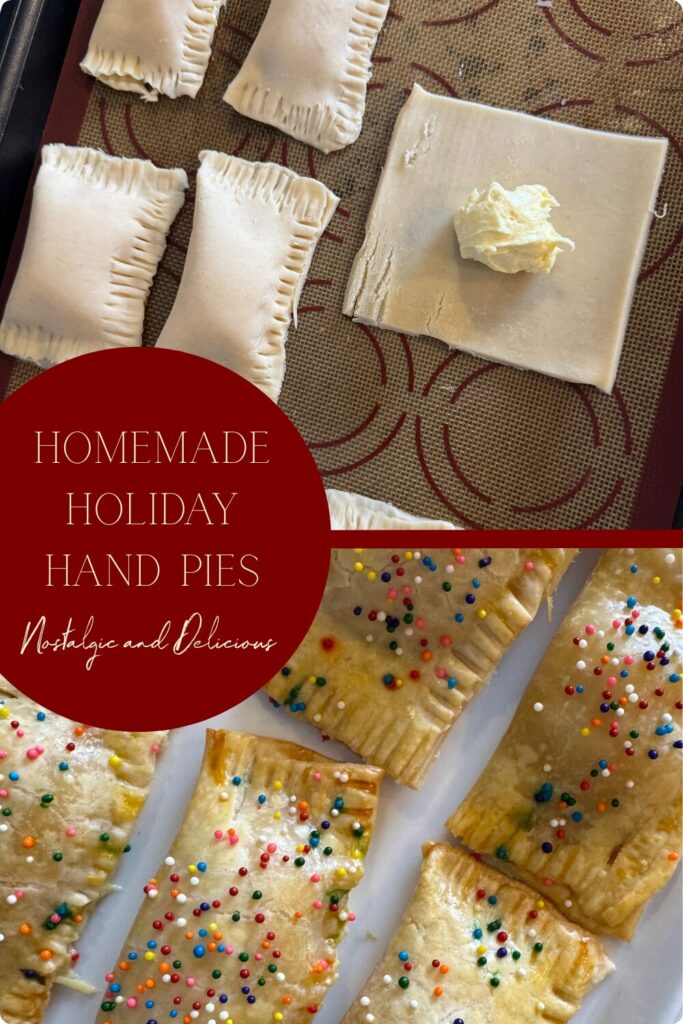
3. Build the Pies
- Grab a rolling pin and roll the dough to about ⅛ inch thick and cut into rectangles — roughly 3×5 inches.
- Spoon 1–2 tablespoons of custard onto half of the rectangles, then top with the rest.
- Press edges with a fork to seal.
- Brush the tops with egg wash and cover them with rainbow jimmies and coarse sugar.
4. Bake
- Bake at 375°F for 18–22 minutes, until golden and lightly puffed.
- Let them cool until they’re warm but not lava-hot.
Enjoy with coffee, tea, or standing over the counter like a gremlin — your choice.
Ways to Elevate this Homemade Holiday Custard Hand Pie Recipe
- Substitute vanilla extract for almond or rum extract for a twist
- Stir a spoonful of eggnog into the custard for an extra holiday-inspired flavor
- Add a little lemon zest to the crust if you like a brighter taste
- Make homemade frosting to drizzle on top like a toaster strudel!
- Cut the dough into tree shapes if you’re feeling extra festive 🙂
Baker’s Tips
- Two words: Silicone Mats! These silicone baking mats make baking so much easier. I use them for cookies, fruit leather, and any recipe I think I might have to worry about sticking to my baking pans.
- You can freeze these pie treats before you bake! Grab them out of the freezer and bake straight from frozen — add an extra 3–5 minutes.
- This pie structure is so versatile, so if you’re craving a fruit-filled hand pie instead, go ahead and place canned fruits in the middle or fill them with my Homemade Strawberry Topping!
- Be careful not to overfill each pie with custard, so it doesn’t leak out from the dough
- If you are using ready-to-bake pie dough you will need one package worth
Printable Recipe Card

Homemade Holiday Custard Hand Pies
Ingredients
Homemade Crust (feel free to swap in store-bought dough)
- 2 cups all-purpose flour
- 1 tbsp sugar
- 1 tsp salt
- 1 cup cold unsalted butter cubed
- 6 –8 tbsp ice water
Custard
- Vanilla Custard Filling
- 1 cup whole milk
- ½ cup heavy cream
- ⅓ cup sugar
- 2 tbsp cornstarch
- 2 egg yolks
- 1 tbsp butter
- 1½ tsp vanilla extract
- Pinch of salt
Assembly
- 1 beaten egg egg wash
- Rainbow jimmies
- Coarse sugar optional but so good
Instructions
Cook the Custard
- In a saucepan, whisk together the sugar, cornstarch, and salt. Add the milk, cream, and egg yolks and whisk until smooth.
- Set over medium heat and stir until thickened — about 5–7 minutes.
- Remove from heat and stir in the butter and vanilla.
- Let the custard cool completely (it thickens as it cools). Stash it in the fridge while you get the dough ready.
Make the Crust
- Mix the flour, sugar, and salt in a bowl. Cut in the cold butter until everything looks like coarse crumbs.
- Drizzle in the ice water just until the dough comes together.
- Divide into two discs and chill for about 30 minutes.
- (Or unwrap your store-bought dough. I won’t tell.)
Build the Pies
- Roll the dough to about ⅛ inch thick and cut into rectangles — roughly 3×5 inches.
- Spoon 1–2 tablespoons of custard onto half of the rectangles, then top with the rest.
- Press edges with a fork to seal.
- Brush the tops with egg wash and cover them with rainbow jimmies and coarse sugar.
Bake
- Bake at 375°F for 18–22 minutes, until golden and lightly puffed.
- Let them cool until they’re warm but not lava-hot.
- Enjoy with coffee, tea, or standing over the counter like a gremlin — your choice.
Notes
Pin for Later!
These little hand pies are the kind of treat that make the kitchen feel warm even when it’s snowing sideways outside. They’re simple, cheerful, and nostalgic without being fussy — very much the kind of thing I’d set out on the counter and let the family wander by and steal throughout the day.
If you make them, tell me how they turn out — or what twist you added (and use #heartysolrecipes if you share it!). There’s always room at the table for a new holiday tradition.
Shop the HeartySol Winter Items here!

Affiliate Disclosure & Content Disclaimer
This post may contain affiliate links from a paid sponsor, Amazon or other program. When you use these links to make a purchase I earn a small commission at no extra cost to you. This allows me to continue creating the content that you love. The content in this article is created for information only and based on my research and/or opinion.
Emily T.


DAILY INSPIRATION ON THE GRAM @hearty.sol
it's hip to be square!
View comments
+ Leave a comment