How to Create Washable Winter Window Art
A little bit of magical Wintery Window Art might be just the thing to add a simple sparkle to both the inside and outside of your home!
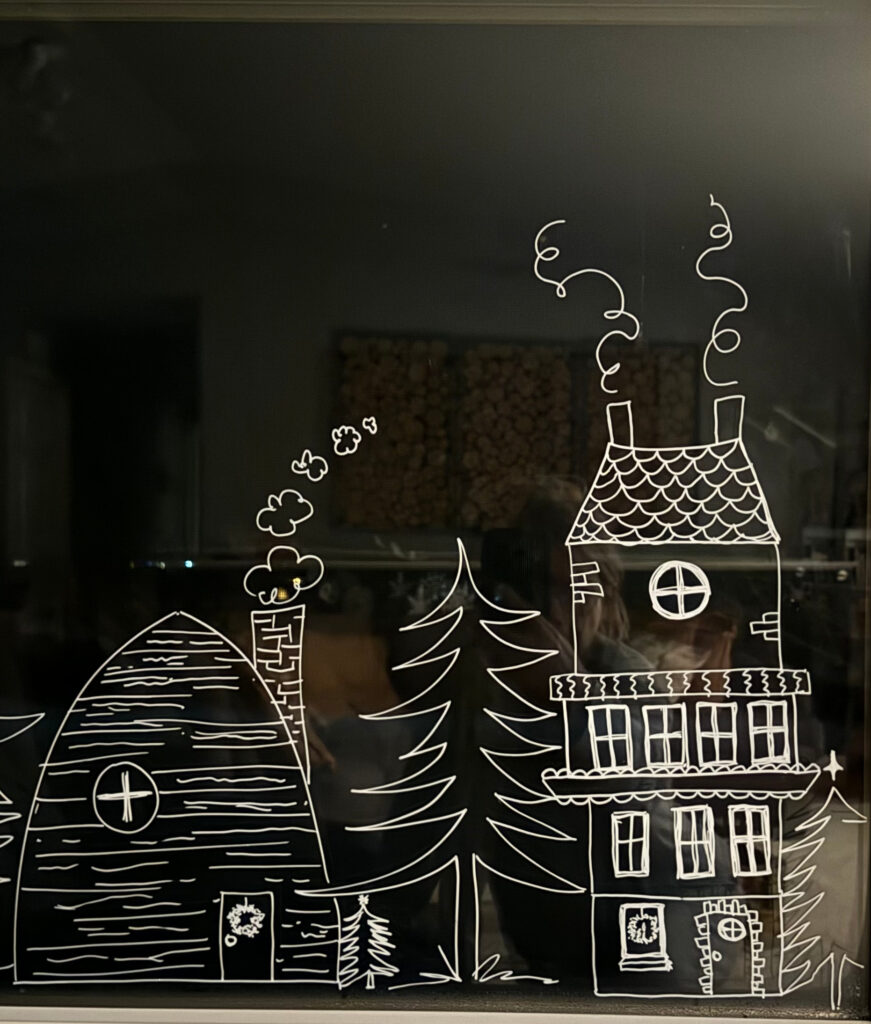
Bring the magic of Winter indoors!
Decorating your windows with washable chalk marker art is a fun and festive way to bring the feeling of winter indoors. With just a little creativity, you can turn any window into a canvas for a cozy Christmas village or a whimsical winter wonderland. One mom told me she decorates her kids’ windows with these chalk markers for their birthdays! What a simple and easy thing to do to make everyone feel special!
Why Chalk Marker Window Art?
Washable chalk marker art is an easy and mess-free way to transform your home for the holidays. Here’s why you’ll love it:
- Kid-Friendly: Safe, non-toxic, and easy to clean.
- Customizable: You can create designs for any theme or season.
- Reusable: Wipes off easily for a fresh start.
- Budget-Friendly: No need for expensive supplies—just chalk markers and windows.
What You Need
Before you begin, gather these supplies:
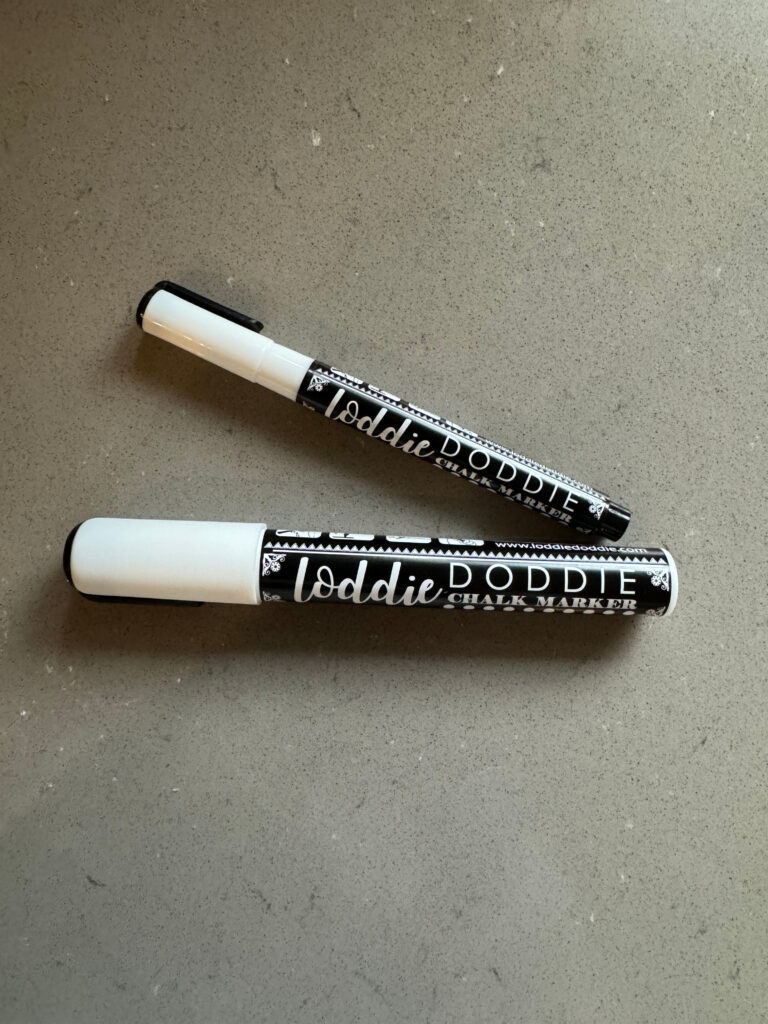
- Washable chalk markers (white and colored options)
- A damp cloth or window cleaner for corrections
- Printout or template for design inspiration (see our free template below)
- Tape (for securing templates to the window)
Step-by-Step Guide to Creating Winter Window Art
Follow these simple steps to make your own washable window art:
Step 1: Pick a Window
Our living room windows are the ideal height for our kids to pull up a stool and the perfect size for them to get as creative as they want! As for myself, I won’t skip the chance to draw on our kitchen window!
Step 2: Clean Your Surface
Start by thoroughly cleaning the window with glass cleaner and a lint-free cloth. This ensures the chalk marker adheres smoothly. Bonus, your windows are now, squeaky clean. For now 😉
Step 3: Choose a Design
Download and print our free Winter Window Art Template, which features:
- A gingerbread village with cozy houses
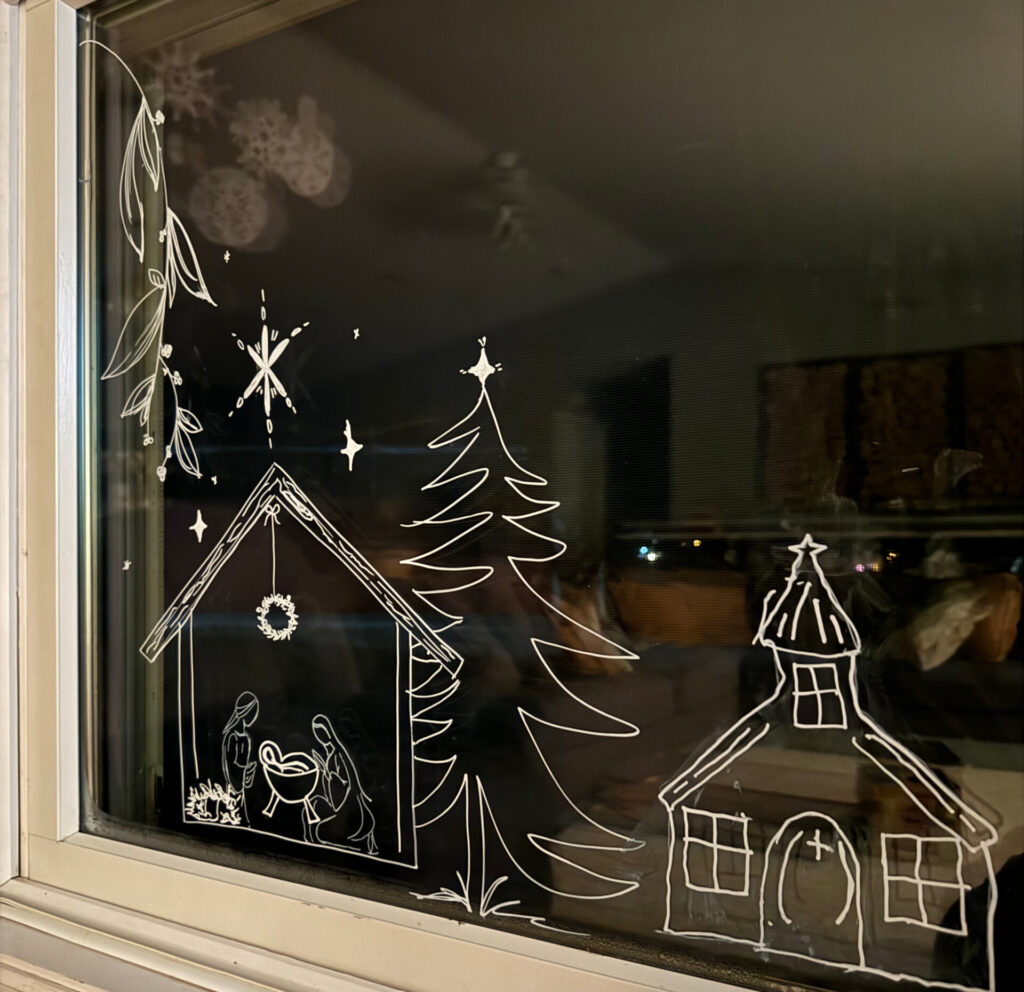
- A Nativity scene with Joseph, Mary, and baby Jesus
- Snowflakes and stars to complete the look
Tape the template to the outside of the window for easy tracing.
Step 4: Start Tracing
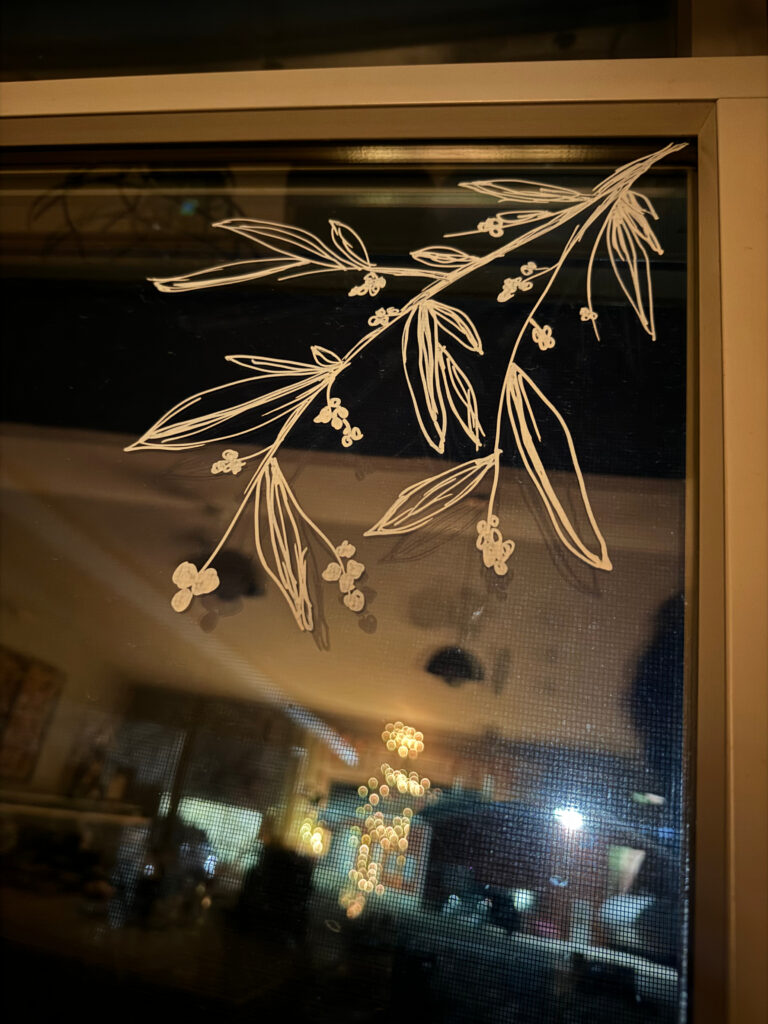
Use chalk markers to trace the design onto the window from the inside. Start with larger shapes and add details like roof shingles, tree branches, and starbursts.
Step 5: Add Depth and Color
Once your outline is complete, fill in areas with color or shading. For added depth, layer colors or use a blending technique with a slightly damp cloth.
Step 6: Final Touches
Enhance your scene with snow drifts, icicles, (we get this pretty naturally on our windows here in Minnesota) or holiday messages like “Joy” or “Peace on Earth.”
Adding these dusk to dawn cordless candles to your window would add a special touch too! The best part is once you put them up, you don’t have to mess with them again. They will automatically turn on and off when it’s light and dark. I always loved seeing candles in the windows and was always curious, who was the one who had to go to the attic window every night to turn on that candle? I love putting them in all our windows this time of year.
Pro Tips for Winter Window Art Success
- Practice First: Test your chalk markers on a small section of glass to get a feel for them.
- Layer Colors: Use lighter colors over darker ones for added dimension.
- Work Slowly: Let each section dry before adding overlapping lines to avoid smudging.
- Use Contrast: Pair bold colors with white outlines for visibility.
- Clean Up Easily: Keep a damp cloth handy for quick fixes or to erase mistakes.
Frequently Asked Questions about Window Art
1. Are chalk markers really washable?
Yes! Washable chalk markers are designed to wipe off glass and other non-porous surfaces with a damp cloth.
2. Can I use this technique on other surfaces?
Absolutely. These markers work on mirrors, tiles, and even some plastics—just ensure the surface is non-porous.
3. What if I make a mistake?
No problem! Simply use a damp cloth to wipe away the mistake and try again.
4. How long will the design last?
Your art will last until you decide to clean it off. It’s durable enough to withstand light condensation but wipes clean with a cloth.
Get Creative with More Simple Crafts
If you love this project, explore more craft ideas on Heartysol.net
- How to Make Simple Yet Fancy Paper Snowflakes
- Pattern Drafting: Turn Favorite Clothes into Sewing Patterns
- How to Make Your Own Waldorf Doll
- Sewing a Winter Dress with Mitten Pockets
- The Best Paper Bag Stars
Download Our Free Window Art Template
To make your window art even easier, download our free Winter Window Art Template featuring a gingerbread village and Nativity scene. Print it, tape it to your window, and start tracing!
Creating washable winter window art is a fun, festive activity that transforms your home into a holiday wonderland. With just a few supplies and a bit of creativity, you can bring warmth and joy to your family’s holiday season.
And when the fun is done ….. you can make up a bottle of our homemade streak-free window cleaner!
Let your imagination run wild and share your designs with us! For more creative and seasonal ideas, visit heartysol.net Happy crafting!
Pin this Window Art Post for later!

Other Treats:

Affiliate Disclosure & Content Disclaimer
This post may contain affiliate links from a paid sponsor, Amazon or other program. When you use these links to make a purchase I earn a small commission at no extra cost to you. This allows me to continue creating the content that you love. The content in this article is created for information only and based on my research and/or opinion.
Emily T.
DAILY INSPIRATION ON THE GRAM @hearty.sol
it's hip to be square!
View comments
+ Leave a comment