

How to Make a unique Valentine | Making Button Zingers
Making Button Zingers are a simple and easy gift – just in time for Valentine’s Day!
A Simple Project
If you have been following along for a while, you would know that we are the crafty-DIY-kind of family. It just happens, it’s really not intentional. And don’t get me wrong, there have been years when it is just as easy to grab a bag of fruit snacks at the dollar store the day before Valentines Day, when homemade things just didn’t get done. But, I guess it’s just natural for us to use what we have. The scrappiness in me is in my DNA. I still remember the homemade valentines we made when we were young with my mom, at our kitchen table. Surrounded in glue, red paint, and glitter, she’d say, “Your friends will love these! Things are so much better when they’re homemade!”
Buttons
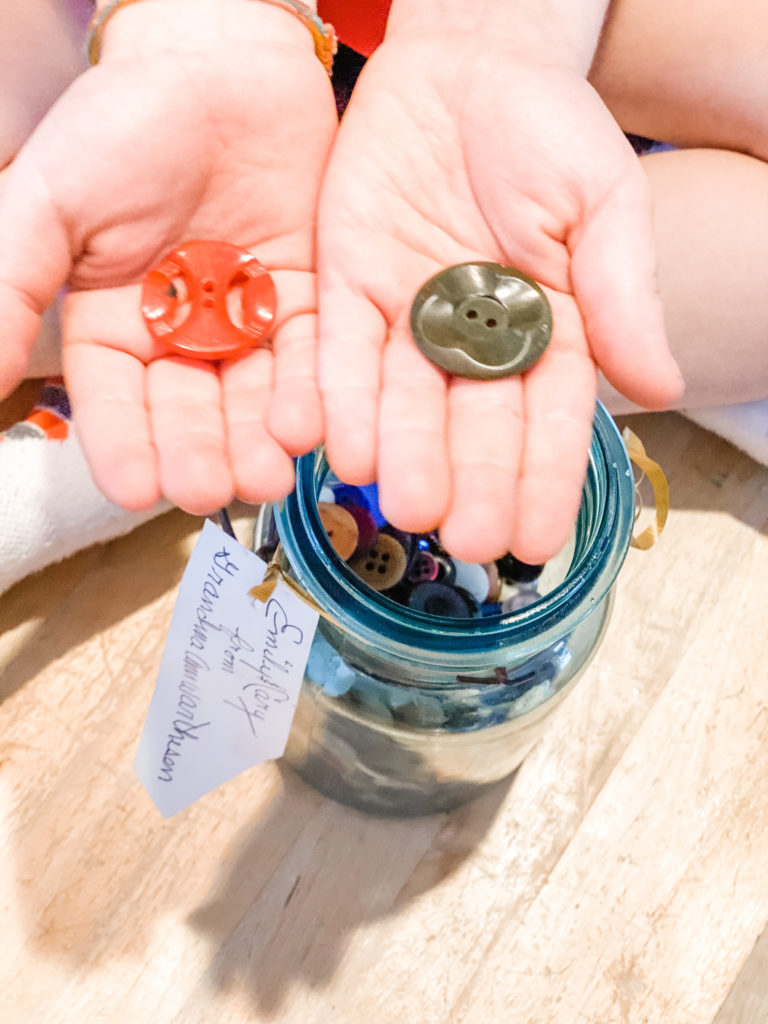
I come from a long line of button collectors and we were lucky enough to receive a blue ball jar full of grandma’s buttons as a wedding gift. Some are so so old, some still have the thread from the item she collected them from and I’m even convinced that a few are from military uniforms. From wood, metal, pearl, and plastic. It’s all in this jar!
The best part about making things with her buttons is every single time we go through the jar we still seem to be amazed by this collection. Every item that I make for our children gets one of grandma’s buttons sewn to it. Sometimes it will be a visual adornment and sometimes I will sew one into the pocket just for fun.
The button acted like a worry stone for my little one’s first day of kindergarten when she wore her handmade skirt. It was a fun little surprise for her. I loved listening to her excitement telling me how she discovered a tiny little button in her pocket on her first day of school and it made her not miss her momma as much! 😉
Some links are affiliate links, which means I make a small commission at no extra cost to you.
Button Zingers
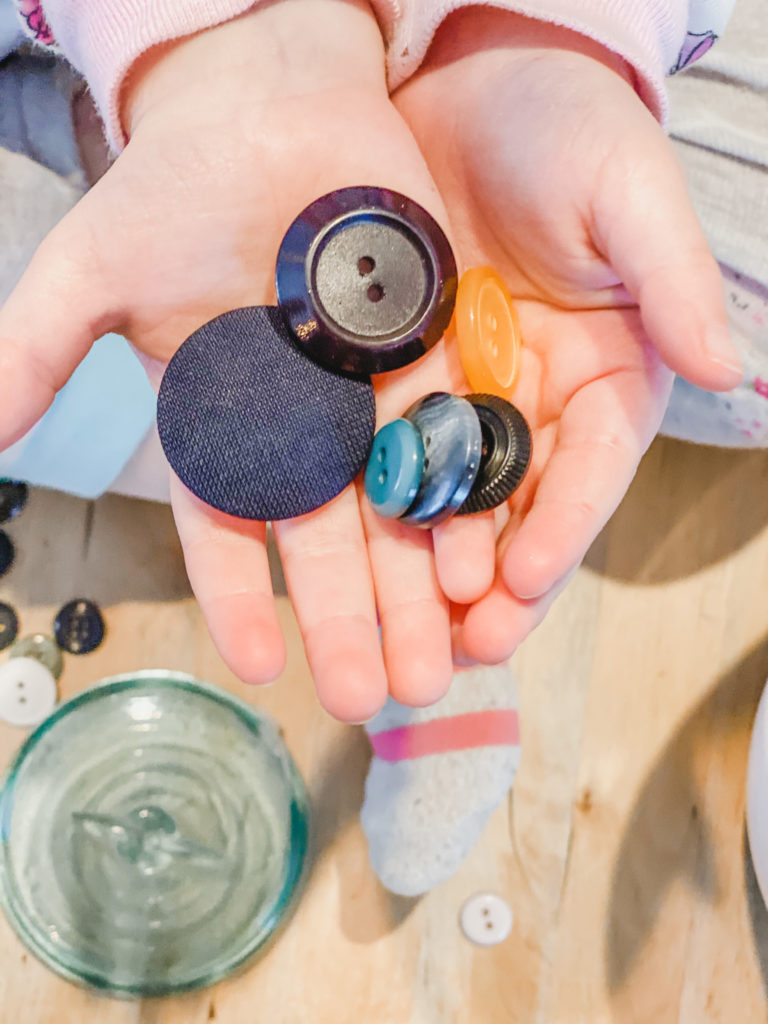
At grandma’s we used to pick out our 3 favorite buttons, she would tie them together with some cotton string and we had hours of fun whizzing our buttons. Us kids loved to compete to see who could keep theirs going the longest. When we weren’t playing with them, we wore them around our neck so they wouldn’t get tangled up in our pockets. They were equally pretty as a necklace!
Materials Needed:
Buttons-just in case you don’t have buttons on hand, here is a link.
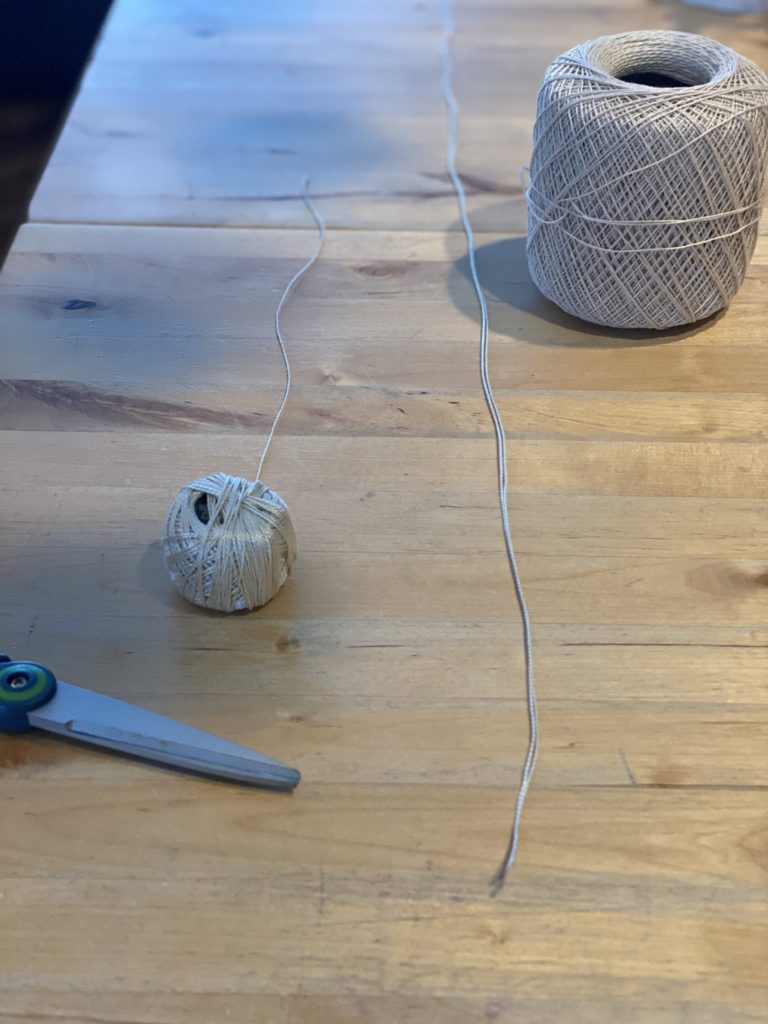
Cotton String– I use this string for all sorts of things in our home. From cooking to gardening and crafts. It’s nice to have a big roll of it around.
Clear nail polish / or a sewing needle- we use clear nail polish to make the end of the string hard and easier to go through the buttonholes. You could also use a sewing needle.
Scissors
How to make a Button Zinger the video tutorial
How to make a Button Zinger
- Cut a piece of string about 33″ long.
- We add a bit of nail polish to the end of the string, then let it harden and pinch it to become more narrow and able to fit through the buttonholes. You could also use a sewing needle to string the buttons on.
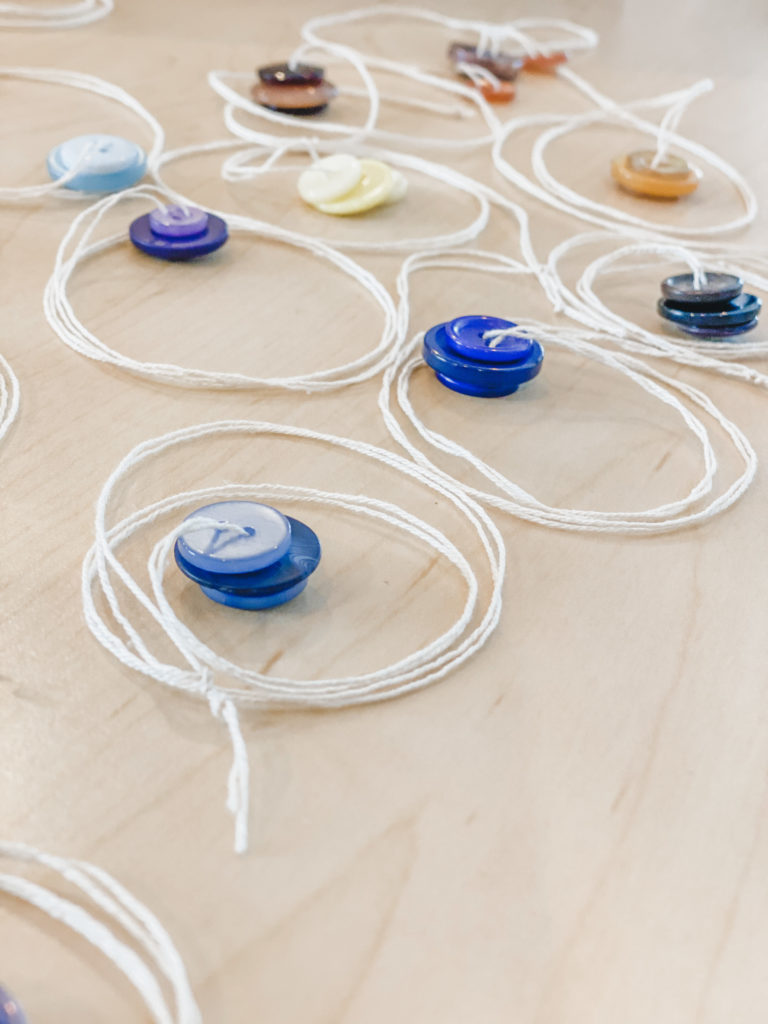
- String on 3 buttons- going through one hole of the button.
- Loop around the last button and come back through the hole on the opposite side of the buttons.
- Once you have 3 buttons and a string that passes through 2 of their holes, you can tie the ends together.
Now you have a loop of 3 buttons.
How to operate your new Button Zinger
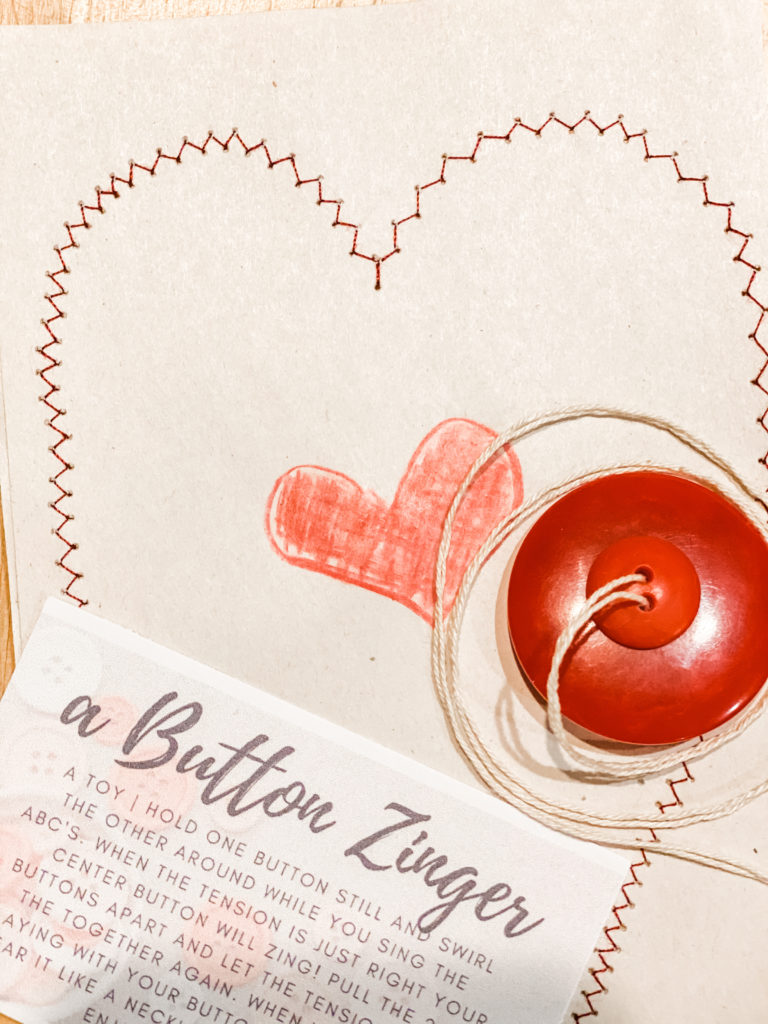
Hold the 2 end buttons with your fingers, let the middle button hang in the center of the string. Holding one side still, swirl the other around in a circle. This will twist up the string and allow for tension to come and go from the center button. Gently allow the string to pull inwards and as you ever so slightly pull outwards.
It can take some practice to know how much you need to twist it all up before it the tension is enough to get it going, but you’ll get it. Our kids suggest singing the abc’s a few times while you swirl your button zinger up to get enough tension to get it going.
It’s also a necklace!
When you aren’t playing with your new Button Zinger, it will stay untangled, showing off your special buttons as a necklace.
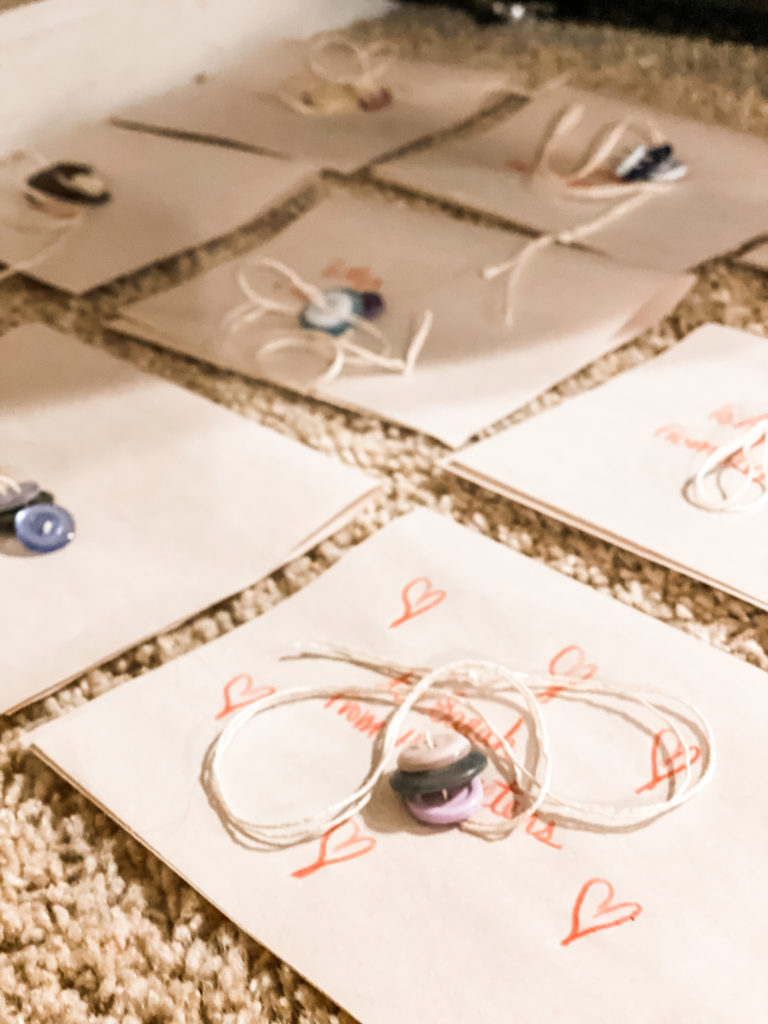
These make the most adorable Valentine’s gifts. Our daughter made these weeks before Valentine’s with such excitement.
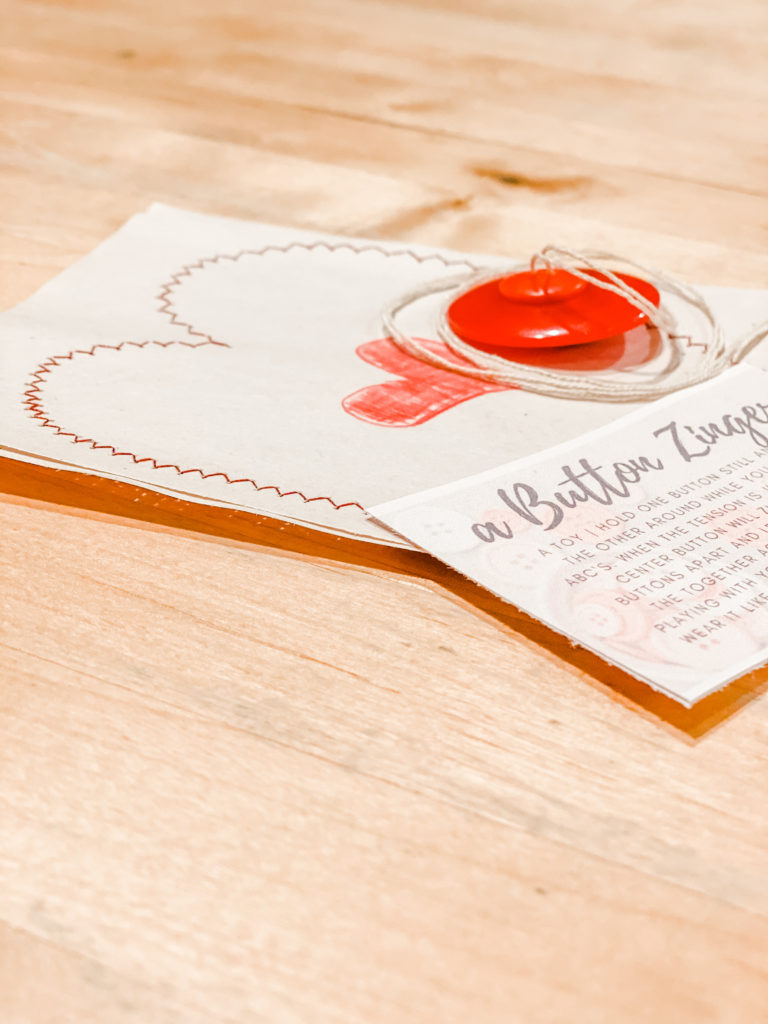
She decided to sew a brown paper pocket with red thread to hold the Button Zingers in. This also doubles as a card and gave her space to leave a message for her friends too.
AND THAT’S IT
These little Button Zingers are good old fashion fun but also a bit like now-a-days fidget spinners. Simple, inexpensive, and entertaining!
MATERIALS
- Buttons
- Cotton string
- Clear nail polish or a sewing needle
- Scissors
Grab my FREE Button Zinger Printable Valentines Cards HERE!
OTHER SIMPLE CRAFT POSTS
Making Homemade Play Dough- another Valentine’s Day Idea!
How to make a Waldorf Doll | a 4 Part Series
10 Projects to Repurpose Sheets
How to Reupholster a Chair | Simple Tutorial
How to Make a Girls Dress |No Pattern Needed
PIN IT FOR LATER

YOU MIGHT ALSO LIKE
Our Homemade Spaghetti Sauce | A Family Recipe
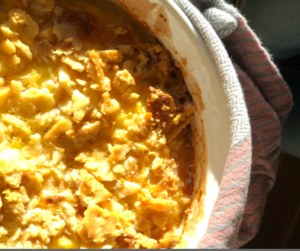
How to Make Buttery Scalloped Corn
Join Our Hearty Living Community!
Hearty recipes, farm living fun
and handmade projects straight to your inbox.

Hello, I’m Emily. I’m so glad you’re here! Join me and my family as we find beauty in our everyday life on the farm, hearty recipes and a handmade home. Find more about me and our story here.
Cheers!

Affiliate Disclosure & Content Disclaimer
This post may contain affiliate links from a paid sponsor, Amazon or other program. When you use these links to make a purchase I earn a small commission at no extra cost to you. This allows me to continue creating the content that you love. The content in this article is created for information only and based on my research and/or opinion.
Emily T.
Leave a Reply


DAILY INSPIRATION ON THE GRAM @hearty.sol
it's hip to be square!
I love these! Great tutorial, pinned! That’s for sharing. ❤️