

How to make Sauerkraut | A Big Batch Tutorial
Sauerkraut has always been one of my childhood favorites. I guess when you are born into a large Luxembourg family, you just have the taste for it!
I’ve been making sauerkraut for a long time and I just love the fresh taste and how relatively easy it is to make!
You really don’t need any sophisticated kitchen tools or appliances.
How to make a Big Batch of Sauerkraut- the Video
Sauerkraut | A Fermented Food
As a kid, I just loved the taste, but what we know now is that since sauerkraut is categorized as ferment it does so much to support a healthy immune system and regulate digestion, so it makes sense to find a way to eat fermented foods daily.
You could spend $50 a month on good quality probiotic pills, or you can pick up a couple of heads of cabbage at about 50 cents a pound, depending on the season, and consume your proibiotcs with dinner.
Homemade sauerkraut is just so delicious! Also, it is so nice to have an instant side dish ready in my cupboard!
Although fermenting vegetable sounds very intimidating and difficult, I can assure you it is a super simple and quick process.
BENEFITS OF FERMENTED SAUERKRAUT:
Like any fermented foods, fermented sauerkraut is beaming with probiotics. When salt and cabbage are massaged together and allow to sit for a few days, lactobacillus starts to populate.
This beneficial bacteria that can be found in lots of fermented foods like yogurt can help increase your gut bacteria. Regular consumption of fermented foods have been shown to improve digestion, increase immunity, reduce the risk of cancer, and help reduce inflammation (source).
TIPS FOR MAKING HOMEMADE SAUERKRAUT:
- I use gallon-sized ziplock bags and a large plate to weight my kraut down
- For those who are new to sauerkraut: when fermenting vegetables, it is common to notice a white layer forming on top of the liquid after a few days. Often this white film is mistaken for mold, and the entire ferment is discarded. However, the white film is usually a type of yeast known as kahm yeast. Kahm yeast is not harmful, although it may be unattractive or even smell a little odd. It should be removed from the ferment so it does not impart a bad odor, but a little bit left in the jar is not harmful to the vegetables or to you. Simply skim it off as you see it and you’ll be good to go!
- If any is above the liquid it will be exposed to oxygen and possibly mold, so that is why it is so important to keep it under the liquid when you are canning your sauerkraut.
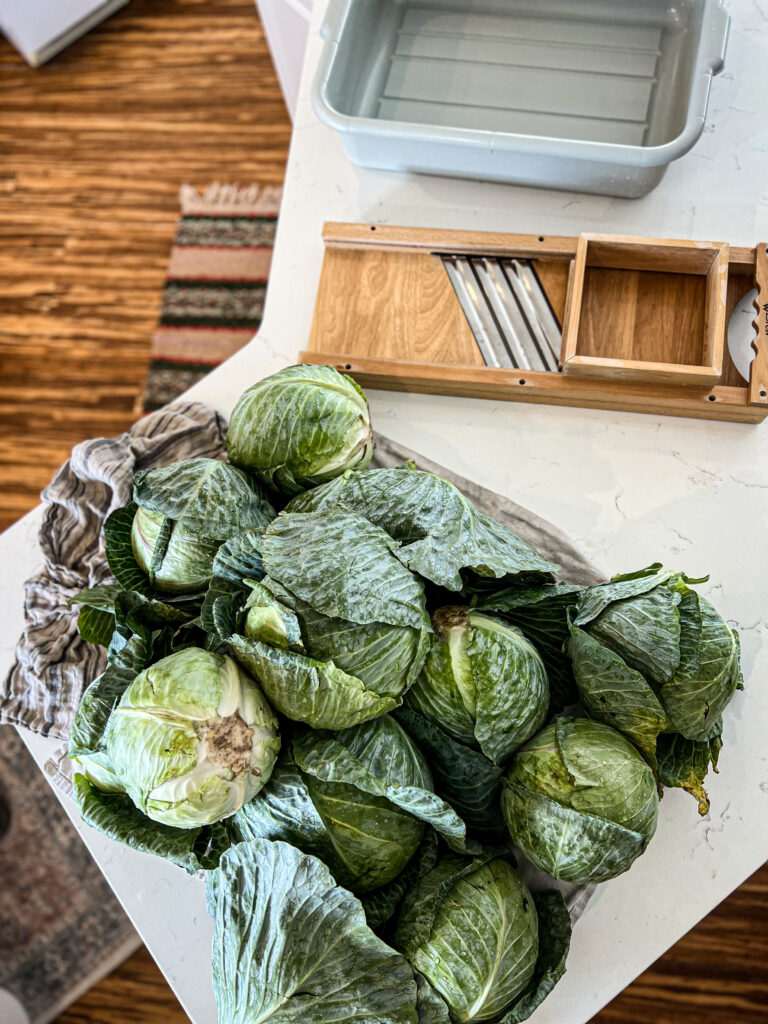
- An old Kraut-Cutter is what I use but a food processor will do the trick too. If you don’t have one you can just chop it as finely as possible.
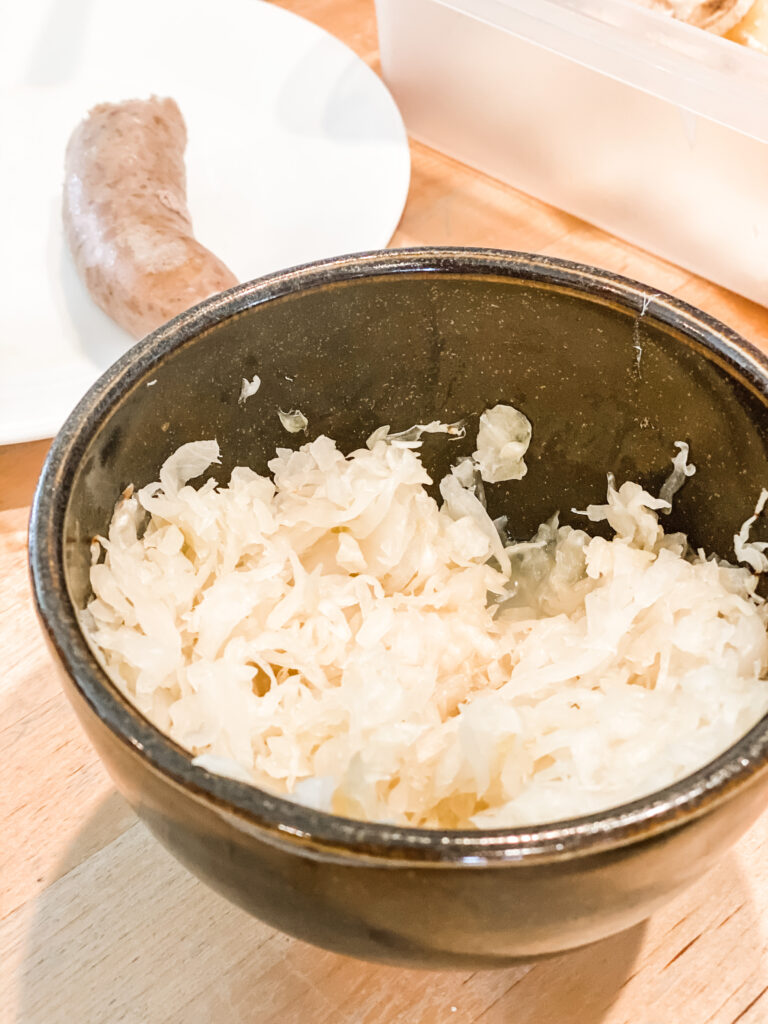
HOW TO SERVE HOMEMADE SAUERKRAUT:
- Serve it daily with dinner or lunch and enjoy the probiotic benefits. We usually just use it as a side.
- Add it to salad.
- You can eat it warm or cold, but for probiotic purposes, technically you should eat it cold since heating it can destroy the beneficial bacteria- but we loved it heated.
- Top sandwiches – we love adding it to chicken salad or tuna salad.
- Hot dogs or Brats taste extra yummy with a serving of sauerkraut on top.
- Add to pizza. May sound odd, but really yummy.

INGREDIENTS:
- Salt- for a 5 gallon bucket of cabbage I use 6 tablespoons of salt.
- 13-15 small heads of cabbage
How to Make Sauerkraut:
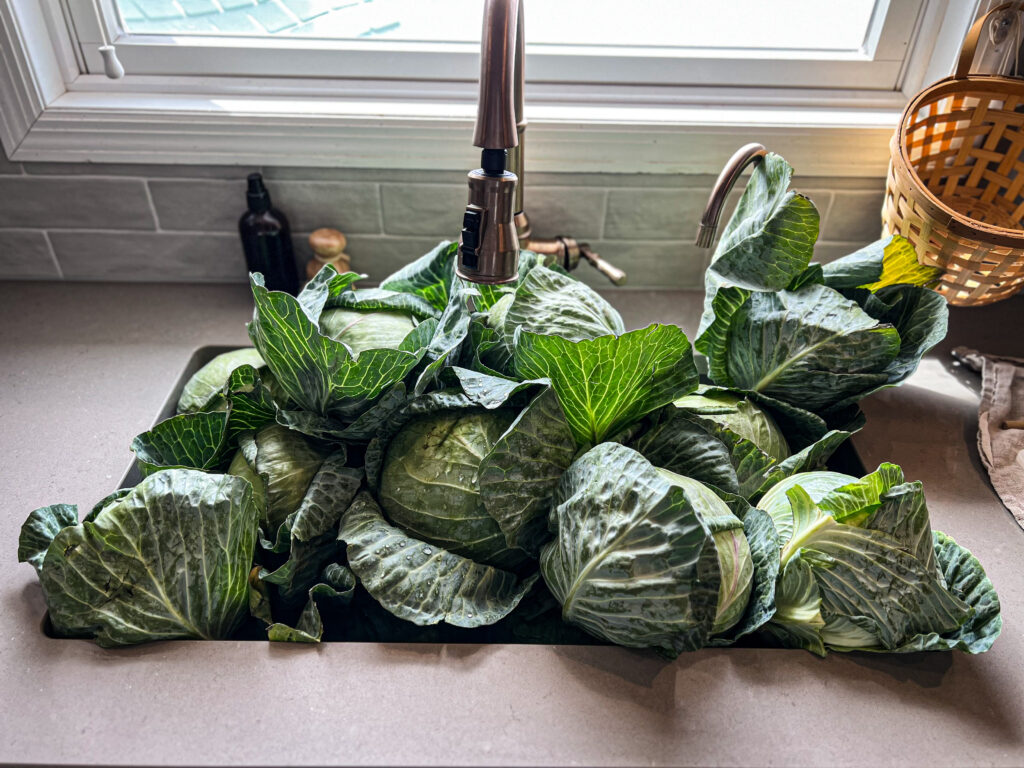
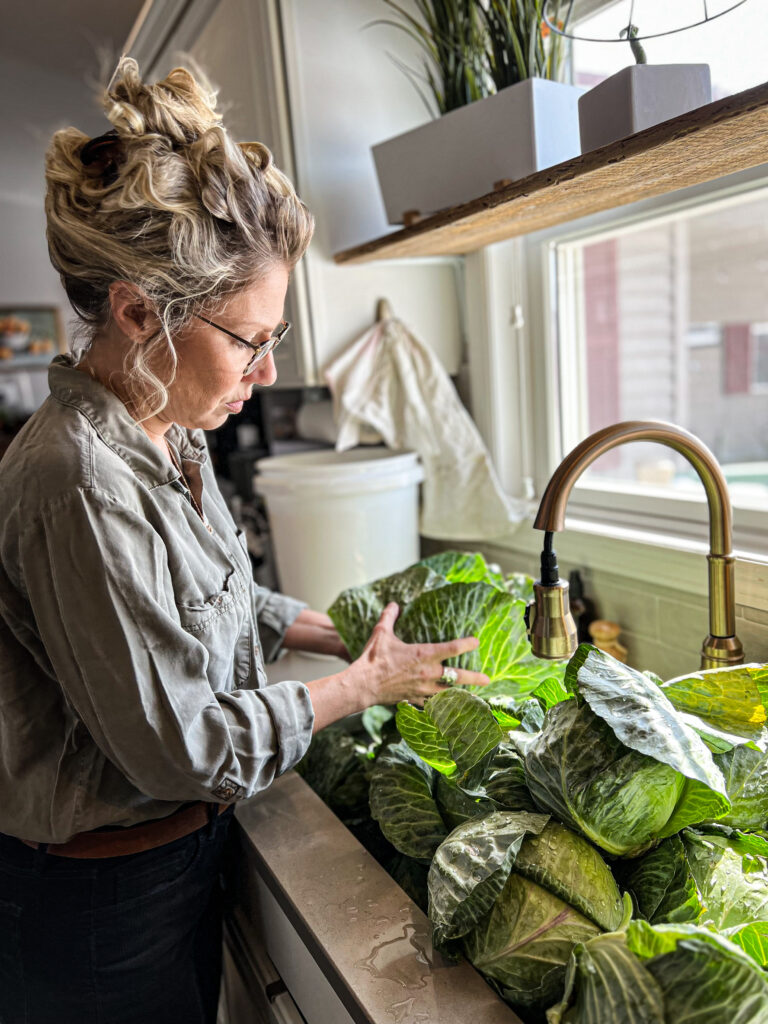
Step 1: Wash Cabbage
Wash, remove the outside few leaves and core cabbage. Remove any large hard chunks. (Our chickens love when I make kraut- they get a nice salad at the end of the day).
Step 2: Shred Cabbage
Shred cabbages using either a Kraut Cutter, food processor or a sharp knife.
Step 3: Storage for Cabbage while it ferments
Place shredded cabbage in clean, food-grade 5 gallon bucket. I fill 1/3 of the bucket and then add 2 tablespoons of salt and massage that little batch with my clean hands. Shred more cabbage, and then add 2 tablespoons of salt, massaging that little batch, then do this one more time until the bucket is filled will cabbage and you have added 6 tablespoons of salt total.
Step 4: Massage Salt into Cabbage
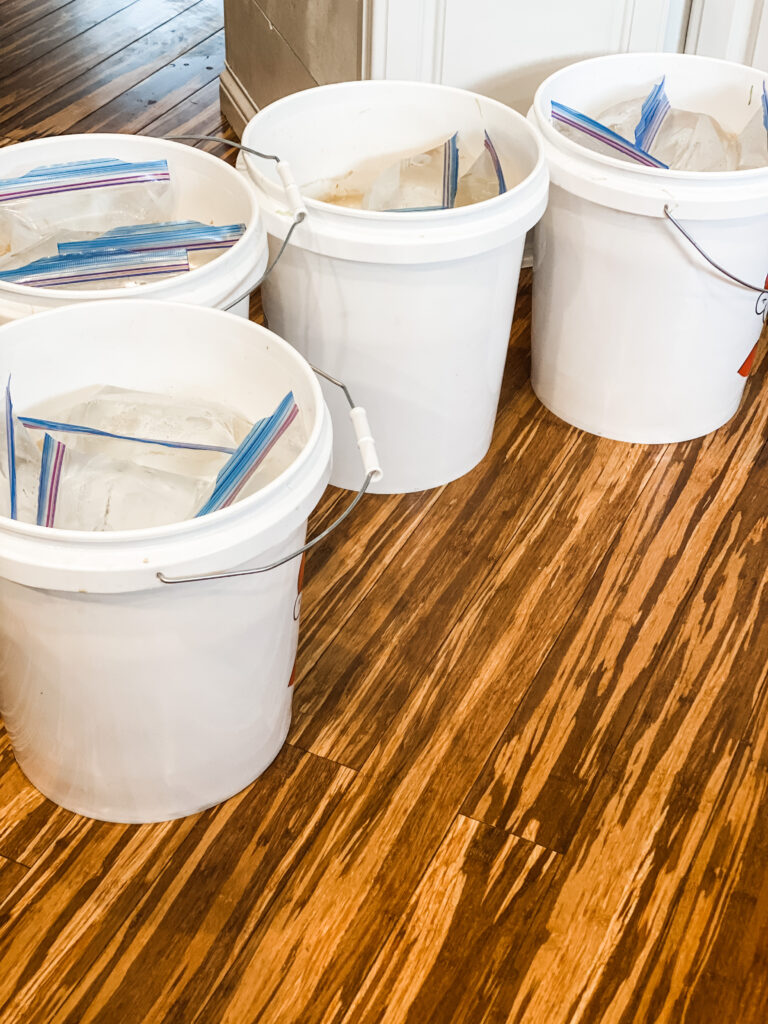
Give your cabbage one more good massage to make sure the salt has been evenly distributed and begin to tamp down your cabbage. We use my grandma’s large wooden tamper, but you can use a wooden spoon or even your clean hands. Tamping will start to bring the water out of your cabbage. You will want about 1-2″ of liquid on top of your cabbage. Grab a large plate, slightly smaller than you bucket hole and press it down onto the cabbage to bring that liquid up above the plate.
Step 5: Press Cabbage under Water
I fill 2 gallon-sized ziplock bags about 3/4 full of water and place them on top of the plate to weigh it down and keep the cabbage underneath the liquid.
If you are making kraut during the warmer months you may have gnats or flies that find your bucket. I did everything I thought was right my first time making kraut except to rubberband a couple of dishtowels over top of the bucket. Then I ended up tossing an entire bucket of kraut because I saw 1 gnat and I dreamed that it maybe had babies in my kraut. Maybe I overthought things, but I just didn’t want to chance it. All my hard work was for nothing!
Now, I always add a couple of flour sack towels on top and then use a rubber band to secure them onto the top of the rim, just to be sure, now!
**Even better, make your sauerkraut in the cooler months, when you can avoid bug life and the heat all together! March and April is the perfect time for us to make our kraut.
Step 6: Where to place your Sauerkraut for optimal Fermentation
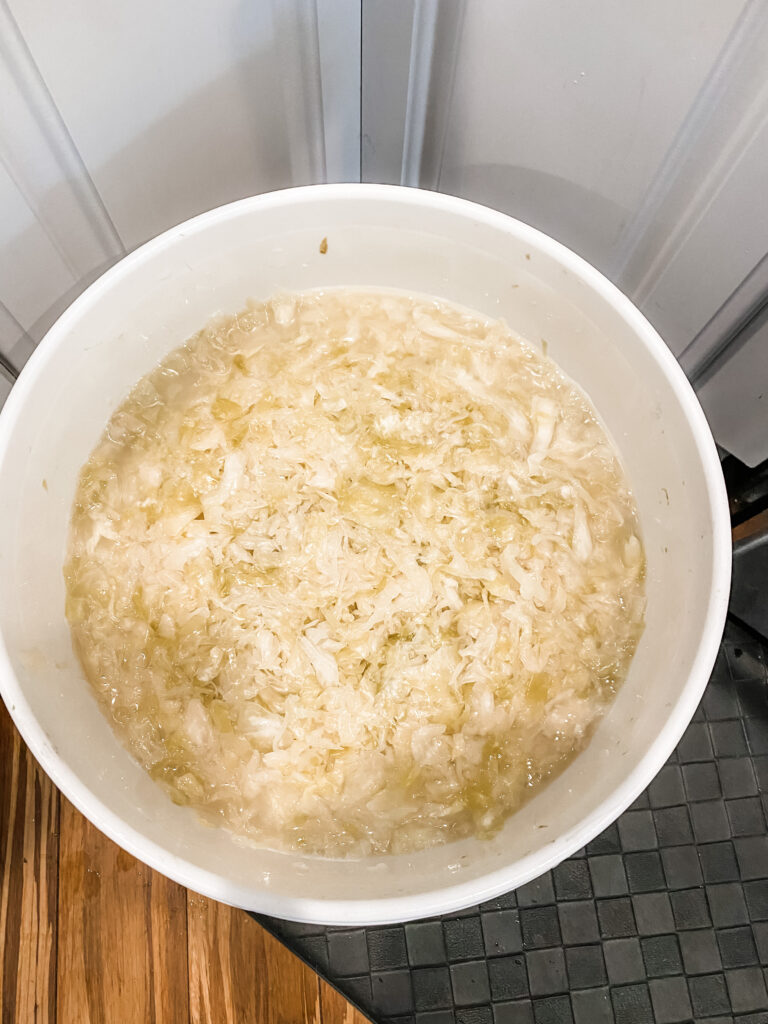
Set your bucket in a dark cool place for 5-6 weeks. I set mine in my basement storage room. If you filled your bucket really full, you will want to set it on a newspaper in case it overflows a bit.
I like watching the little bubbles come to the surface when it’s fermenting! It’s like watching science happen right before your eyes.
I will occasionally swipe away any white scum that happens on the top using a clean paper towel.

Step 7: What to do when you Sauerkraut is finished Fermenting
After 5-6 weeks bring your bucket to the kitchen, removing any white scum, your water weights and the plate. Revealing your sauerkraut will be so exciting! You can actually eat it right out of the bucket! Our kids race to get the first taste.
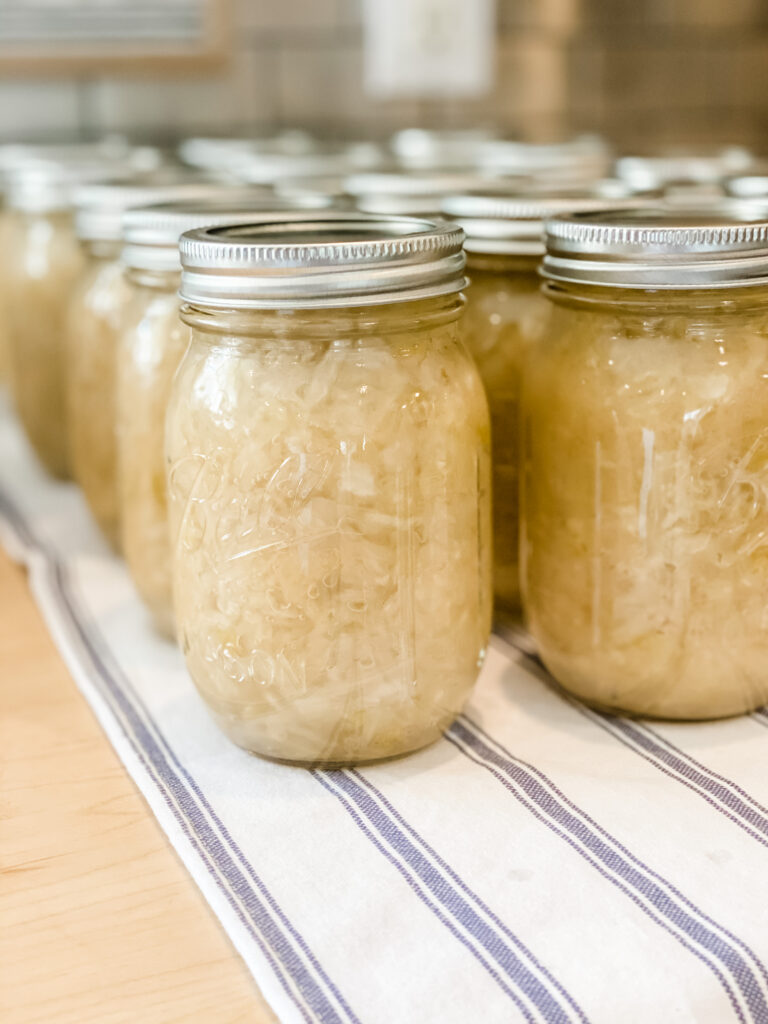
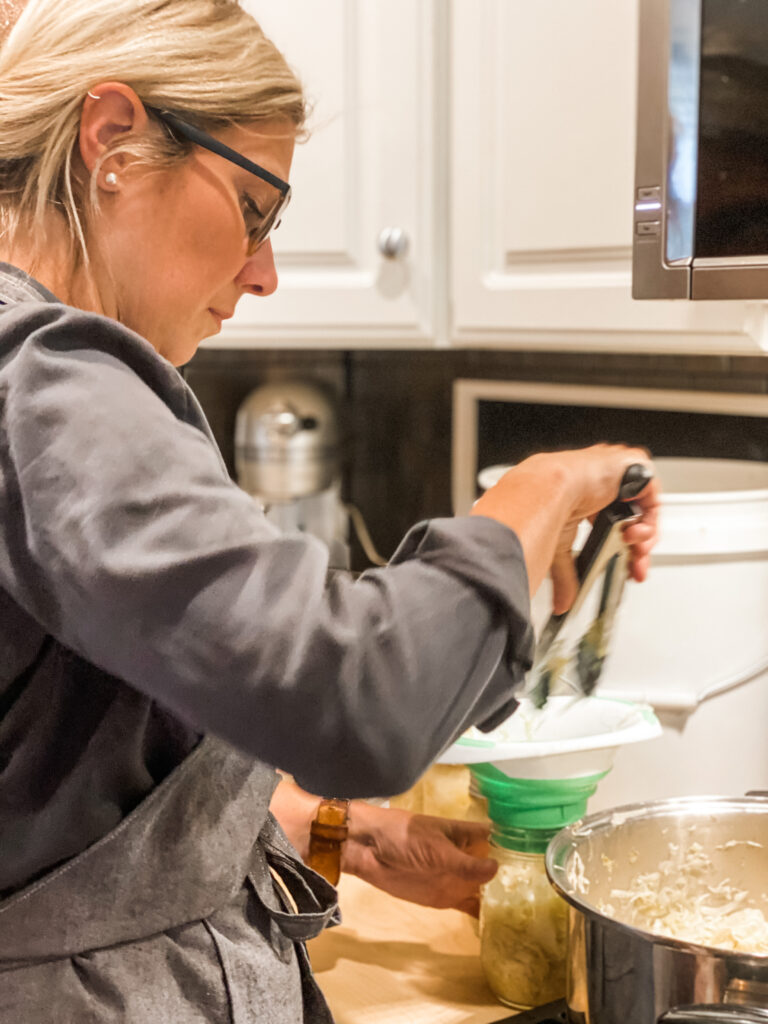
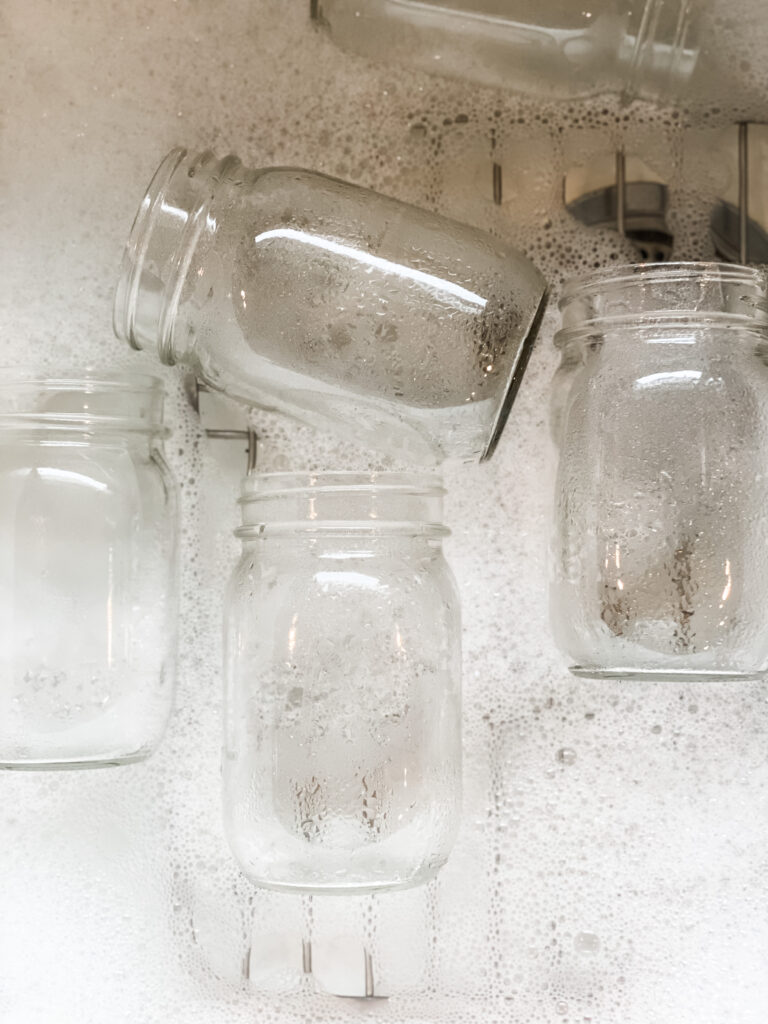
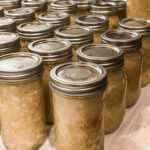
Step 8: Canning Sauerkraut

Sanitize your jars and lids.
Place your kraut into a large pot heating it through and simmering it. You don’t want to boil it! Keep the temp medium-low heat.
Add hot kraut to your hot washed jars and add a little water to bring the level just 1/2 above the kraut.
Add the lid and ring and place into hot water bath for 15 minutes for a pint or 20 minutes for a quart.
Step 9: Labeling Sauerkraut
If you are sharing them with folks, be sure to add the date that you canned them.

If stored in a dark cool place, I have kept kraut for 6 months – 1 year!
This post may contain affiliate links which means I make a small commission at no extra cost to you.
But what if I want to make a smaller batch?
You sure can! I have just used a simple mason jar and made up a smaller batch that can sit right on my kitchen counter for 5 days- 3 weeks! I personally prefer the taste of the kraut that I make in larger quantities that ferment for 5-6 weeks, but that’s just my preference.
INGREDIENTS:
- Salt -For 5 pounds of cabbage, you would want to use 3 tablespoons of salt. I had 3.5 pounds, so I used 2 tablespoons.
- 3 small heads of cabbage
Making a Mason Jar of Sauerkraut
- Next, put all the cabbage and the brine into a clean half gallon mason jar (you could also use a fermentation crock). Punch it down or use a wooden tamper ( I love this one because it comes with a fermentation lid!) until all the cabbage is submerged beneath the brine.
- Fold up the cabbage leaves you reserved earlier and place it on the top to keep all the cabbage down beneath the brine.
- Place a fermentation weight on top and press down making sure the brine covers all of the cabbage. You could also place rocks in a ziplock bag and placed the ziplock on top of the folded up cabbage leaves and the weight should be enough to keep all of your shredded cabbage beneath the brine.
- If any is above the liquid it will be exposed to oxygen and possibly mold, so that is why it is so important to keep it under the liquid.
Fermentation time for a mason jar
Leave it out on the counter for 5 days-3 weeks. It will just become more pungent as it sits. If this is your first time trying homemade sauerkraut, it may be better to ferment it for less time.
Remove fermentation weight and folded up cabbage leaves, put the lid on the jar and store in the fridge.
Enjoy!
Sauerkraut
Equipment
- Kraut Cutter or sharp knife
- Clean food-safe 5 gallon bucket or crock
Ingredients
- 6 Tbsp Salt
- 13-15 Heads Cabbage (washed, cored and thinly sliced)
Instructions
- Remove outer leaves, wash, core and slice cabbage
- Add cabbage to a 5-gallon bucket and massage in 6 Tablespoons of salt.
- Tamp down until the juices start to come to the surface. (About 1-2" above the cabbage)
- Use a plate and some weights to press the cabbage down underneith the liquid.
- Store in a dark, cool space for 5-6 weeks.
- Can using clean and sanitized pint or quart sized jars.
- Pack simmered cabbage into hot jars. Be sure there 1/2" of water on top of the cabbage (add water if needed).
- Hot water bath for 15 minutes for pints jars or 20 minutes for quarts jars.
Notes
Pin this post for later!

Other foodie posts you might like
Making Sourdough | Fermented Bread Baking
It is spring time!
MY OTHER SIMPLE CRAFT POSTS
How to make a Waldorf Doll | a 4 Part Series
10 Projects to Repurpose Sheets
How to Reupholster a Chair | Simple Tutorial
How to Make a Girls Dress |No Pattern Needed
JOIN OUR HEARTY LIVING COMMUNITY!
Hearty recipes, farm living fun
and handmade projects straight to your inbox.
Hello, I’m Emily. I’m so glad you’re here! Join me and my family as we find beauty in our everyday life on the farm, hearty recipes and a handmade home. Find more about me and our story here.

Affiliate Disclosure & Content Disclaimer
This post may contain affiliate links from a paid sponsor, Amazon or other program. When you use these links to make a purchase I earn a small commission at no extra cost to you. This allows me to continue creating the content that you love. The content in this article is created for information only and based on my research and/or opinion.
Emily T.
Leave a Reply


DAILY INSPIRATION ON THE GRAM @hearty.sol
it's hip to be square!
I am glad that I found this article well documented and very
informative.
Thank you and keep going, you do a great job!!
Doesn’t canning the sauerkraut kill the probiotic bacteria?
Great question! We don’t boil it when we can it, we only heat it up. Saving on some of that probiotic loss.