

CHECK OUT ANOTHER SEWING TUTORIAL HERE!
WHAT OTHER SEWING TUTORIALS WOULD YOU BE INTERESTED IN SEEING?
CHEERS!

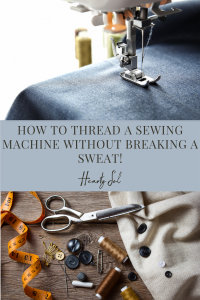
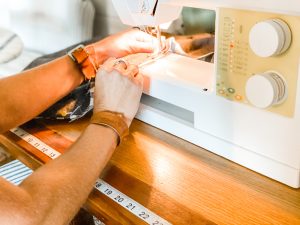 Drag your machine out onto a good sturdy surface and let’s have a look. Does your machine come with instructions? It’s cool if you are the kind who likes to read the instructions. I’d rather just dive in and figure things out. I’m going to show you everything you need in order to thread your machine in this post and video!
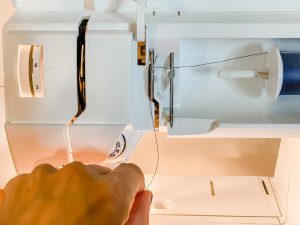
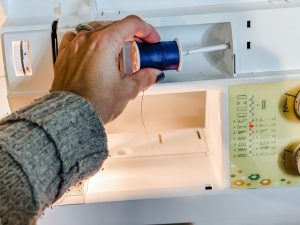 Start with putting your thread onto the peg. Mine is inside my machine, yours might be on the top of your machine.
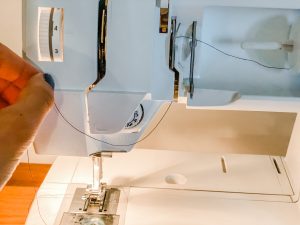
 Identify the first hook or loop and slide your thread through.
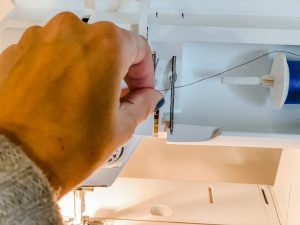 Find the next hook and thread.
 I follow my arrows down.
 Then back up to catch the next hook.
 You may have to use your hand wheel on your machine to raise this hook up in order to catch the thread on it.
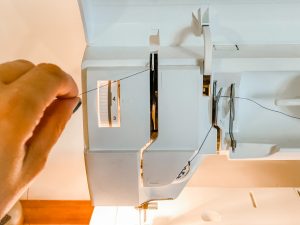 Then go down, sliding the thread in the crevasse.
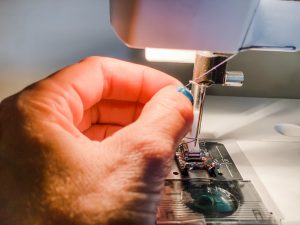
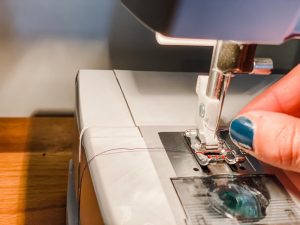 Next, I wet the tip of my thread in order to get it to go through the eye of the needle.
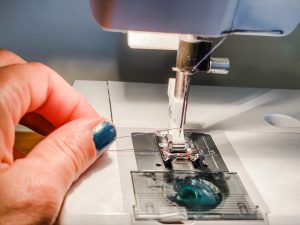
 Place the thread behind another hook. All of this ‘hooking’ assists with the tension of the thread as it goes in and out of your fabric. I promise it’s all for the good!
 Pull your thread out about 5-6″ to leave a tail so the thread can’t suck back up through all your hooks.
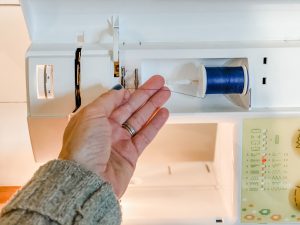
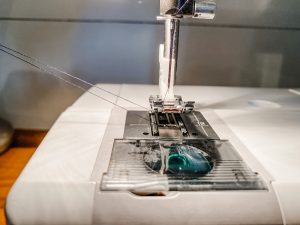
 Next, we need to fill the bobbin. I use the thread right from my needle. It makes the tension of the thread going onto the bobbin, just right.
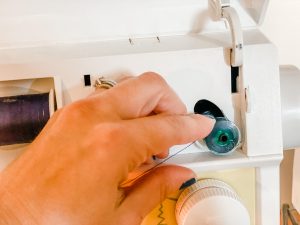 Push the bobbin onto the bobbin peg and switch down. This will ensure that your needle is not working at this time, but your bobbin will be rolling around adding thread to the bobbin.
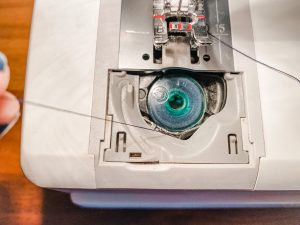
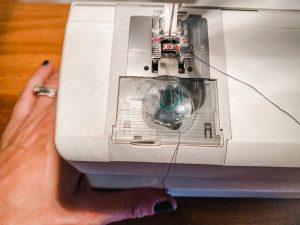 One the bobbin is finished filling, remove it from the bobbin peg, and swich the peg back so now the needle will move instead of the bobbin rod. Take note, some bobbins will need to go into the machine ina specific way. For instance, mine needs to go in with the letter H facing up. Hook your bobbin thread onto the hook and leave a little tail.
 Replace the bobbin cover and turn the handwheel toward you until the top threaded needle, brings up the bobbin thread. I use little scissors to grab the 2 pieces of thread. Leave a 5-6″ tail and trim.
Now, both your top thread and your bottom thread is in place and you are ready to start sewing. Check out the next blog post about how to create a seam!
(This post may contain affiliate links which means I make a small commission at no extra cost to you)
Replace the bobbin cover and turn the handwheel toward you until the top threaded needle, brings up the bobbin thread. I use little scissors to grab the 2 pieces of thread. Leave a 5-6″ tail and trim.
Now, both your top thread and your bottom thread is in place and you are ready to start sewing. Check out the next blog post about how to create a seam!
(This post may contain affiliate links which means I make a small commission at no extra cost to you)
 Making a Tie Mask
 Making a Medical/Dust Mask
 Making a Girls’ Winter Dress
 Making a Reversible Apron
 Making a Waldorf Doll
 Making a Bench Slip Cover
 Making a Leather Apple Watch Band
 Making a Bow Tie

Affiliate Disclosure & Content Disclaimer
This post may contain affiliate links from a paid sponsor, Amazon or other program. When you use these links to make a purchase I earn a small commission at no extra cost to you. This allows me to continue creating the content that you love. The content in this article is created for information only and based on my research and/or opinion.
Emily T.
DAILY INSPIRATION ON THE GRAM @hearty.sol
it's hip to be square!


View comments
+ Leave a comment