

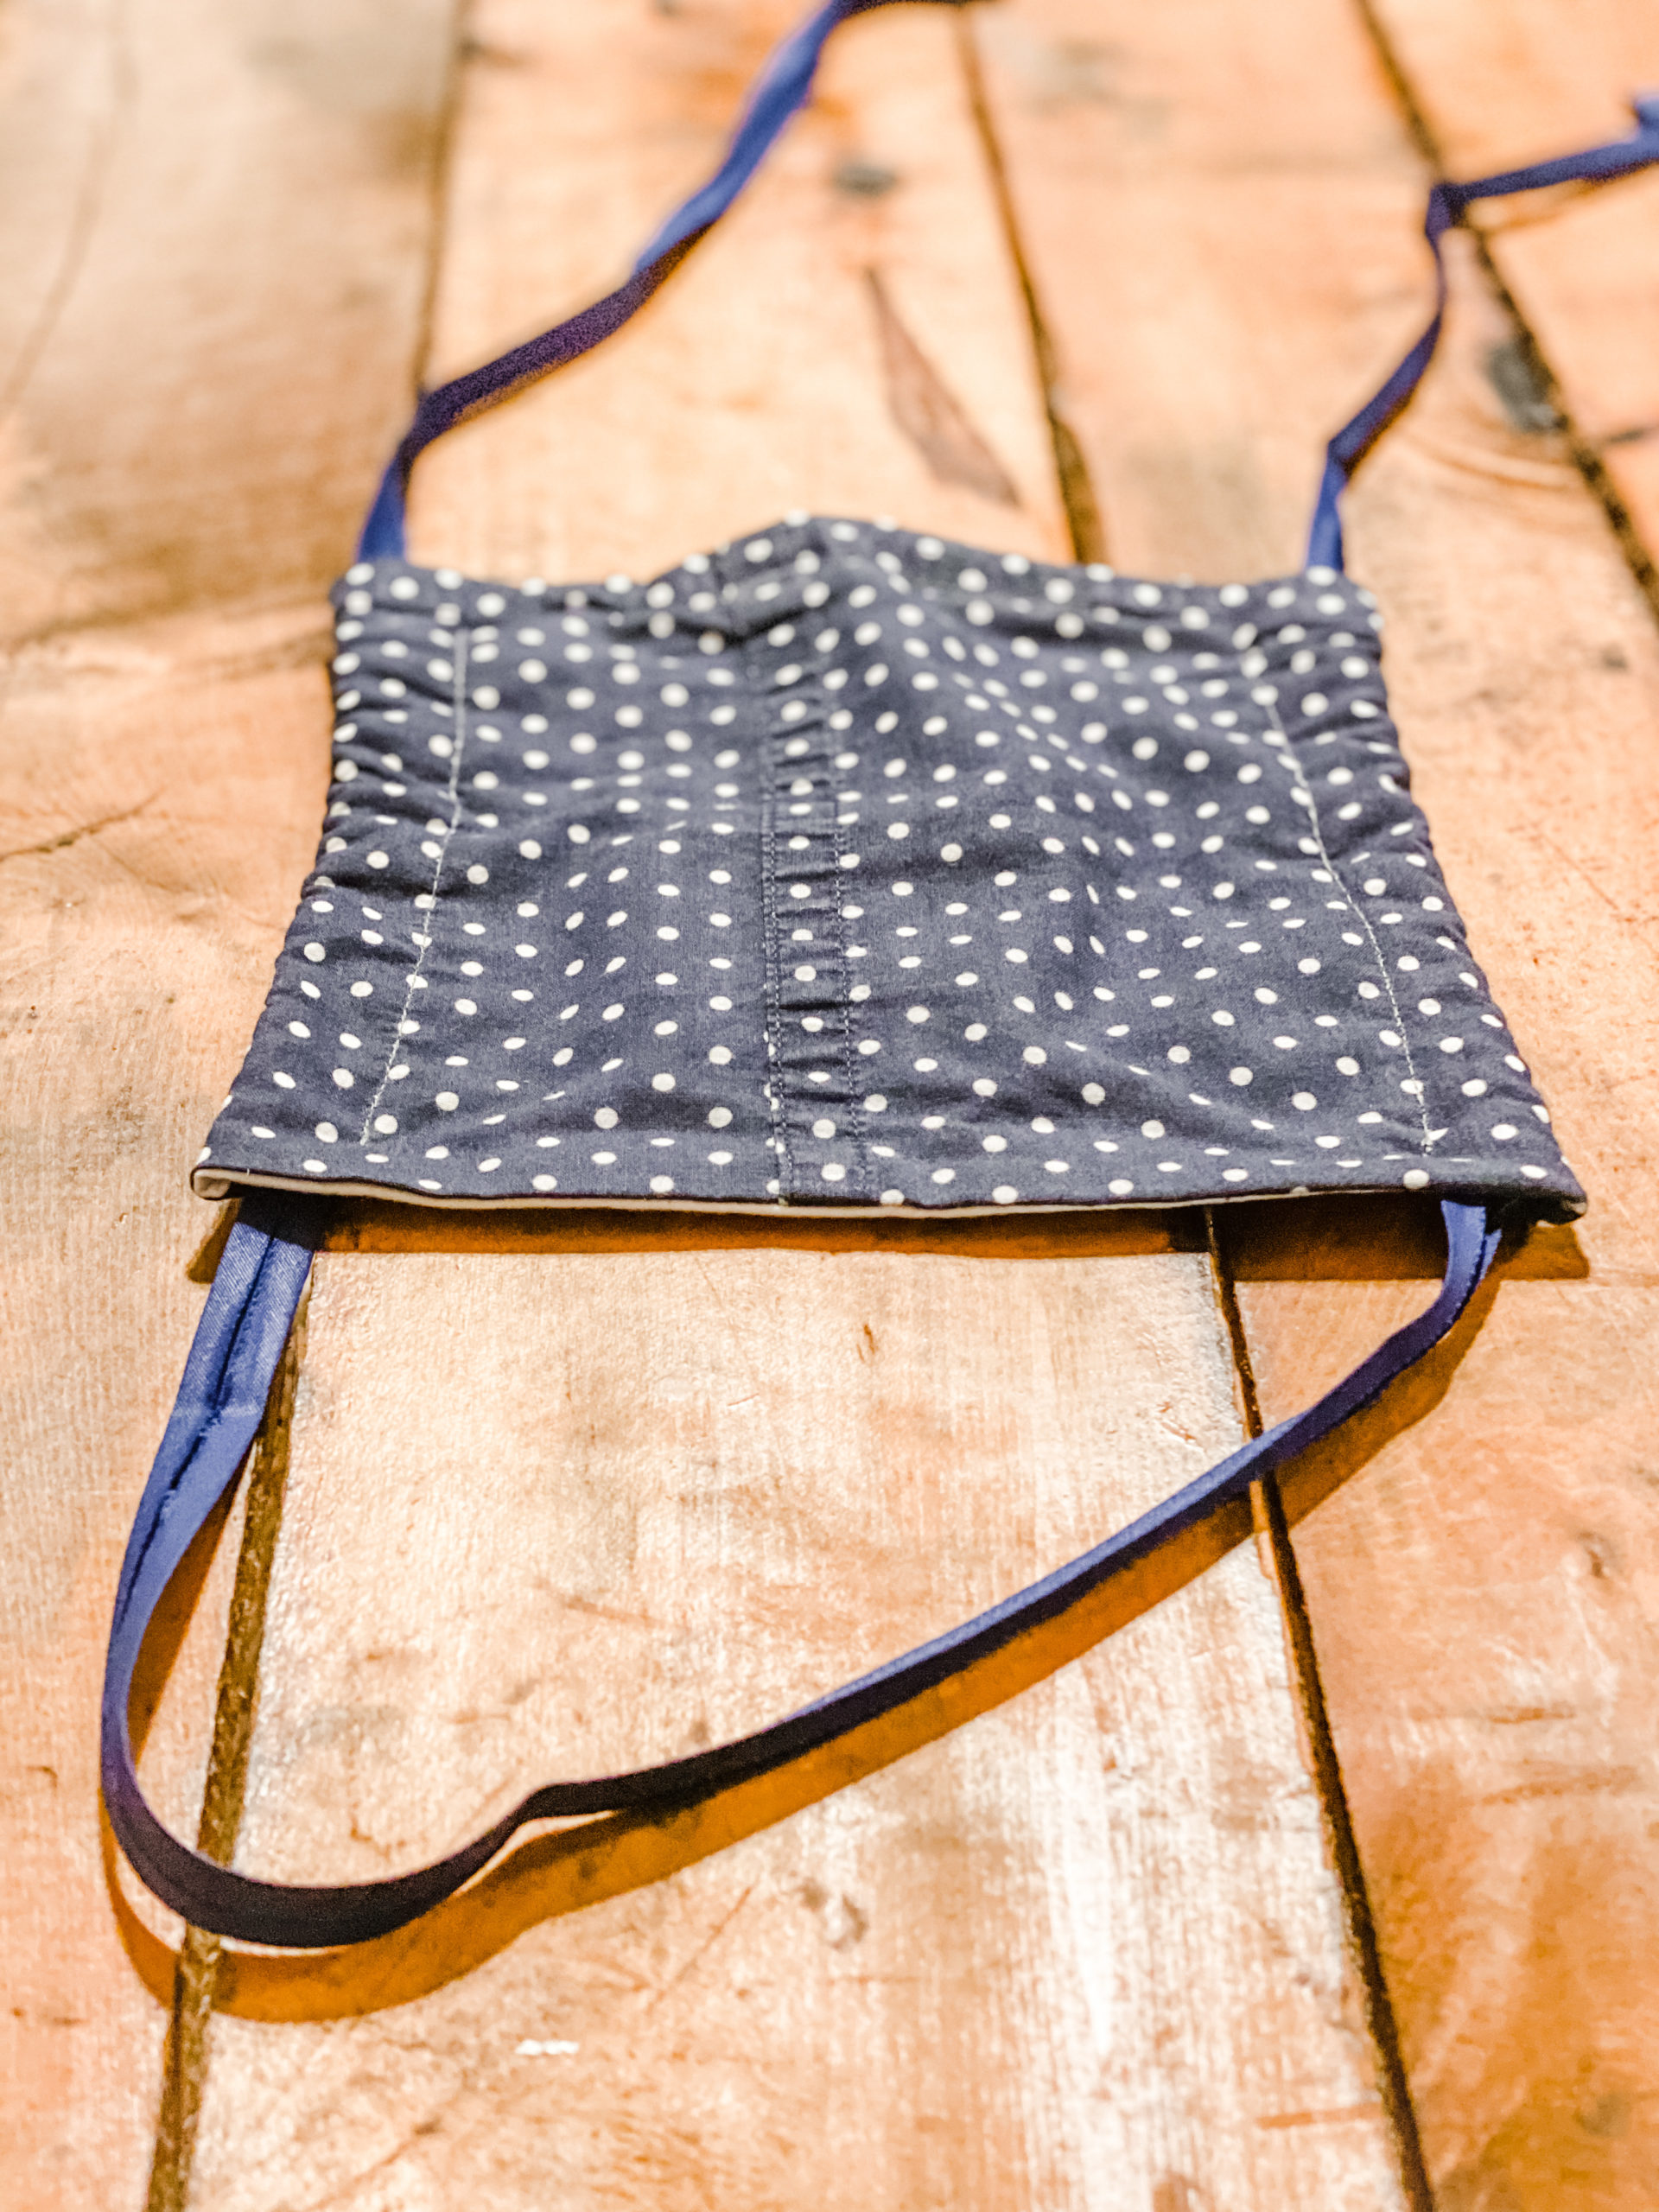
How to Make a Tie-Style Mask | Pattern #2
It seemed natural for me to create a mask pattern that caused no ear irritation! So I sat down and got to work.
I had no idea that the last mask pattern would be such a hit!
Since publishing the last mask post, I have been busy making those masks. Donating them to our local group homes and hospitals.
The previous mask pattern is great for short trips to the store or while around fumes or dust particles. But if someone were to have to wear that style for 6-16 hours at a time, the backs of their ears would be raw and irritated.
The Video Tutorial
I was then asked to start making headbands with buttons to help keep the pressure away from the backs of the ears.
So I was making masks that caused irritation when worn at length and then a headband with buttons to alleviate the problem that the mask was causing. This was counterproductive.
Something new
It seemed natural for me to create a mask pattern that caused no ear irritation! So I sat down and got to work.

Get the FREE PDF– Tie Style
Mask Pattern right to your email inbox!
Supplies Needed:
1. 100% cotton (Cut (3) 10″ x 8” adult-size. I used one color for the inside and another color for the outside. Or 9″ x 6″ child-size pieces for each mask
2. 55″ of string for adult-size or 50″ for child-size (you can use shoestring, bias tape, clothesline string or even 1/2″ of cut t-shirt)
3. 4.5″ of plastic-coated garden wire (or a twist tie, pipe cleaner or other wire that you might have around your home)
4. Thread
Directions:
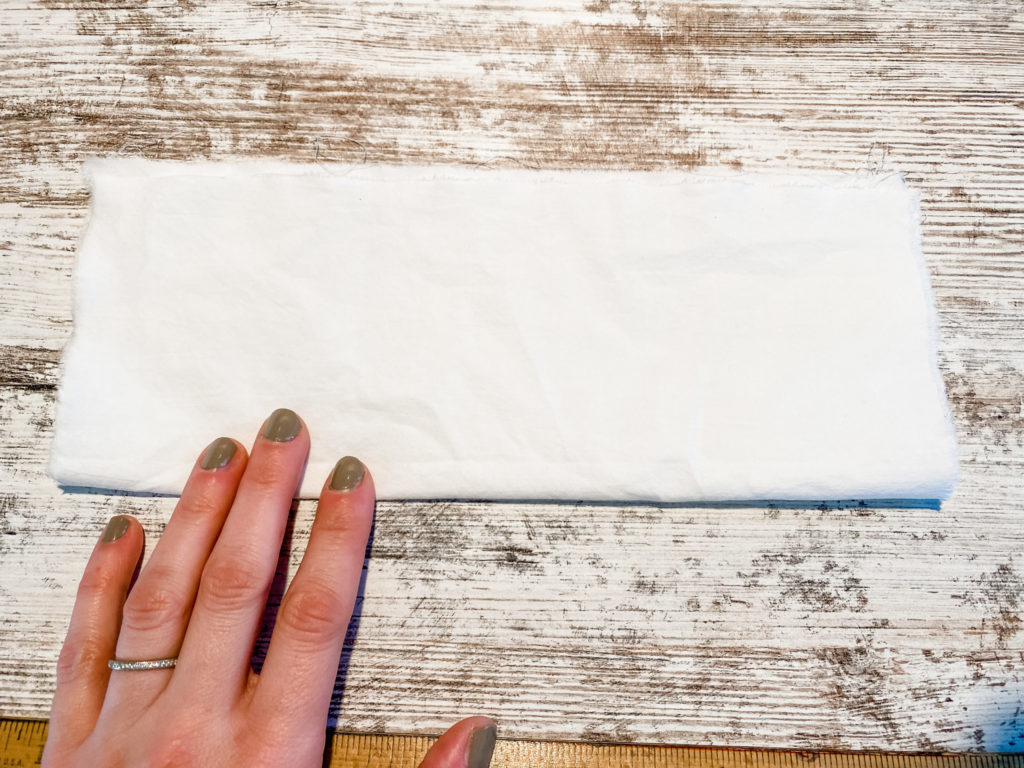
Cut 3 pieces of fabric to be 8″x10″. 2 pieces will make up the inside and 1 piece will be for the outside. I used white for my inside and a blue color for the outside.

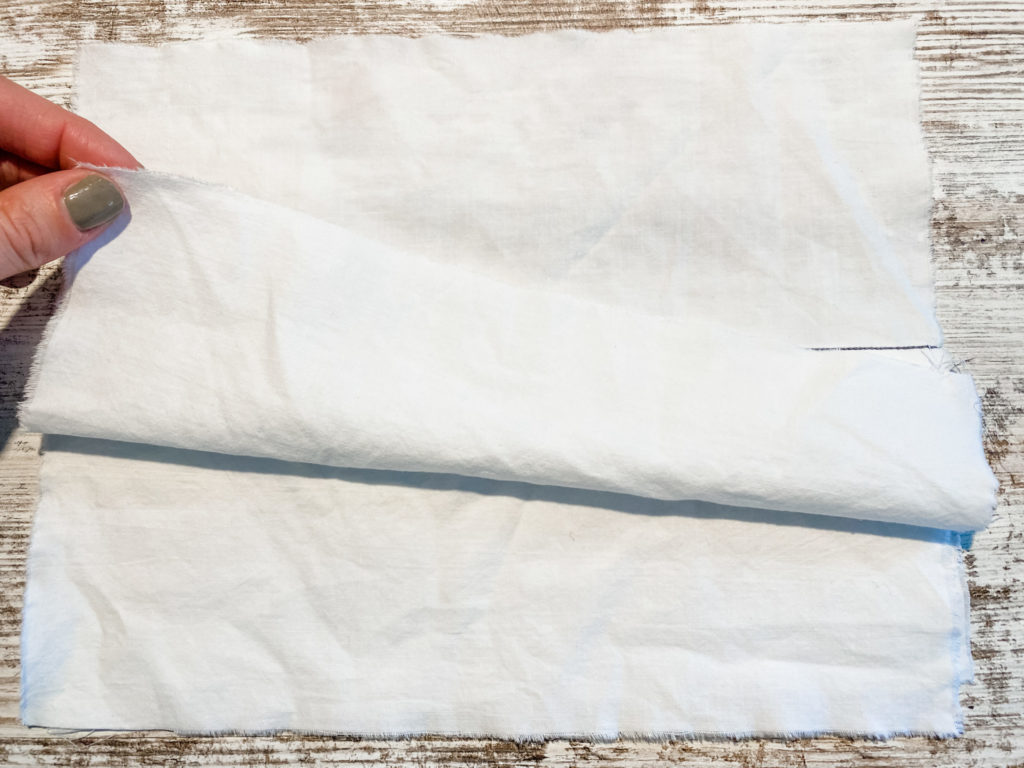
Place the two inside pieces right side together.
Fold length-wise to create a crease.
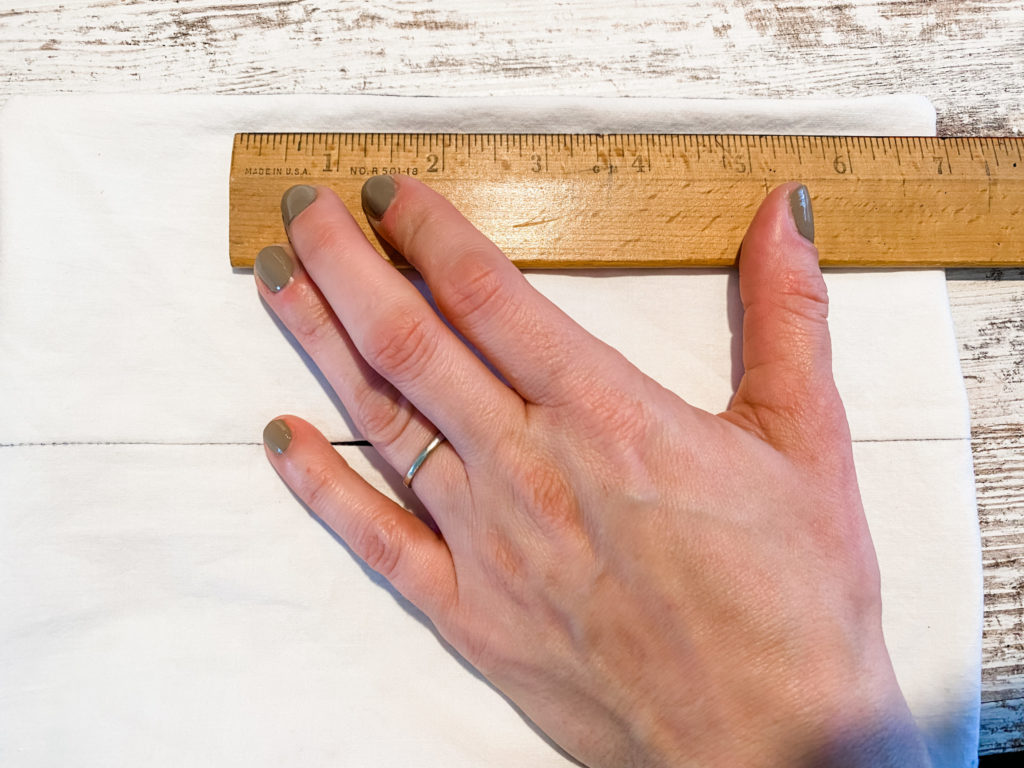
Using a ruler draw a 3″ line on the crease inward from both edges of the fabric.
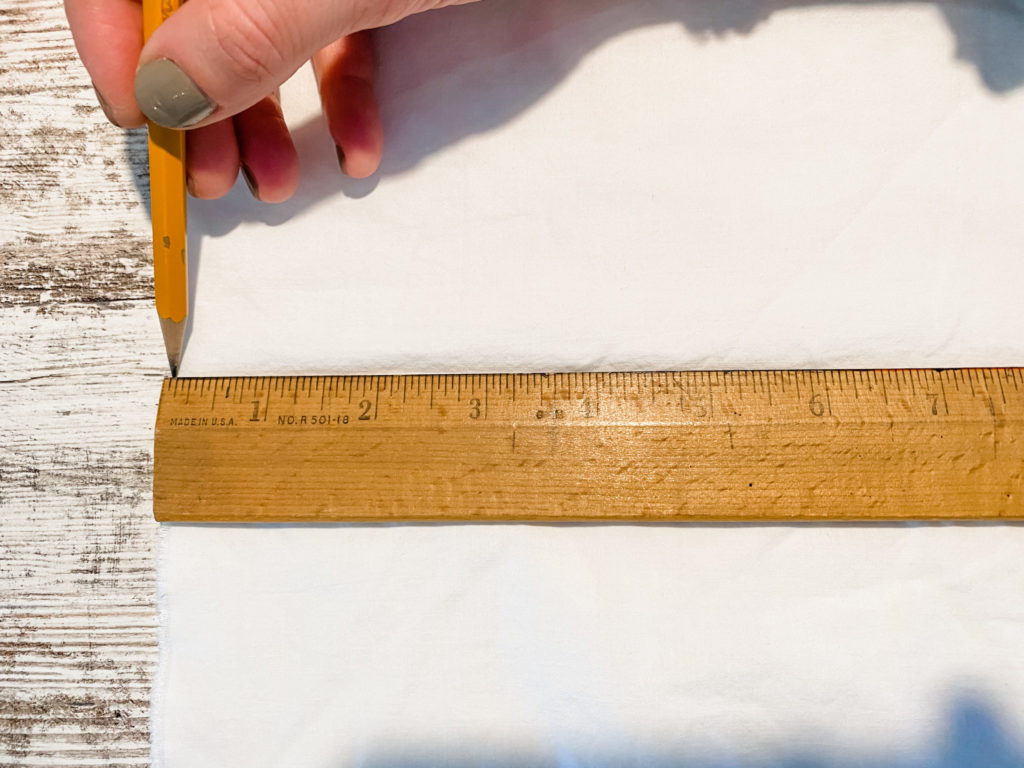
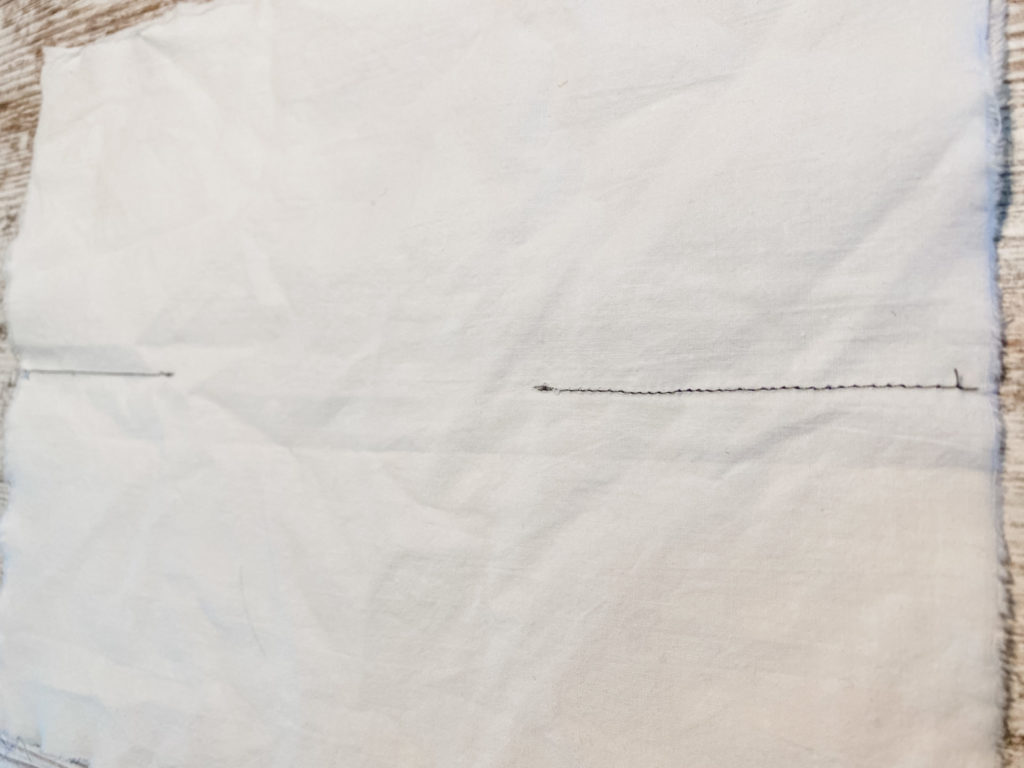
Sew a straight stitch on these (2) 3″ lines.
Open the fabric up, but folding one side onto itself, then flip the fabric over and repeat on this side- to reveal a finished filter pocket hole.
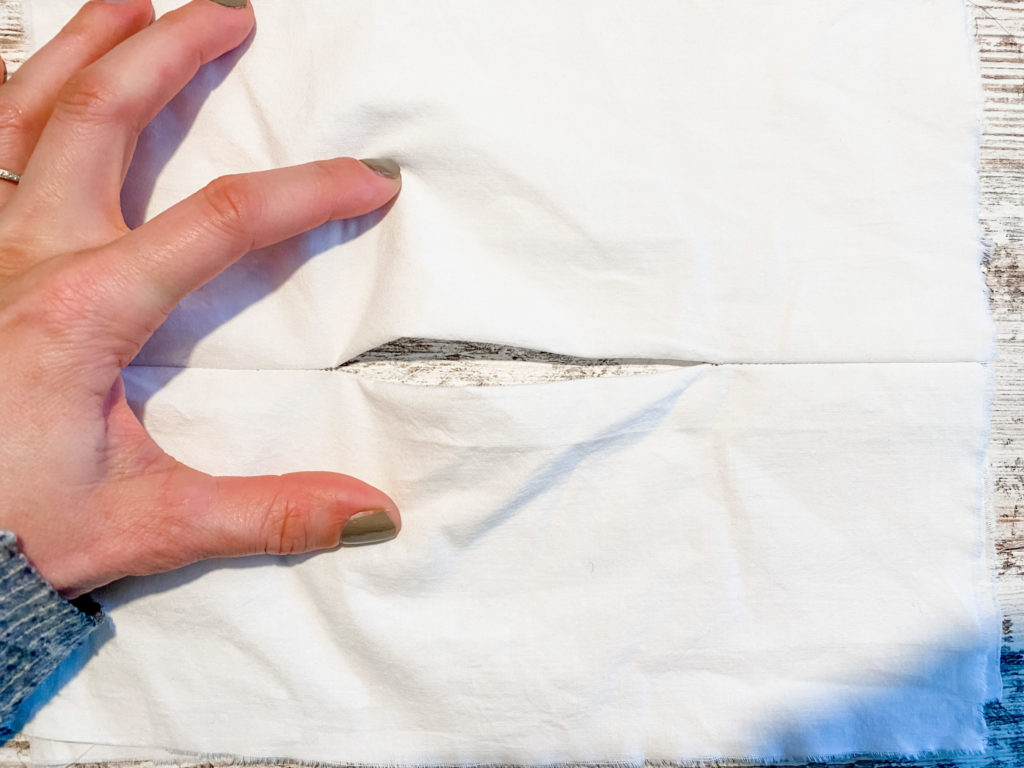
Press open
Place an outer piece of fabric, right-side down on top of the interior piece.
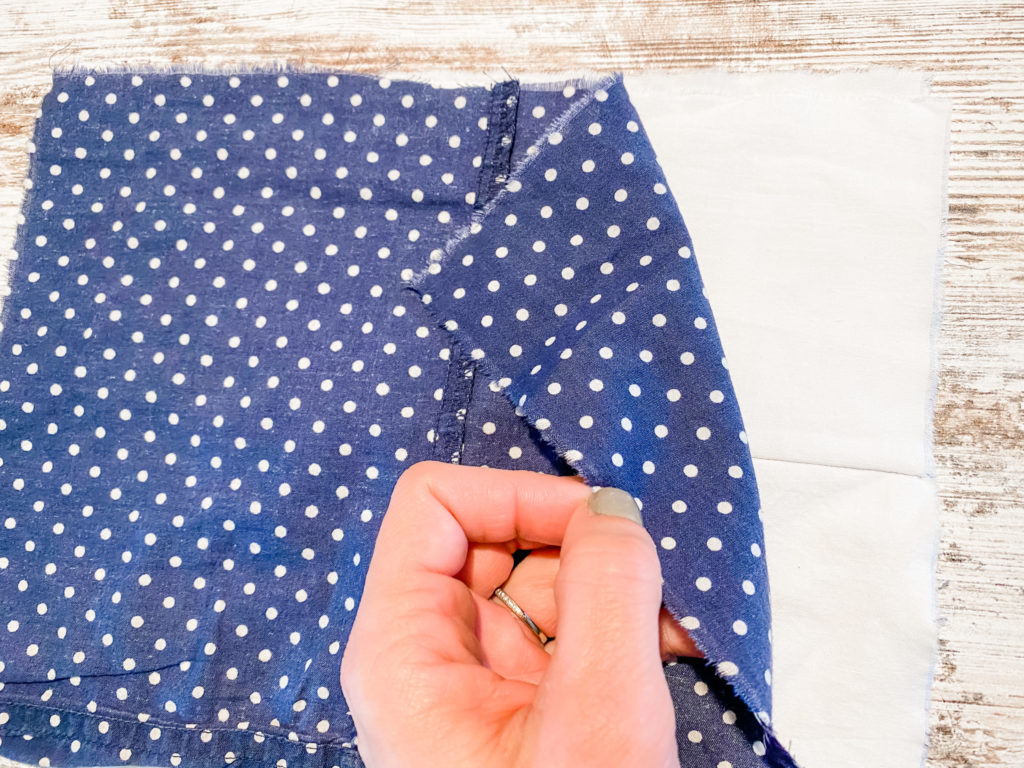
Sew these pieces together, sewing all around the rectangle.
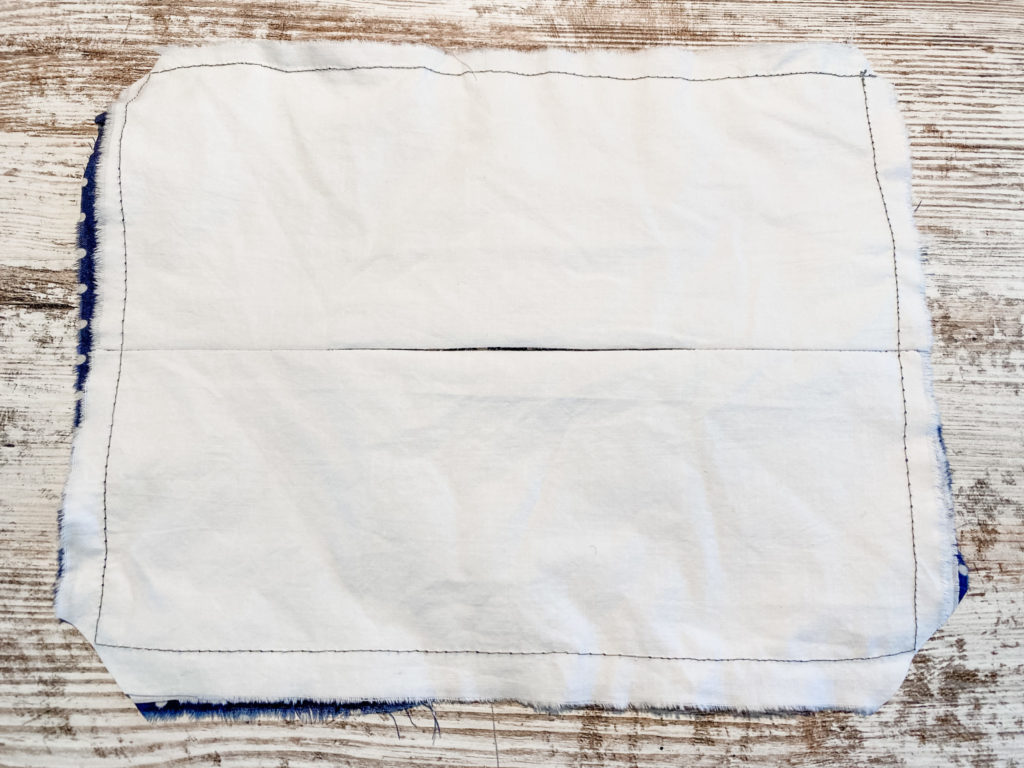
Trim the corners and turn through the filter pocket hole.
Push corners out, being careful not to poke through.

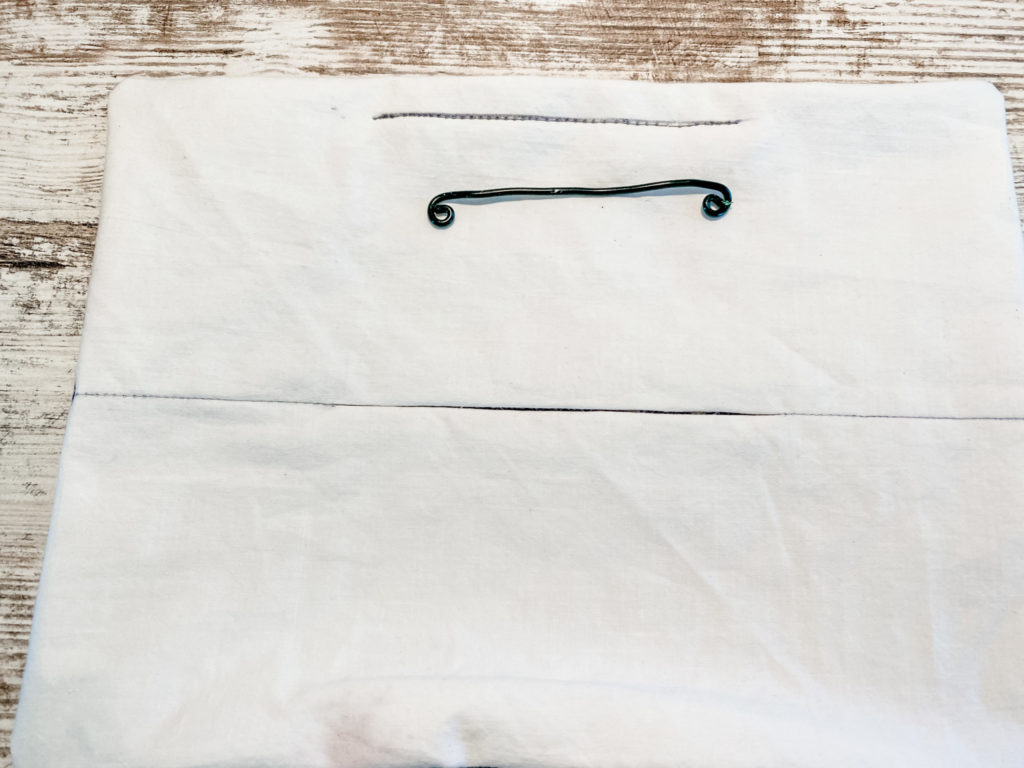
Sew a 4″ long pocket for the wire nose piece, centered in the middle top part of the mask.
Cut 4.5″ wire using a needle-nosed pliers then curl the ends in a circle so they don’t poke out from the fabric. Insert wire into the pocket.
Place your string on to fabric and create slots for the string to go. Fold in the corners and fold the fabric over top of the string. Pin or clip in place.
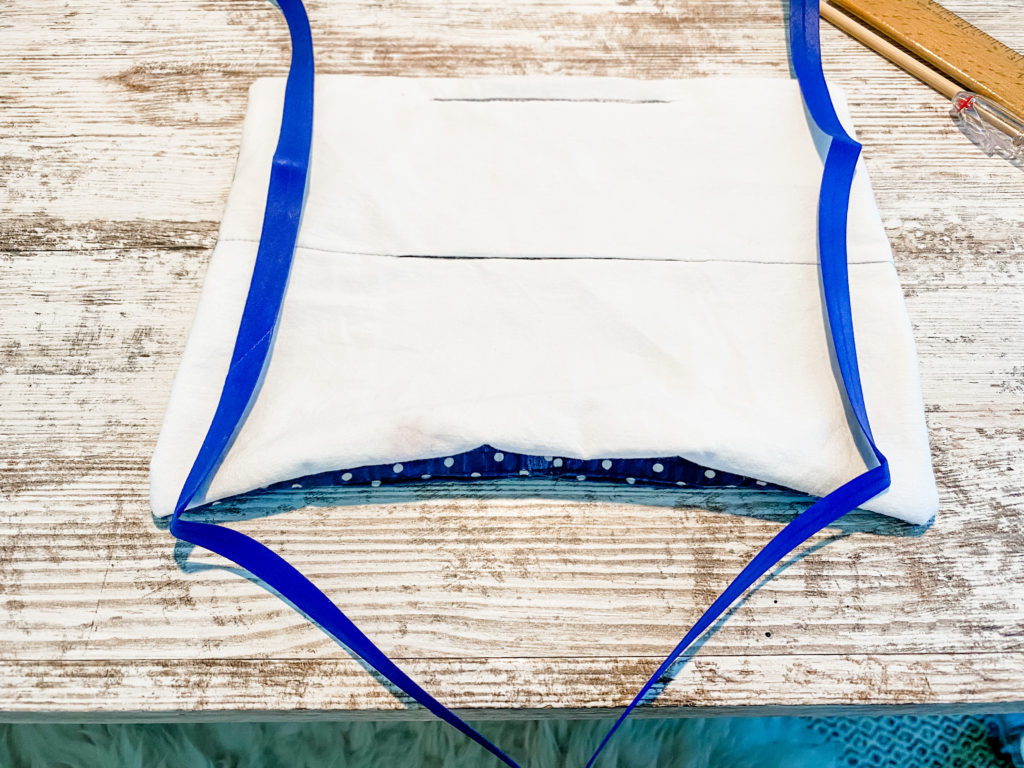
Sew close to the edge of the seam so not to catch the string. Tie knots at the ends of your string so they don’t slip back through the casing easily.
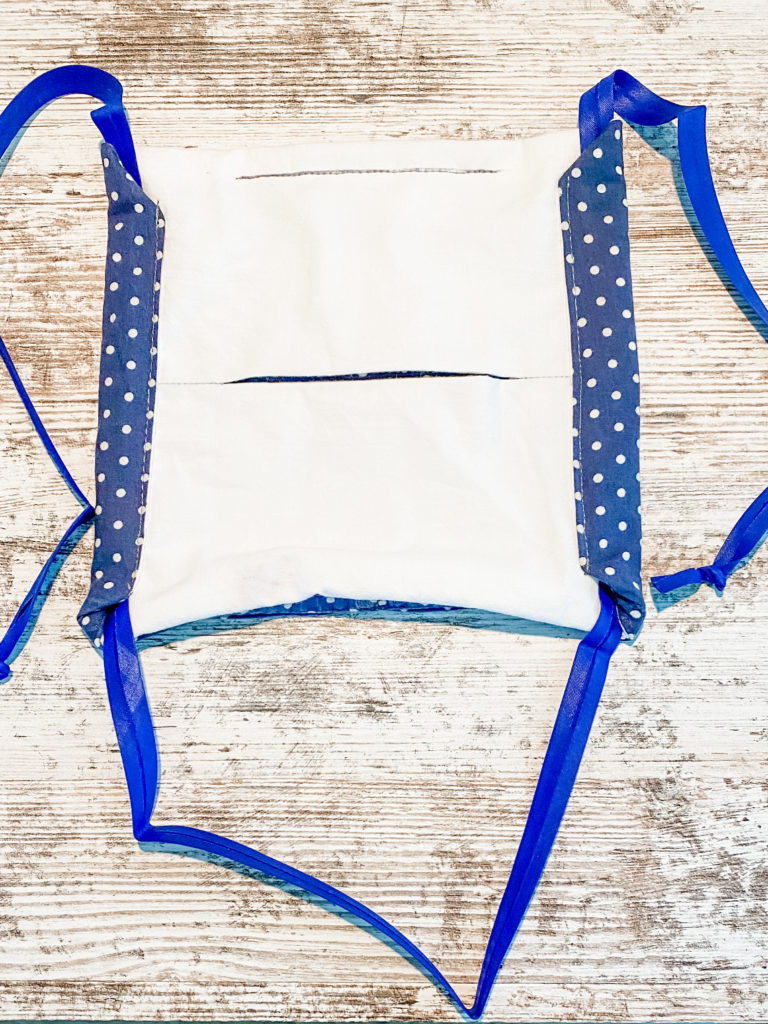
All done!

How to wash your mask
Loosely tie the two ends together, remove the wire and place in the washer either by itself or in a garment bag.

MAKE YOUR OWN DISINFECTANT CLEANER- GET THE FULL RECIPE HERE!

YOU MIGHT ALSO LIKE
Making Elderberry Syrup | A Natural Immune Booster
Lemon, Ginger, Honey Tea + the Benefits
OTHER SIMPLE CRAFT POSTS
How to make a Waldorf Doll | a 4 Part Series
10 Projects to Repurpose Sheets
How to Reupholster a Chair | Simple Tutorial
How to Make a Girls Dress |No Pattern Needed
JOIN OUR HEARTY LIVING COMMUNITY!
Hearty recipes, farm living fun
and handmade projects straight to your inbox.

Hello, I’m Emily. I’m so glad you’re here! Join me and my family as we find beauty in our everyday life on the farm, hearty recipes and a handmade home. Find more about me and our story here.

Affiliate Disclosure & Content Disclaimer
This post may contain affiliate links from a paid sponsor, Amazon or other program. When you use these links to make a purchase I earn a small commission at no extra cost to you. This allows me to continue creating the content that you love. The content in this article is created for information only and based on my research and/or opinion.
Emily T.


DAILY INSPIRATION ON THE GRAM @hearty.sol
it's hip to be square!
View comments
+ Leave a comment