How to make a Custom Leather Watch Band
Making something with your own hands to meet your every style is how you can customize just about anything! Learn how to make your very own custom leather watch band with this simple tutorial!

Why make your own leather apple watch band
Customizing something simple like a watch band might be just what you need to style your apple wrist accessory.
This is a vary quick and inexpensive way to add some real class to your watch band.
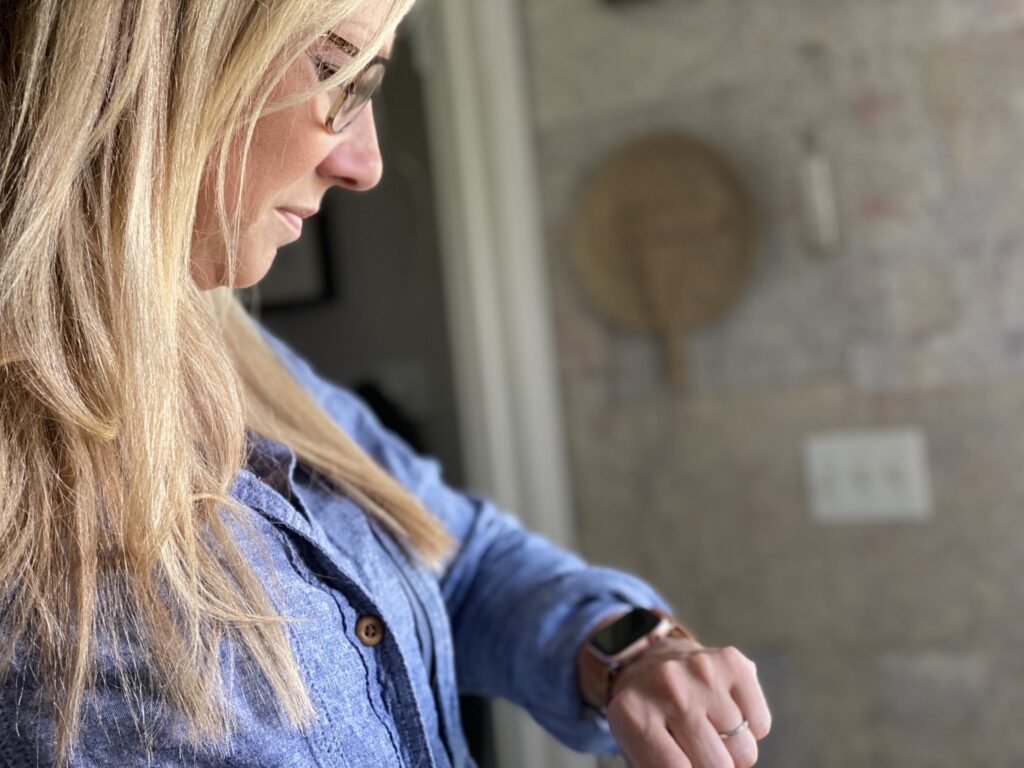
Where do I find the hardware to make my own custom leather watch band?
You can purchase apple watch’s band hardware on amazon, but I just searched the clearance aisle or an inexpensive band that I didn’t necessary love, because I knew I was only after the hardware. I think I found this one for $3 on an end cap.
Just be sure to know which model your apple watch is, because there are a couple different sizes and you want to make sure the pieces fit snuggly into place.
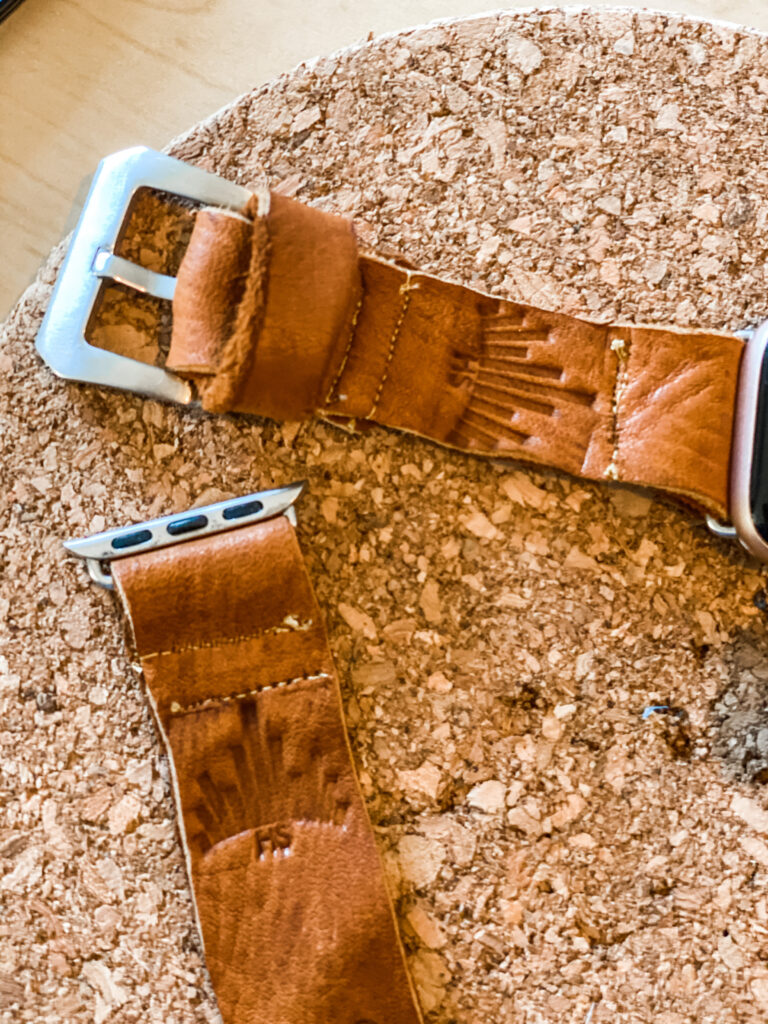
Assembling your custom leather watchband
First and foremost- Be sure to make a note about how the original watchband was assembled. I recommend taking a photo so you can see how everything was put together.
Then I took it apart, using the band as a pattern and the hardware for my very own leather band.
Since the leather I used was super buttery soft, I could easily send it through my sewing machine. I replicated the folds and the seams just as the original band was assembled.
When lining up the original band with your new leather, make sure to extend the length a bit so you have a flap to go through the hardware and then can sew a line of stitches to secure your band to the hardware.
Watch the assembly of this Custom Leather Watchband.
(This post may contain affiliate links which means I make a small commission at no extra cost to you.)
You will also make a loop for the excess strap to go. I make mine to meet together in the back and not over lap as to cause more bulk than neccessary. I used some fabric glue to adhere the back loop together and then stitch, real close to the loop, but being careful not to sew the loop closed.
Sew all of the hardware on by using a simple staight stitch. If your leather is thick like mine was, you may need to help it through a bit. 😉
Assemble your new leather watchband and watch face back together and voila!
I use my wood-burning tool to burn my Hearty Sol logo into my band. You could also burn your favorite message, name or design using a wood-burning tool!

Where do I find the leather for this watch band?
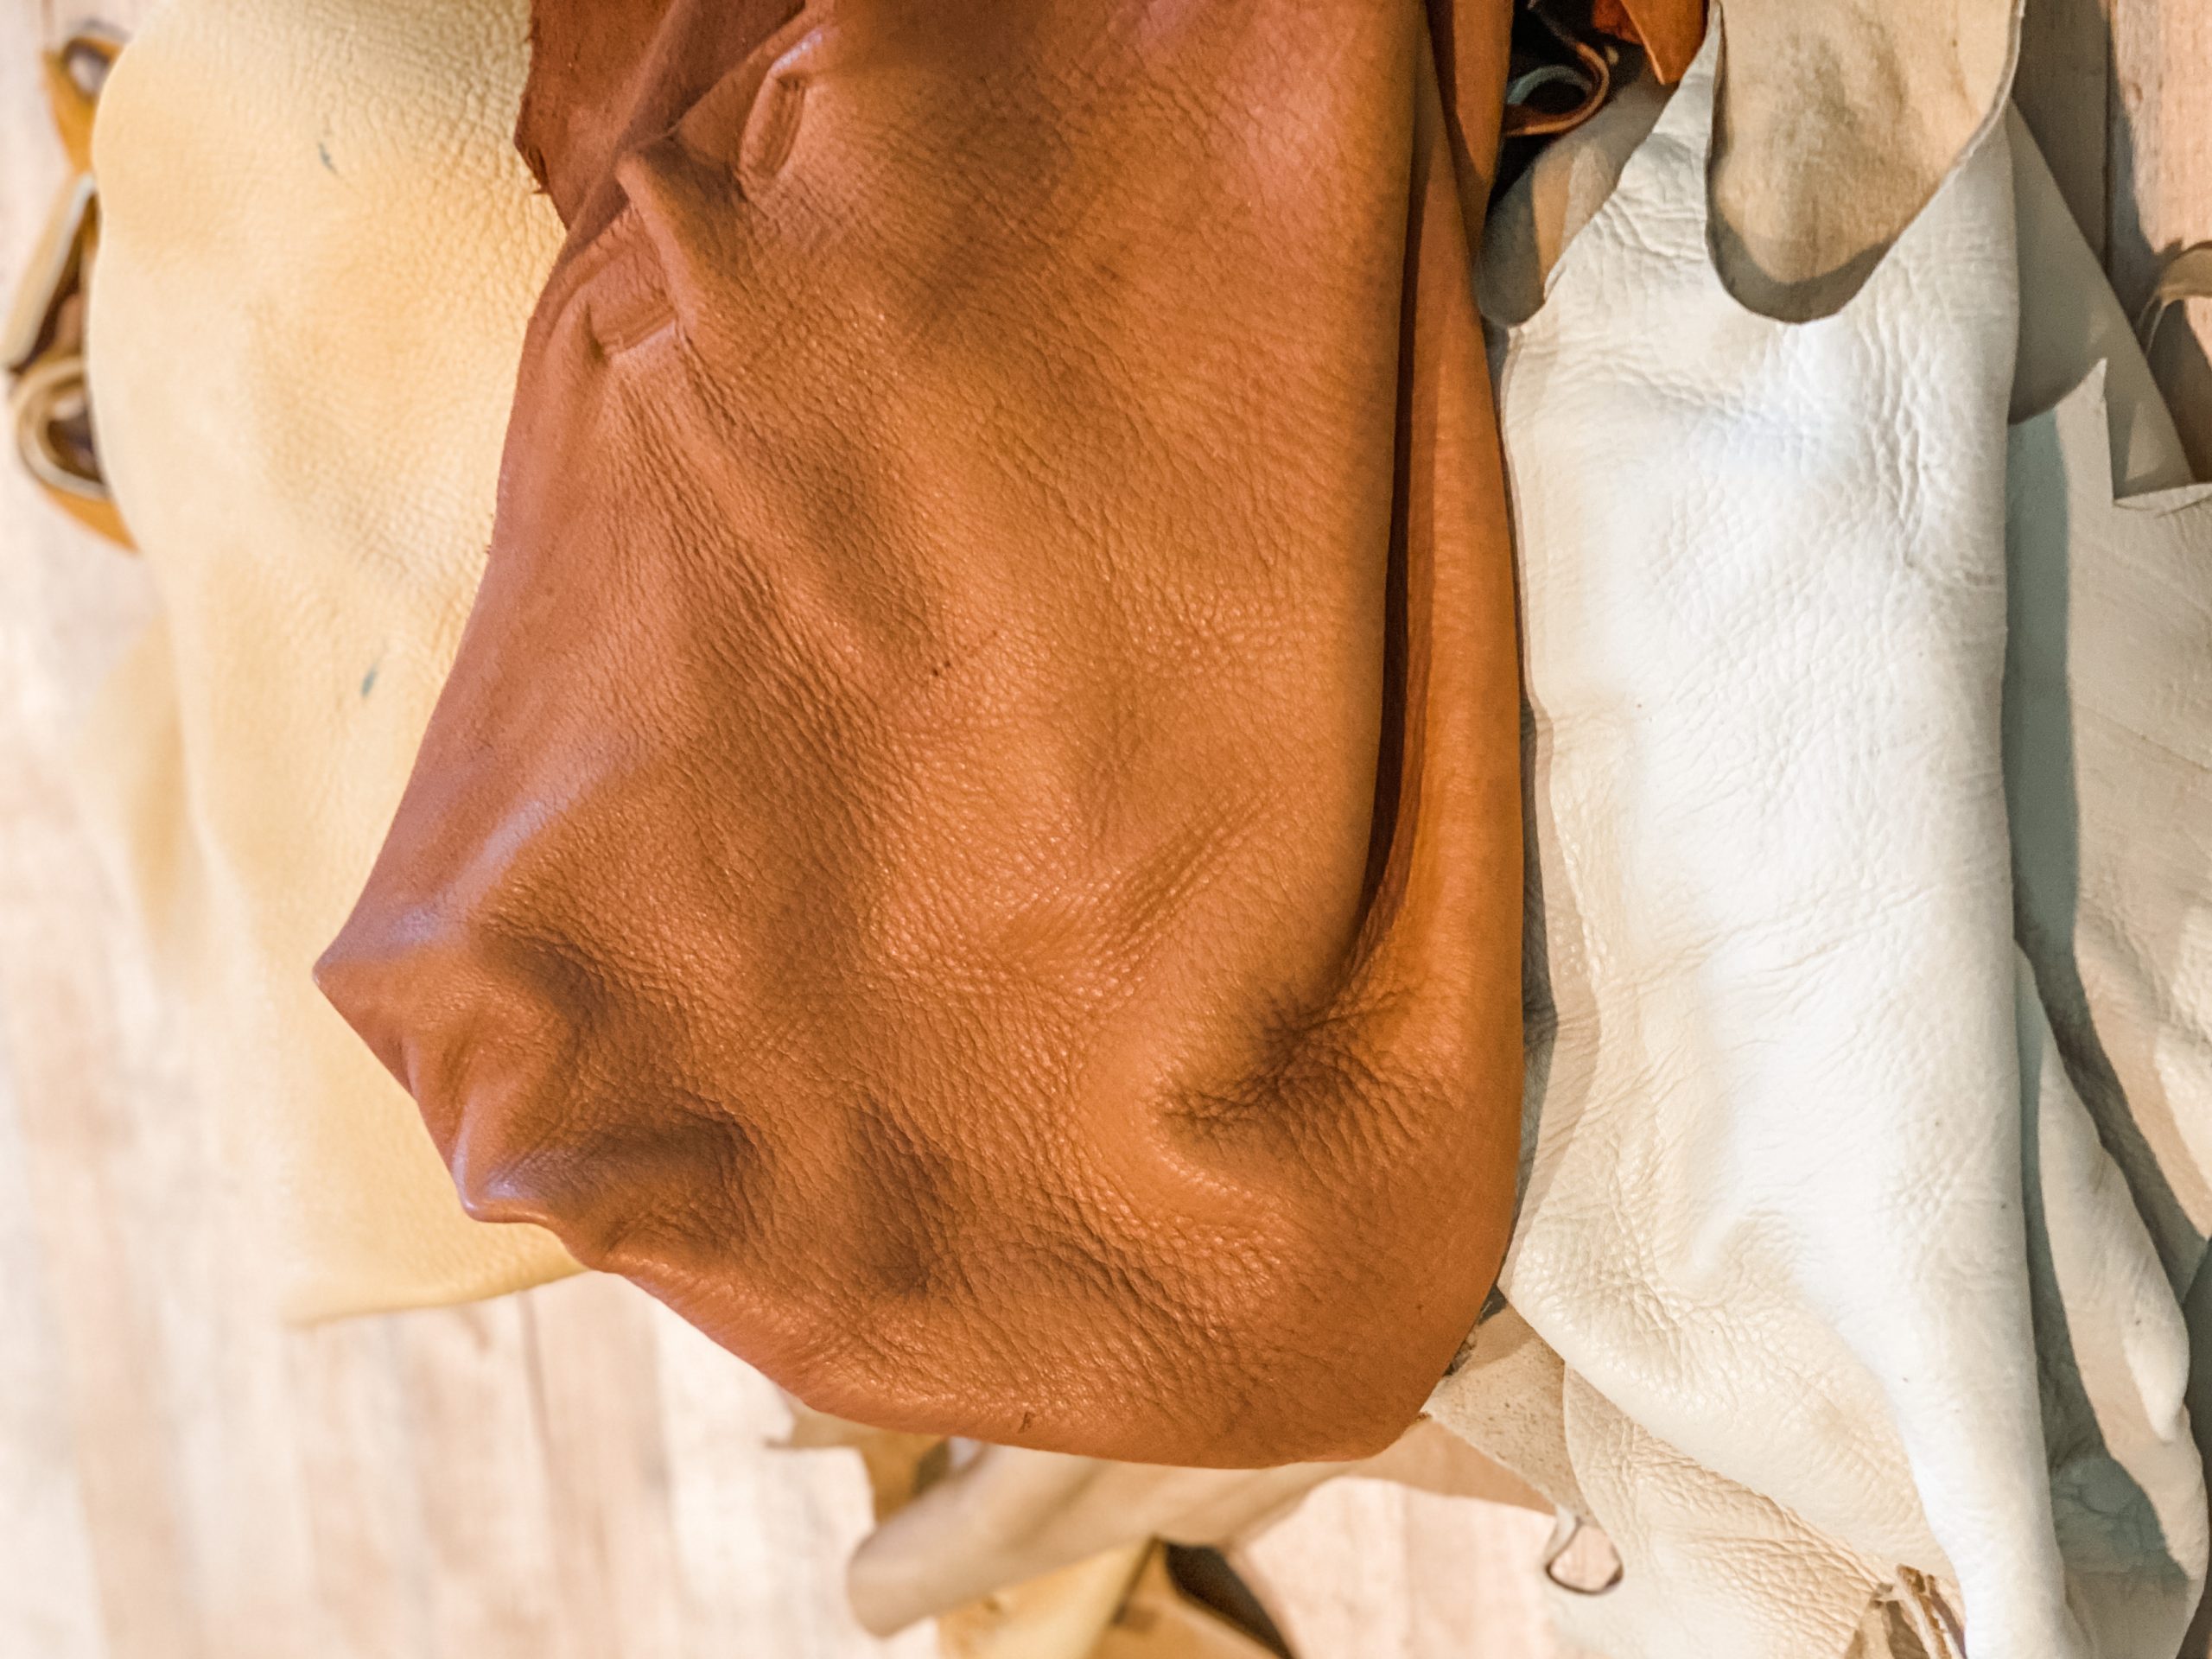
Everything about the look and feel of leather, even as it ages, is the best! The leather I use is either from our harvested deer hides or sourced locally. This kind of leather is so soft, buttery, and irresistible to wear!
If you don’t have access to leather, you can definitely use some fun fabric or any other pliable material.
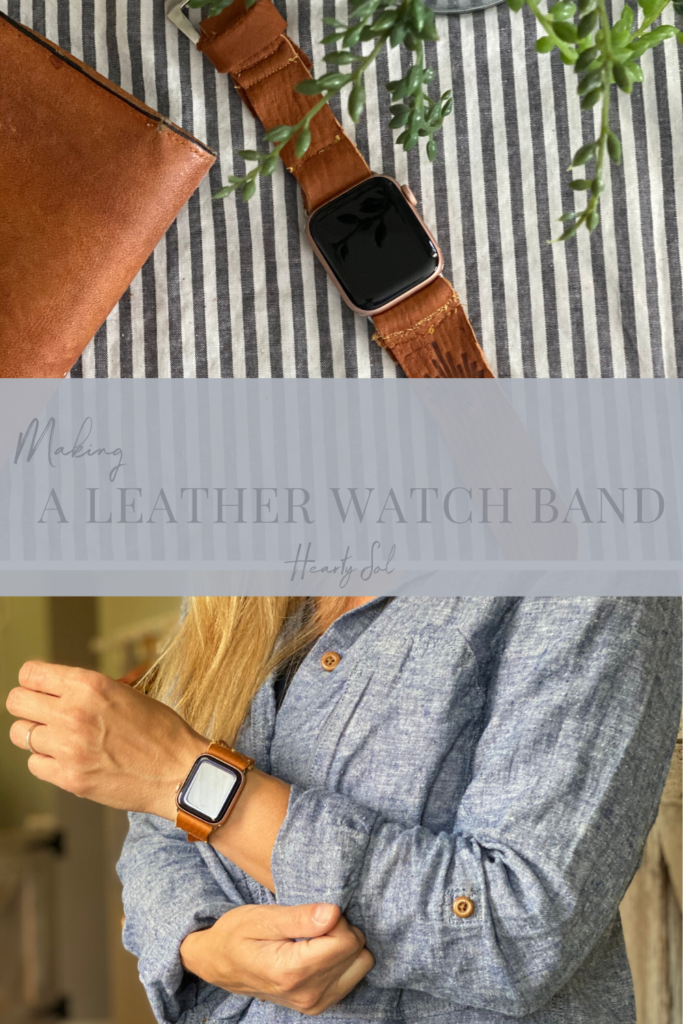
I hope you enjoyed this quick and easy tutorial! If you decide to try this, leave a comment below!
More Handcrafting from Hearty Sol
Sewing a Flat Bottomed Zipper Pouch
Making your own All Purpose Household Cleaner
How to make a Sourdough Starter
Here’s my post about how to have a weed-free summer in your garden!
Cheers!

Affiliate Disclosure & Content Disclaimer
This post may contain affiliate links from a paid sponsor, Amazon or other program. When you use these links to make a purchase I earn a small commission at no extra cost to you. This allows me to continue creating the content that you love. The content in this article is created for information only and based on my research and/or opinion.
Emily T.
DAILY INSPIRATION ON THE GRAM @hearty.sol
it's hip to be square!
View comments
+ Leave a comment