How to Sew a Hem | Lesson #4
In lesson #4 of ‘how to sew’, we will be focusing on how to sew a basic straight hem.
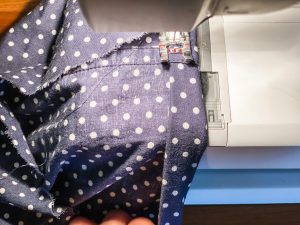
We are continuing our Simple Sewing Series today by showing you how to sew a hem. If you have missed any of the other posts, make sure to check out this free course where I show you the basics of beginning to sew.
I love sewing! I started doing this series because I really want you to love sewing too. It doesn’t have to be intimidating or frustrating. Once you get a few basics down, then you can sew just about anything.
It’s amazing what you can create once you learn how to sew. Have you seen how I made a reversible apron for my mom and I, or the bench cover ? Or dress up your kids in coordinating holiday wear with a winter dress or a bow tie?
I just love what you can do with fabric. A hem is definitely something you need to learn to do so you can make your projects look beautiful and finished.
Sewing a hem may seem pretty intimidating, but it is actually really simple.
This post may contain affiliate links, which means I make a small commission at no extra cost to you.
Materials Needed
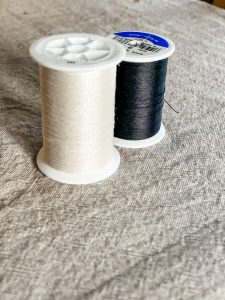
- Thread
- Sewing machine
- Straight pins
- Iron (optional)
Common questions when sewing a hem
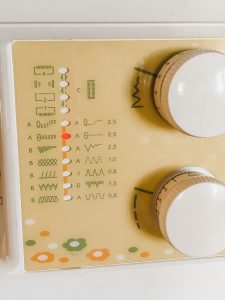
WHAT STITCH SHOULD I USE?
I would recommend using a straight stitch.
WHAT SEWING MACHINE DO I RECOMMEND?
I own a sewing machine super similar to this one here.
DO I REALLY HAVE TO IRON THE FABRIC DOWN?
I would absolutely recommend ironing down your fabric before sewing, but it is not absolutely necessary. Ironing the fabric down is a huge help in hold the fabric down while you are sewing. Also, it helps you to line up your fabric before you sew it so that you have a straight edge. If you’re not ironing in the beginning of this st
I HAVE NEVER SEWN A HEM BEFORE. I AM SCARED TO TRY.
Honestly, the best advice I have for you is to just practice sewing a hem on a little pouch like the one I have pictured, so that when you feel comfortable to sew a hem on a dress or other item, you will feel more confident. Sewing a hem is really simple once you practice a couple of times.
Sewing a Basic Hem- The Video Tutorial!
HOW TO SEW A HEM | THE PROCESS
Step 1
- Decide the hem length and mark where the hem will be folded. I typically increase the size of my project fabric by 1″ for each hem I want to make.
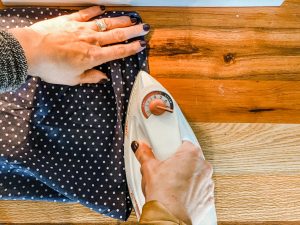
2. Then fold the first layer over 1/2″ and then fold over another 1/2″. If you are starting out in sewing you may find it nice to iron or pin this hem in place. This will also help keep the hem straight as you sew. If I don’t iron the hem at this step, I always iron it at the end. So either way, get your iron heated up!
Step 2
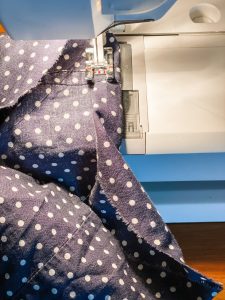
- Place your project with the inside facing up so that you can see the inside of your project while you are sewing.
- Line the fabric up along the edge of the presser foot allowing the stitching to be straight. I like to start stitching at a seam so I easily know where I started.
- Sew all the way around your project and don’t forget to do a backstitch before you start sewing and before you take your project off the machine and cut the thread.
I showed you how to backstitch in this tutorial
And that’s it. It really is that simple!
Other Simple Sewing Series Posts
- Basic Sewing Essentials for a Beginner
- How to Thread a Sewing Machine
- How to Thread a Bobbin
- How to Sew a Seam
- Patching a Pair of Pants
- A Simple Spring Skirt with Pockets
Pin it for later!
HEARTY SEWING PROJECTS TO INSPIRE YOU.
PIN FOR LATER!
Sewing your own Tank Top Making a Tie Mask Making a Medical/Dust Mask Making a Girls’ Winter Dress Making a Reversible ApronMaking a Waldorf Doll Making a Bench Slip Cover Making a Leather Apple Watch Band Making a Bow Tie
WHAT ARE THE PROJECTS THAT YOU WANT TO LEARN TO MAKE? COMMENT BELOW!

Affiliate Disclosure & Content Disclaimer
This post may contain affiliate links from a paid sponsor, Amazon or other program. When you use these links to make a purchase I earn a small commission at no extra cost to you. This allows me to continue creating the content that you love. The content in this article is created for information only and based on my research and/or opinion.
Emily T.
DAILY INSPIRATION ON THE GRAM @hearty.sol
it's hip to be square!
View comments
+ Leave a comment